
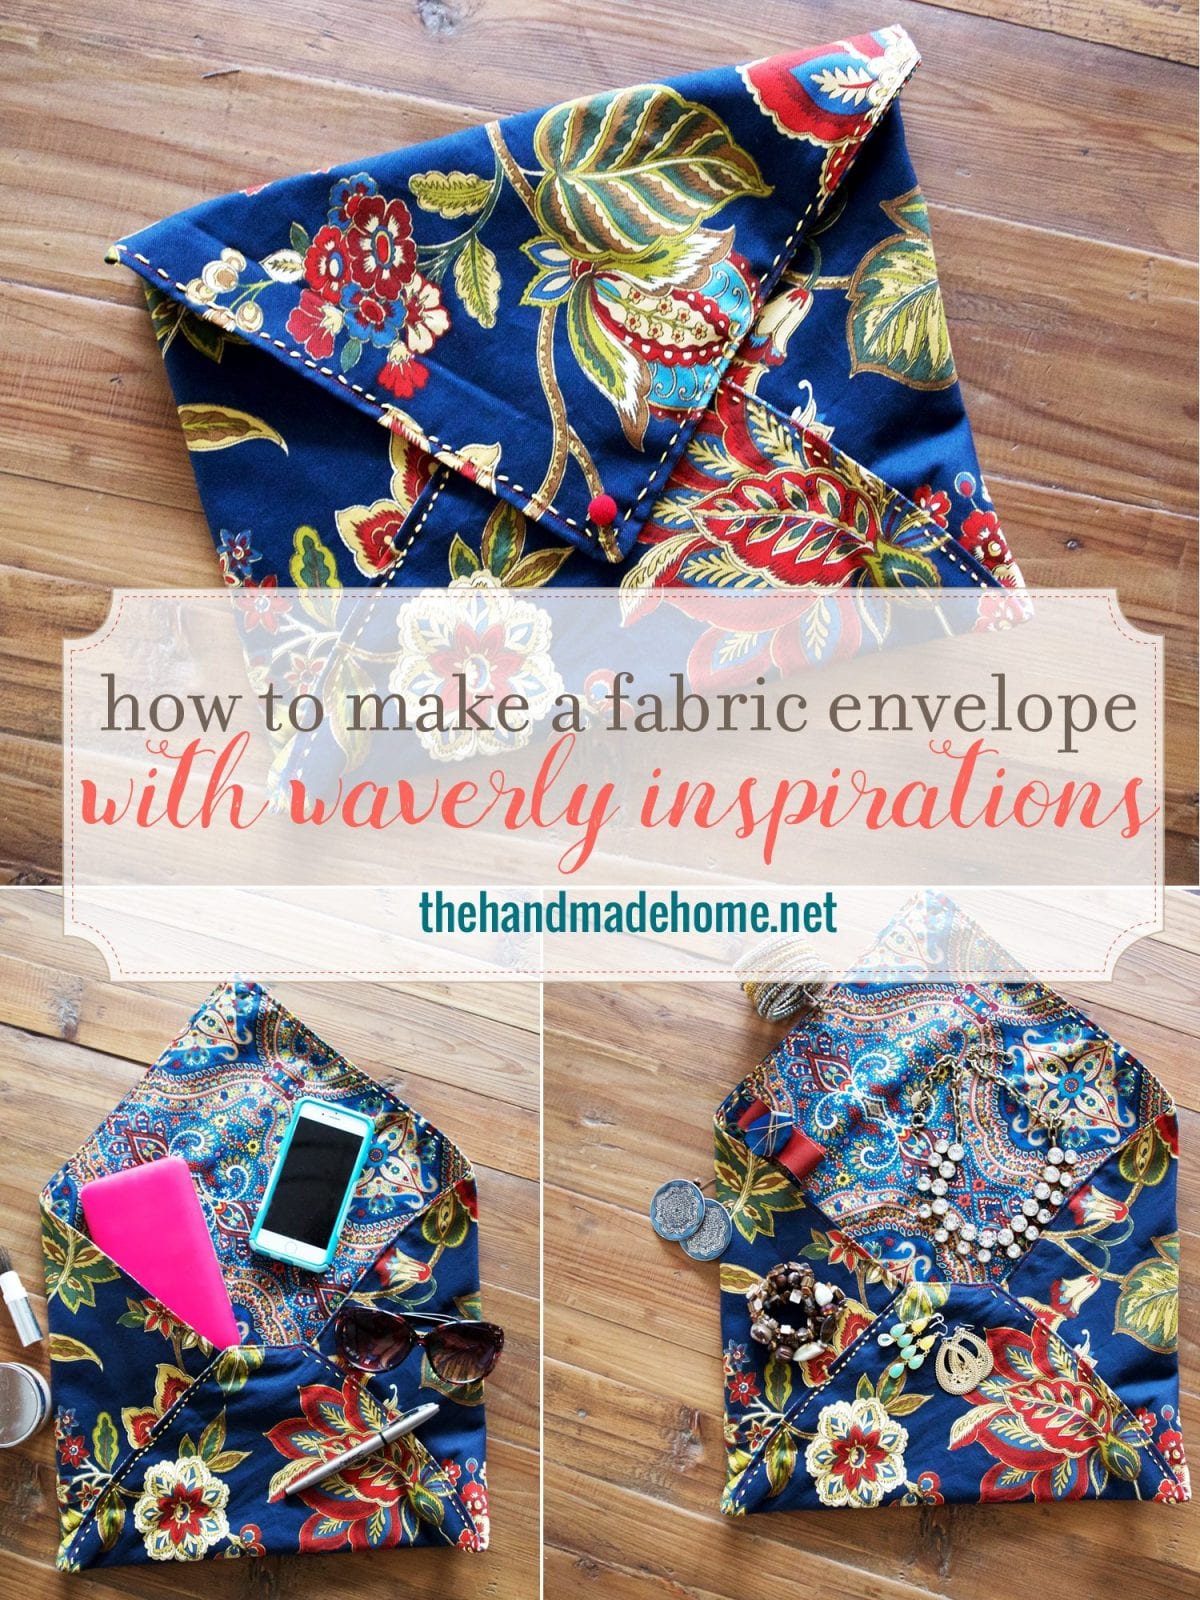
how to sew a fabric envelope
:: This post was brought to you in partnership with Waverly Inspirations and its parent company, Iconix. While we were paid for our expertise, all opinions and ideas are 100% ours. Please read our full disclosure pertaining to partnerships here ::
It’s part nine time, y’all!
If you’ve been tuning in for a while now, then you know we’ve been a part of the Waverly inspirations challenge, where every month we receive some crafting goodies in the mail. And from those goodies, we create something with their fabulous products.
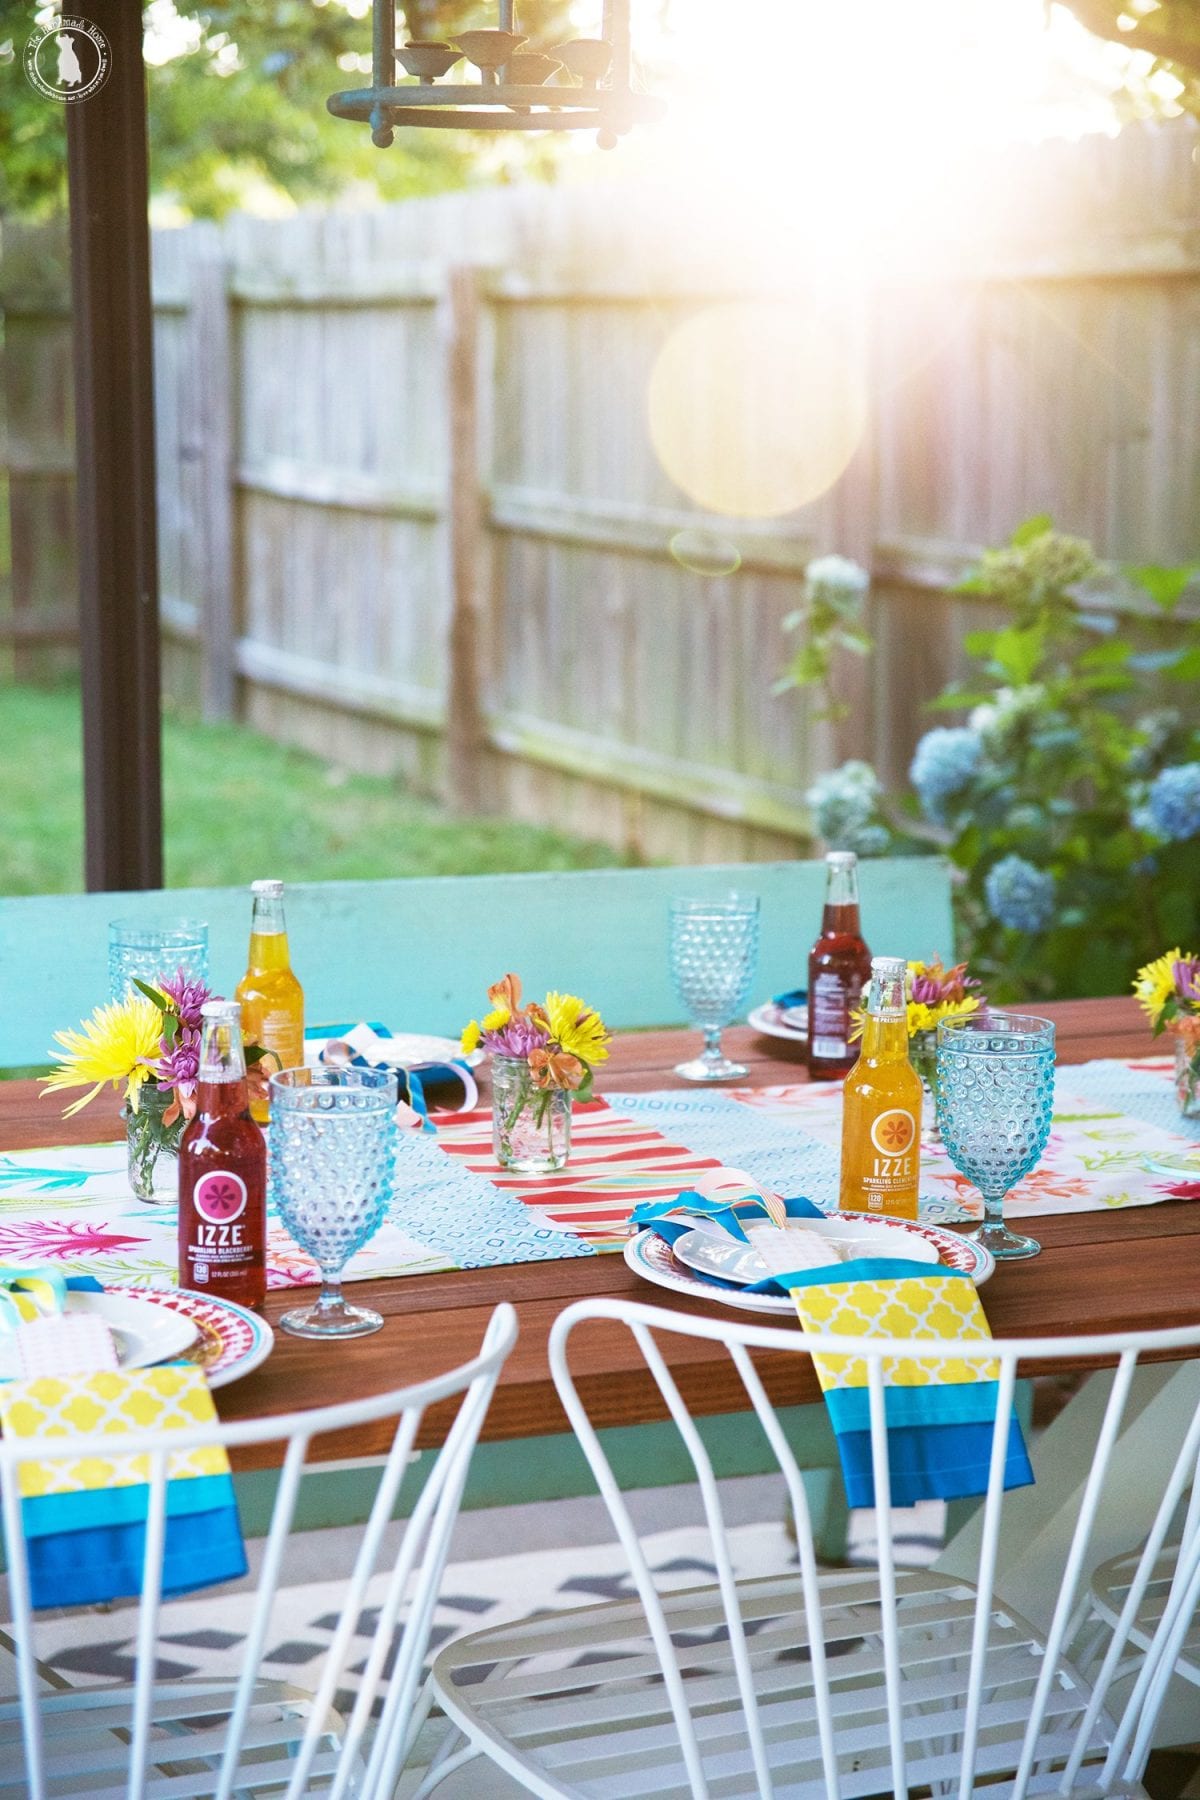
So for our first round, we decided to tackle a fun summer tablescape.
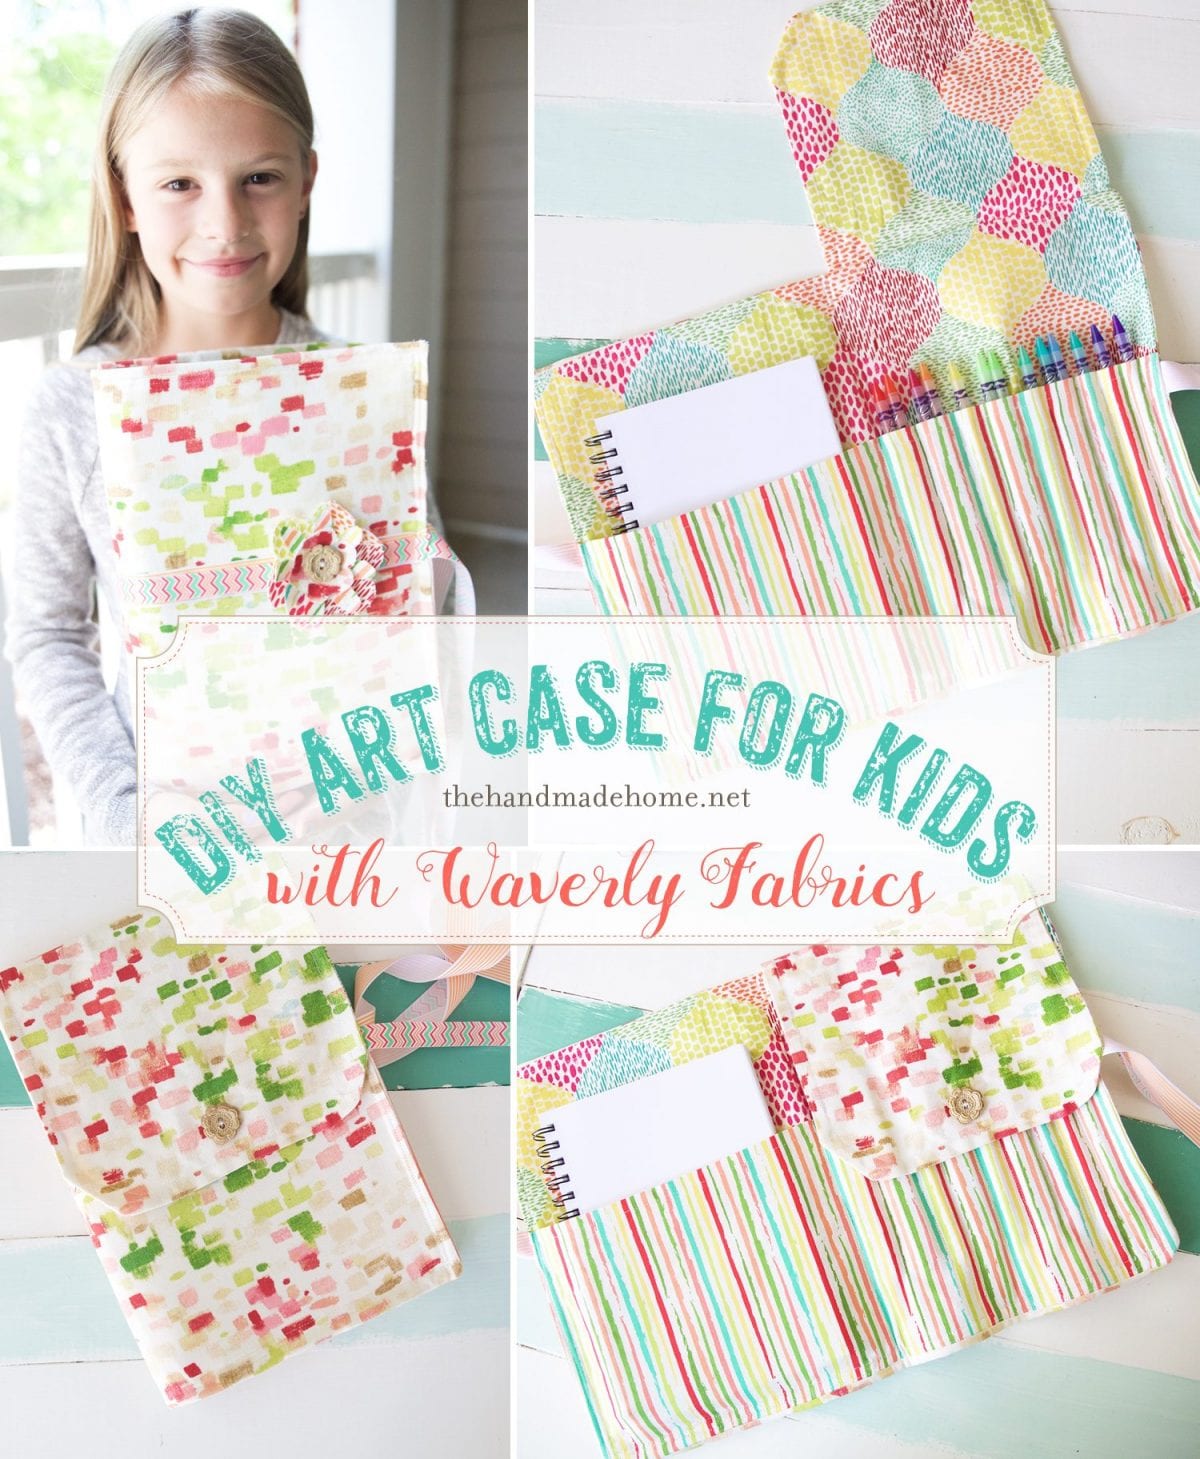
With round two, a diy art case for back to school!
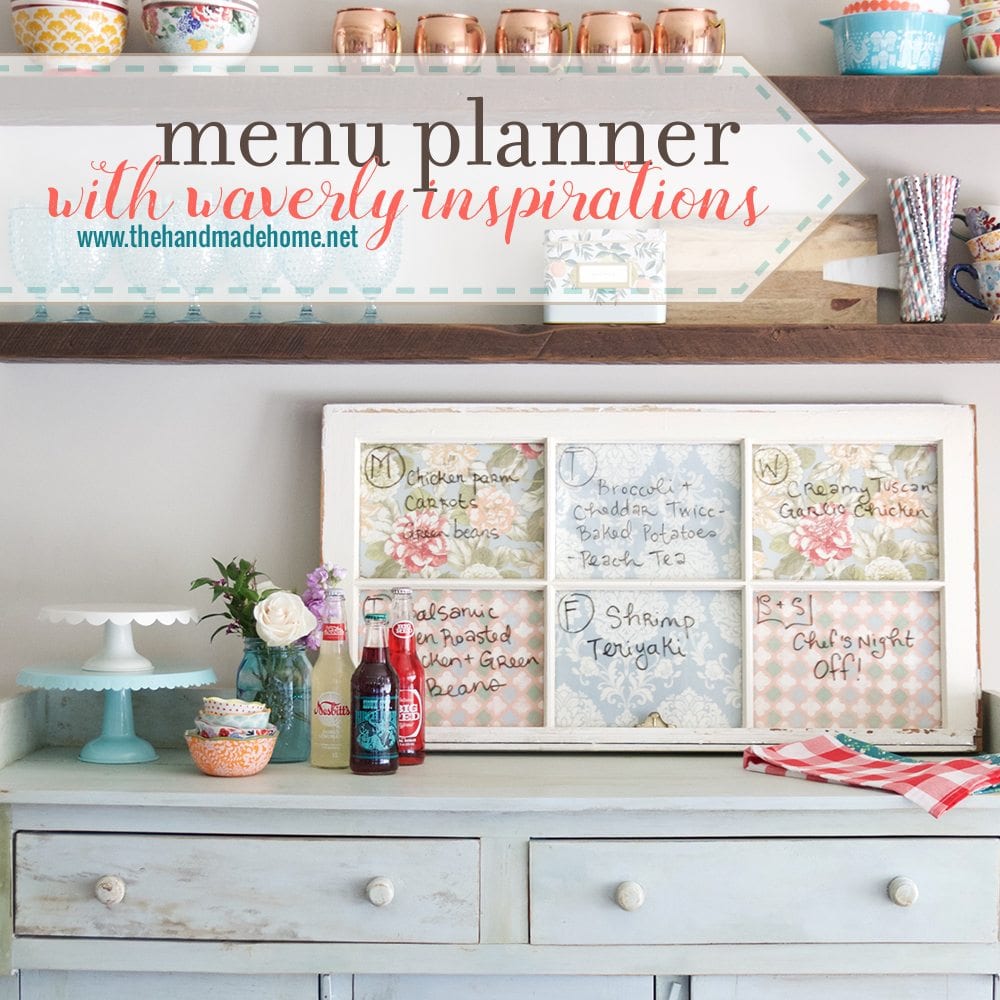
This awesome menu planner {If we do say so ourselves} for round three.
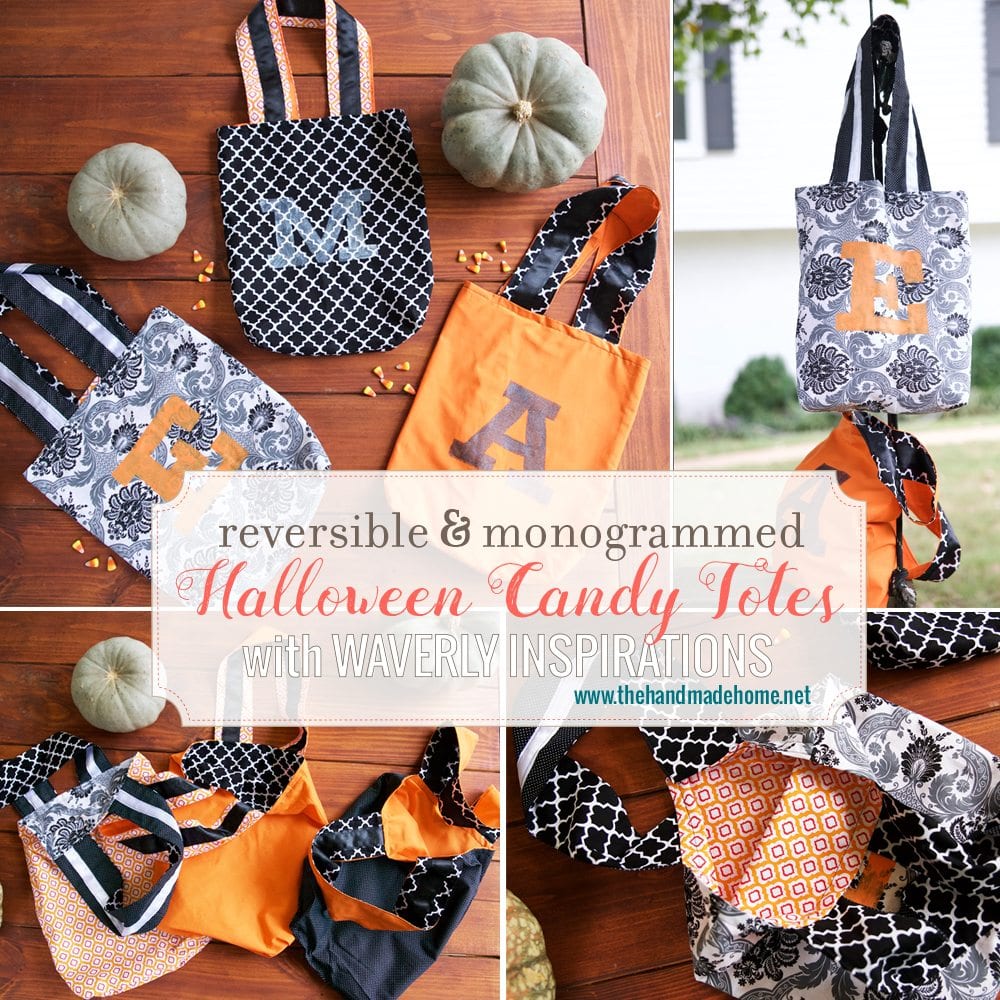
Our Halloween Totes for round four – you could change them for any every day occasion! So much fun.
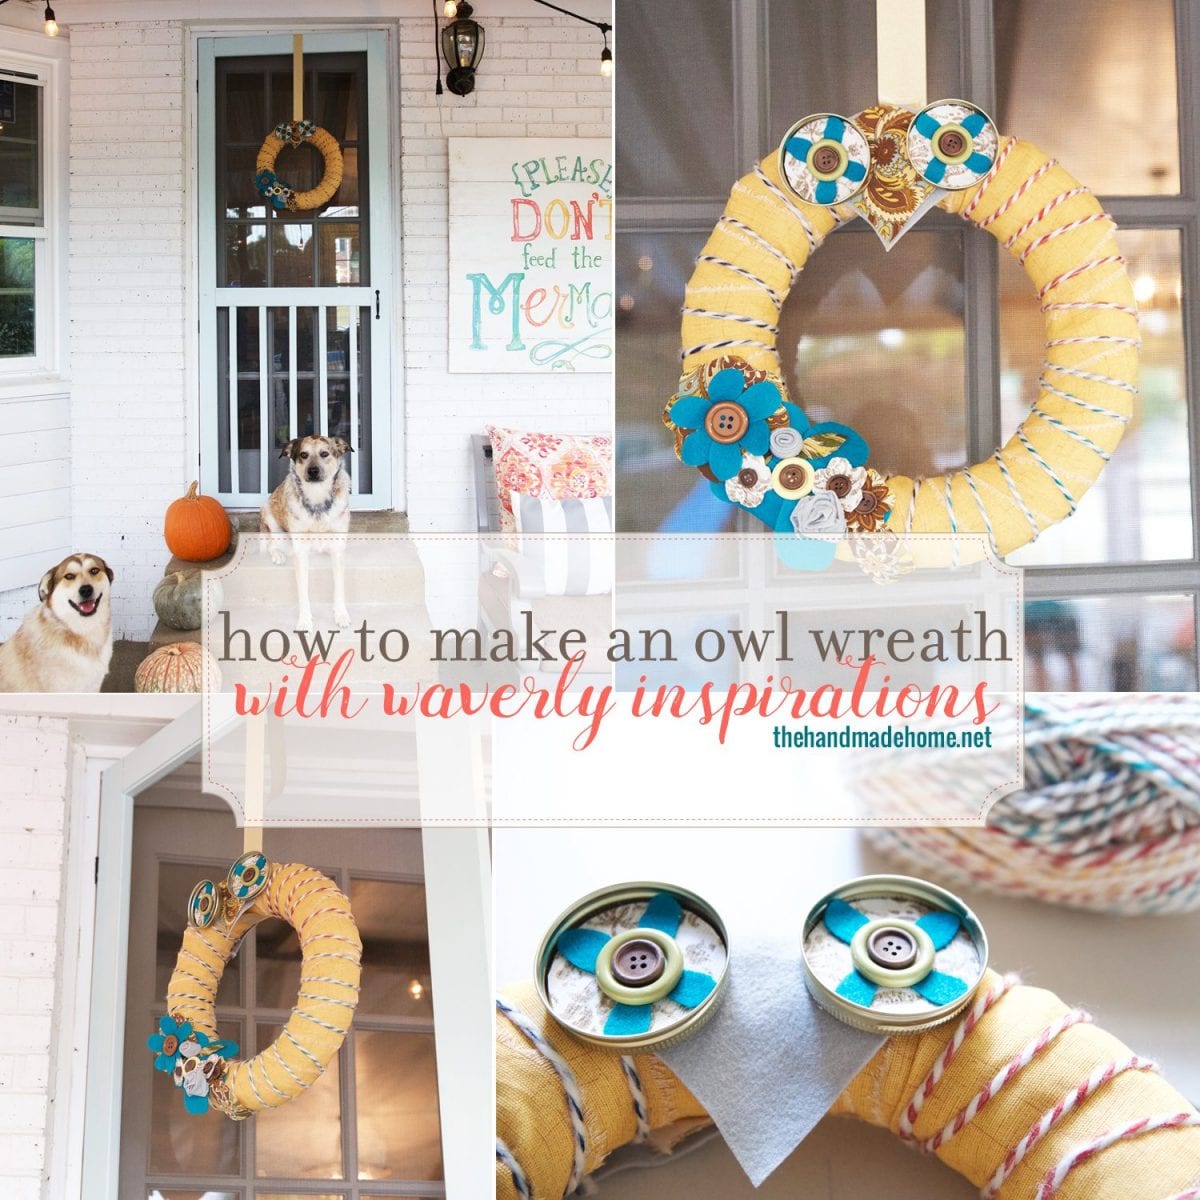
This owl wreath to warm up our home for fall right before moving in… was our little project for round five
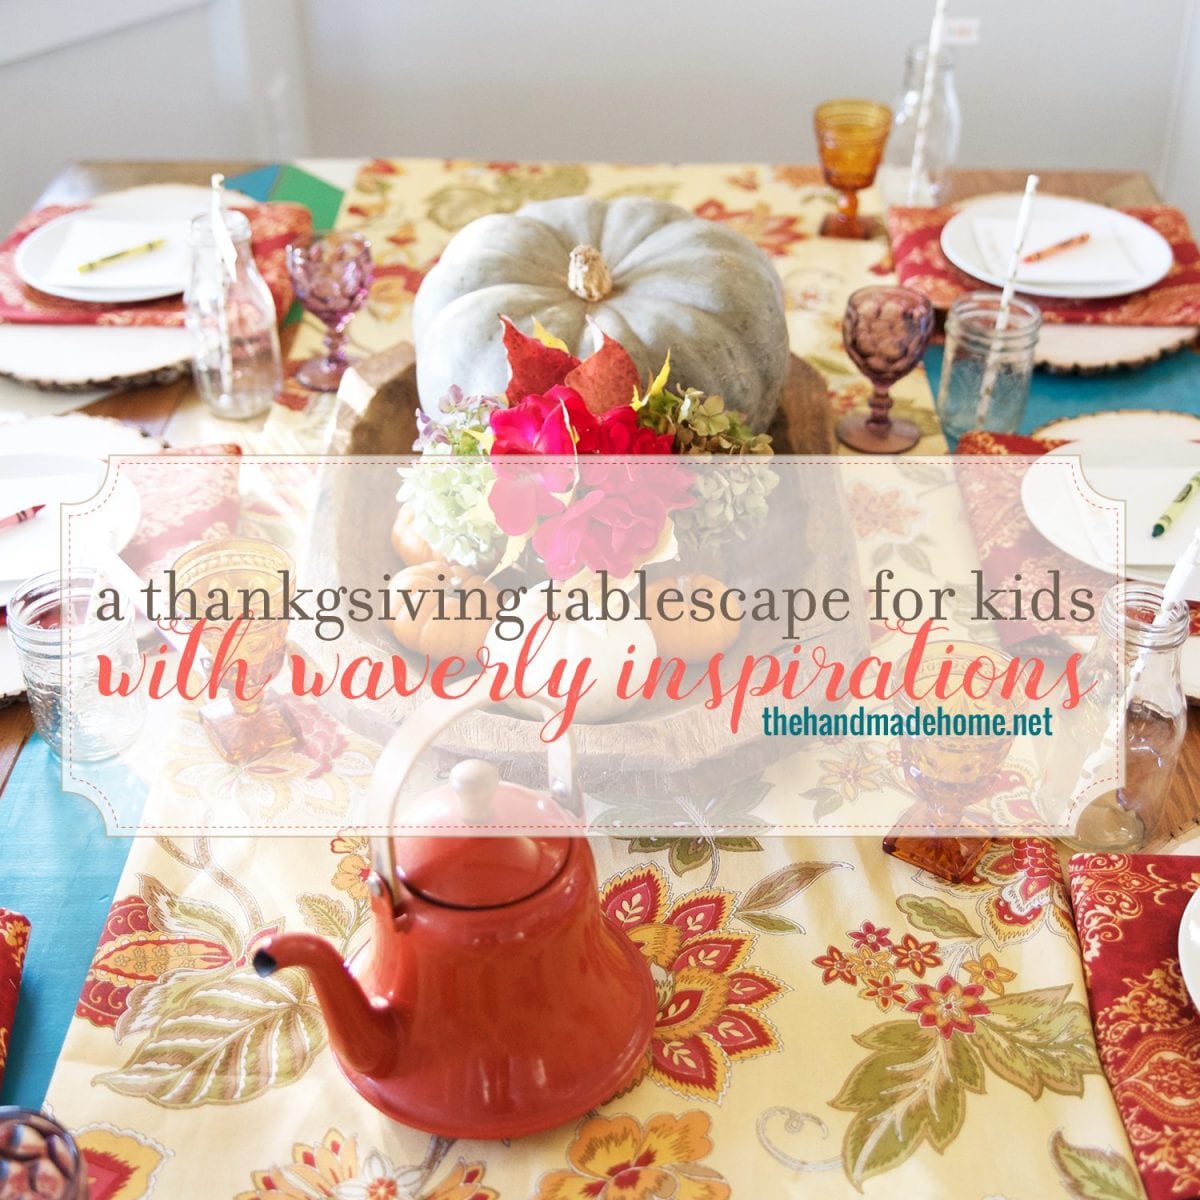
For round six, we did a fun Thanksgiving tablescape for the kiddos, along with some free printables!
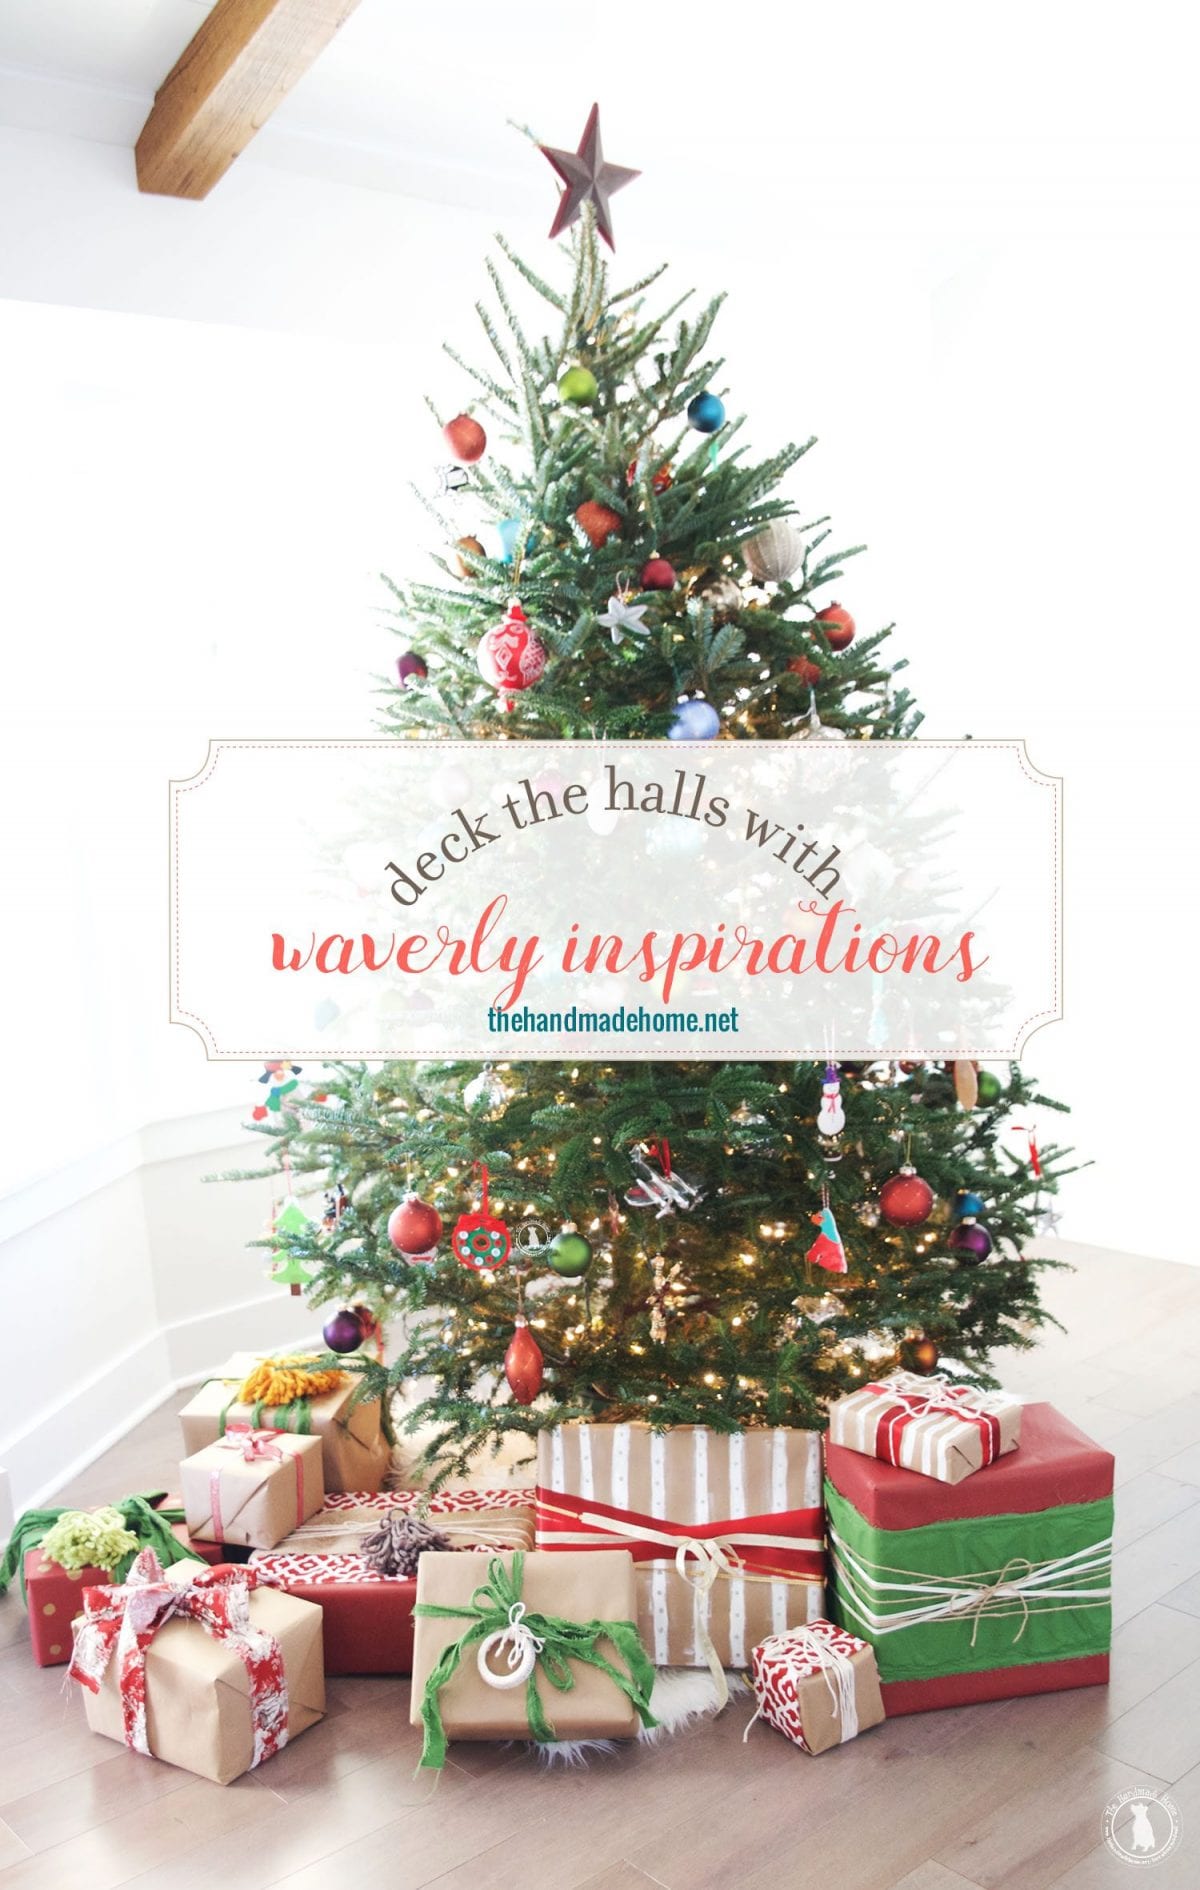
For round seven… the theme was Deck The Halls – with some easy wrapping ideas.
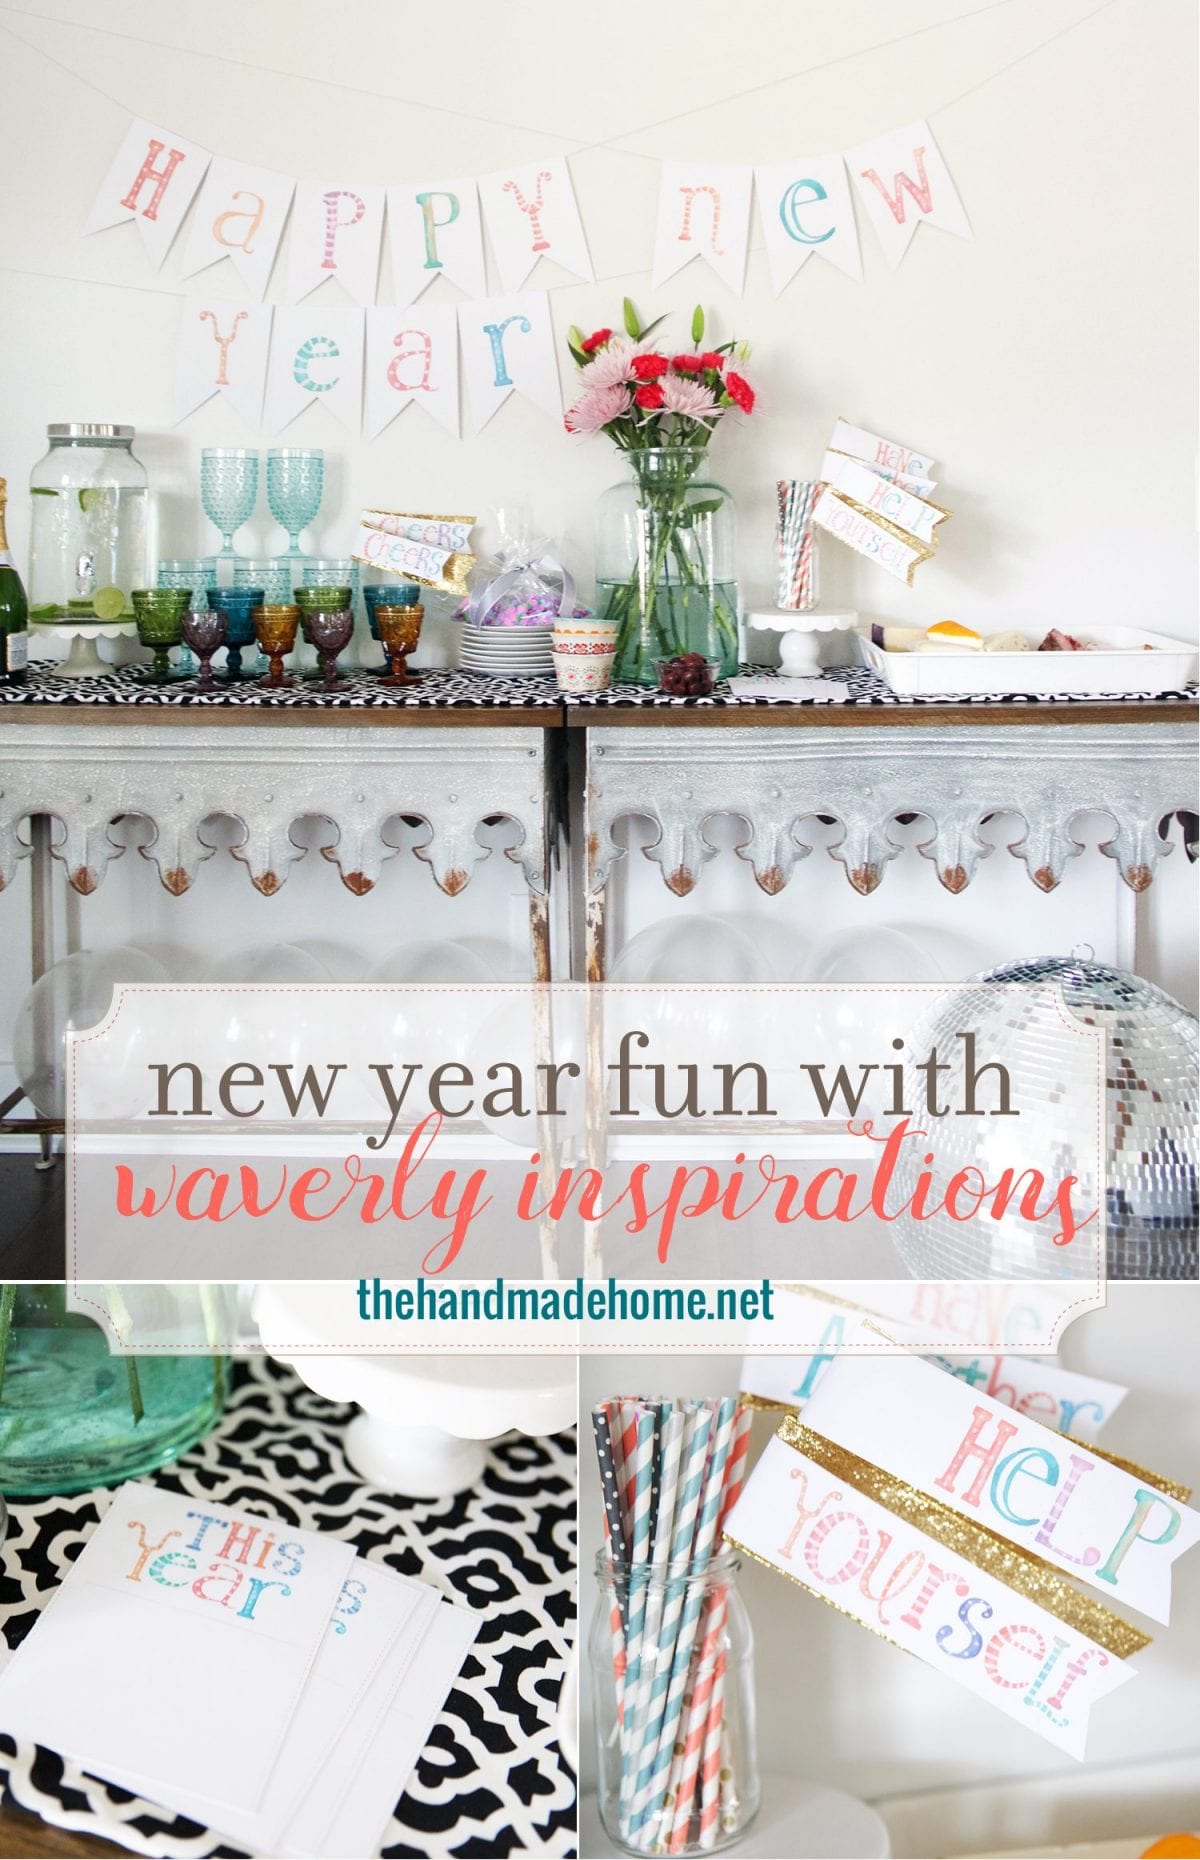
And round eight was a little bit of a new years shindig – with more freebies.
So this month, it’s probably because we have all things organization on the brain.
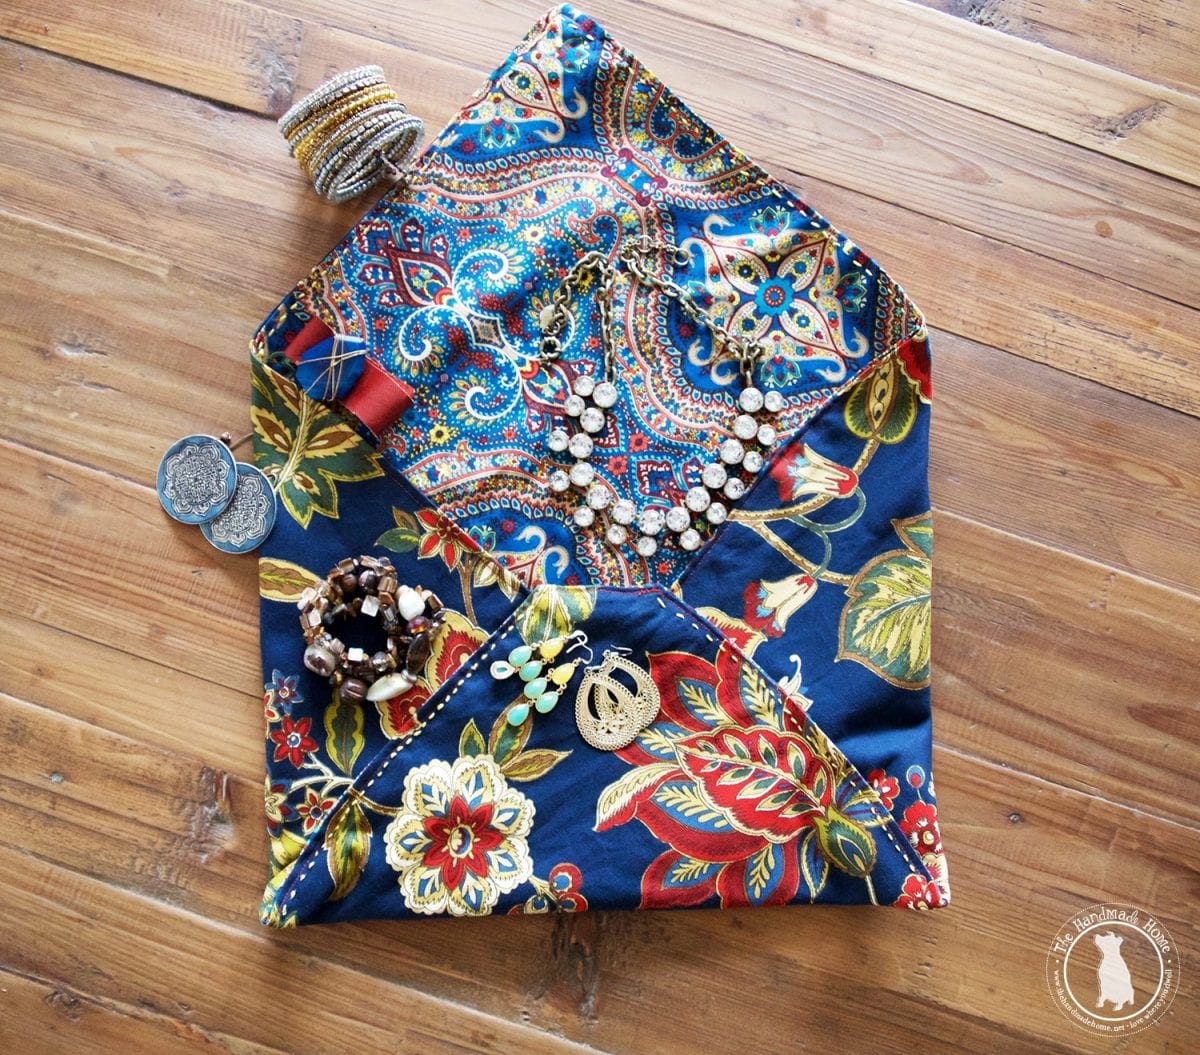
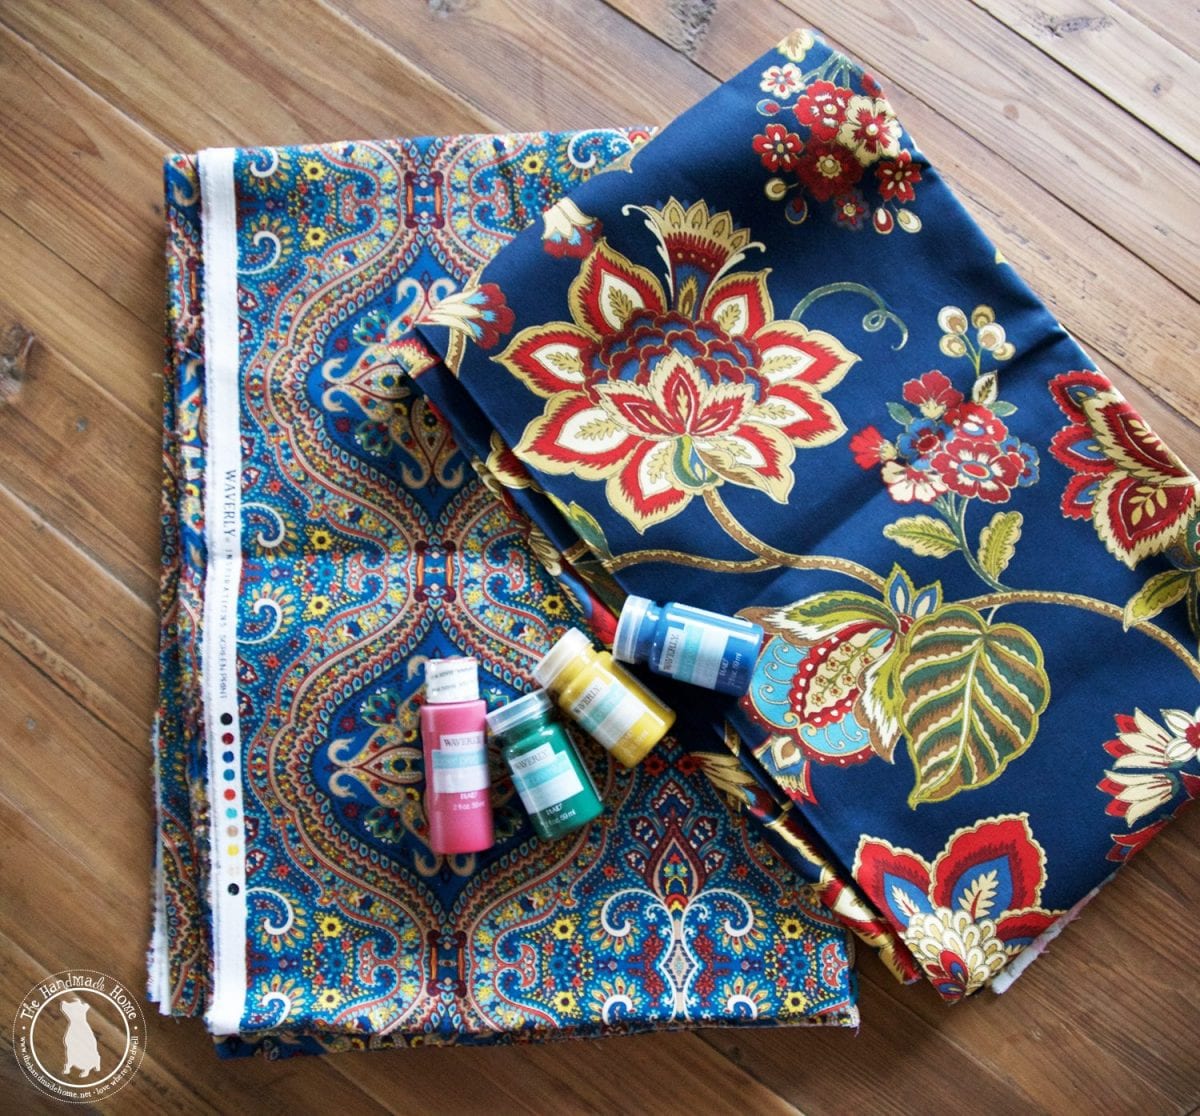
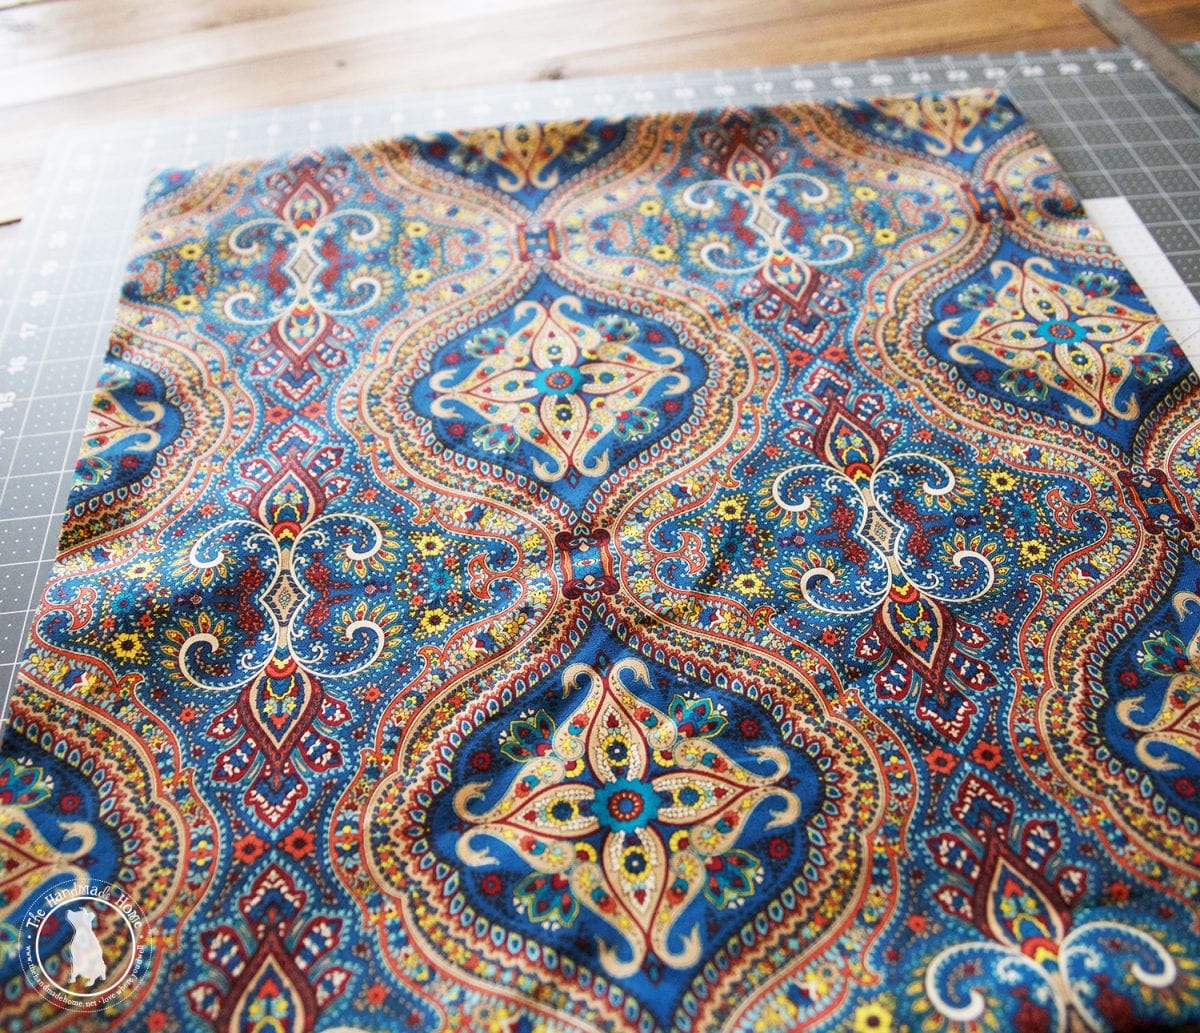
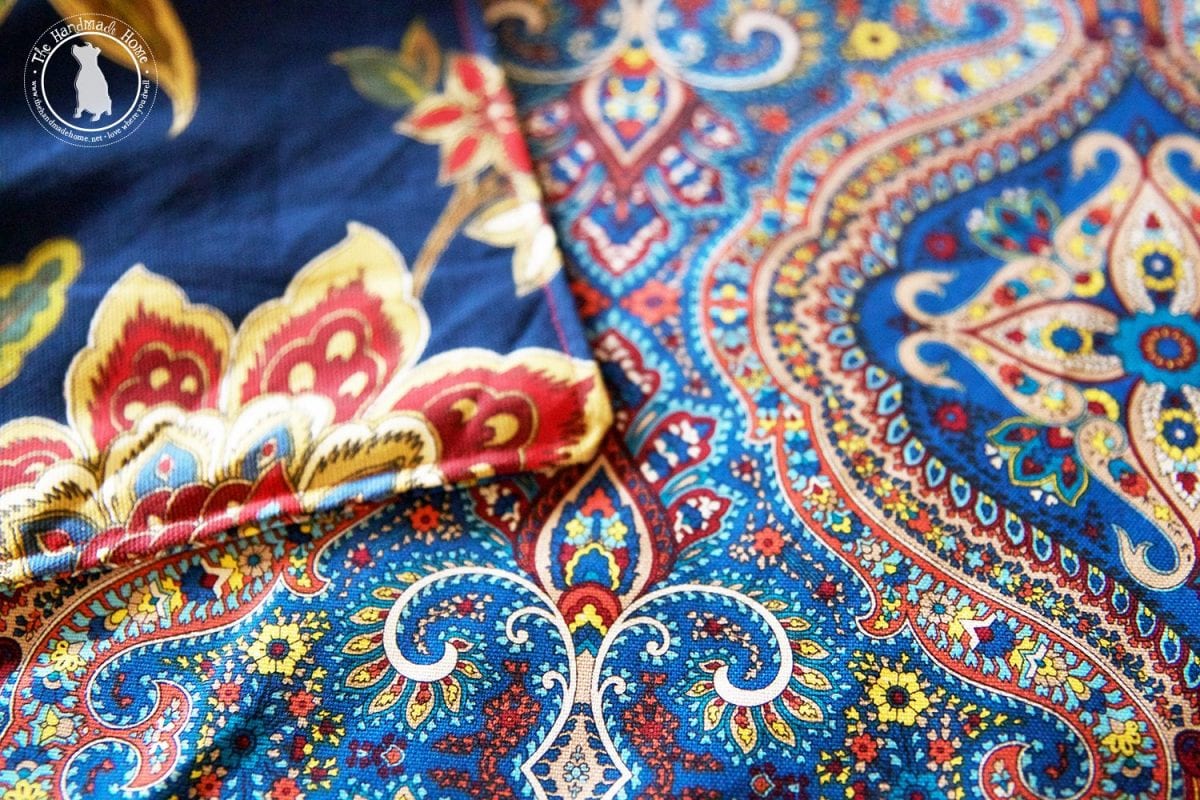
But when we opened up this beautiful blue fabric, we just knew we needed to make something handy. And cute. And well… you’ll see. If we do say so ourselves.
But we really wanted to do a little pouch to organize. And not just any pouch.
A big fat fabric envelope.
Because envelopes make everything better.

From something to hold notes for your child…
An iPad pouch…
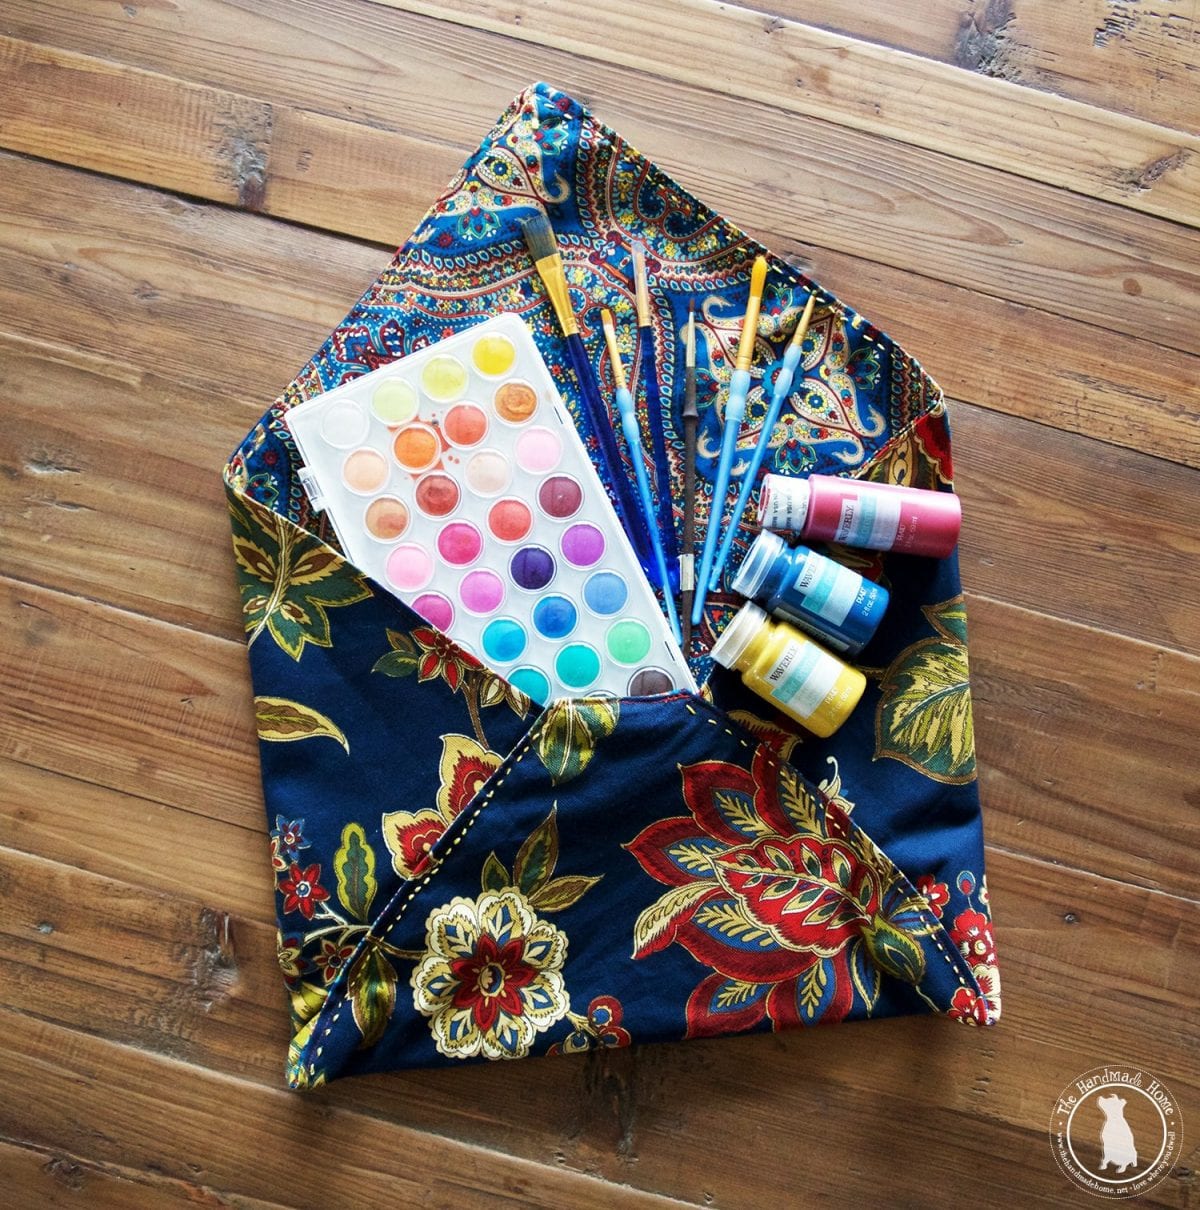
Art case…
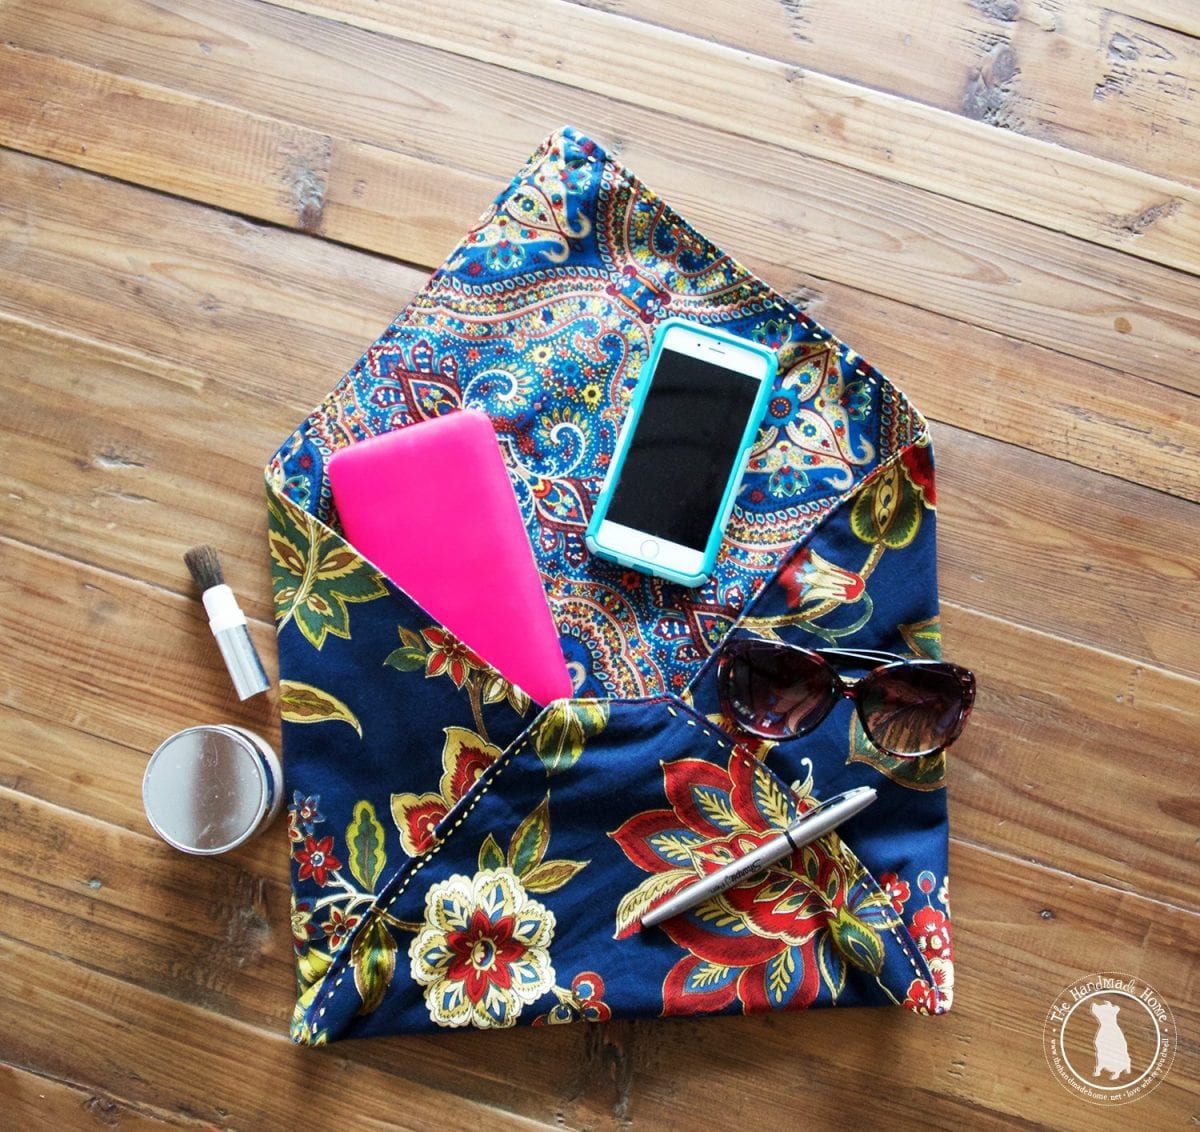
And basically something to hold all the things… the possibilities are endless.
What we love about this project {other than the fact that it’s one of the easier sewing projects we’ve done and it’s perfect for beginners} is that you can modify it in fun little ways to make it all your own.
Here’s what we did:
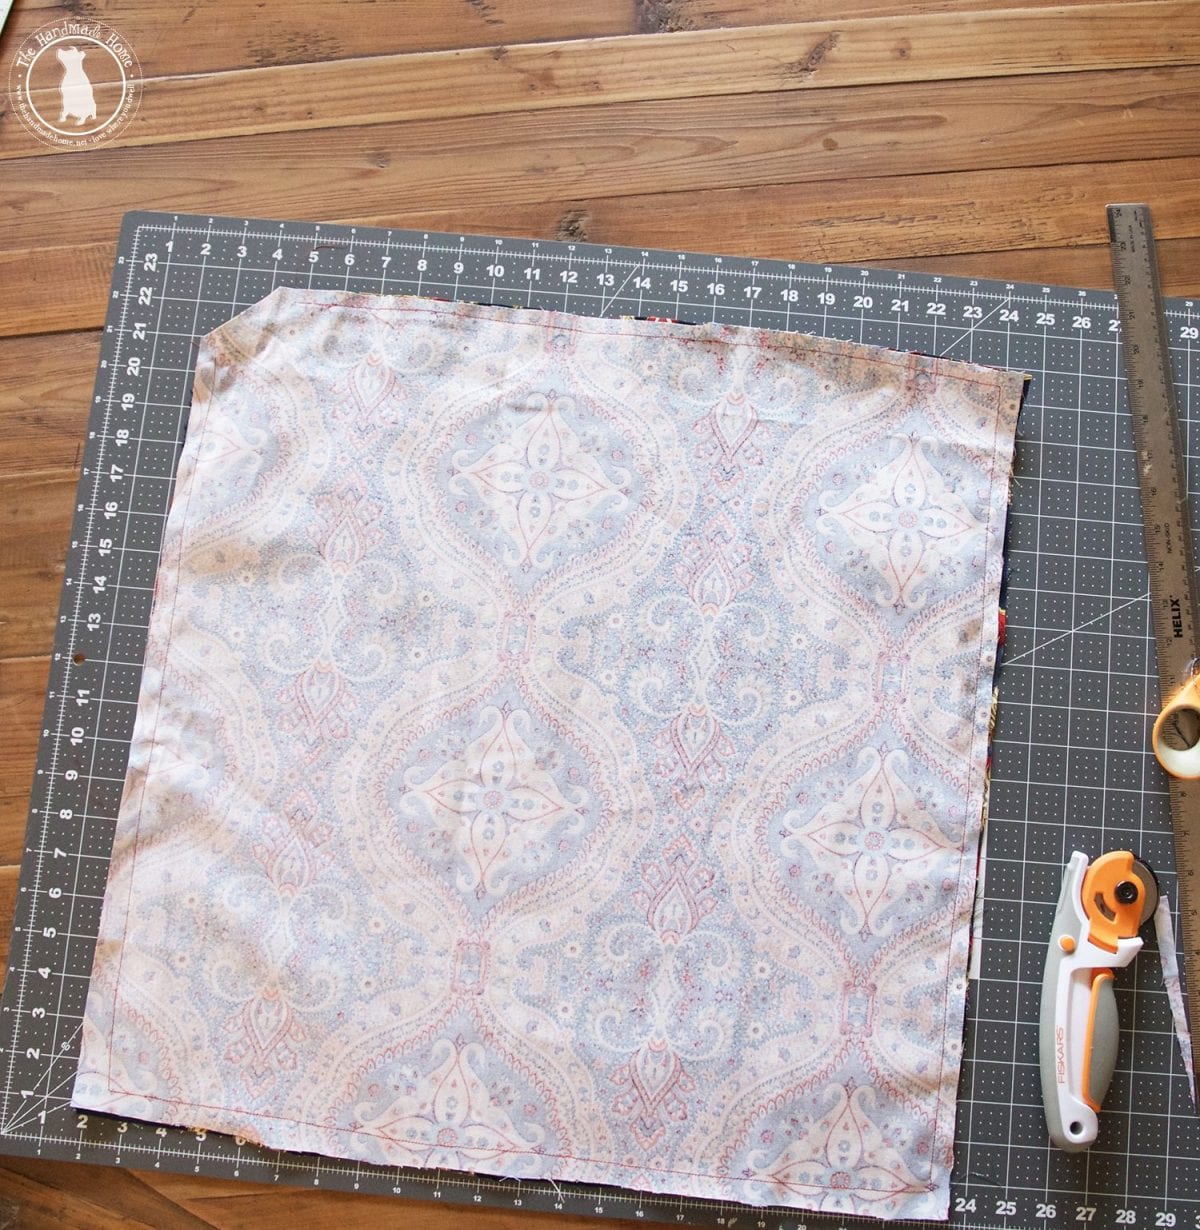
We cut two squares {of whatever size you want} ours was 23 x 23 – make it smaller for a smaller envelope size.
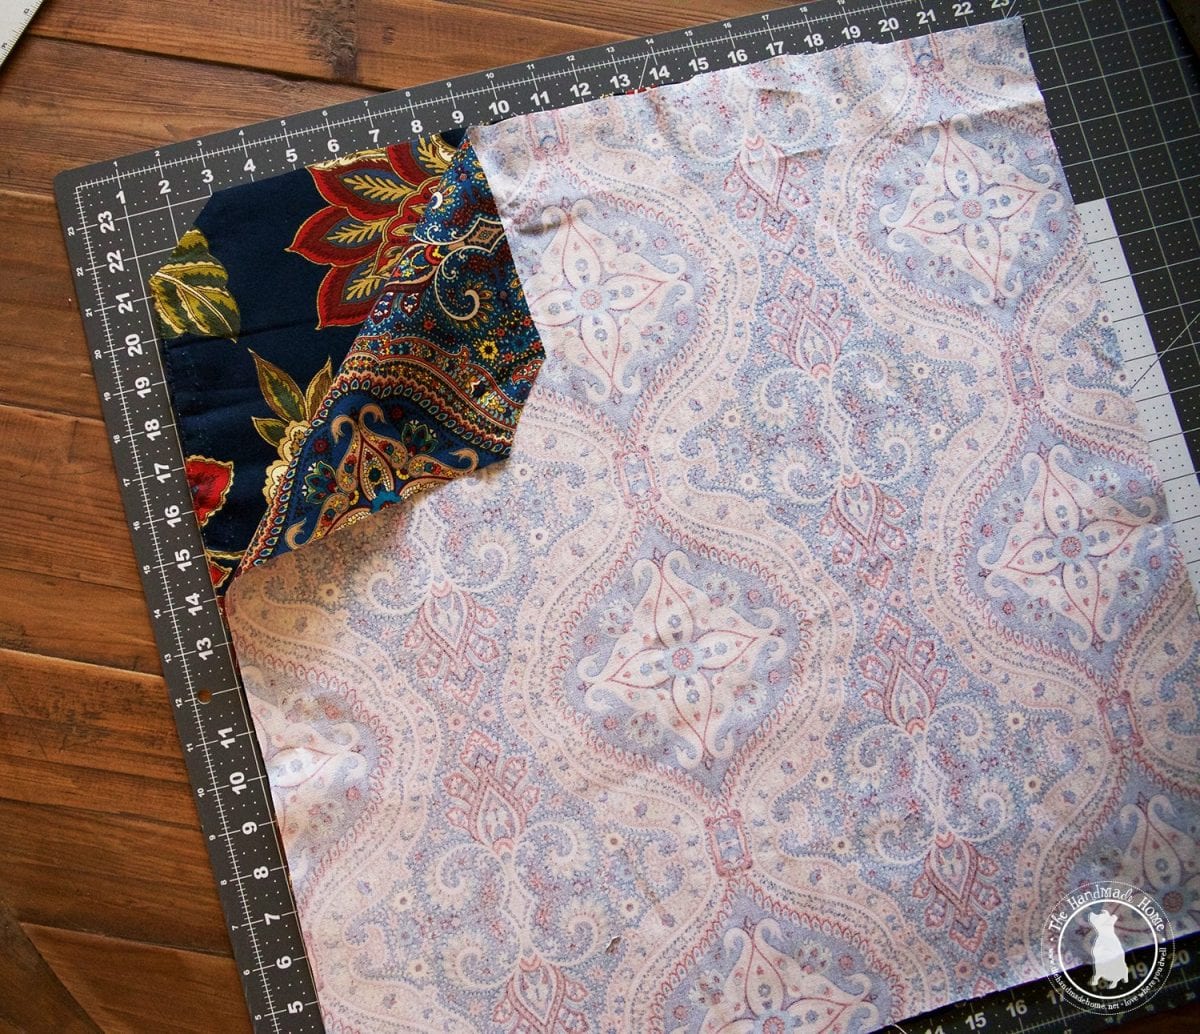
Take two sides of your fabric, and place them right sides in. Wrong sides out. {Just like a pillow}
Next, cut one corner off of precisely two inches. It’s easier to measure with the cutting board, as seen below.
Taking the fabric placed as is, run a quick seam down each side, except the smaller section where the corner has been removed. {This will be for pulling it through – just like you would with a pillow.}
Pull your sewn fabric right side out, through the corner you left open.
Be sure to straighten out those corners as well by pushing them out with your scissors if necessary.
It should have two sides, just like a pillow.
Lay it flat and iron.
We then ran a quick topstitch for a neater edge. {Includes the corner piece for securing}
Tip: This little envelope is really for things around the house, or inside a bag. {Diaper and wipes holder, anyone?} If you wish to have an actual clutch, we recommend using interfacing… You’d just include it as an extra step, and cut it to the same size as your fabrics. More details on interfacing in our diy art case post here.
When you’re finished with your top stitch, lie it flat with your correct fabric on the outside, and inner fabric on the inside.
Since this is a square, it should fold together just like an envelope, equally.
Starting with your snipped corner piece, fold it up.
I used the cut piece as a “guide” and eyeballed the rest.
Then add the sides.
And tuck them underneath the cut piece. It should give you a neat little envelope look.
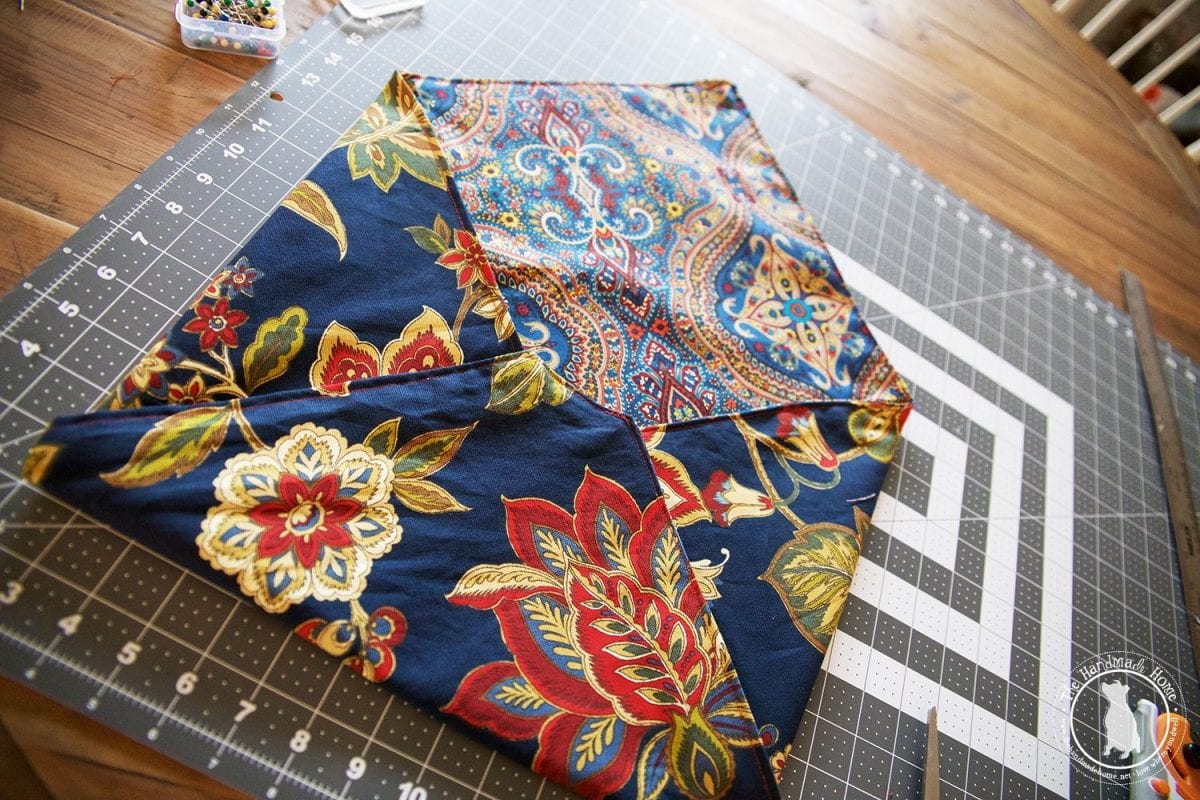
Together, it should look like this.
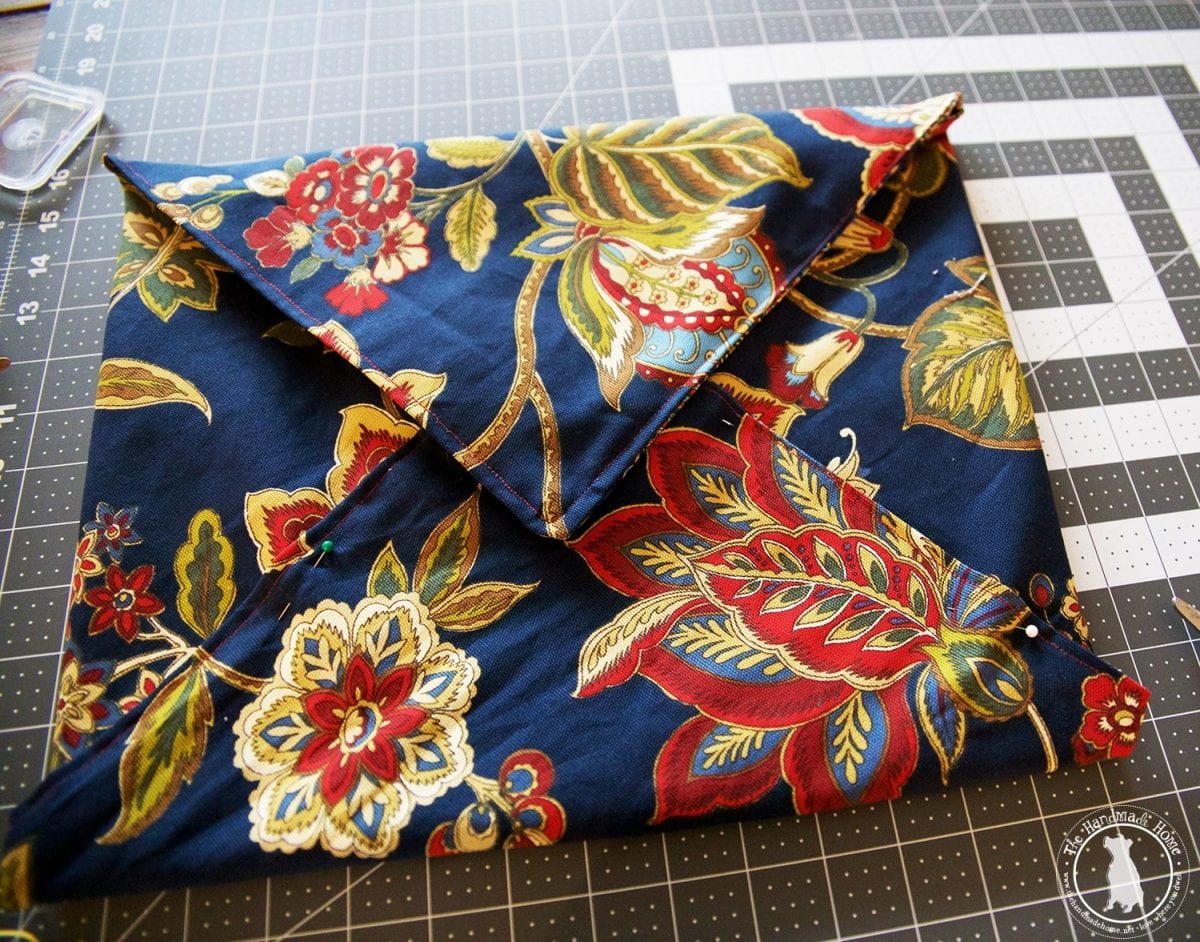
Pin the sides together as shown to keep them folded properly for sewing:
You then have two options to sew the tops together with your machine, or do a simple, sturdy hand stitch.
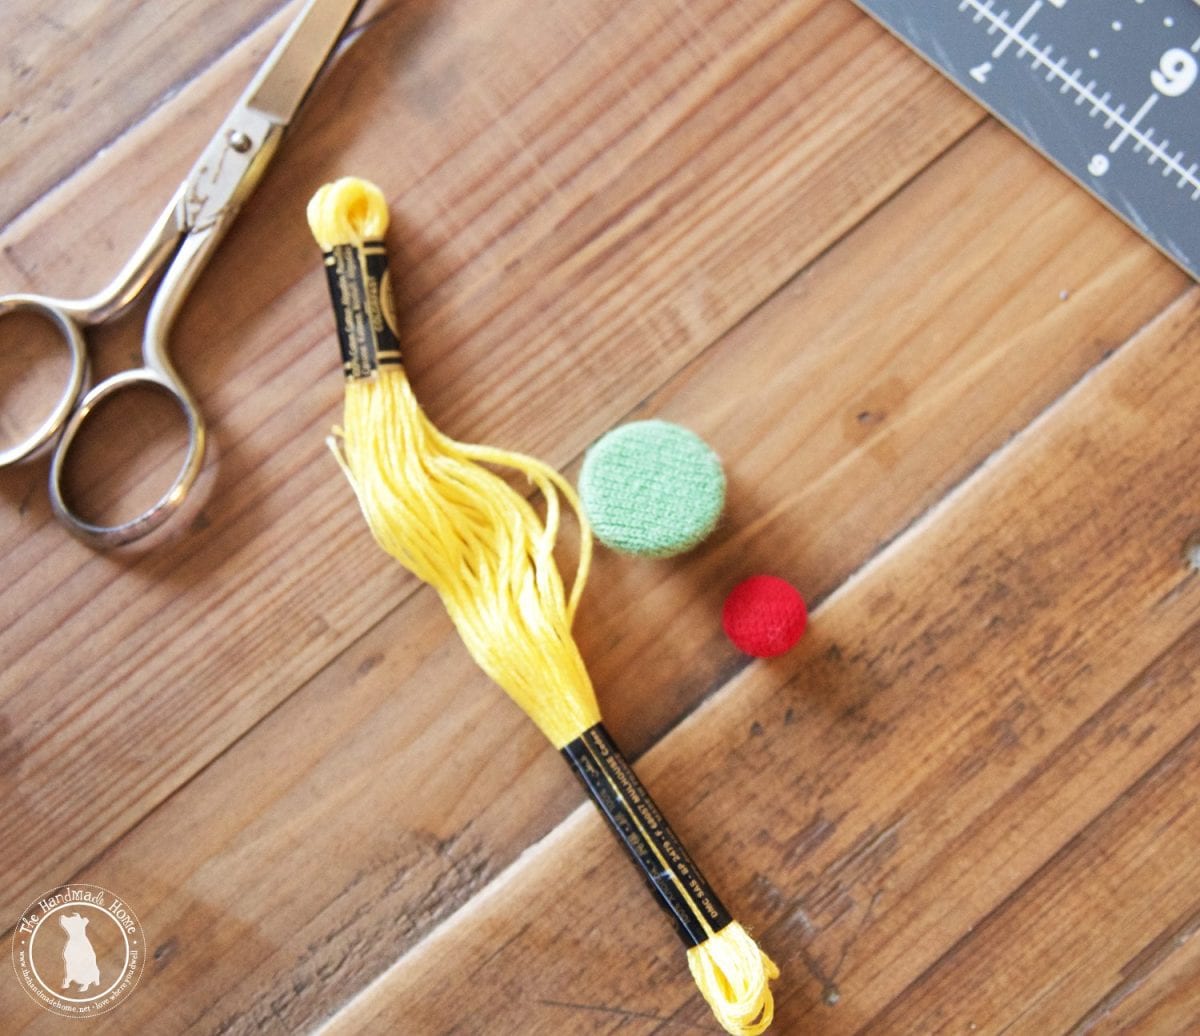
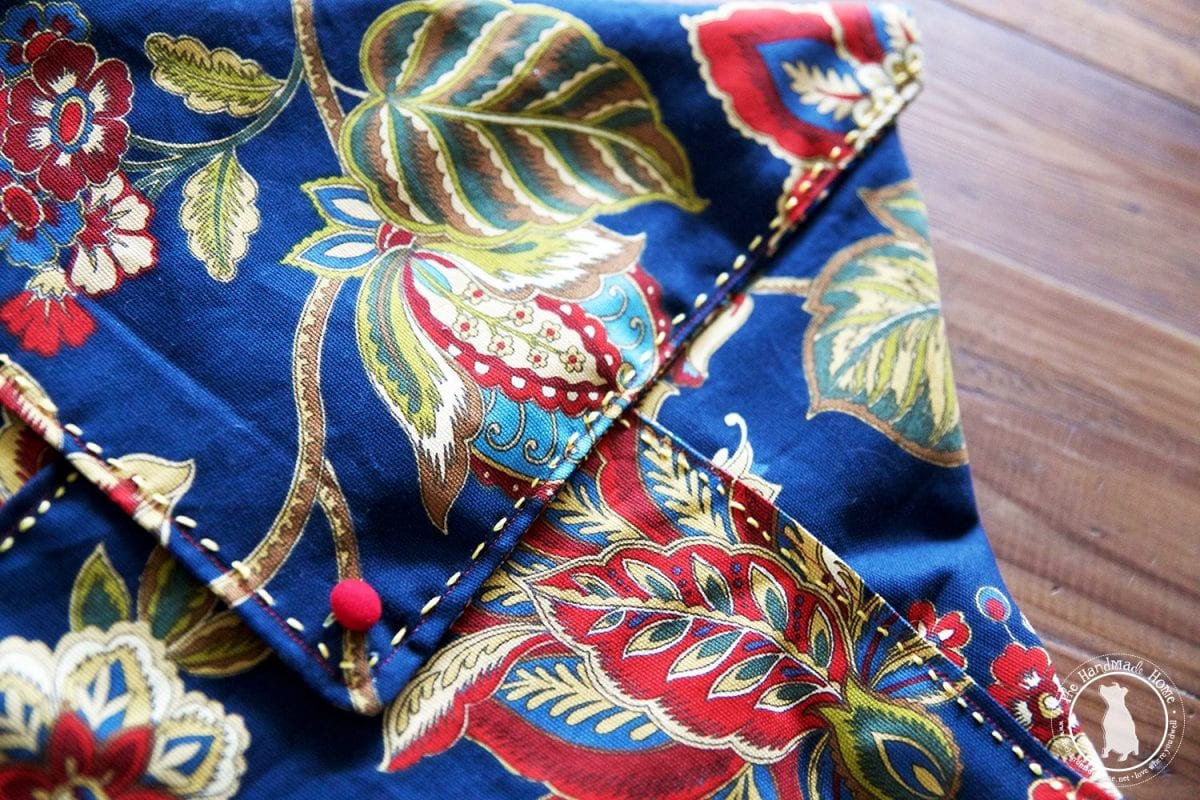
I wanted to add a little character, so with some embroidery thread and a little time, I had a nice bright hand stitch down the sides.
Emerson enjoyed helping me add the stitches… I see an embroidery kit in this gal’s future.

I then added a vintage button for a little character, and…
Tada! You have an adorable fabric envelope.
Not-so-secretly, it makes this graphic designer’s heart go pitter patter. It’s the little things.
And the possibilities truly are endless!
The best part? These fabrics and paints are available at Walmart as a part of the Waverly Inspirations line! Such awesome selections at amazing prices.
A fun little project with lots of possibilities and uses. Just add your own flair and you’re ready to go with this simple sewing project.
As always, let us know if you try it. We’d love to hear!
