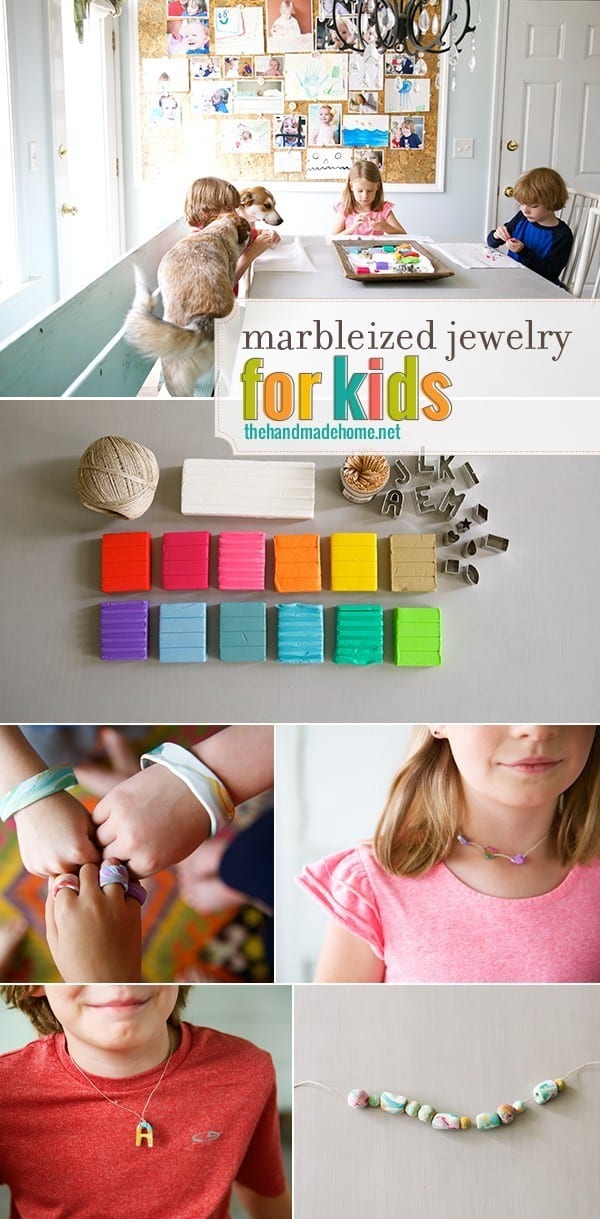
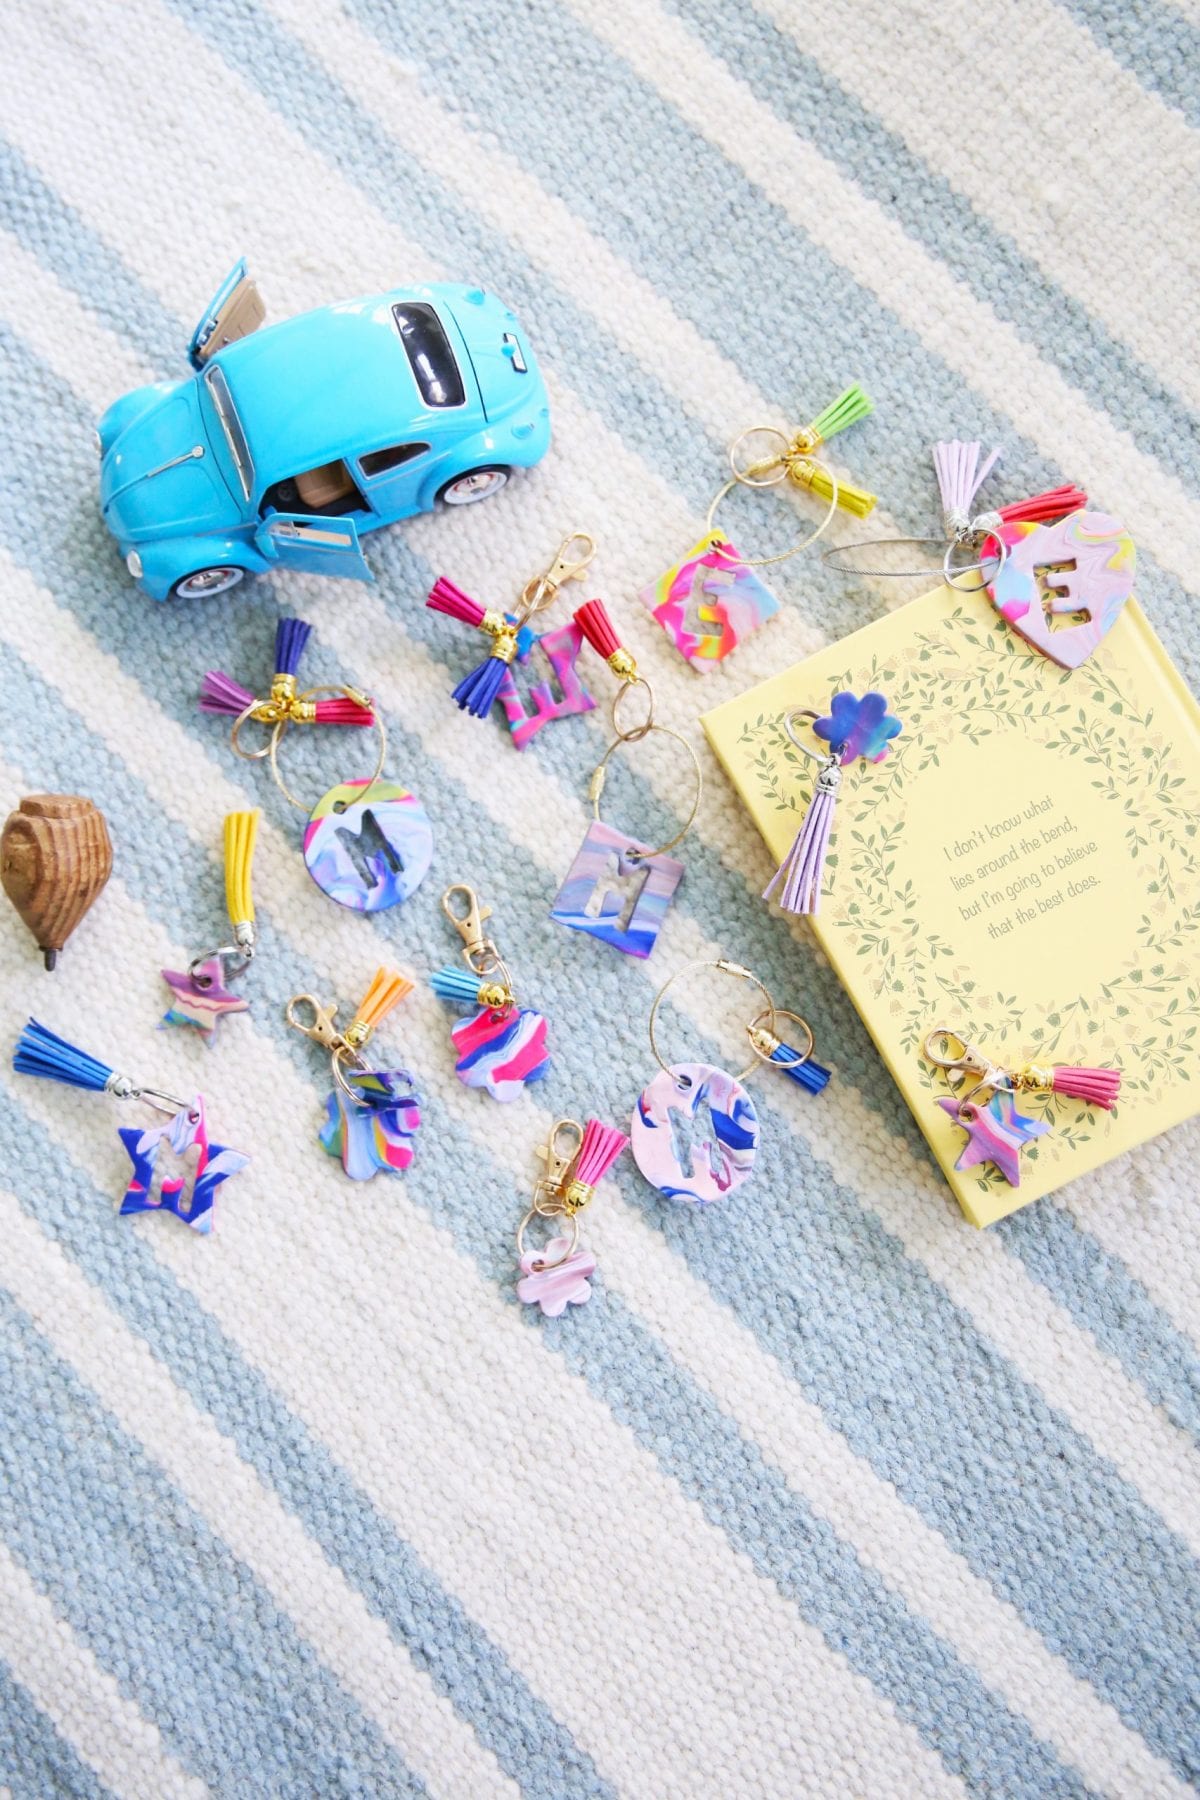
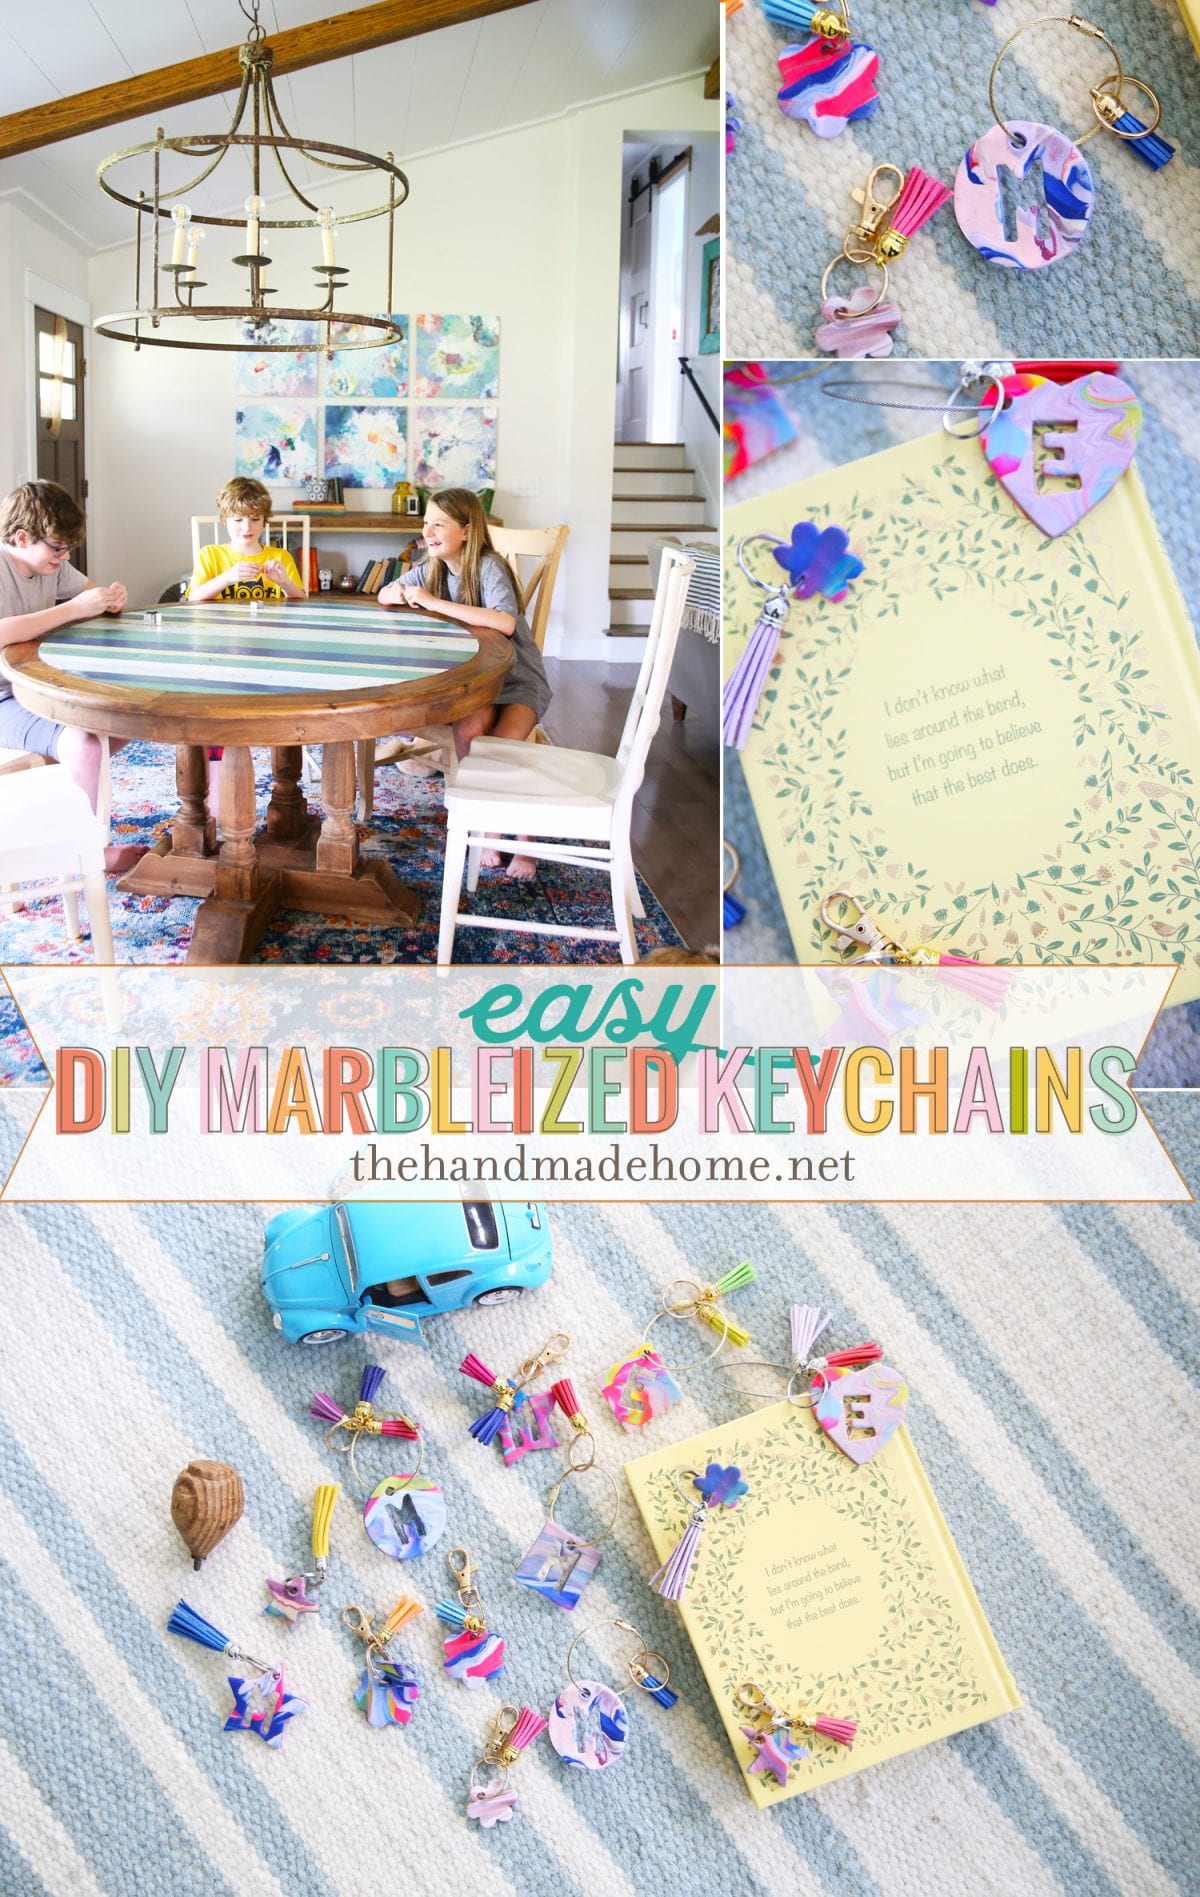
easy marbleized keychains
There’s just something about working with your hands, creatively, that can make you feel better.
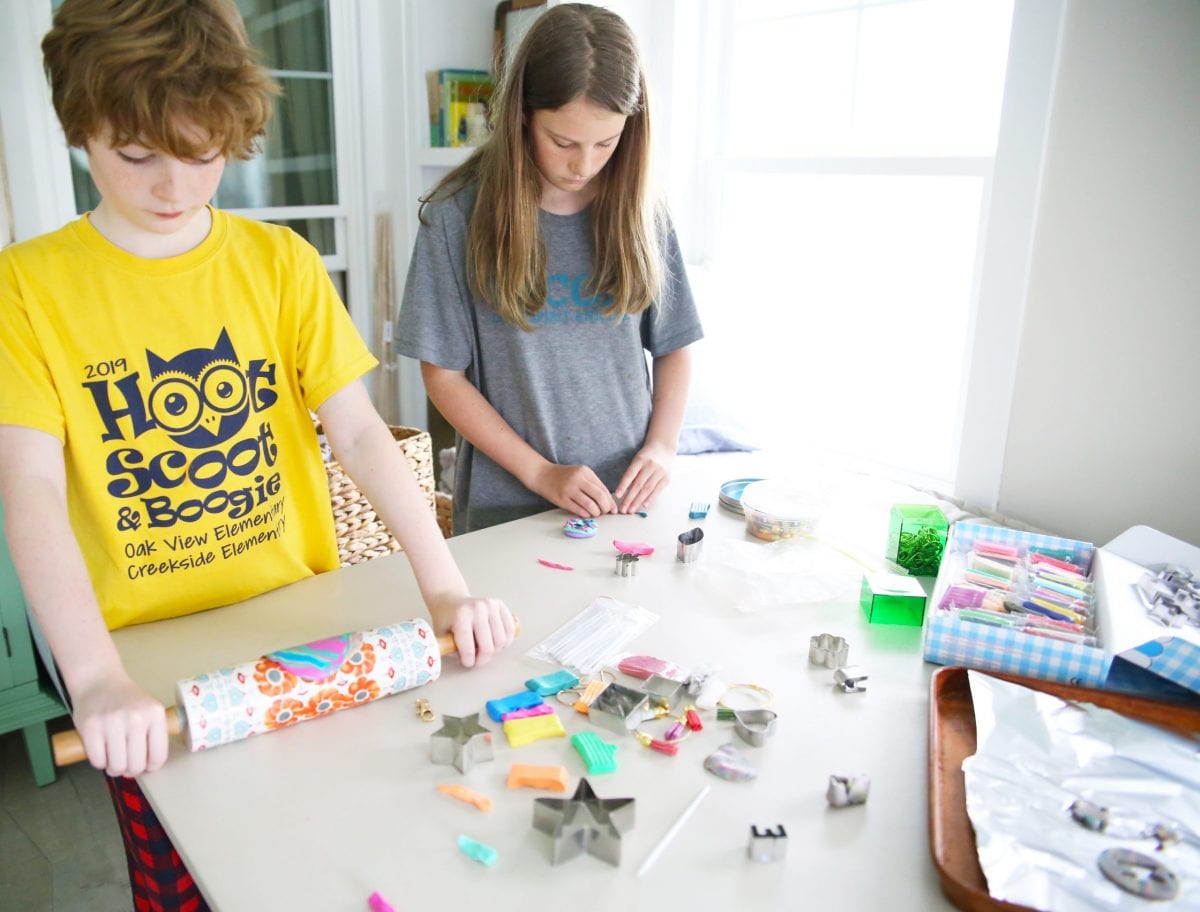
Actually, we spent the entire last week working with our hands, non-creatively. And we still felt better. But this week’s craft with the kiddos was all about easy diy marbleized keychains. They’ve been making some for their friends {when they can see them again} and we thought this would be a great idea to share with all of you!
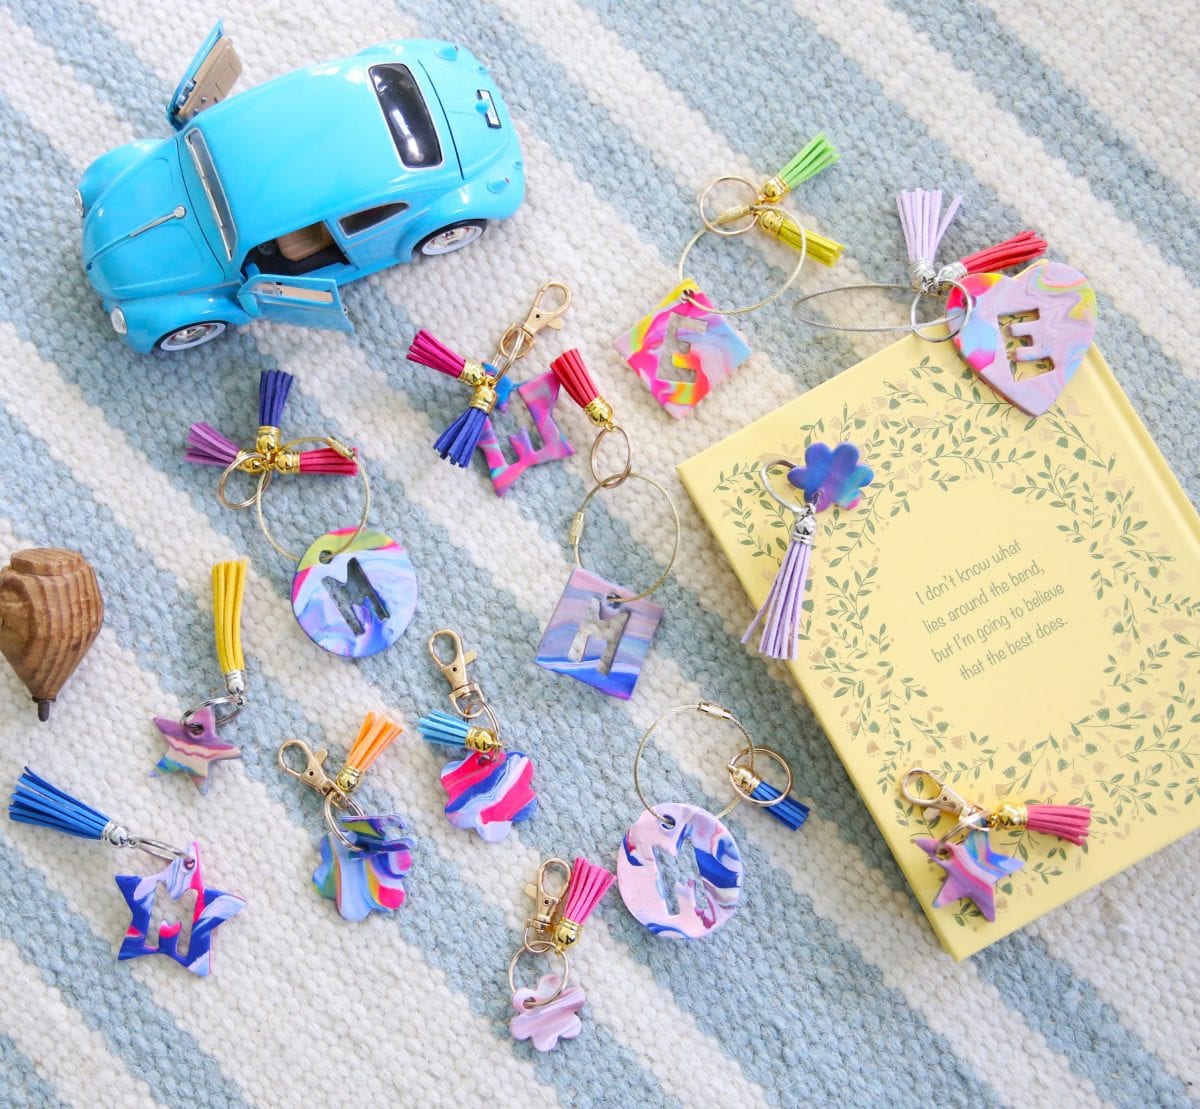
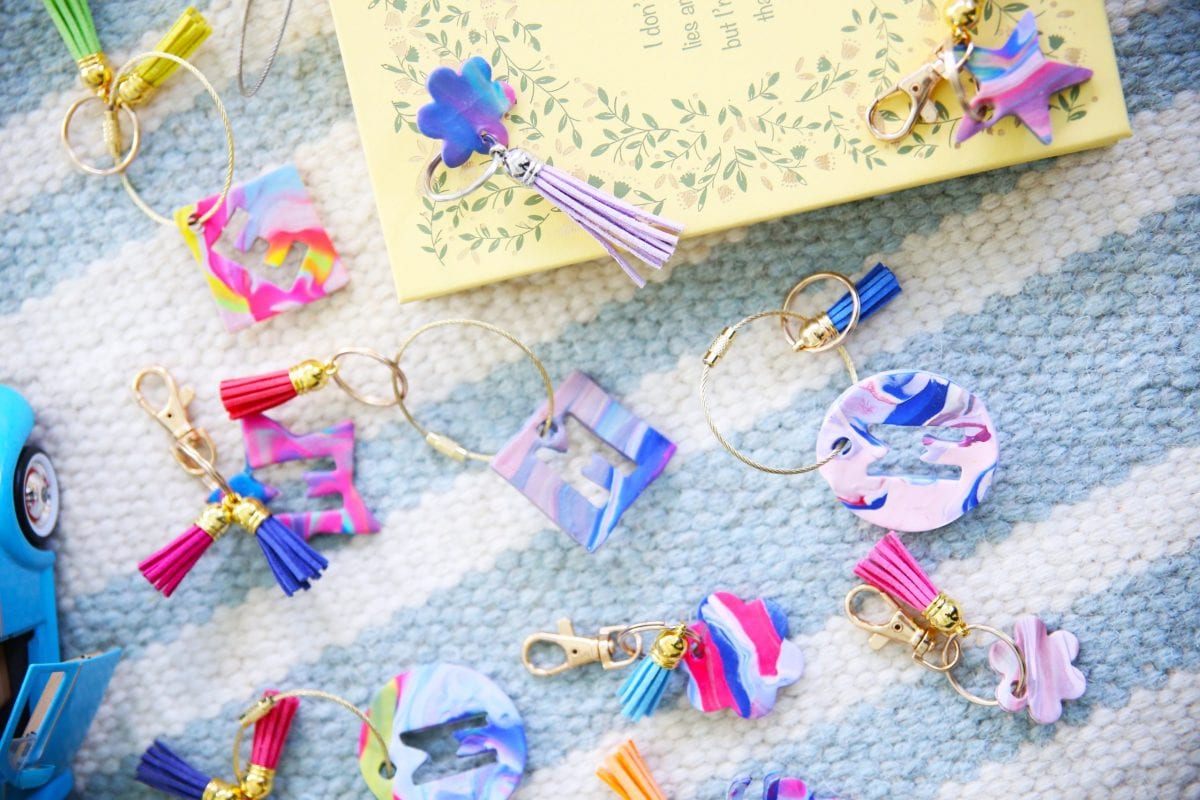
We just love the bright colors and variety that you can come up with on this project!
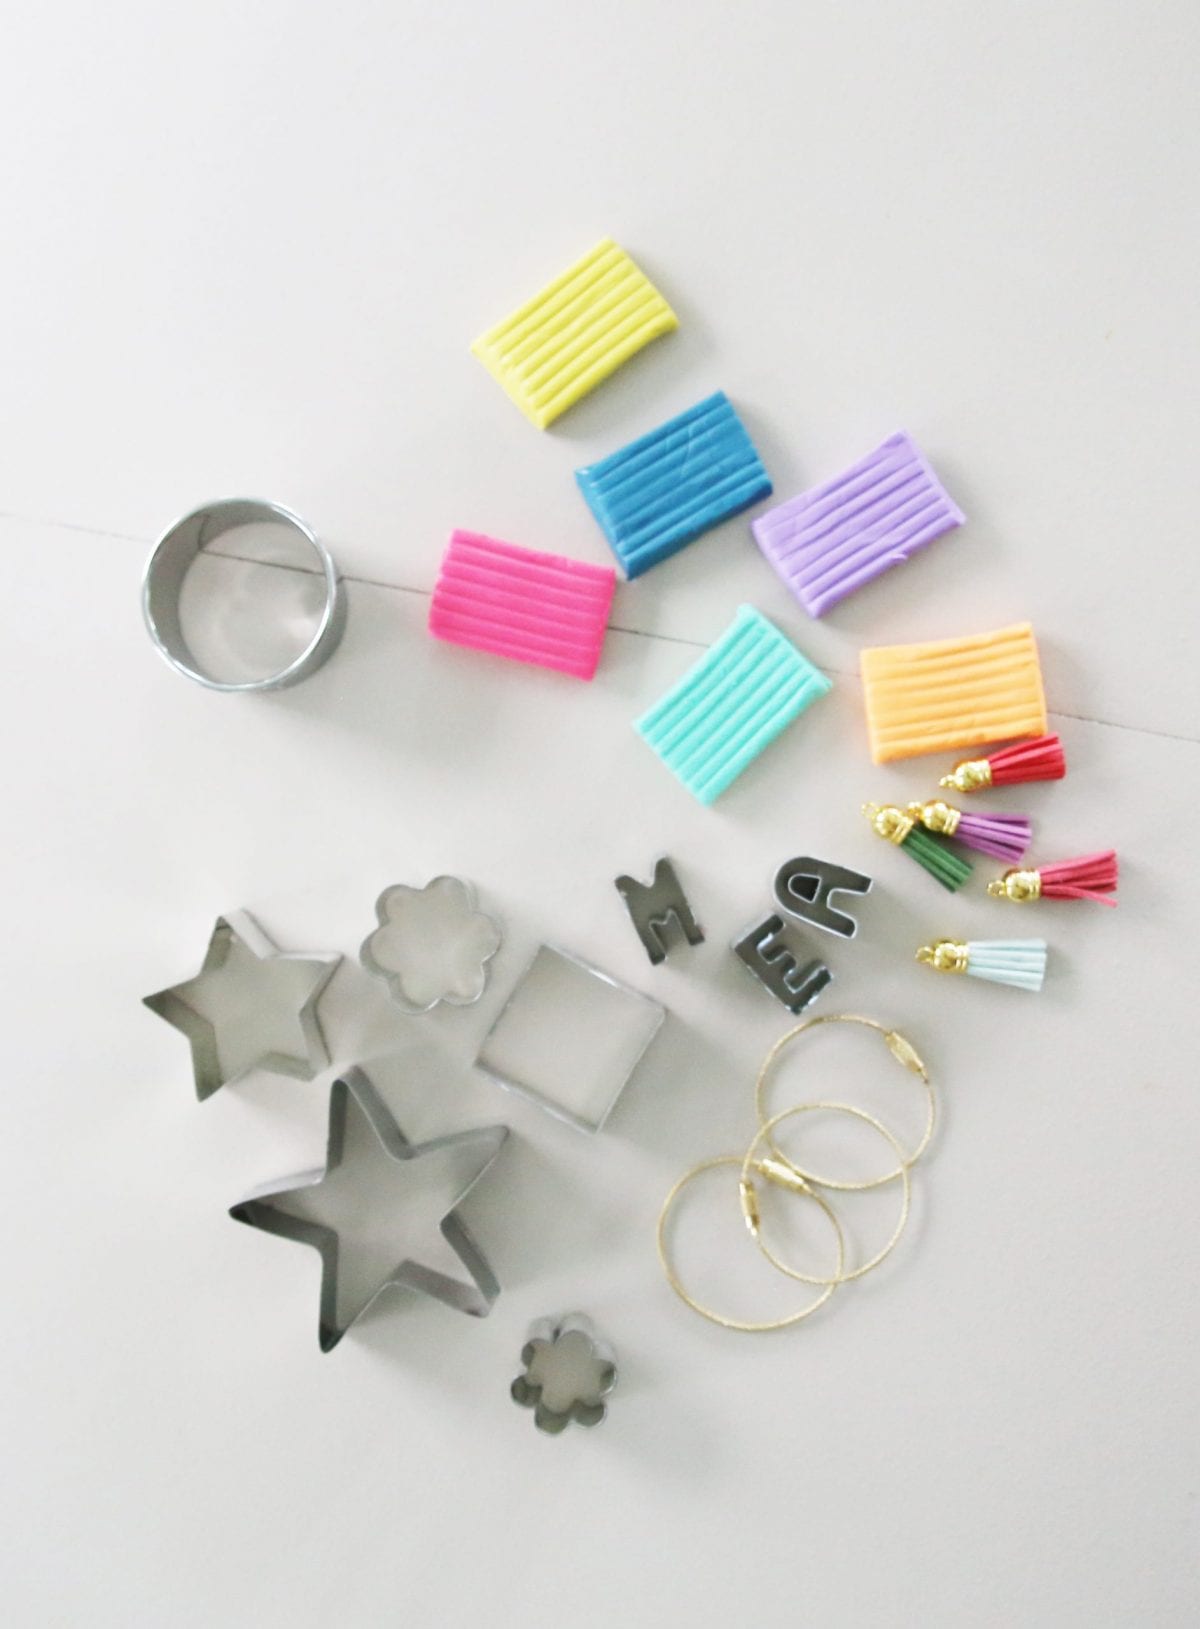
Want to make some of your own? Here’s what you’ll need.
{Some of the below are affiliate links to support our perpetual crafting habit}
• cookie cutters – we love these {1/2/3}
• clay – do us a favor and ONLY use Sculpey. #notsponsored
-we just believe in their product – I caved and purchased the cheaper stuff and regretted it.
• keychain accessories – we love these {1/2/3}
• tassels – brass + silver
• access to an oven + baking sheet and doil + a rolling pin
Take the colors you’d like to use, and roll them into little snakes, elementary school, play-doh time style.
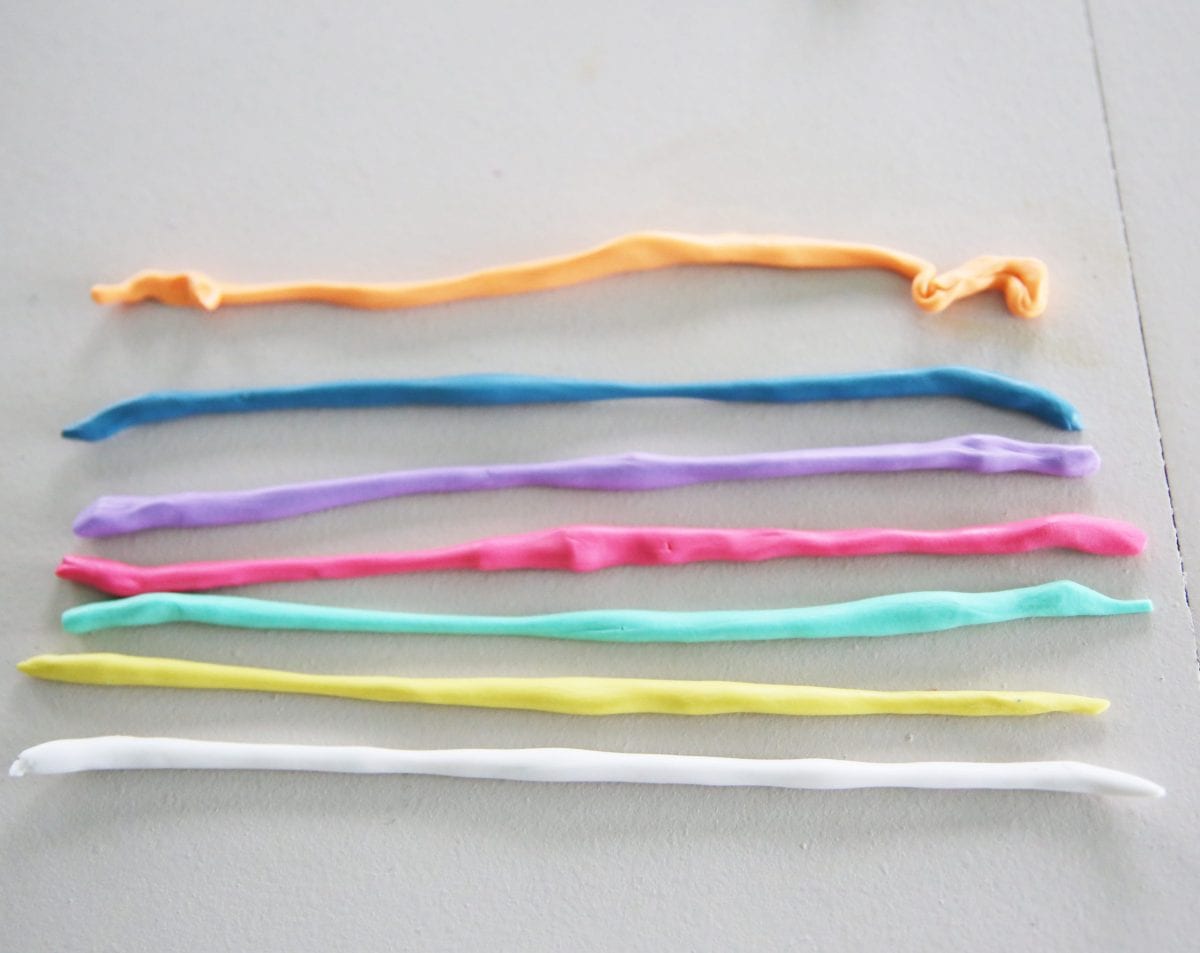
Then twist the snakes together because they’re a family.
Or something like that. Yeah, I should get out more, but I can’t.
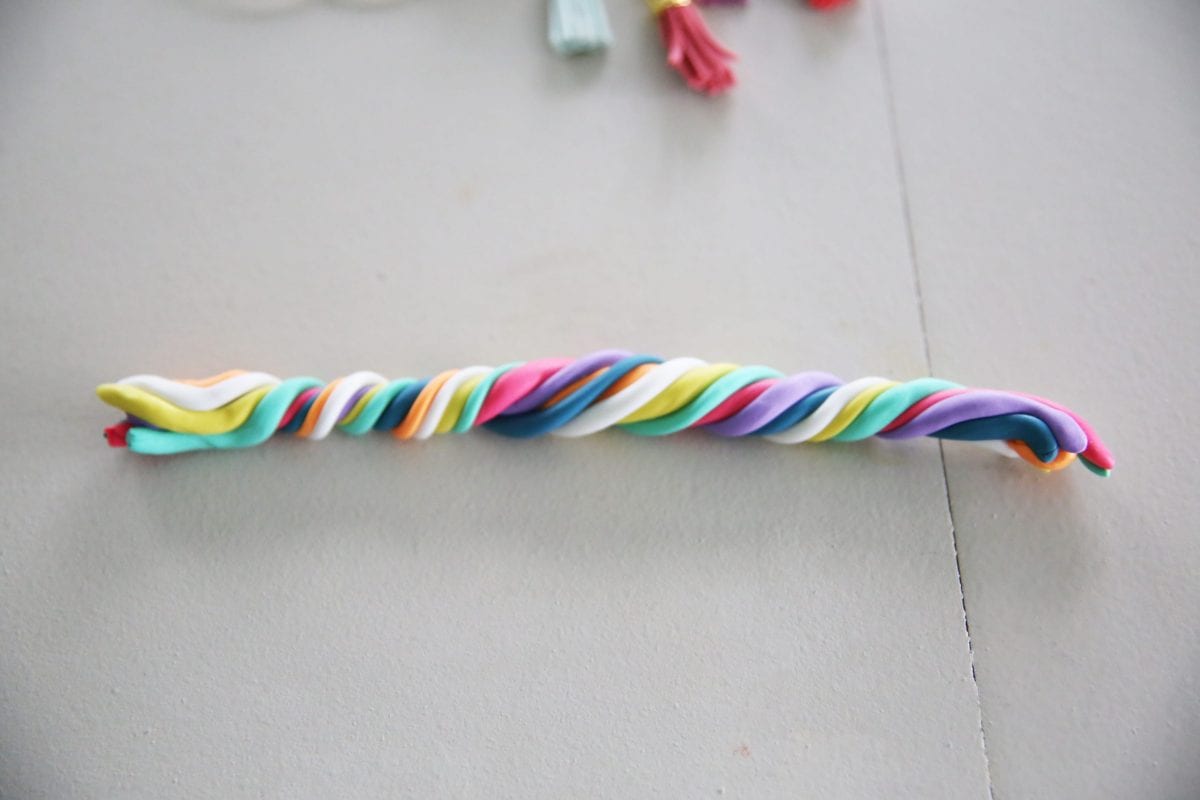
Then roll them into one big snake, because they all ate each other.
What?
The snake will be extra long, and you can fold it back on itself.
He has a tummy ache. So twist him up.
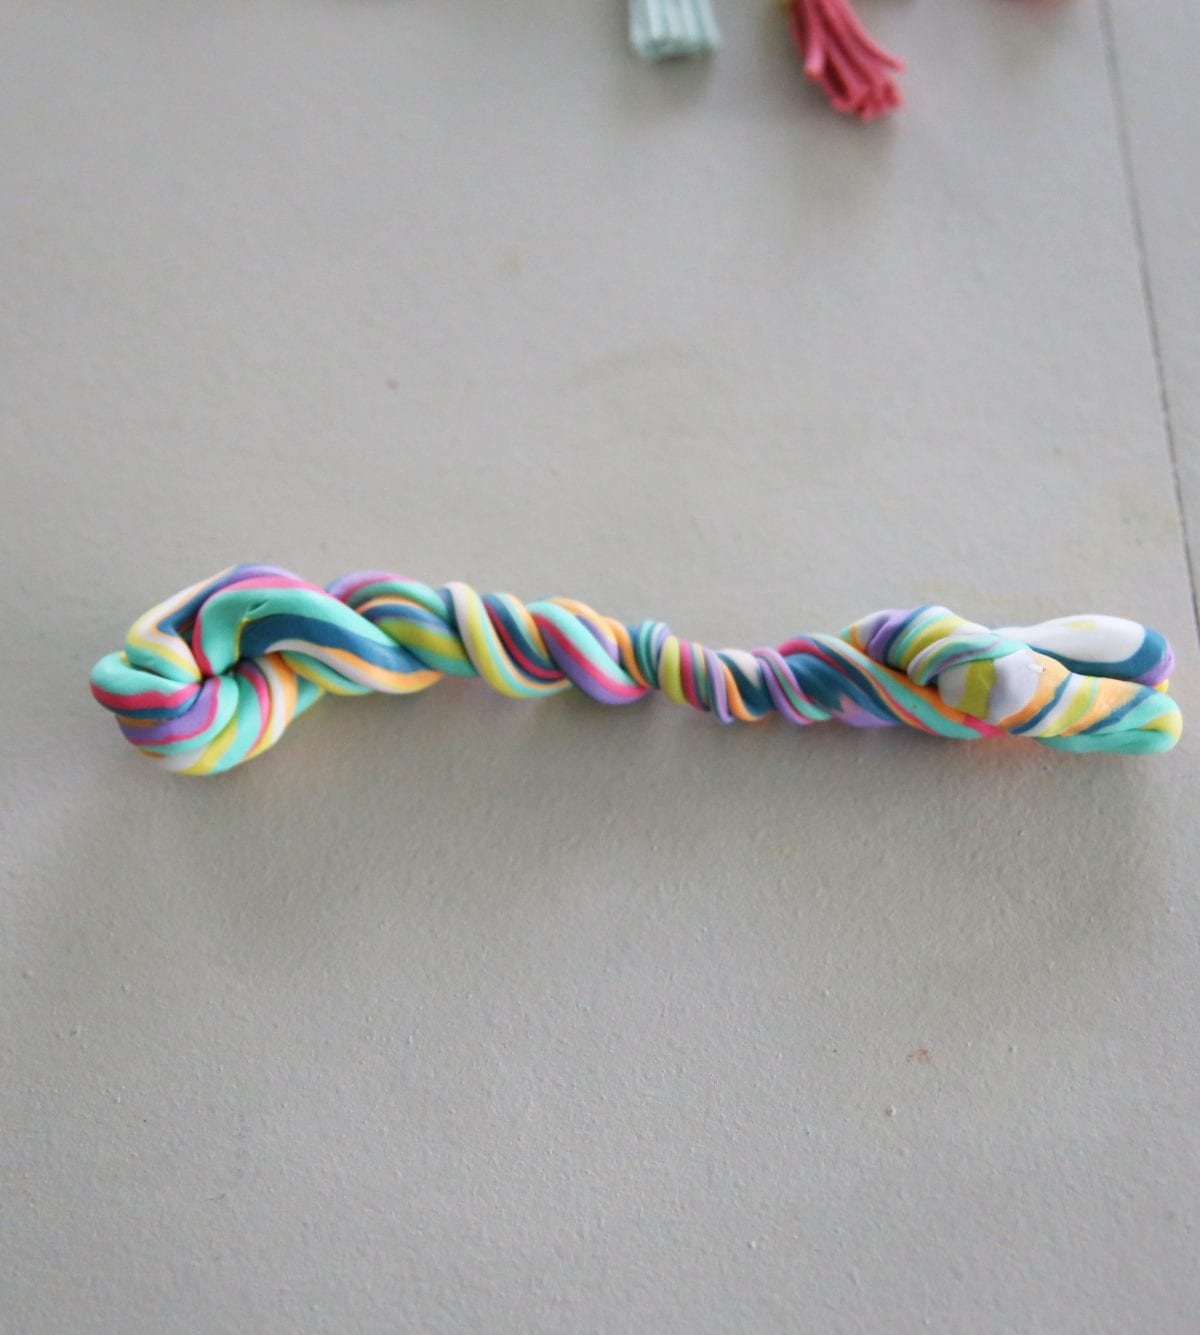
Repeat! Roll in into a snake again.
OR stop, and roll it into a ball.
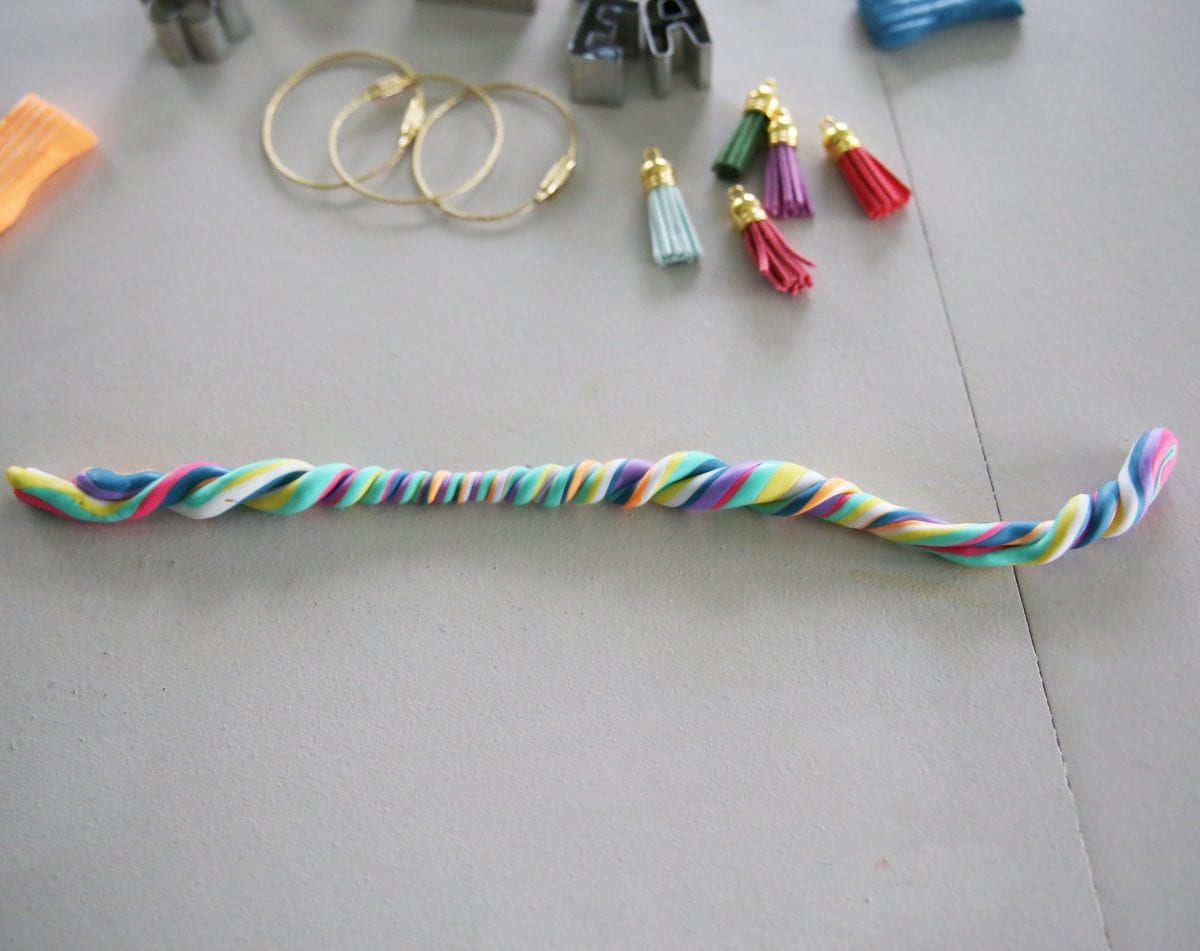
As many times as you do the twisty snake move, you’ll have finer marbleization.
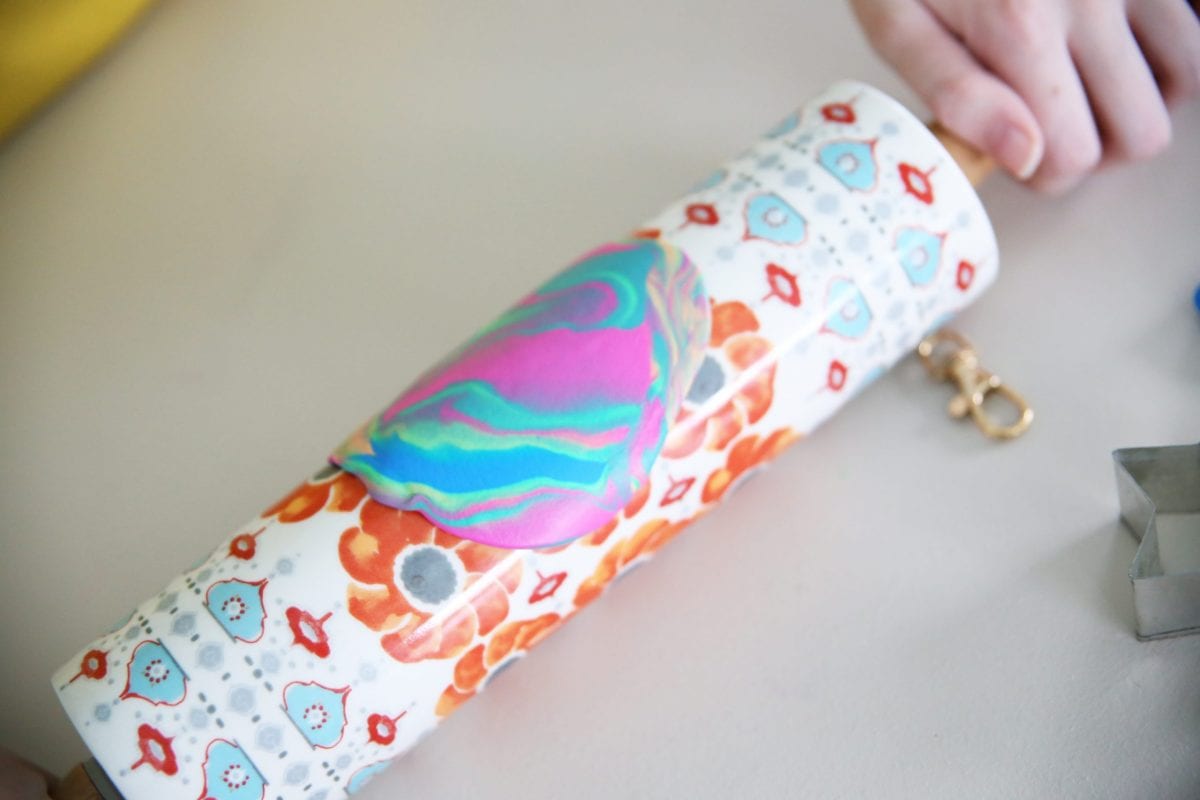
Then, roll it out flat, with the rolling pin.
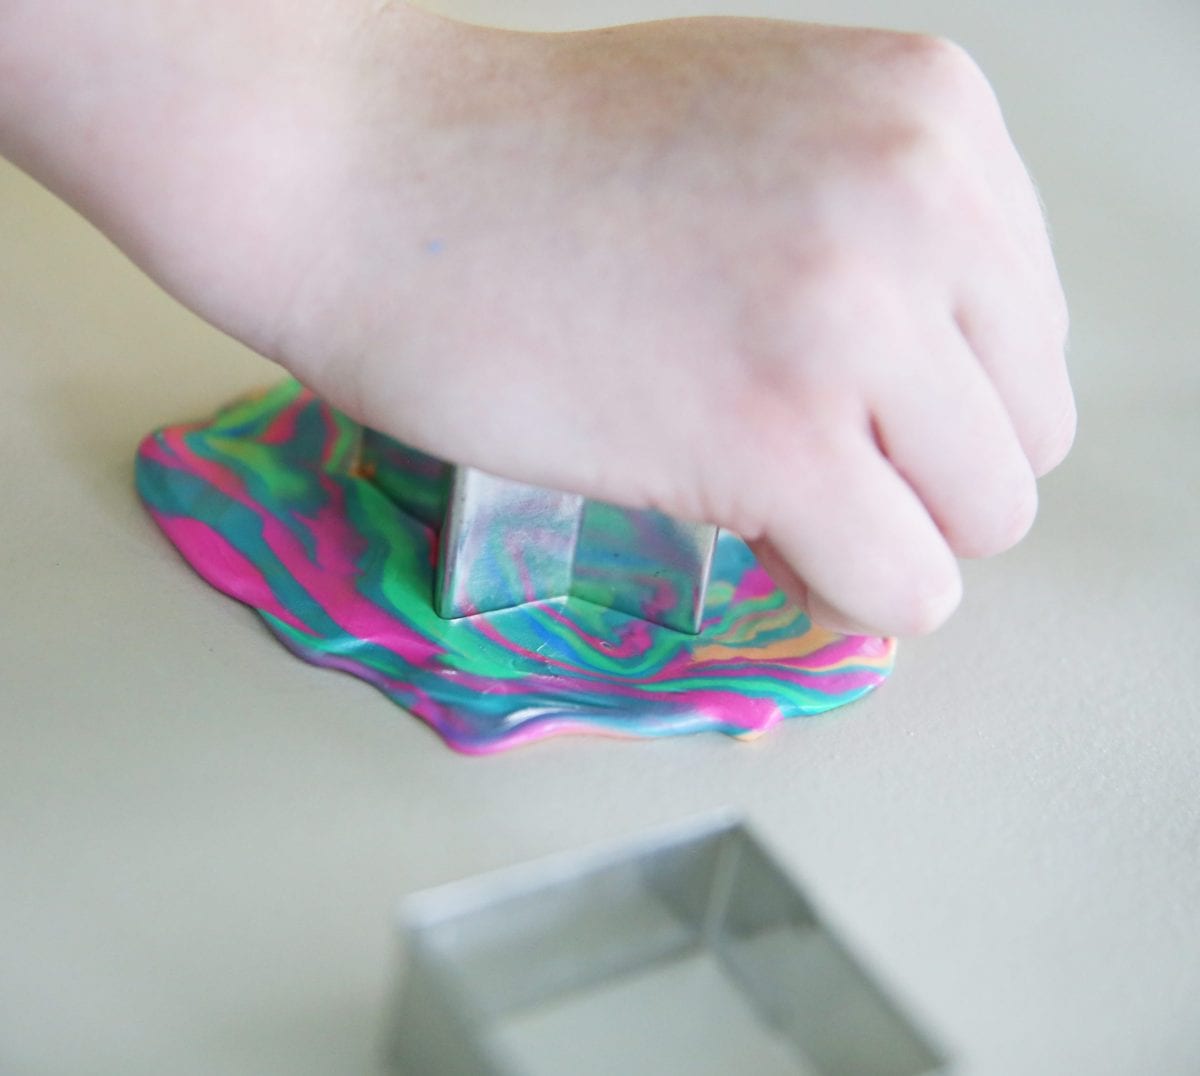
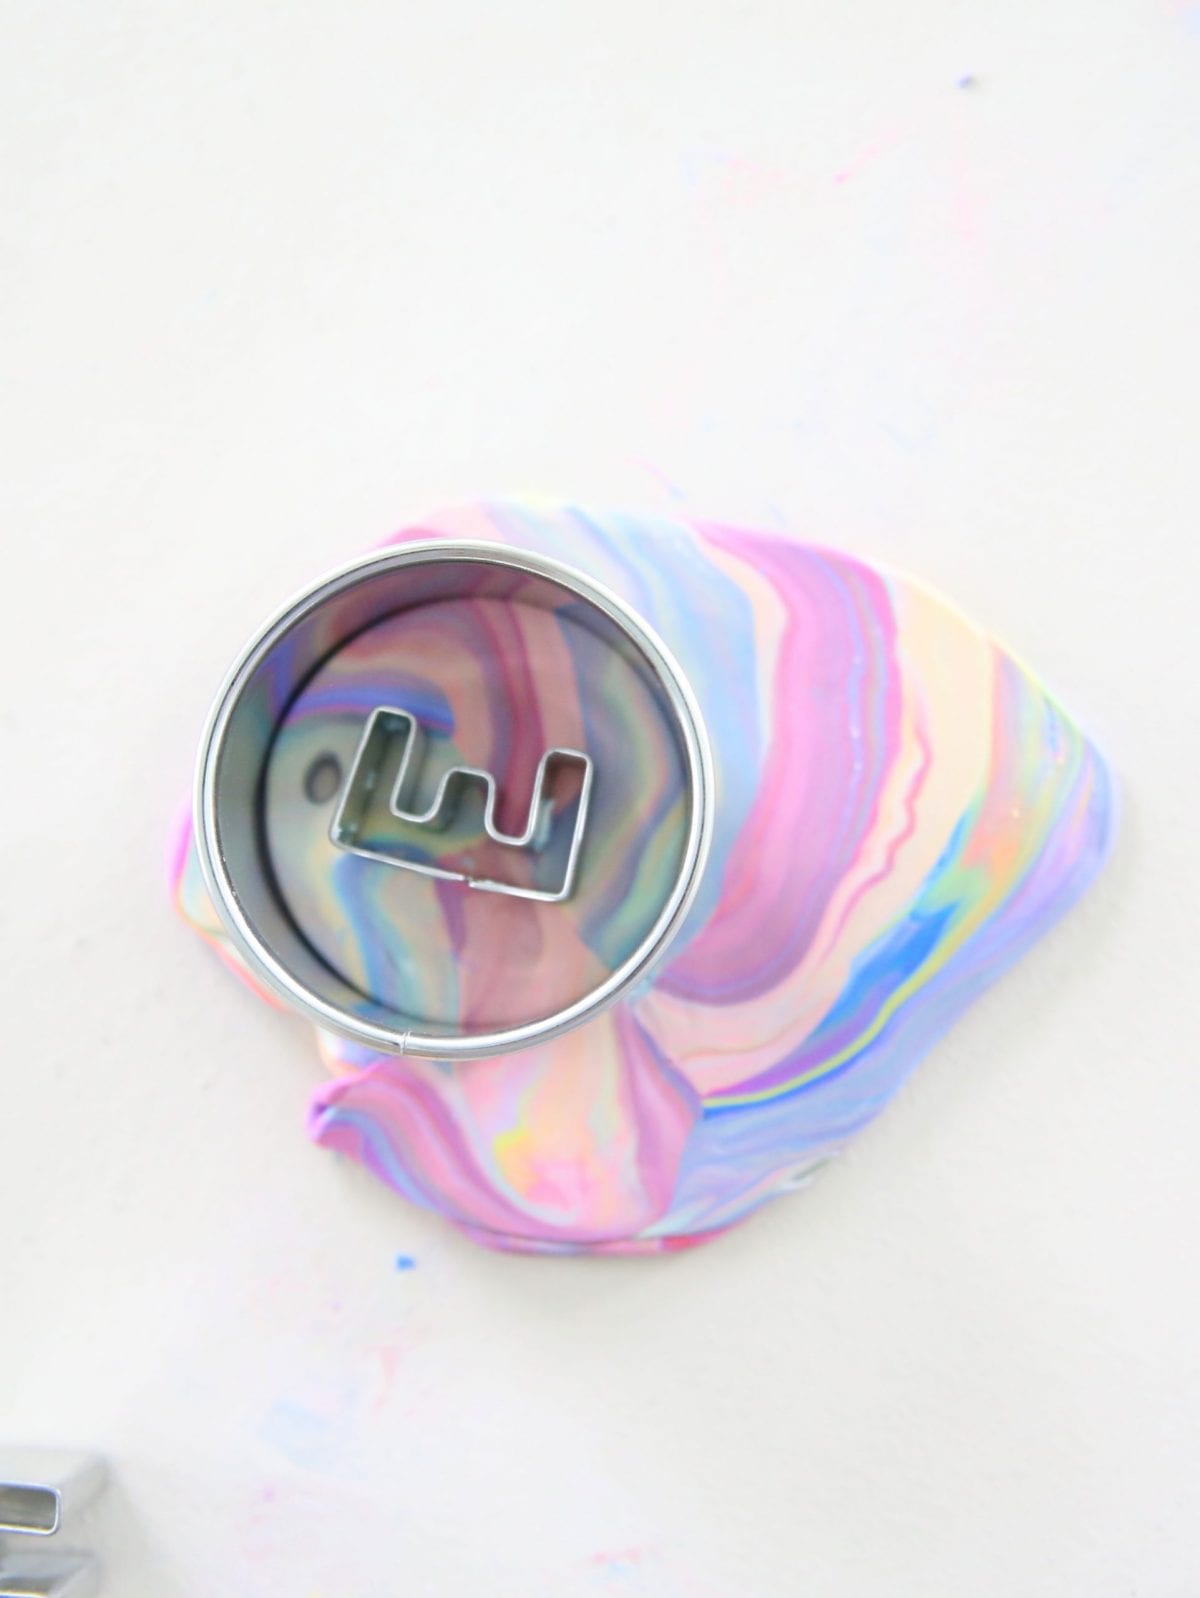
Cut it into your shape, and add a little hole to the top with something like a toothpick, or the end of a paint brush. The bigger the better.
Move it carefully to your foil-covered baking sheet.

Here’s another example here.
Follow the instructions on the back of your clay but LISTEN for that timer. There’s no greater tragedy than burned clay and lost work. {Speaking from experience here.} I would go with less time than more, and keep an eye on it in case you need to bake it for longer.
Sometimes it helps if the clay sits for a few hours after it’s baked and cooled. That way it’s sturdy and ready to go.
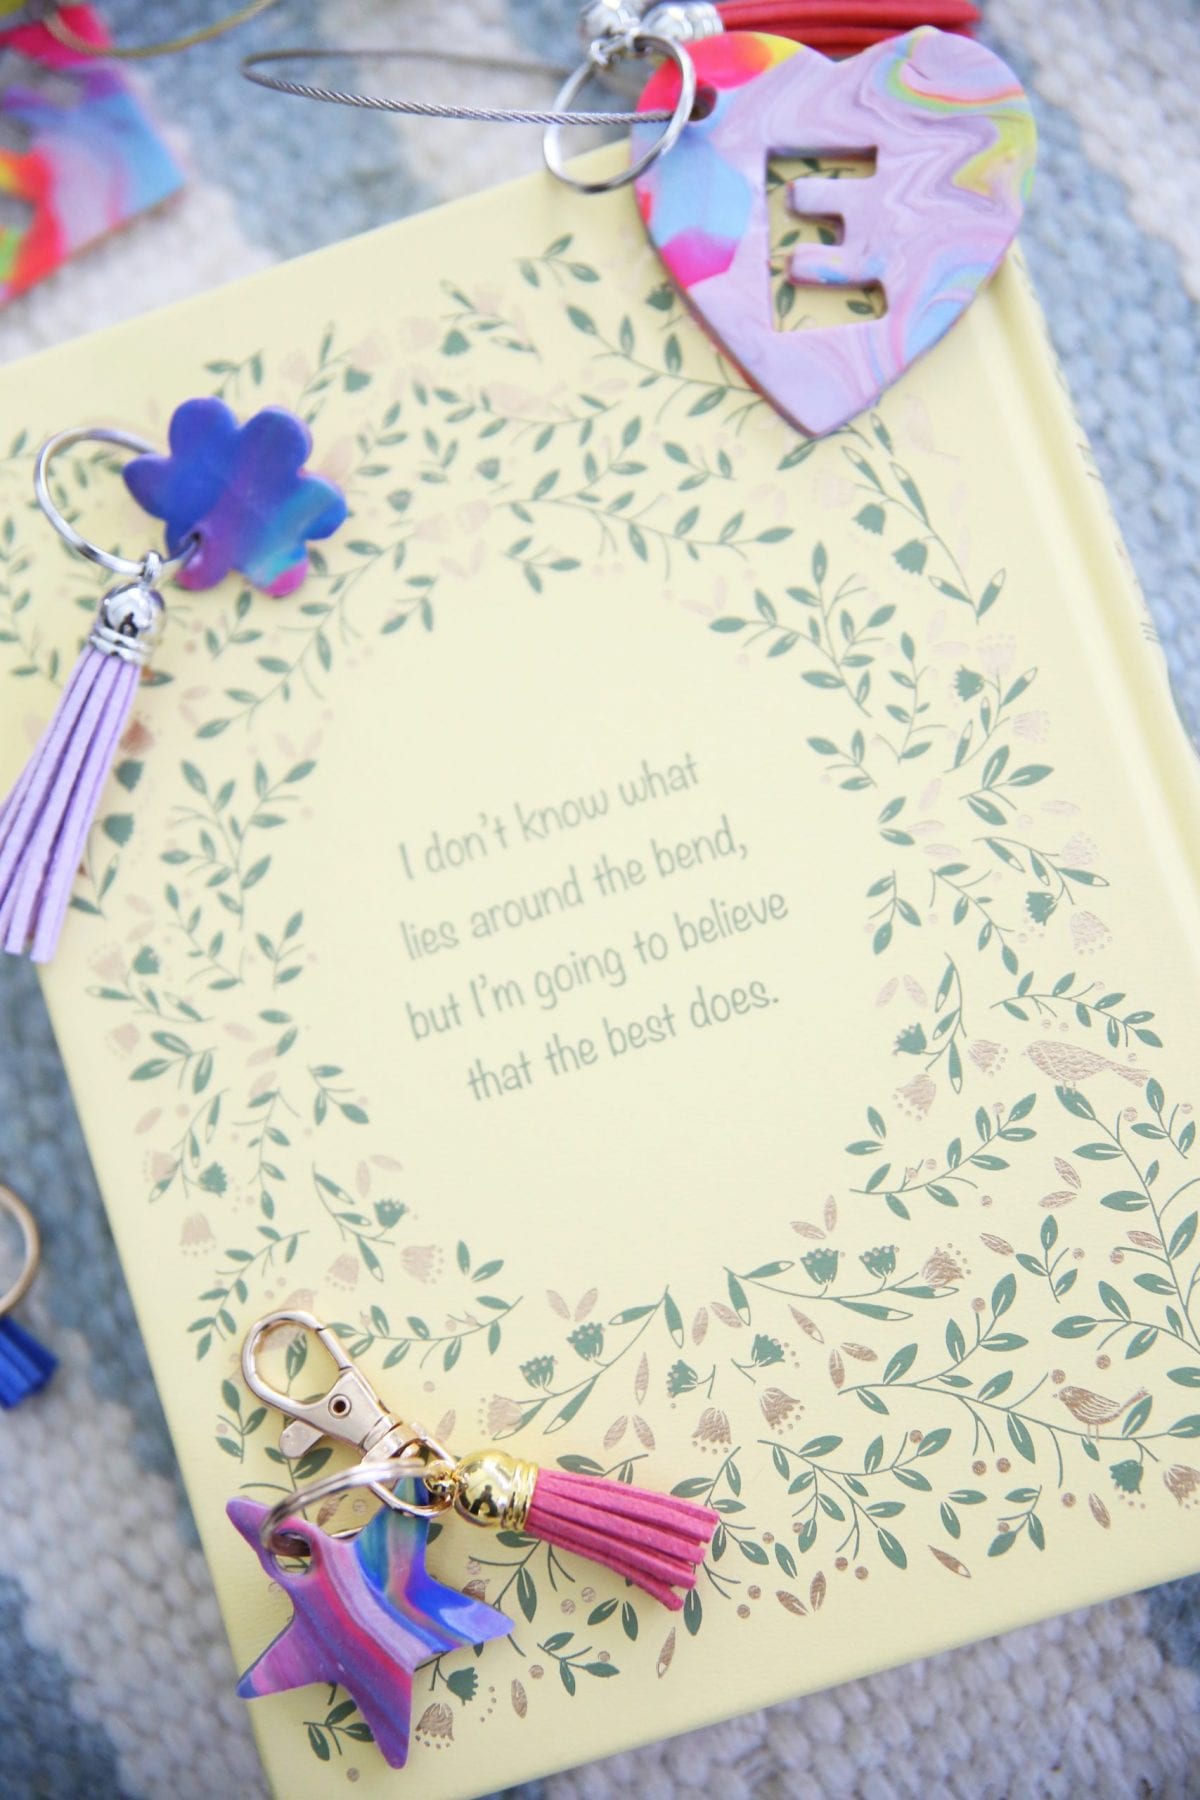
Add your little accessories, and you’re golden!
We also thought that this was a sweet little reminder.
Quote by L.M. Montgomery
As always, let us know if you try it. WE’d love to hear!
Have an inspired day!
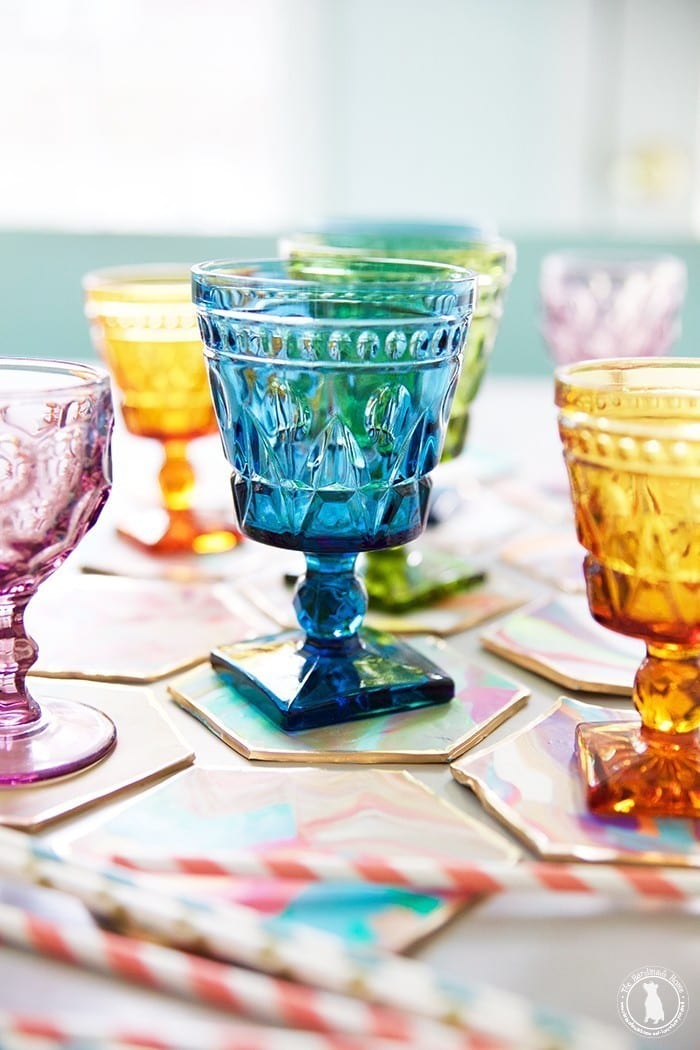
 For more marbleized projects, check out our coasters project here
And our jewelry project for kids, here!