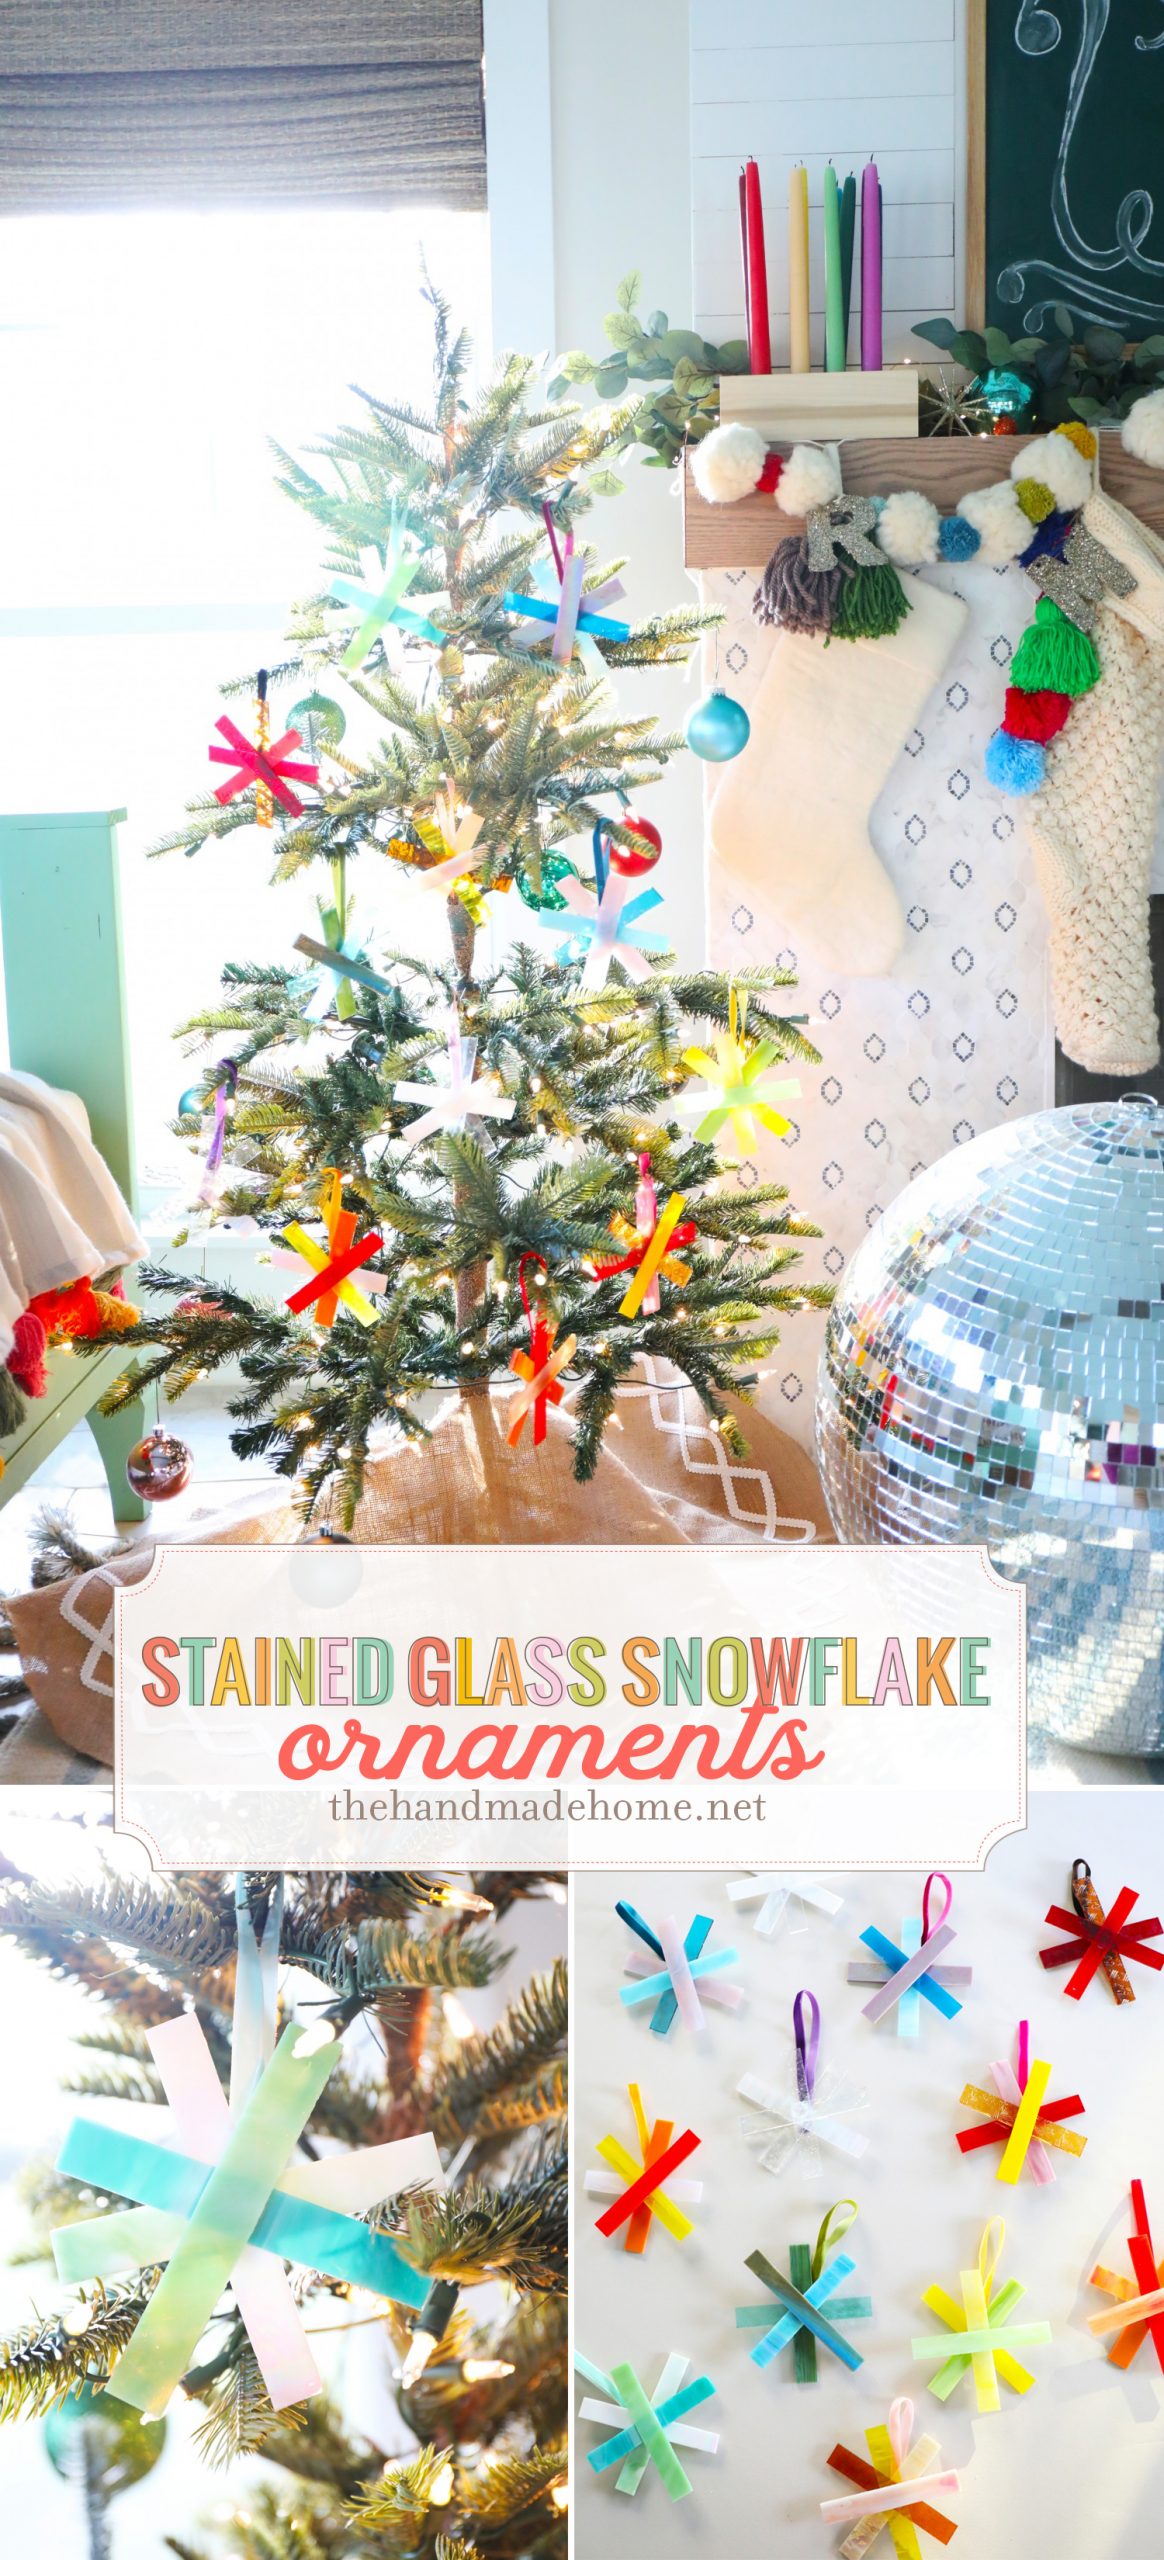
stained glass snowflake ornaments
I shared this one a few years ago, and it’s still one of my fave, oh so easy creations for the holidays. Just a little something to gather with friends and family this week, and create your own version if you want! We’re decking the halls in slow motion around here when we actually have the time and we thought this one would be so fun to share. I’ve delved into “real” stained glass this past year, and while it’s my absolute favorite, it’s a little more complicated in process. And if you love the look without the hassle of all those supplies, this is the perfect project for you. So without further ado, these simple stained glass snowflake ornaments!
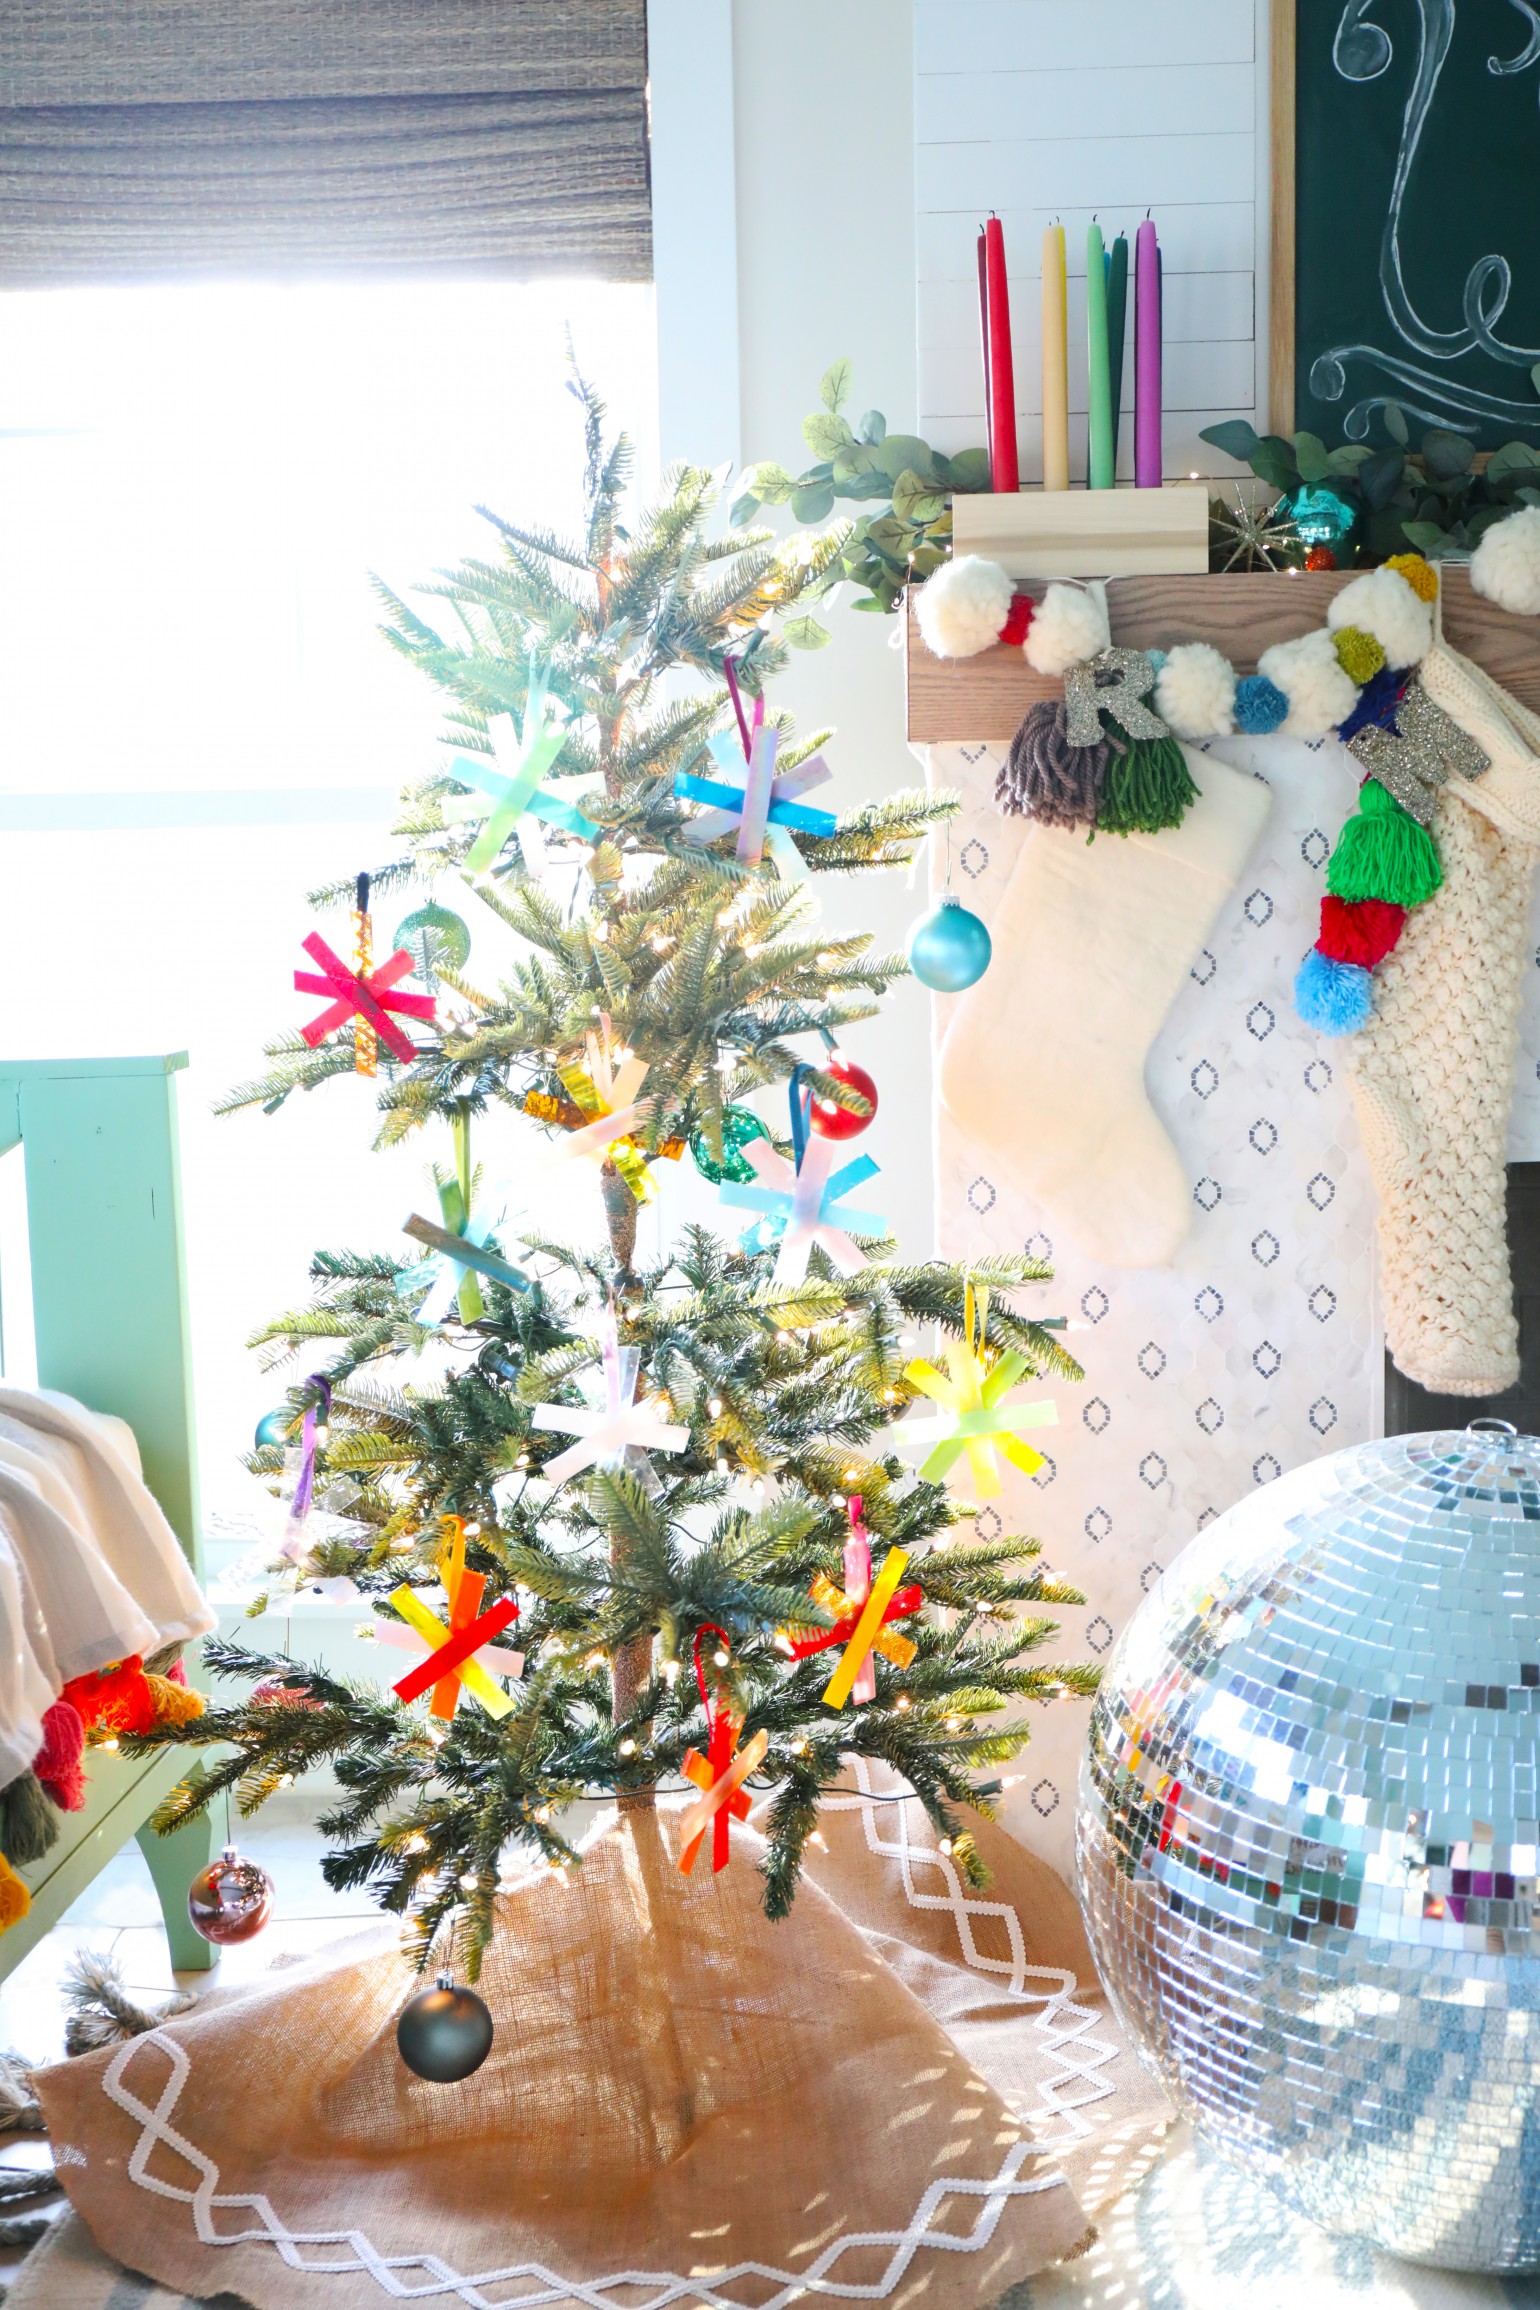
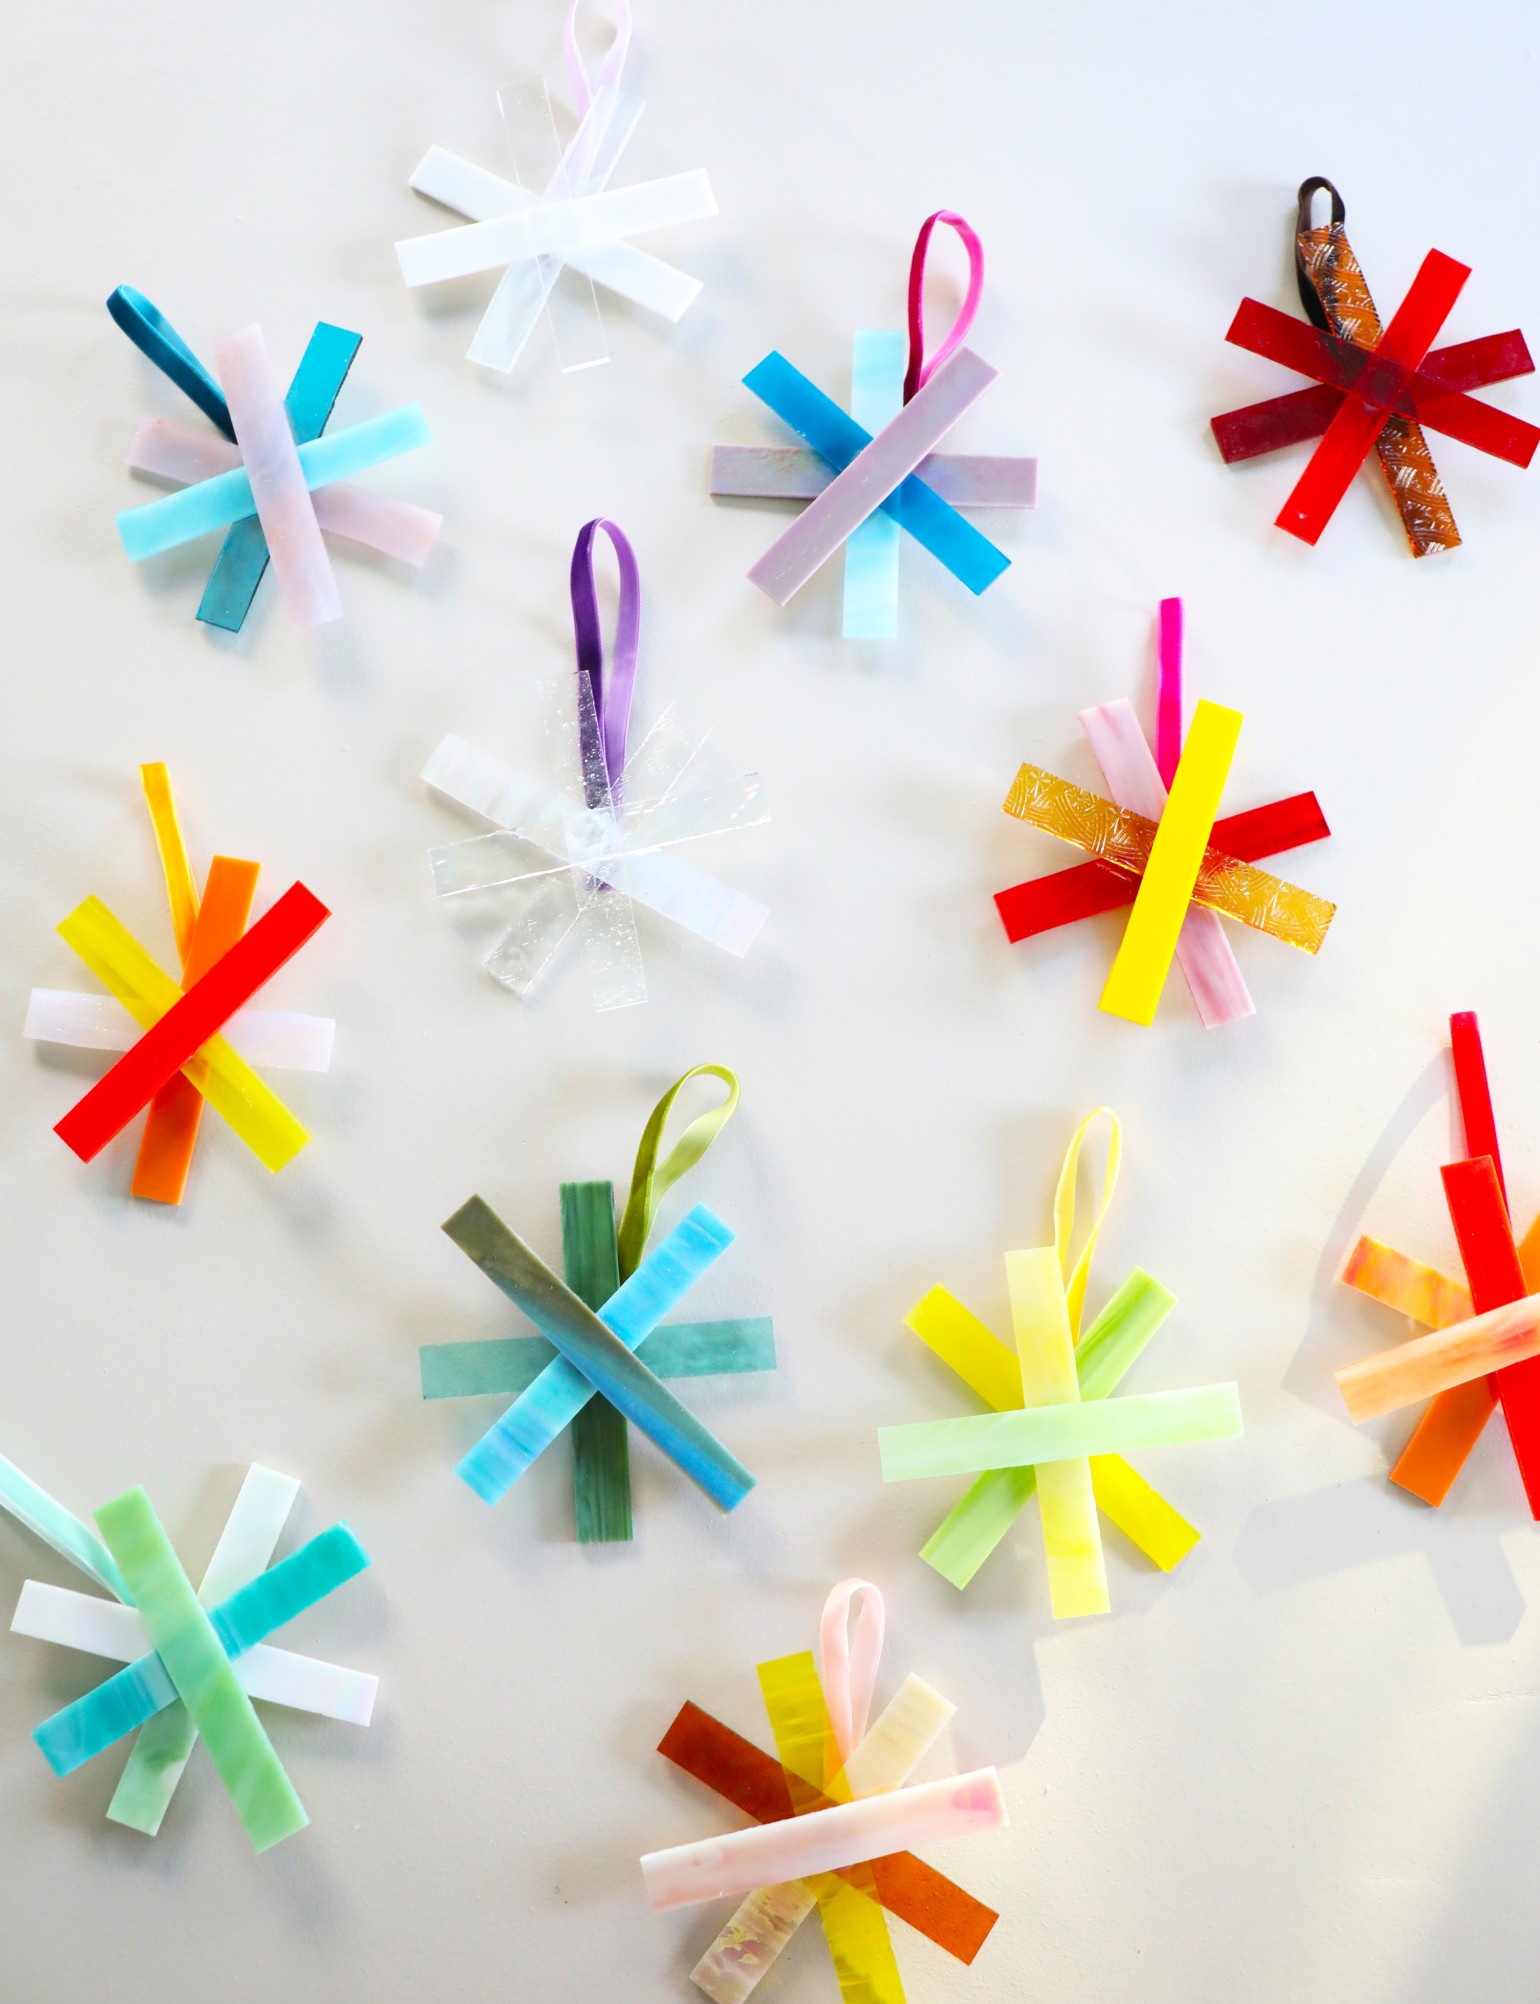
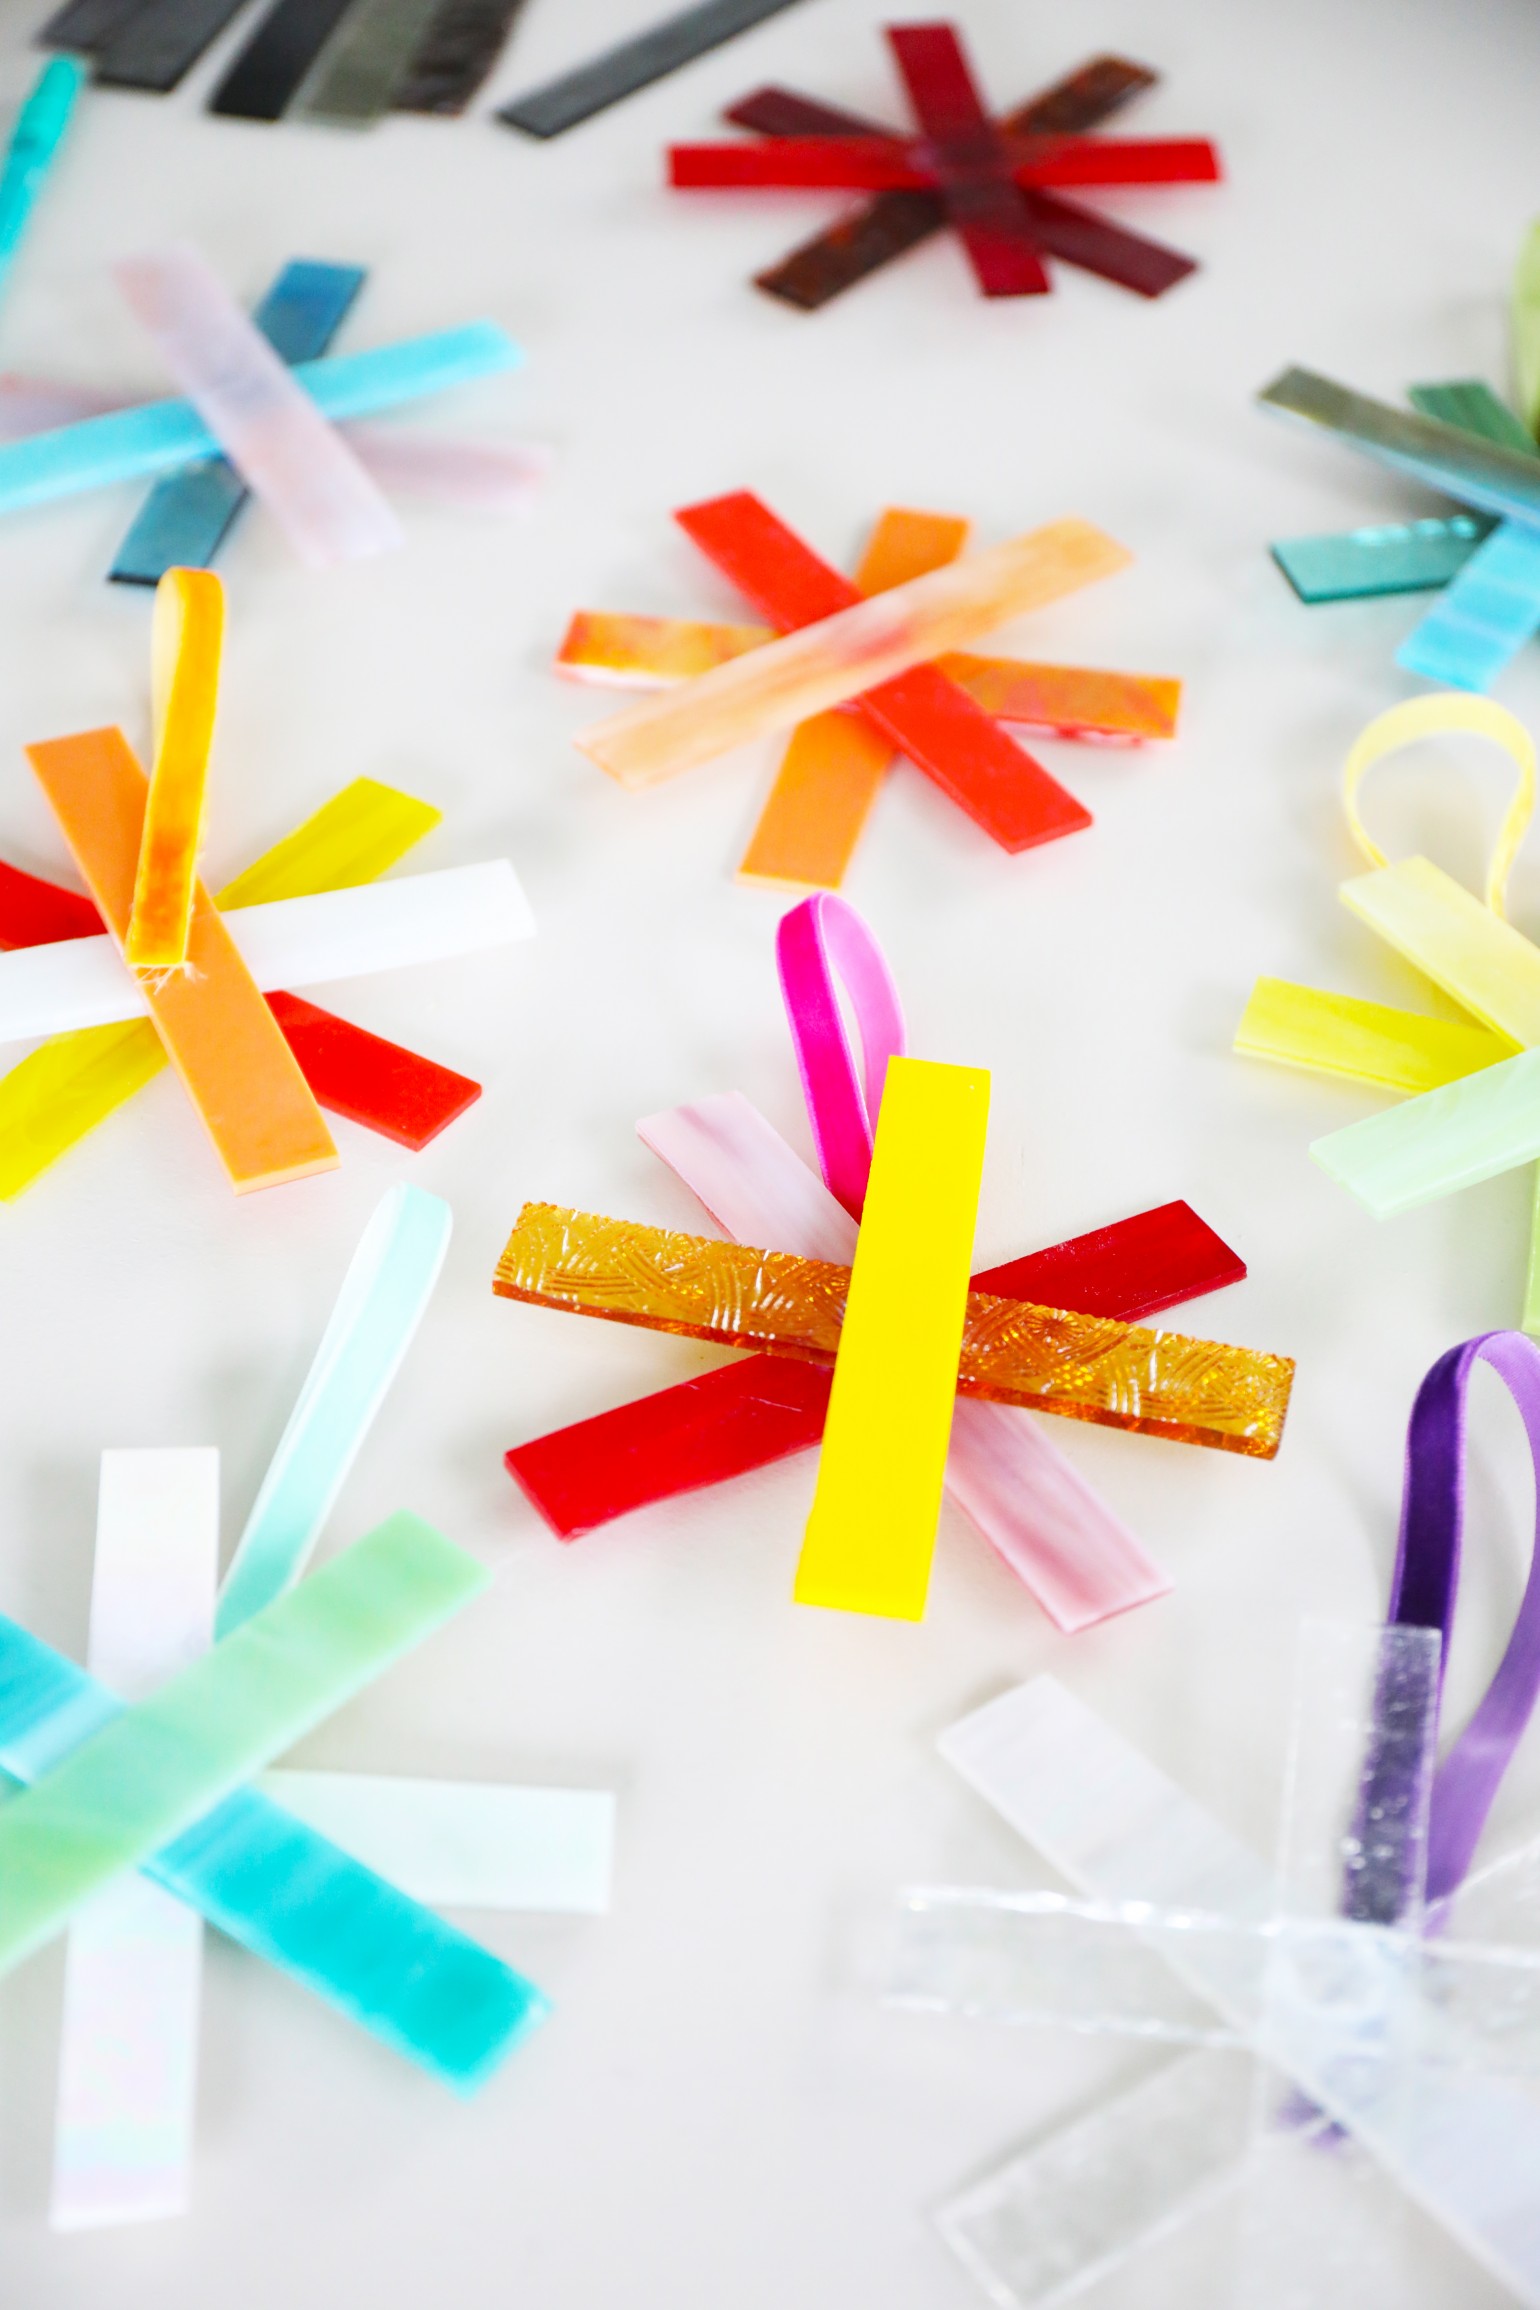
They’re simple, modern and colorful! And the best part? They’re made from this gorgeous stained glass strips, so just like snowflakes, no two are alike.
Our {older} kiddos loved making these the other day – so they also make for fun family projects!
Wanna make some of your own?
Here’s what you’ll need: {some links may be affiliate links}
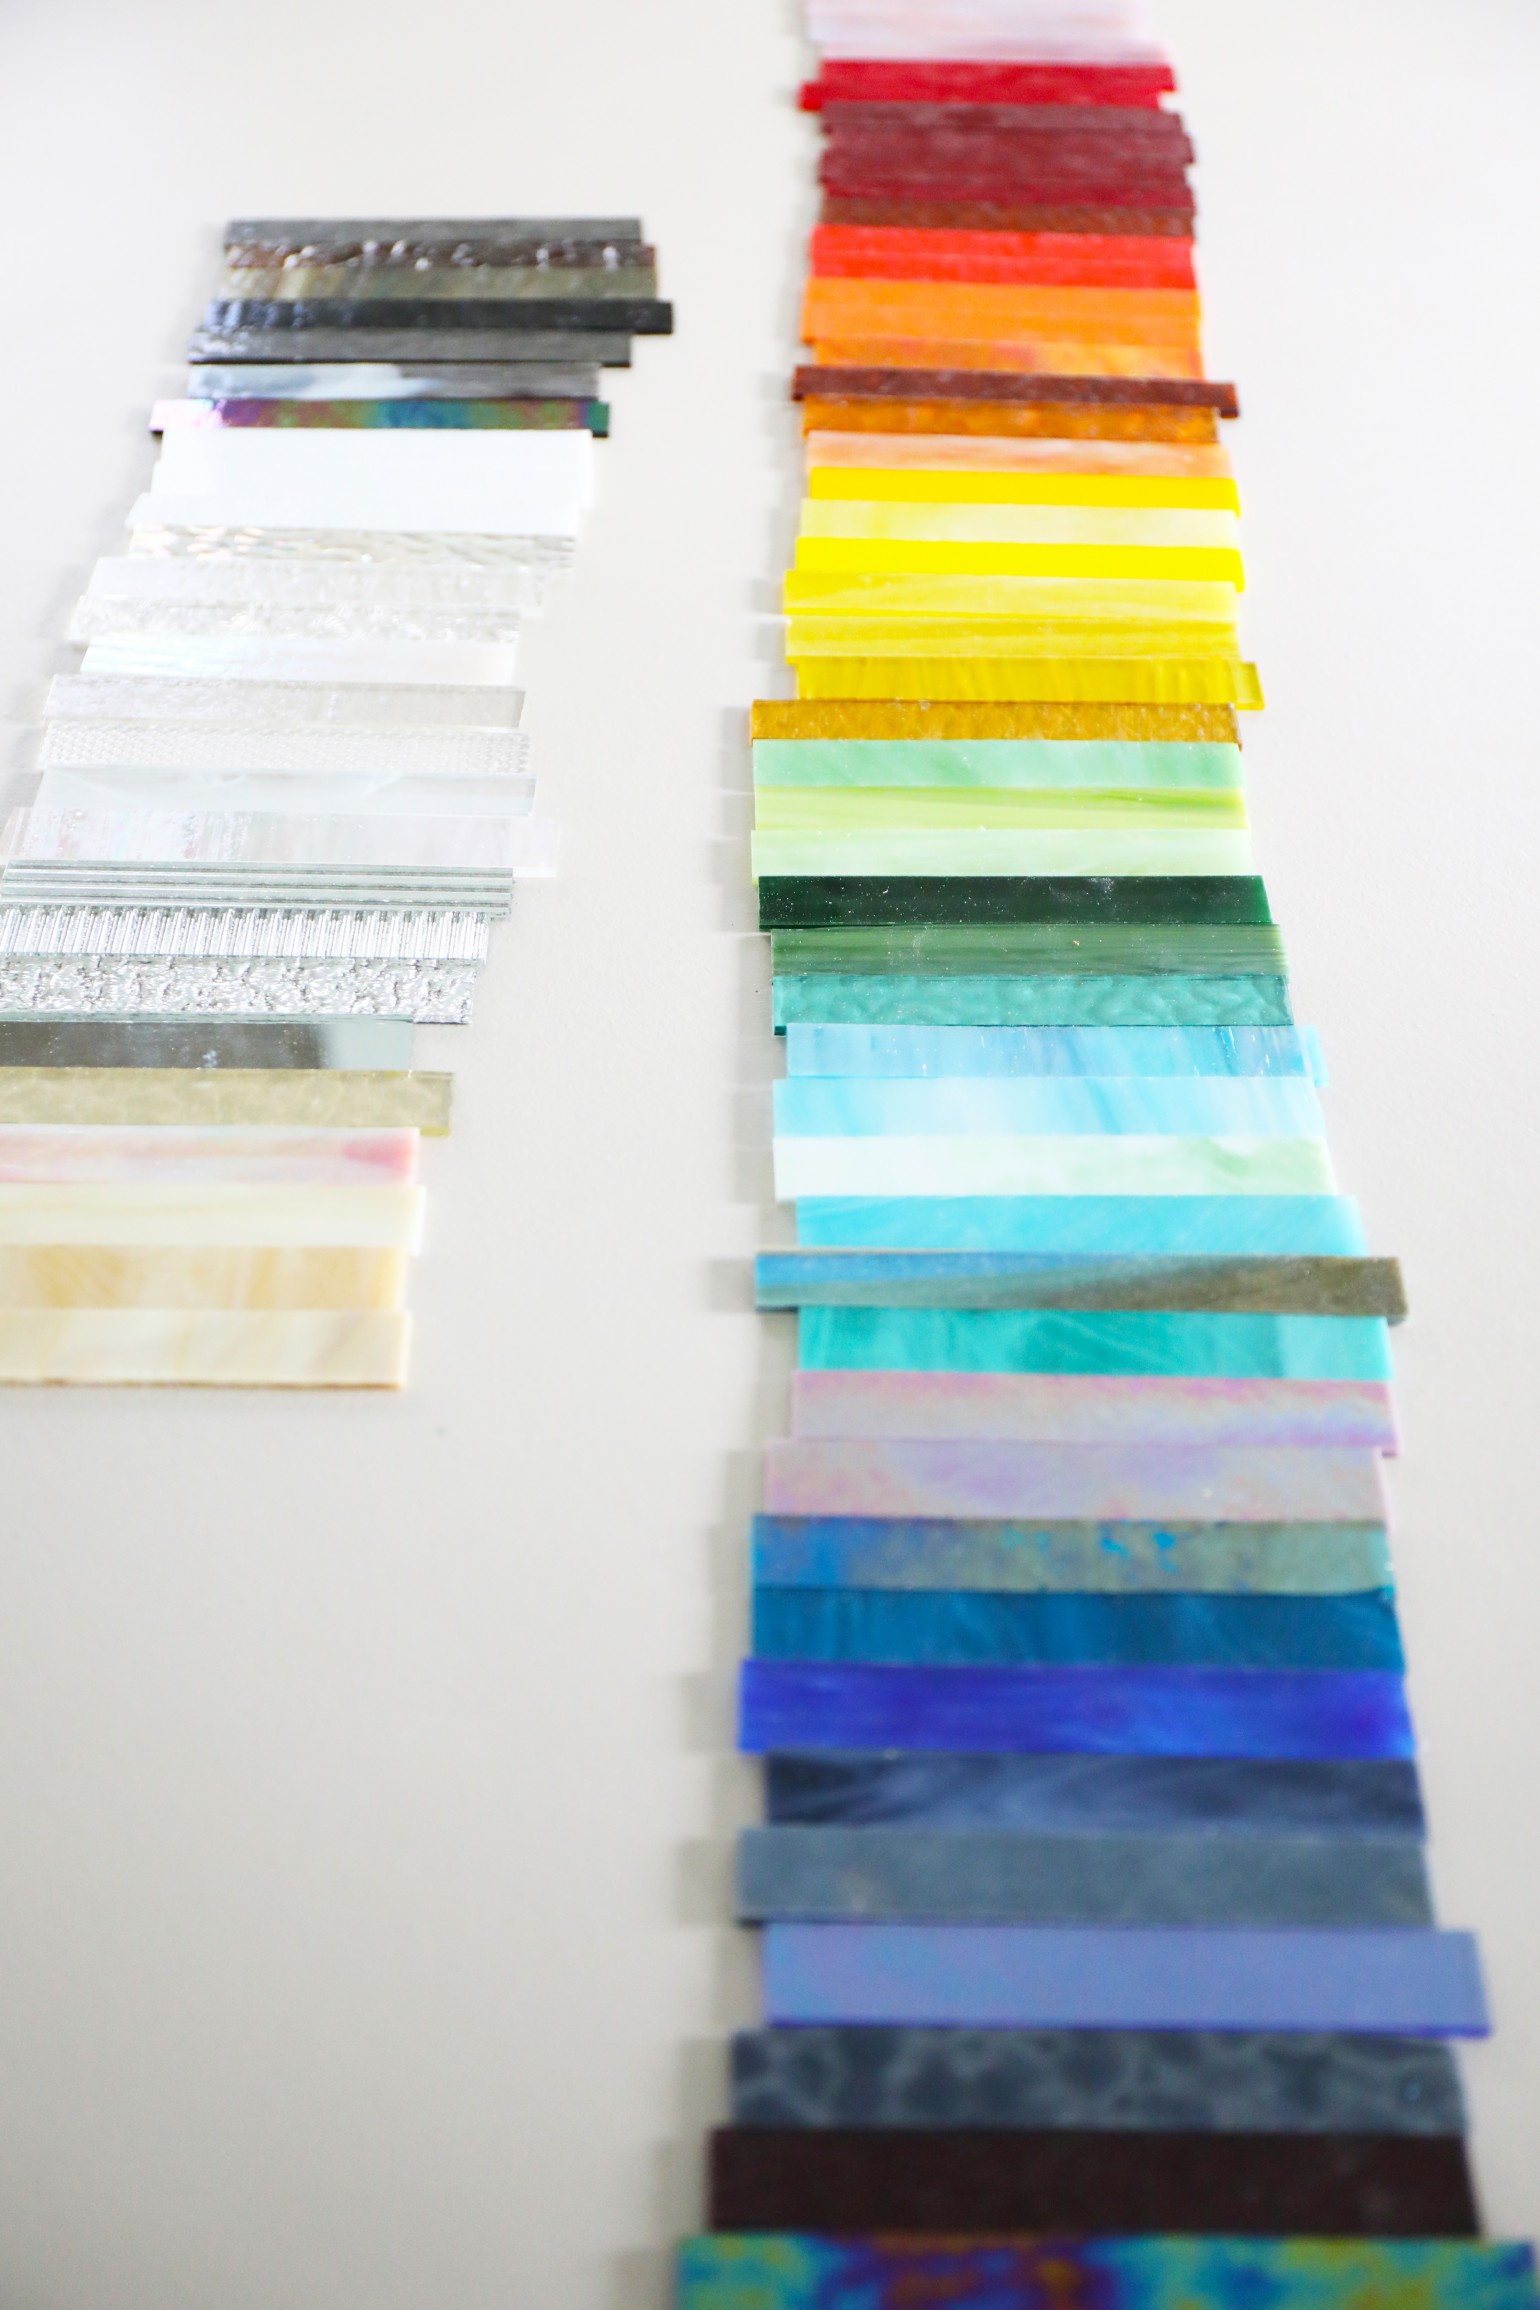
• stained glass strips – we love this online store for all things stained glass. We ordered the 3/4″ wide stained glass strips. I think we ended up ordering three of these, just because I was originally making another project in the beginning of the apocalypse. So make sure you get enough for plenty of variety.
• DAP RapidFuse Ultra Clear – this kind works especially well with glass – updated after using a better glue ;}
• velvet ribbon + scissors + hot glue – {to cut and attach}

What we do next, is ridiculously easy. Thus the fun.
Sometimes It’s so cathartic to create something so colorful with minimal effort. ;}
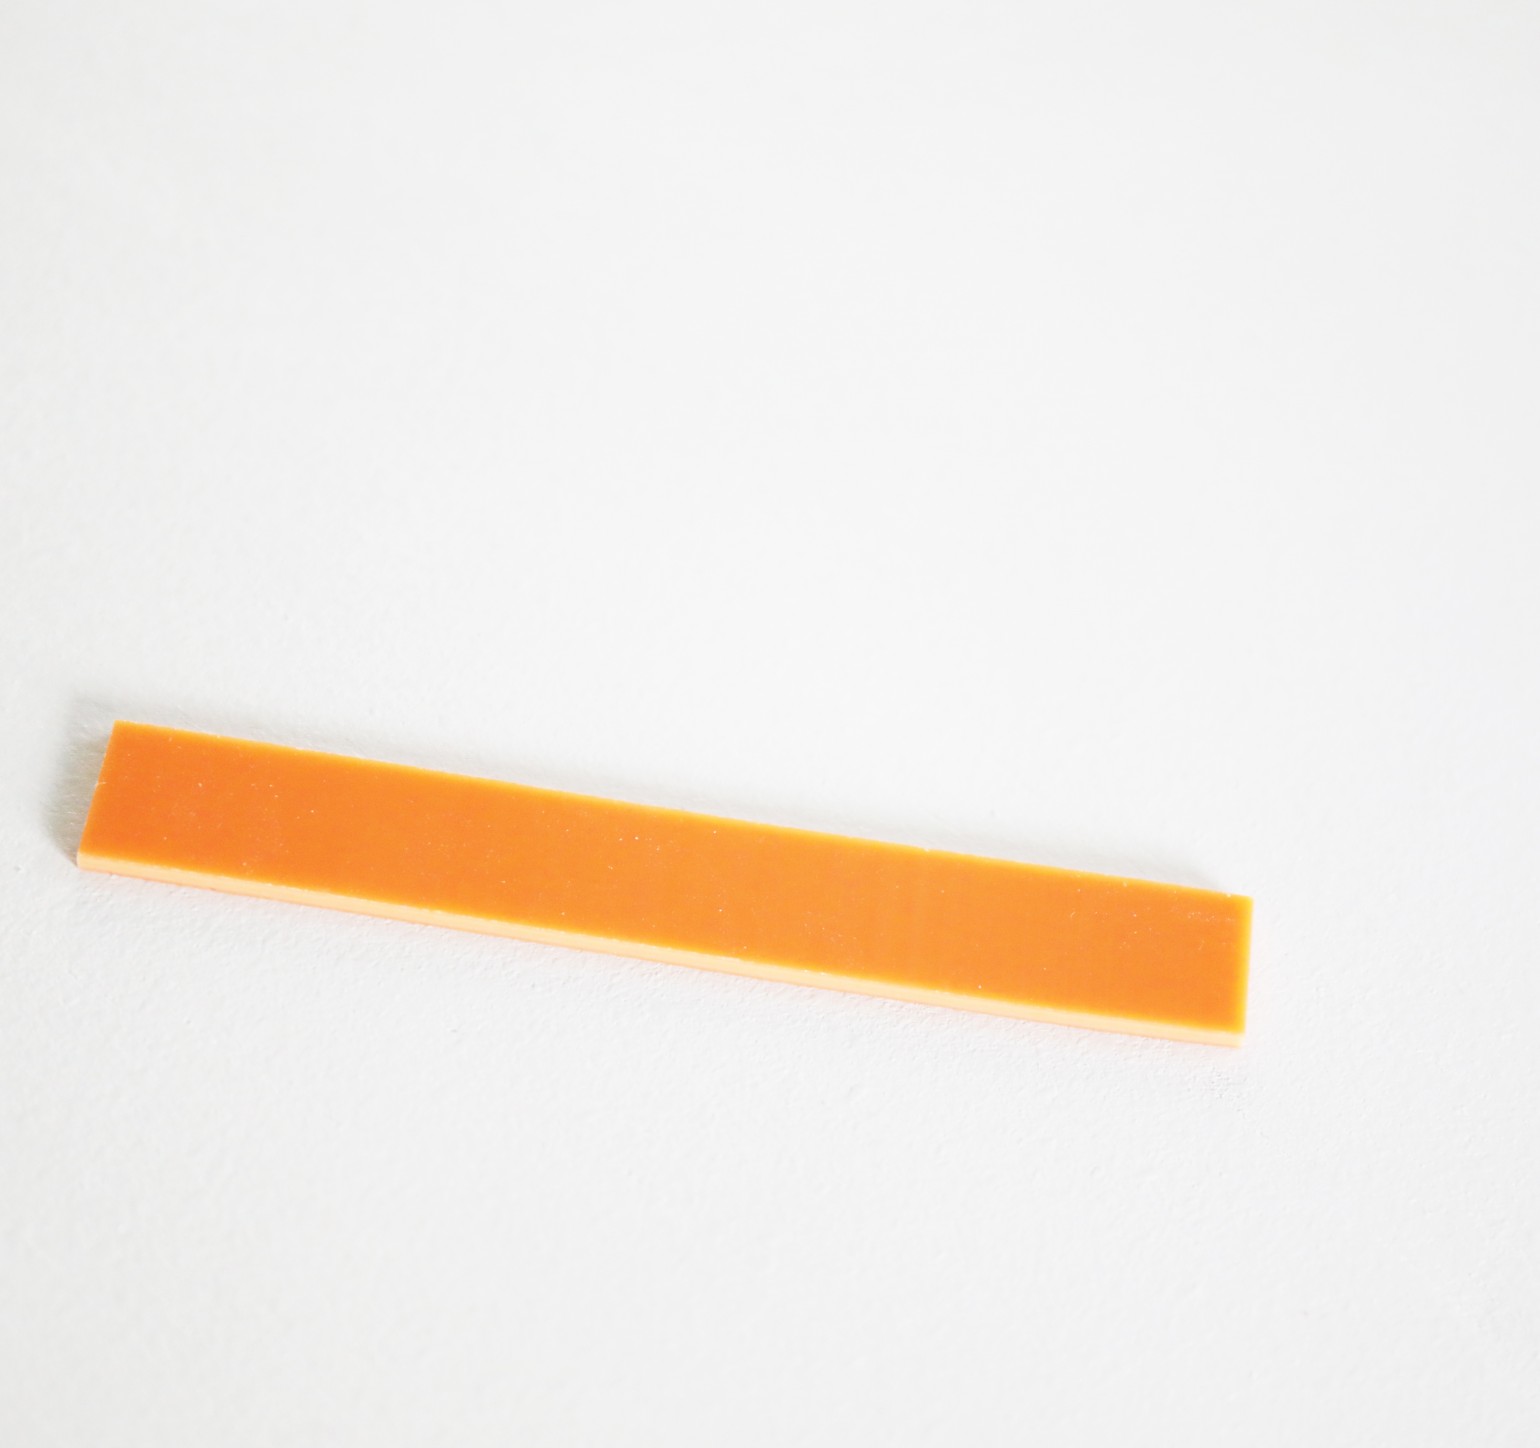
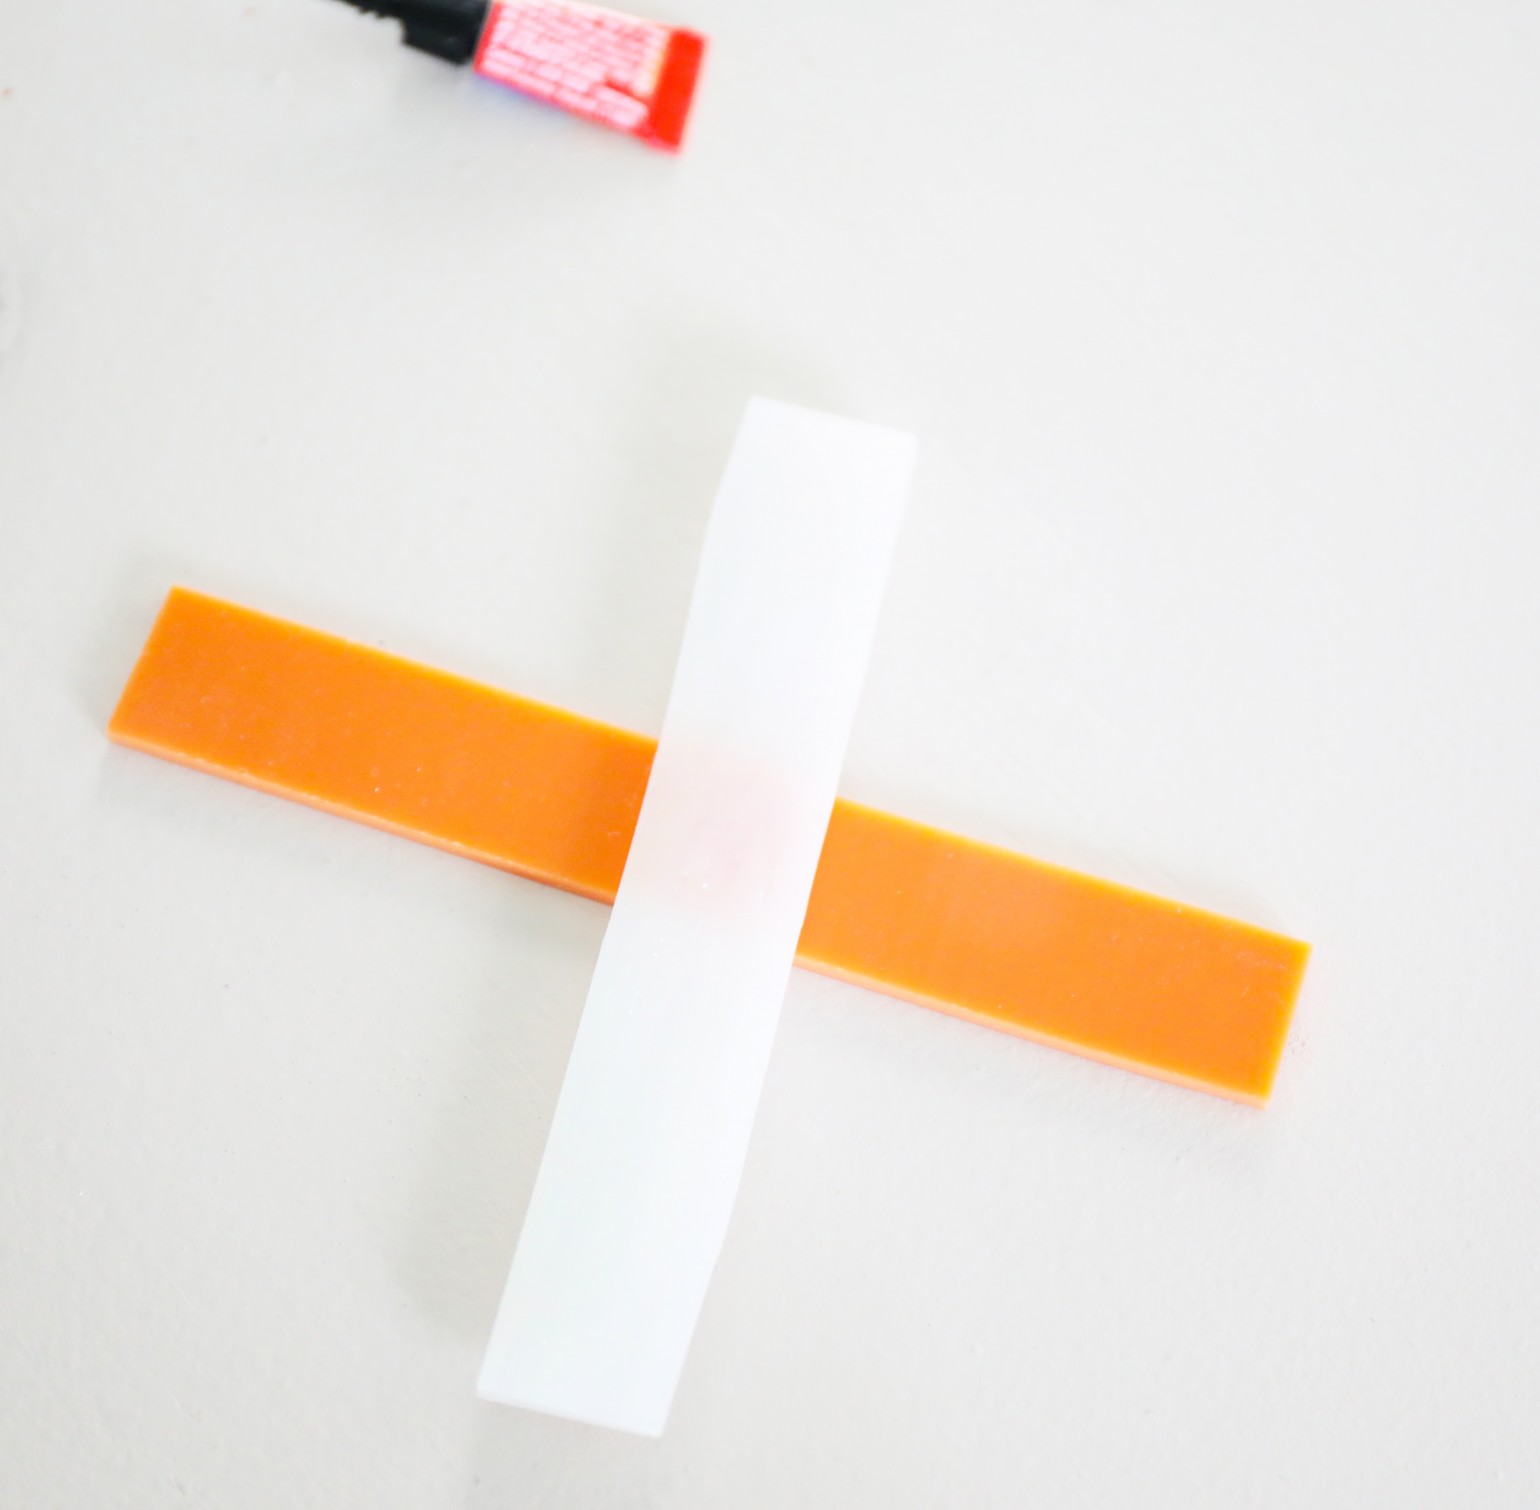
Take one strip + add another on top with the glue in a cross-like shape.
Then add another…
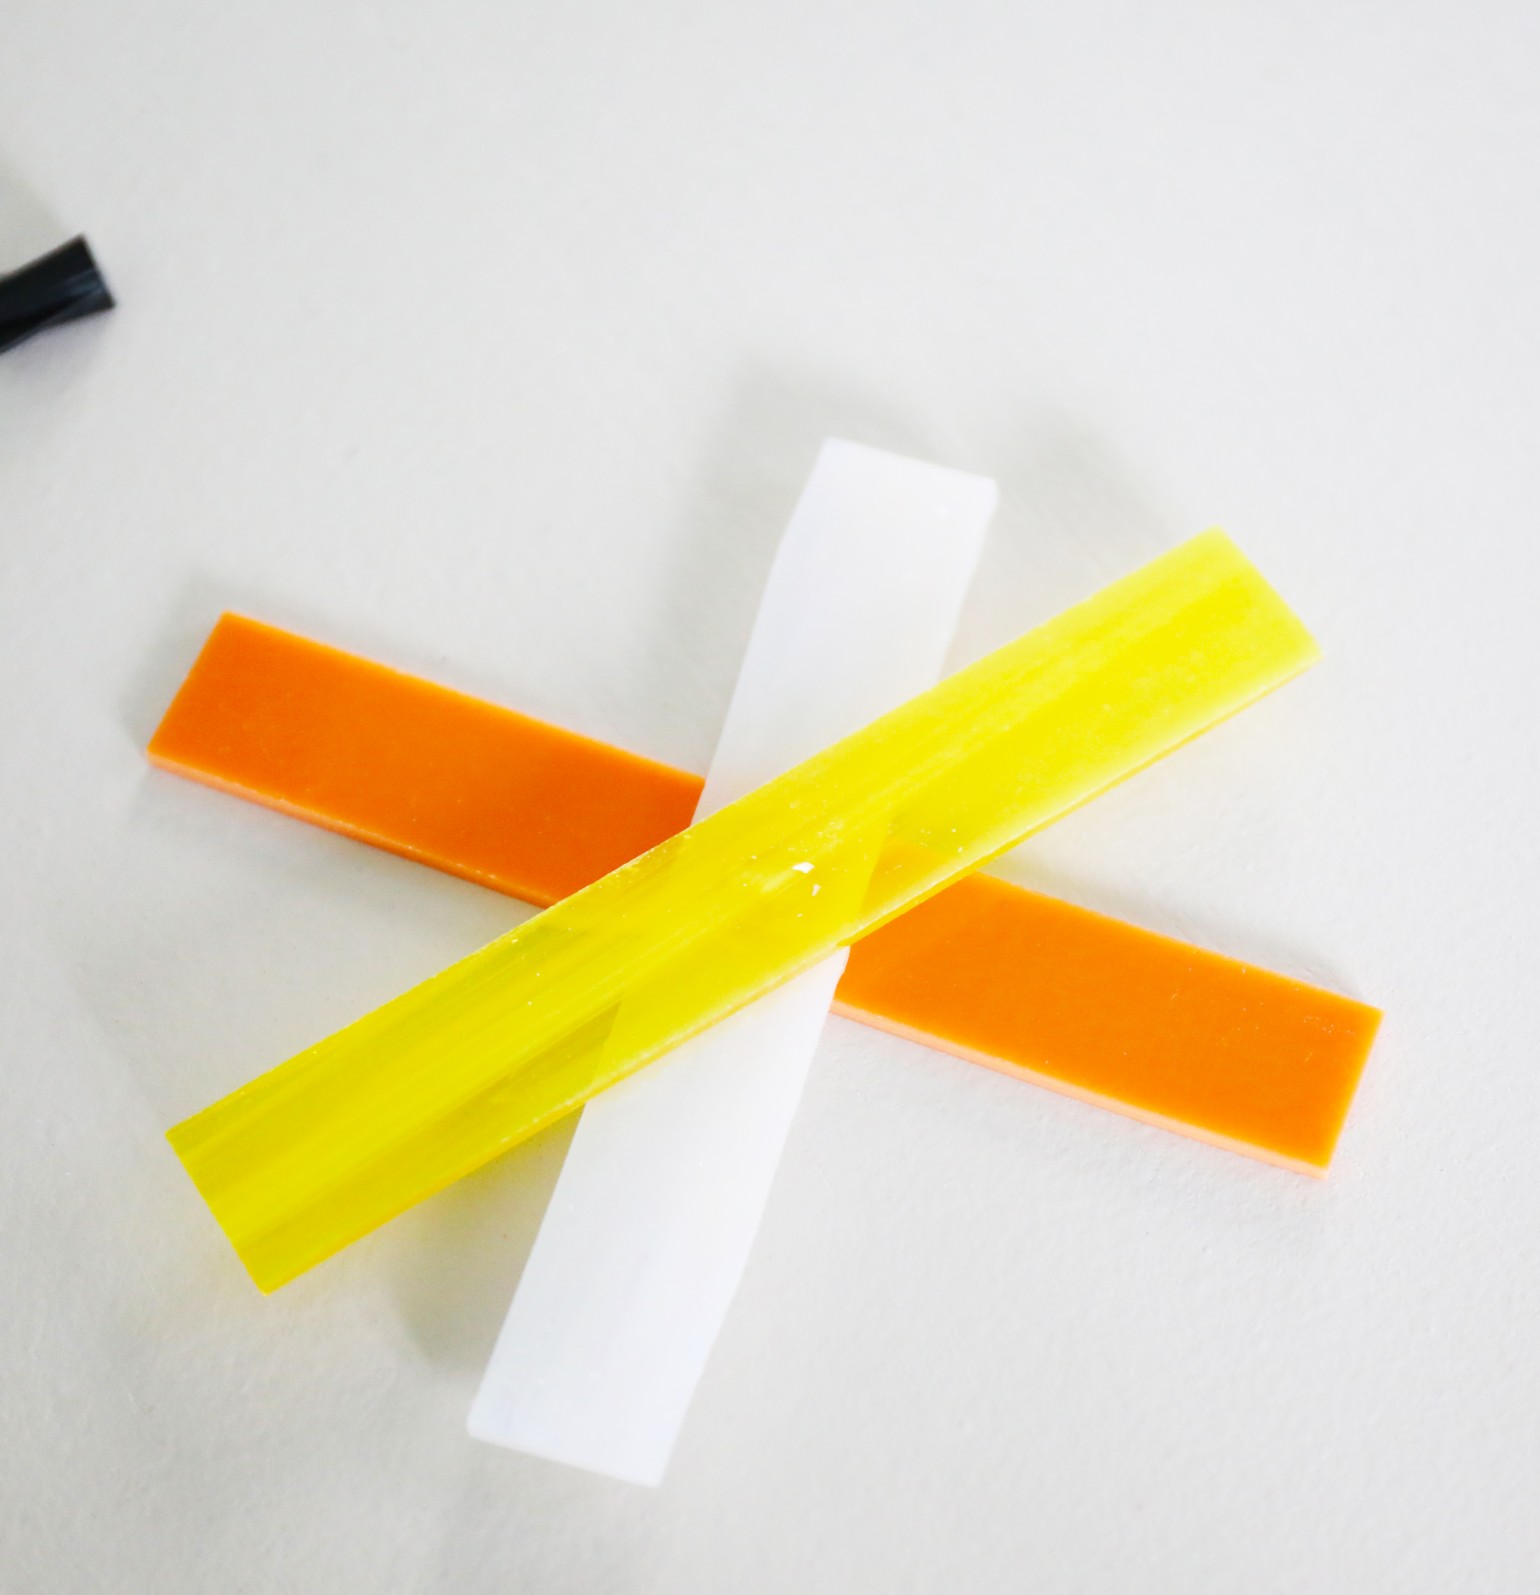
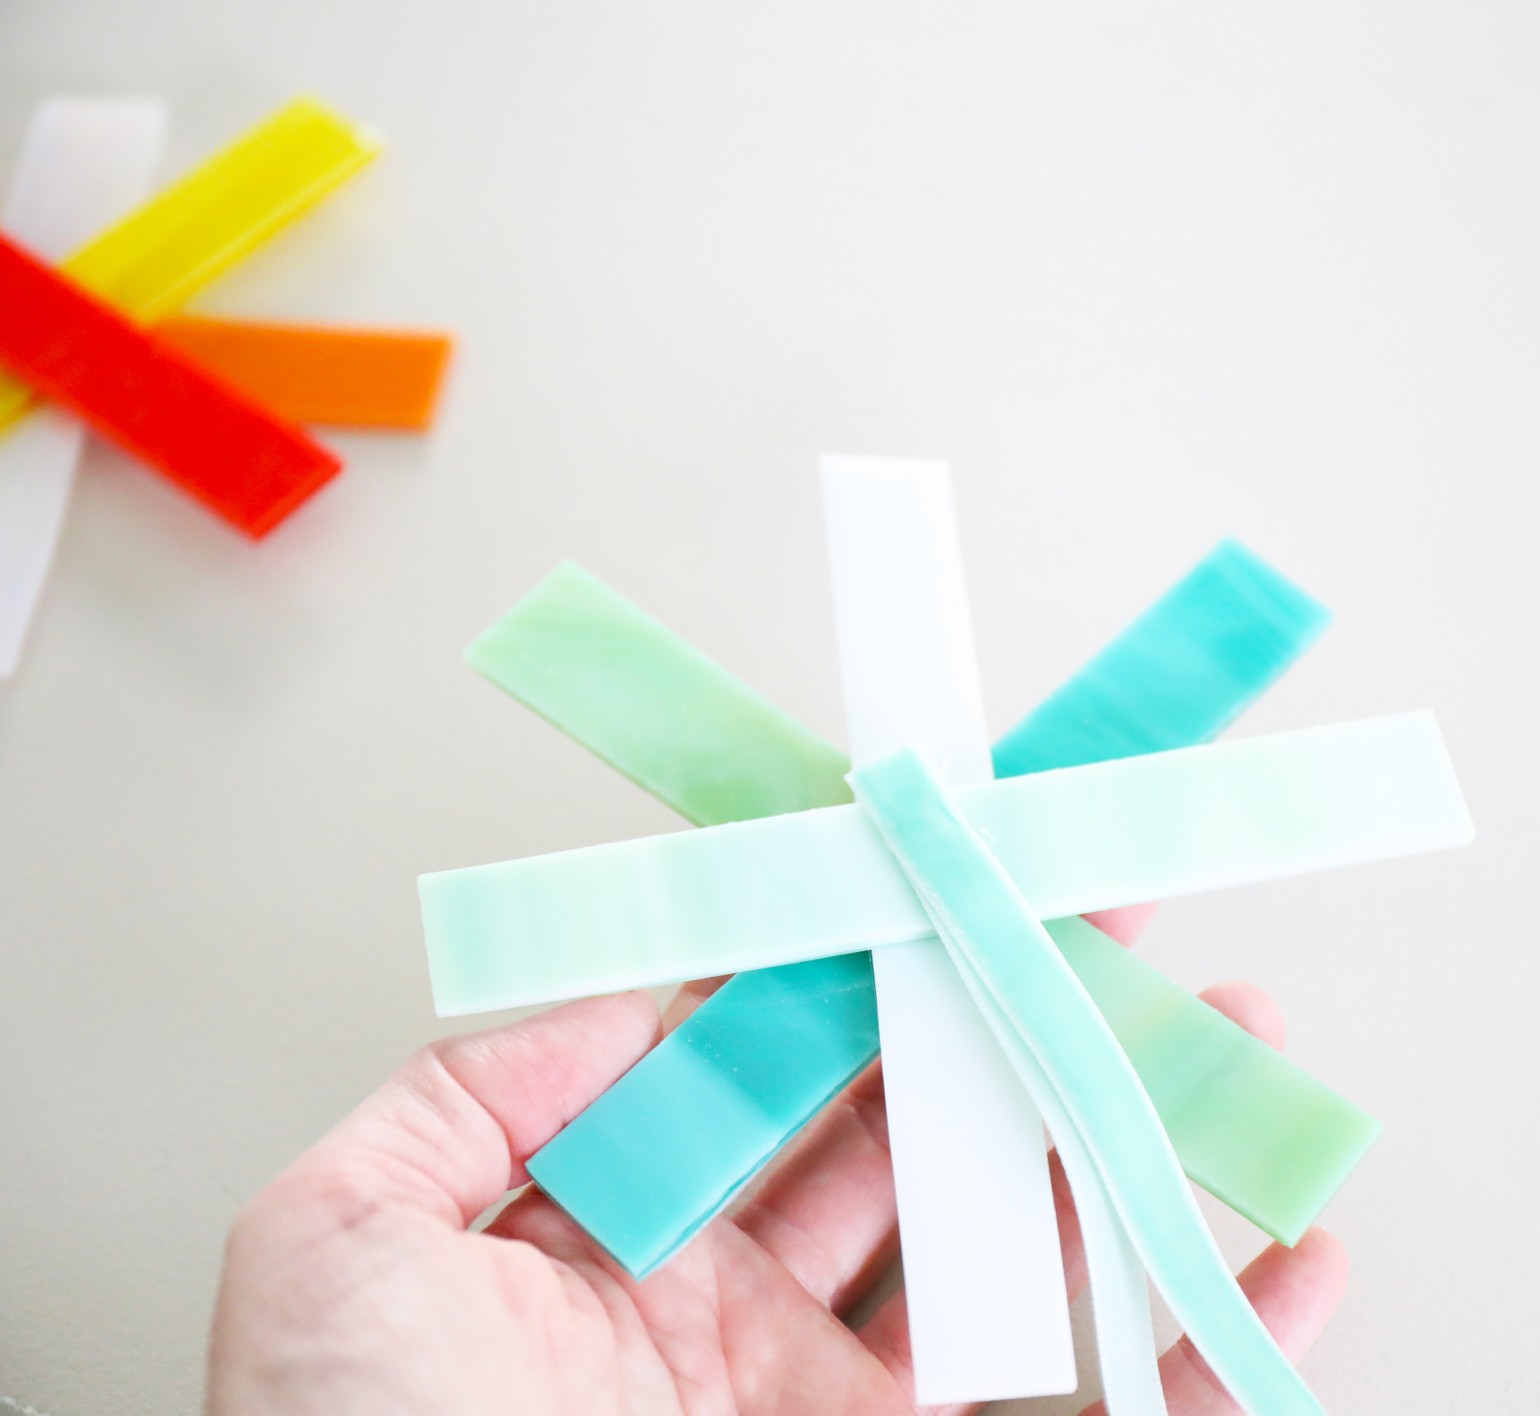
You can do three or four of them – I thought it was fun to add another color, so I went for four.

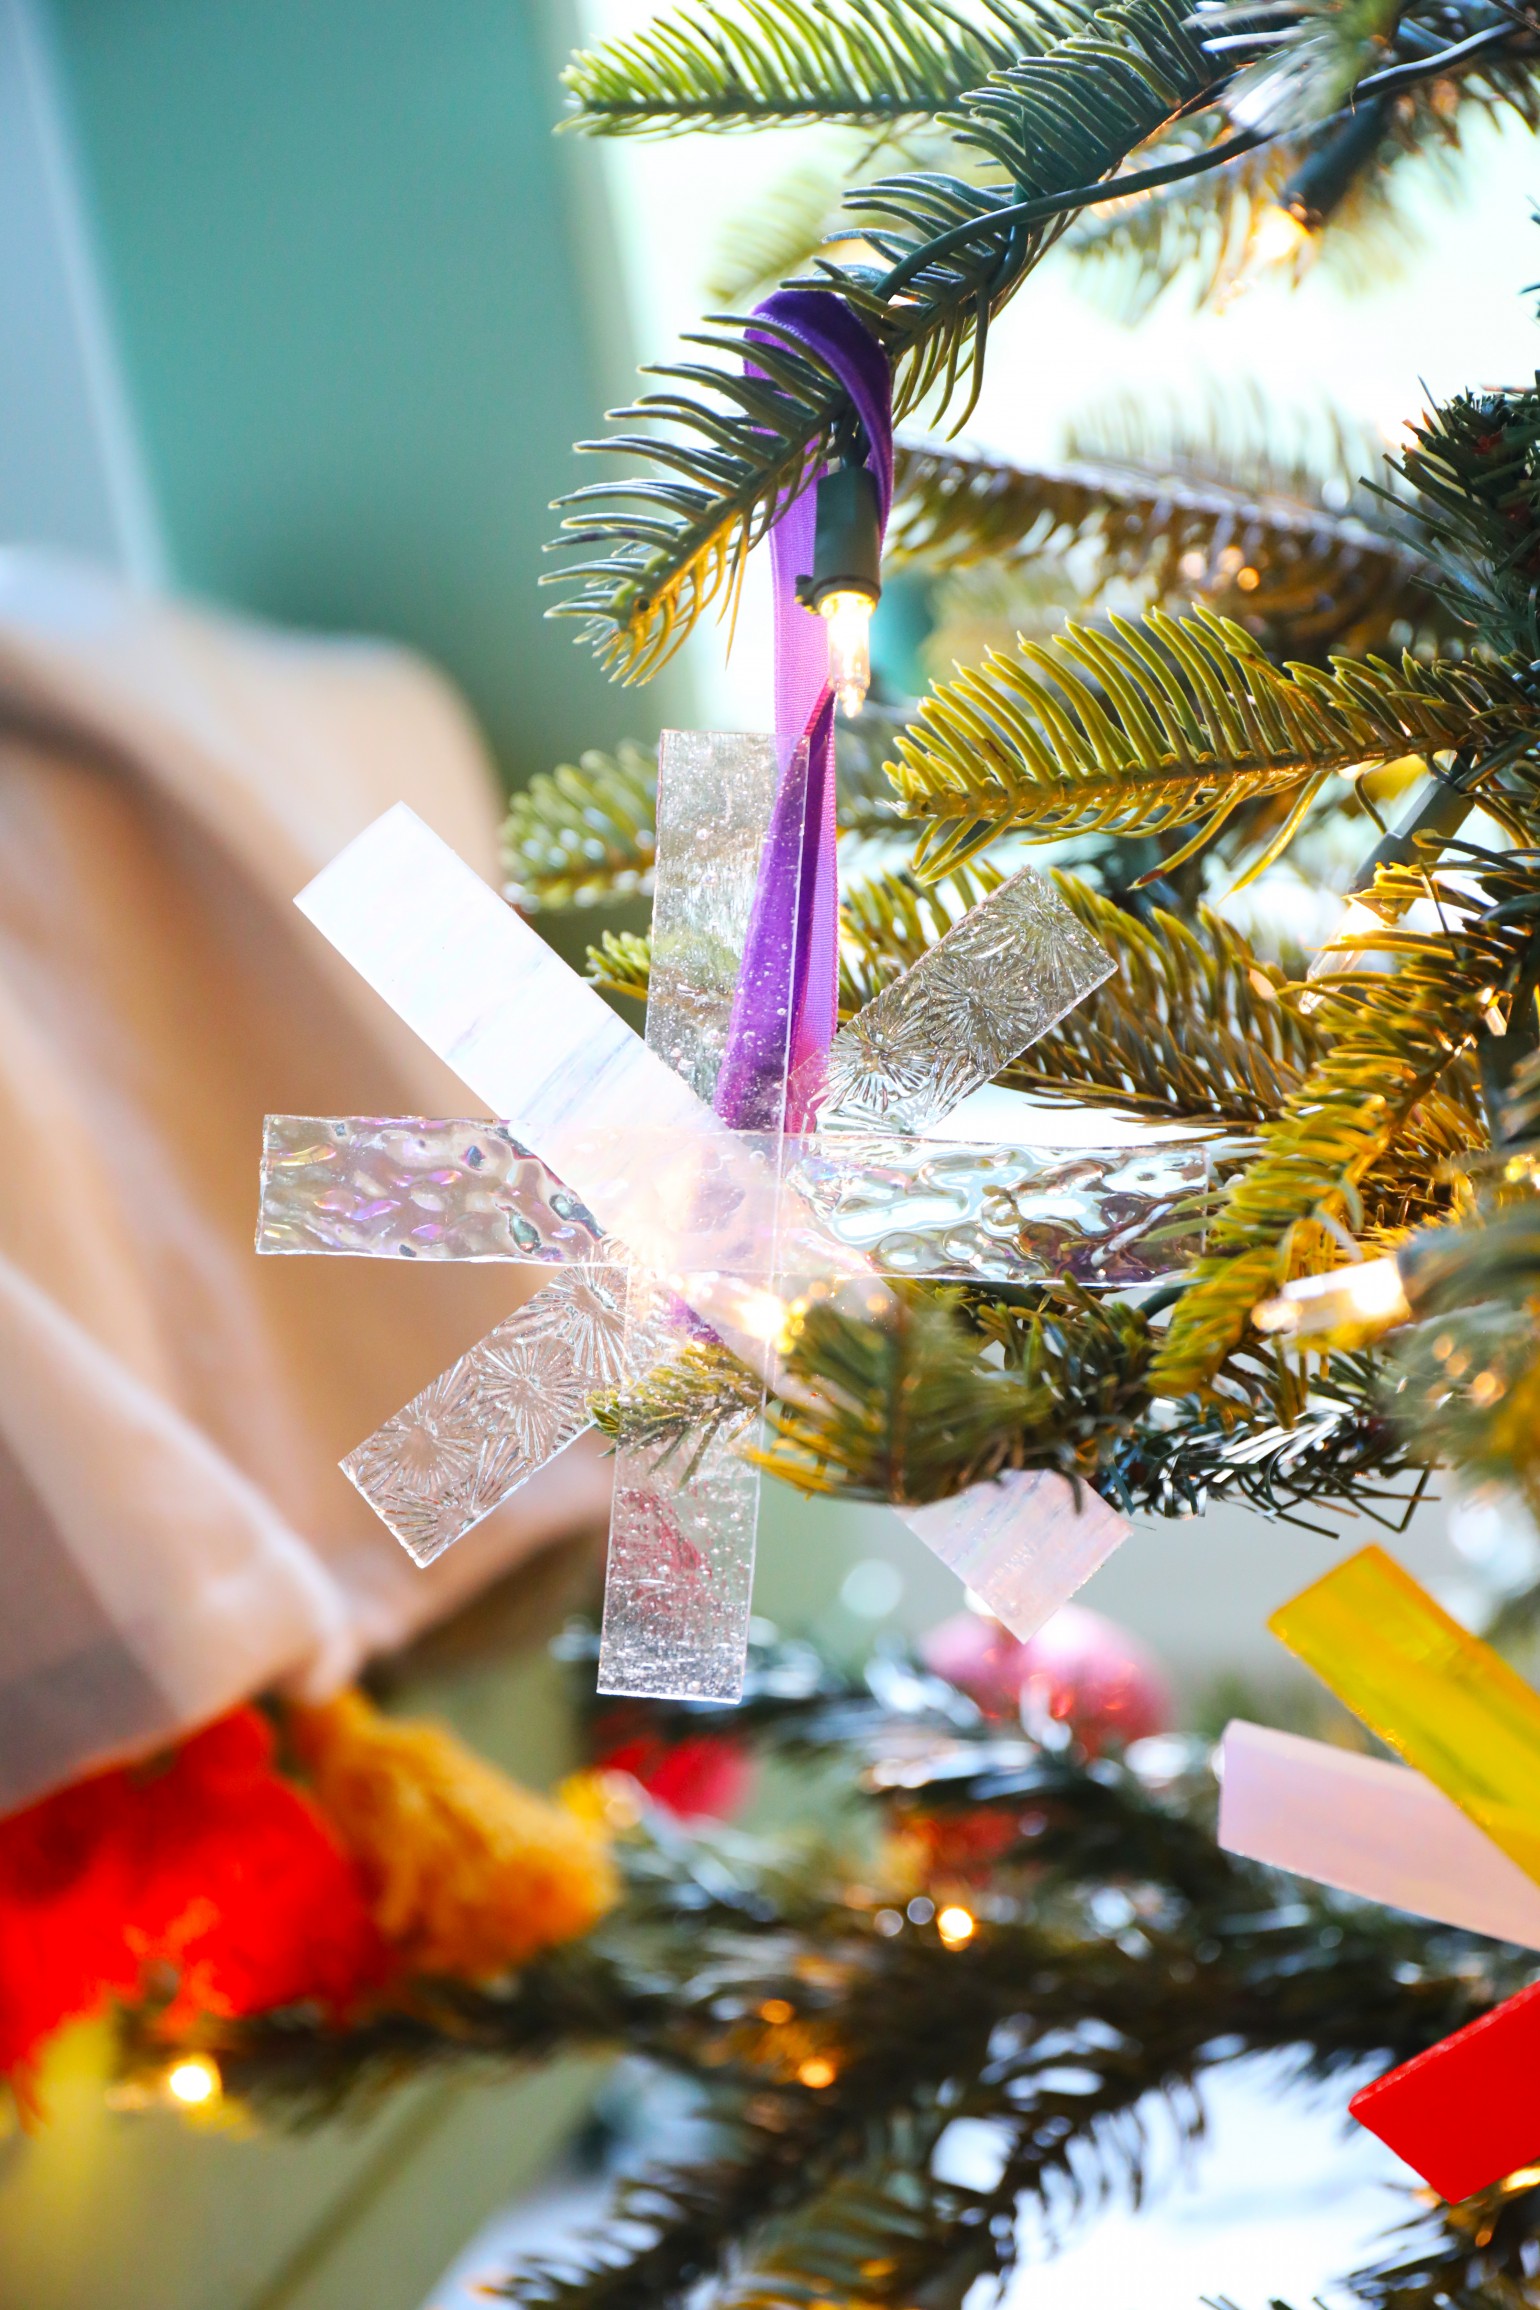
This glue dries pretty quickly but I gave it a moment, and cut a strip of this fun velvet ribbon.
Then I glued it together, and secured it to the back of each little snowflake with hot glue. {Hot glue tends to work better with fabric than super glue.}
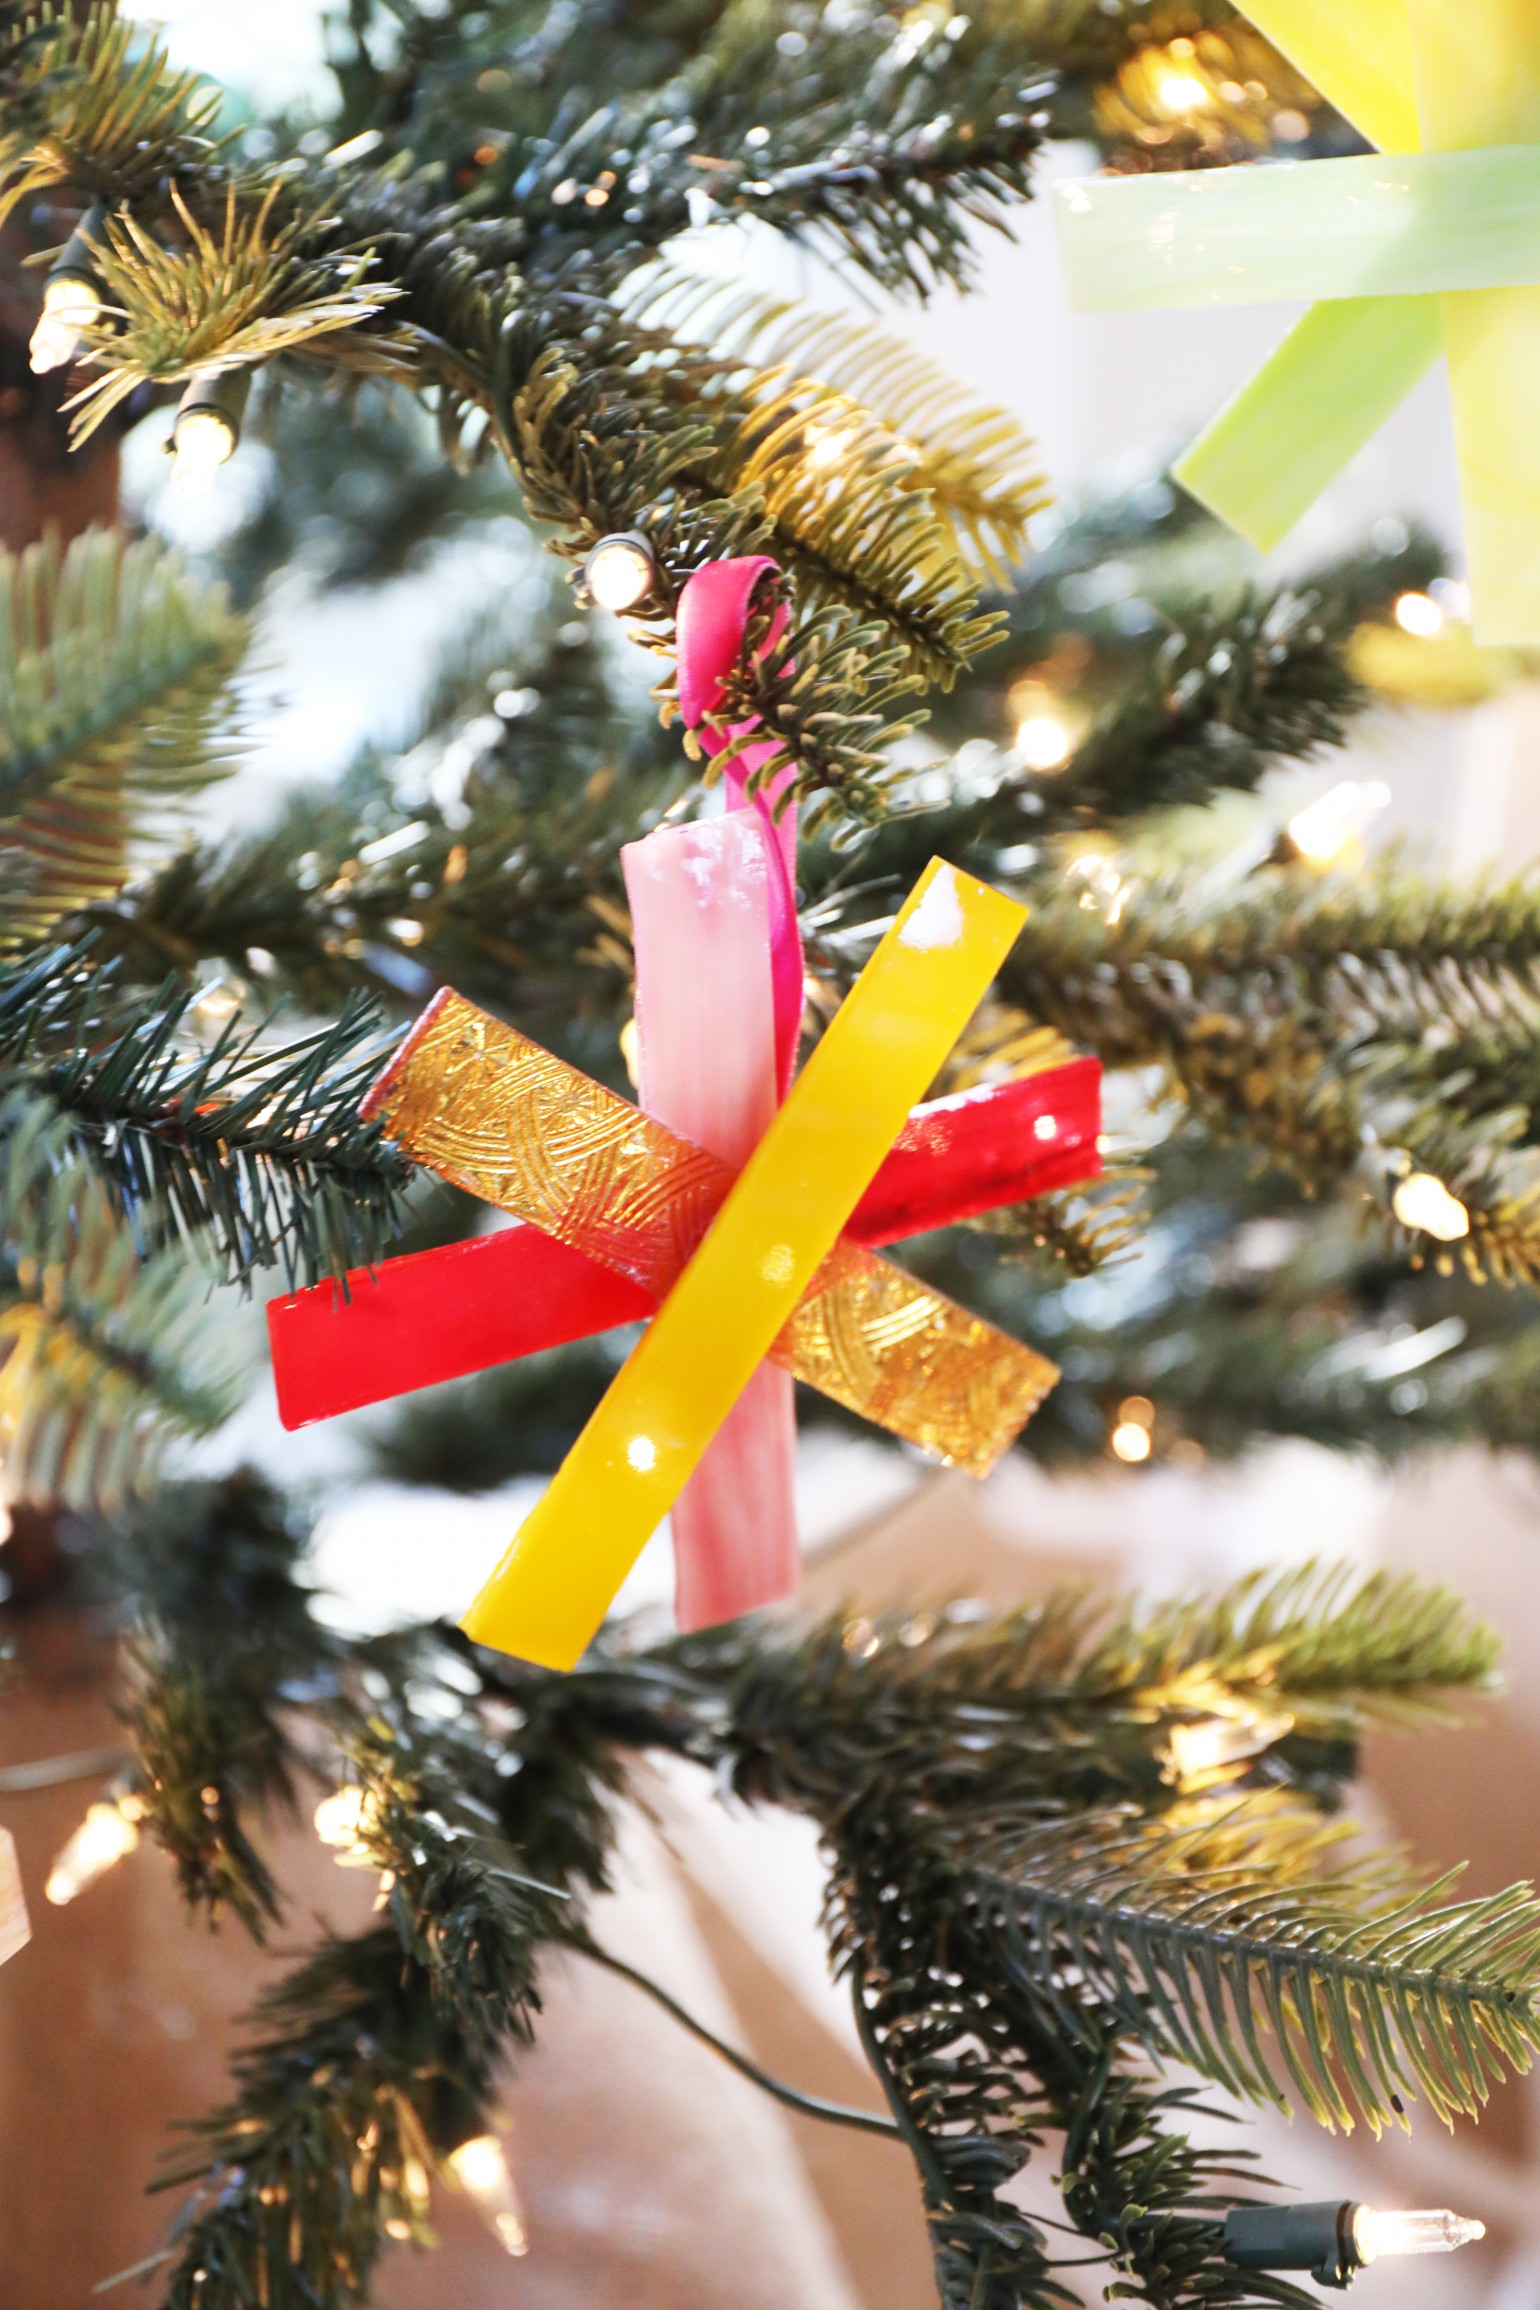
Tada!
After letting it dry for a moment, you’re done.
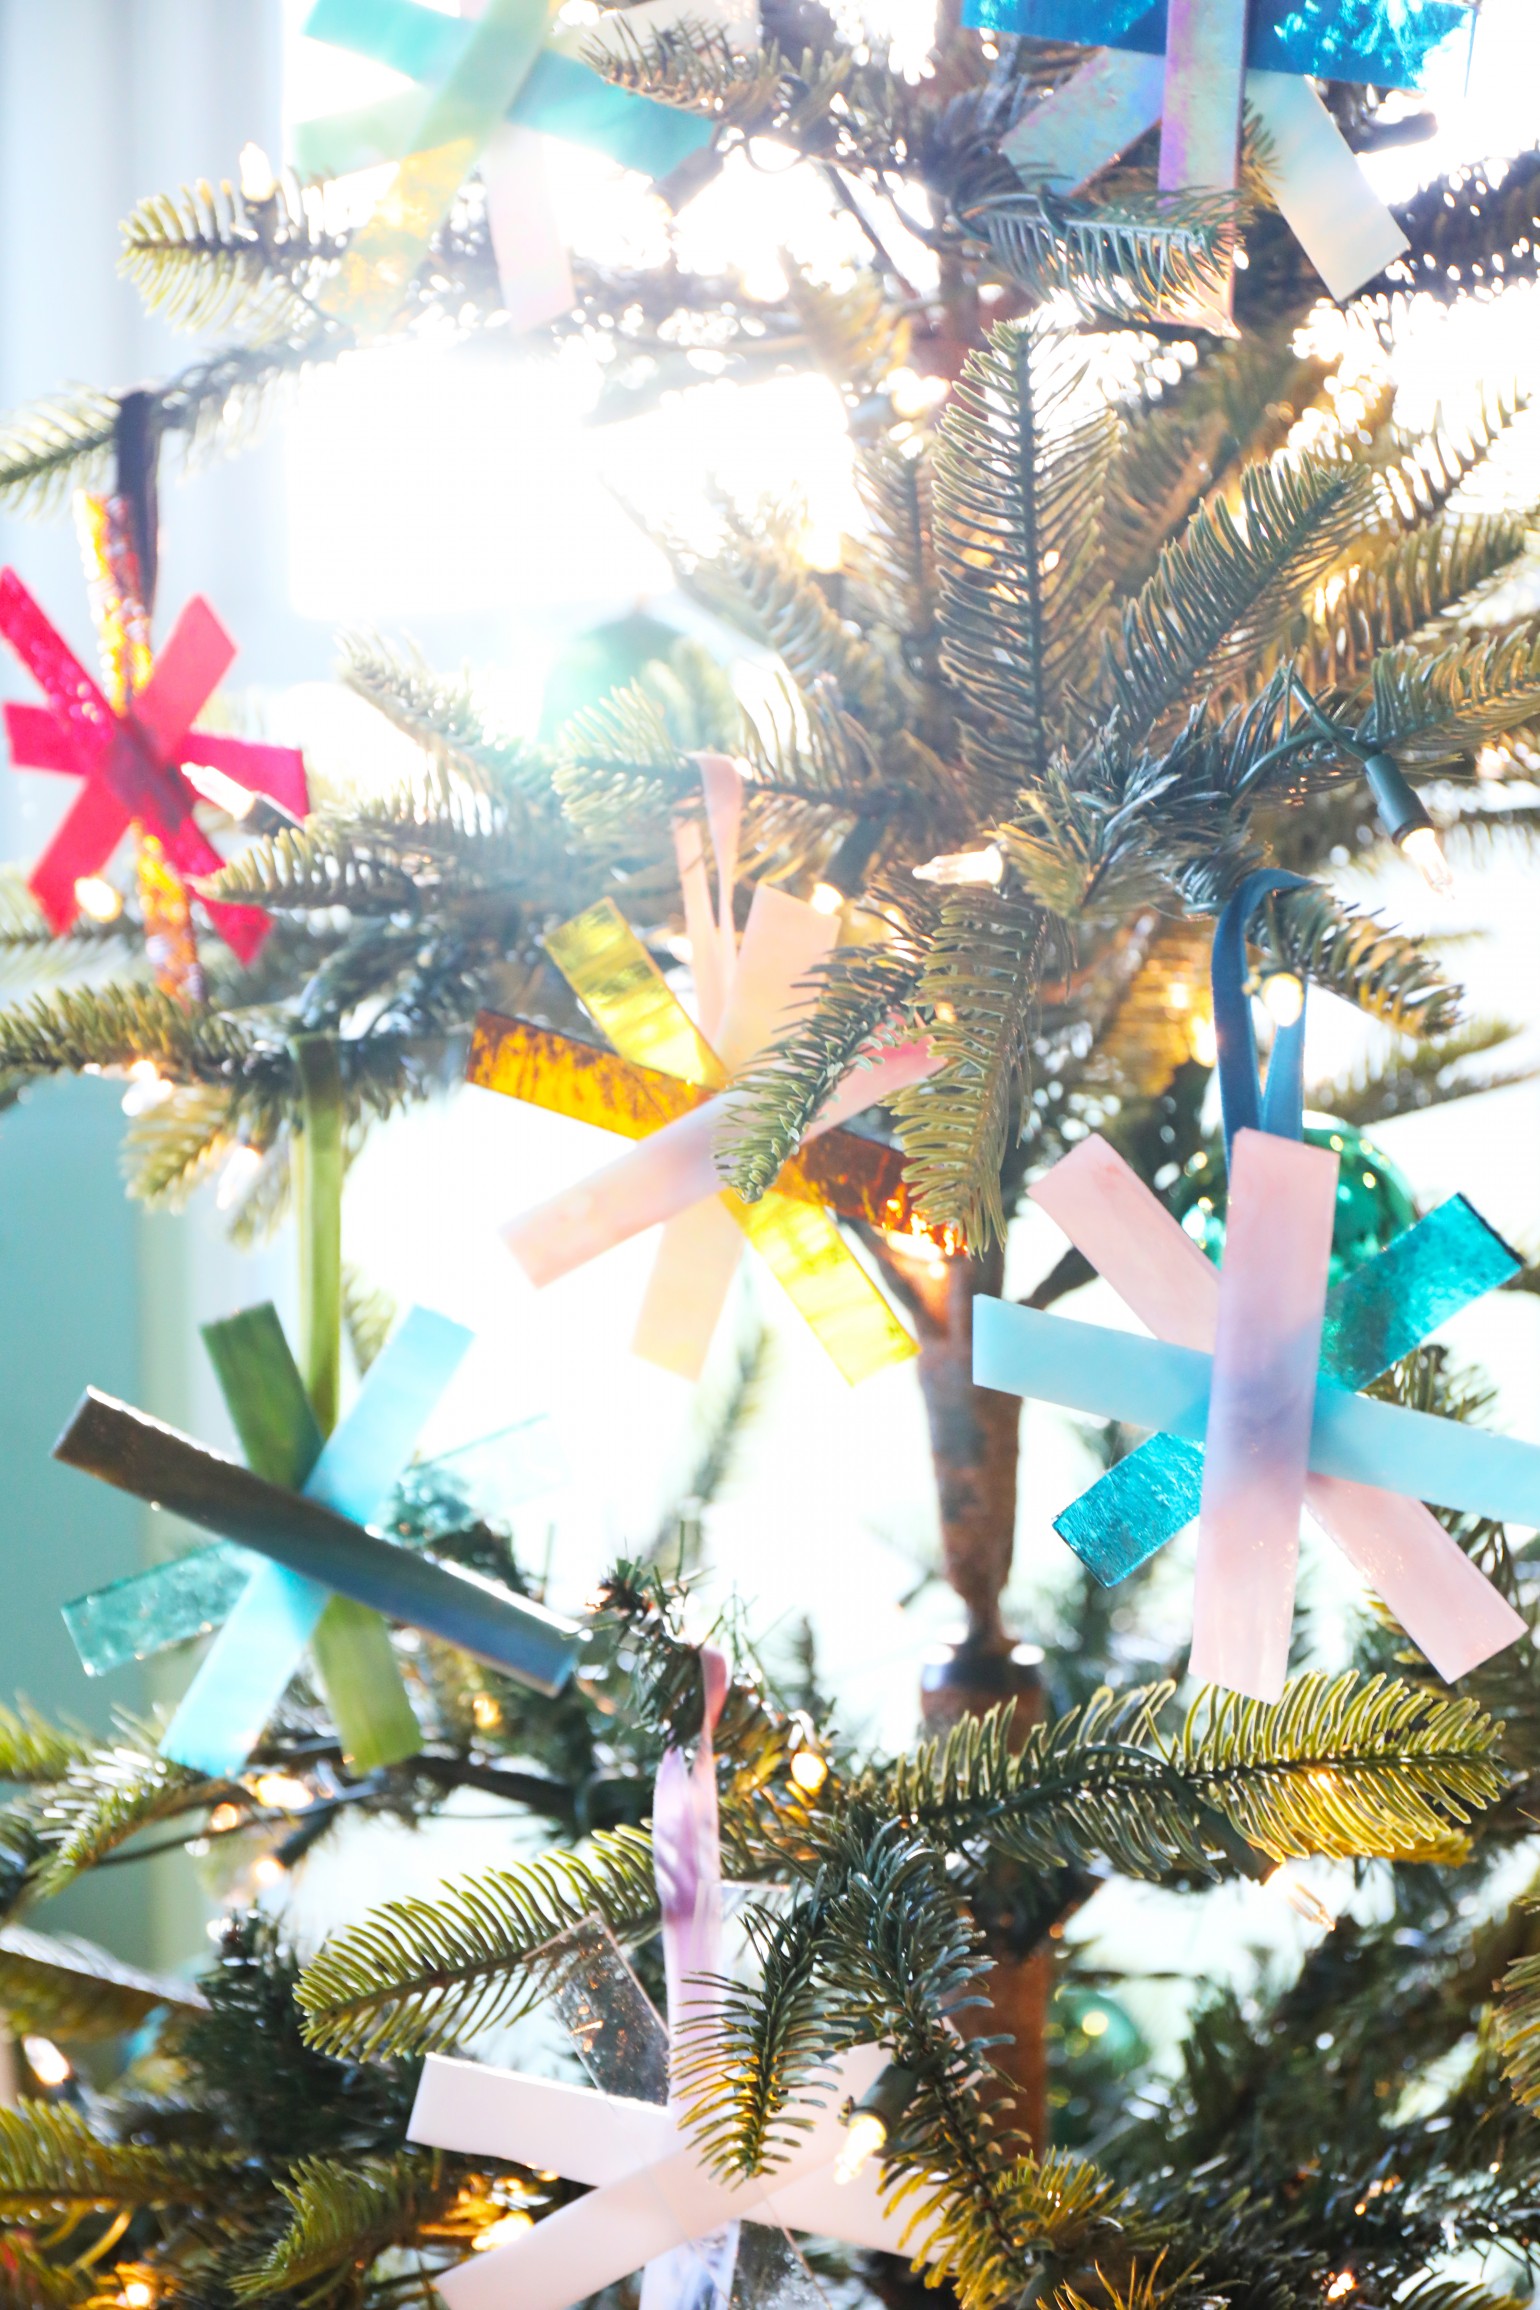
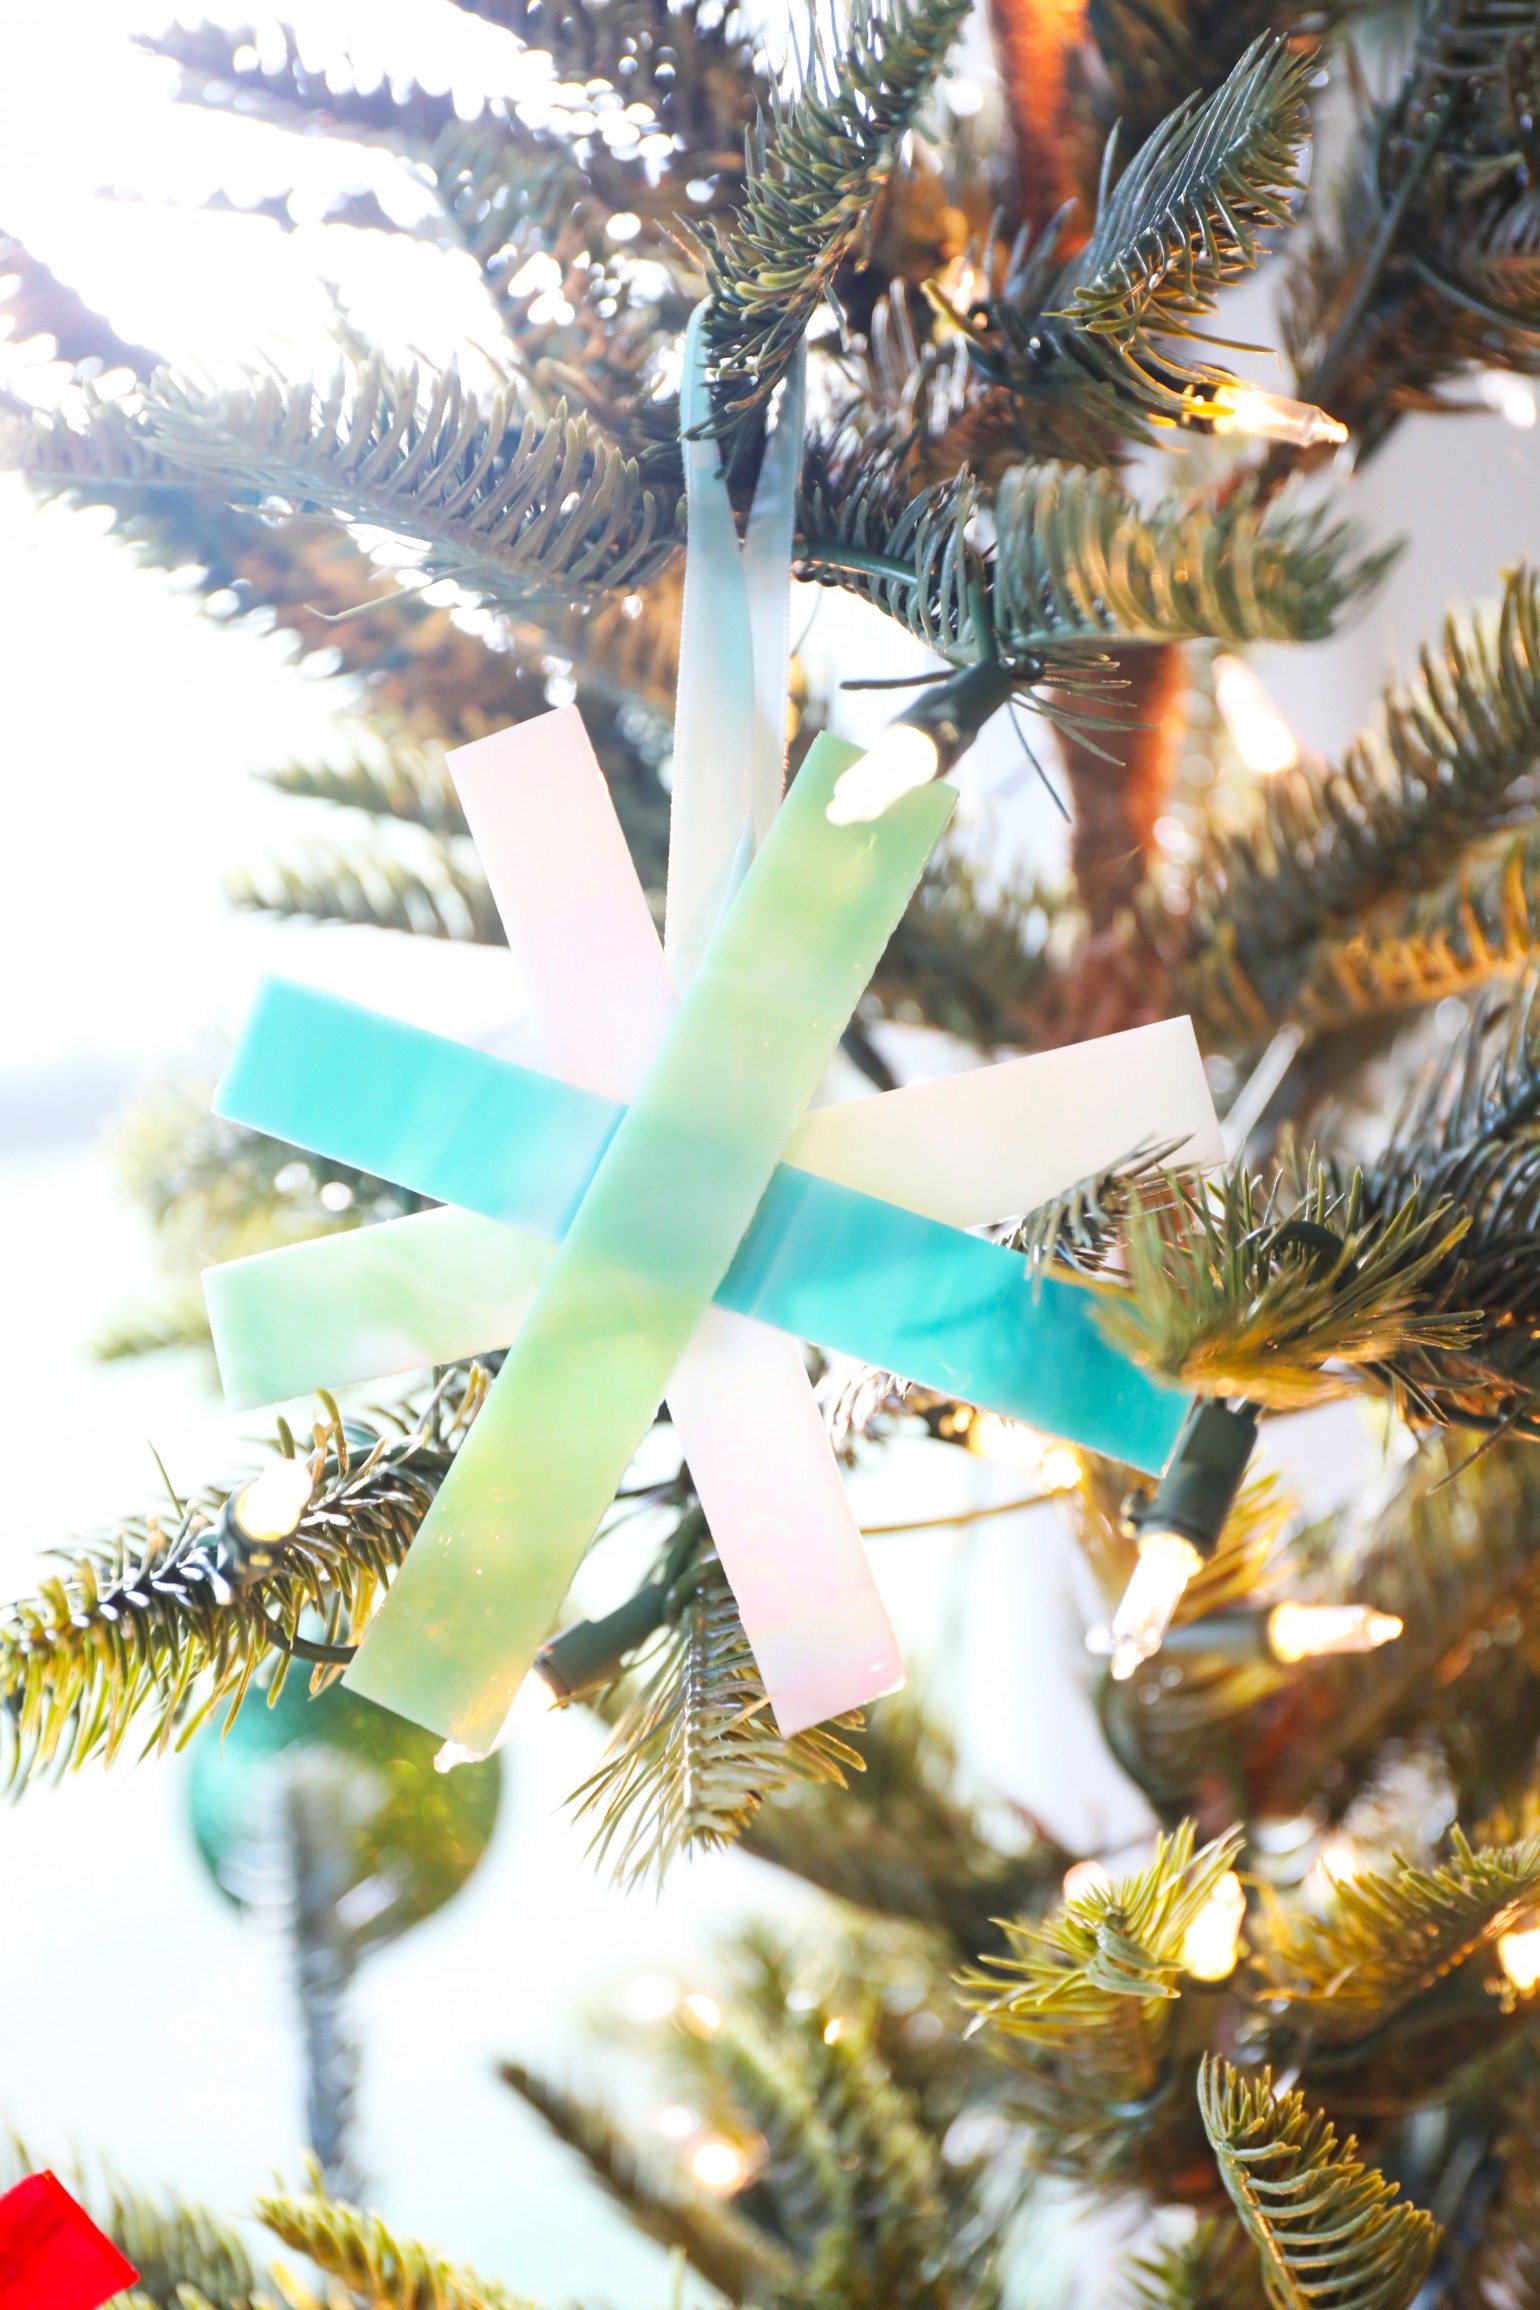
Aren’t these oh so pretty and fun?
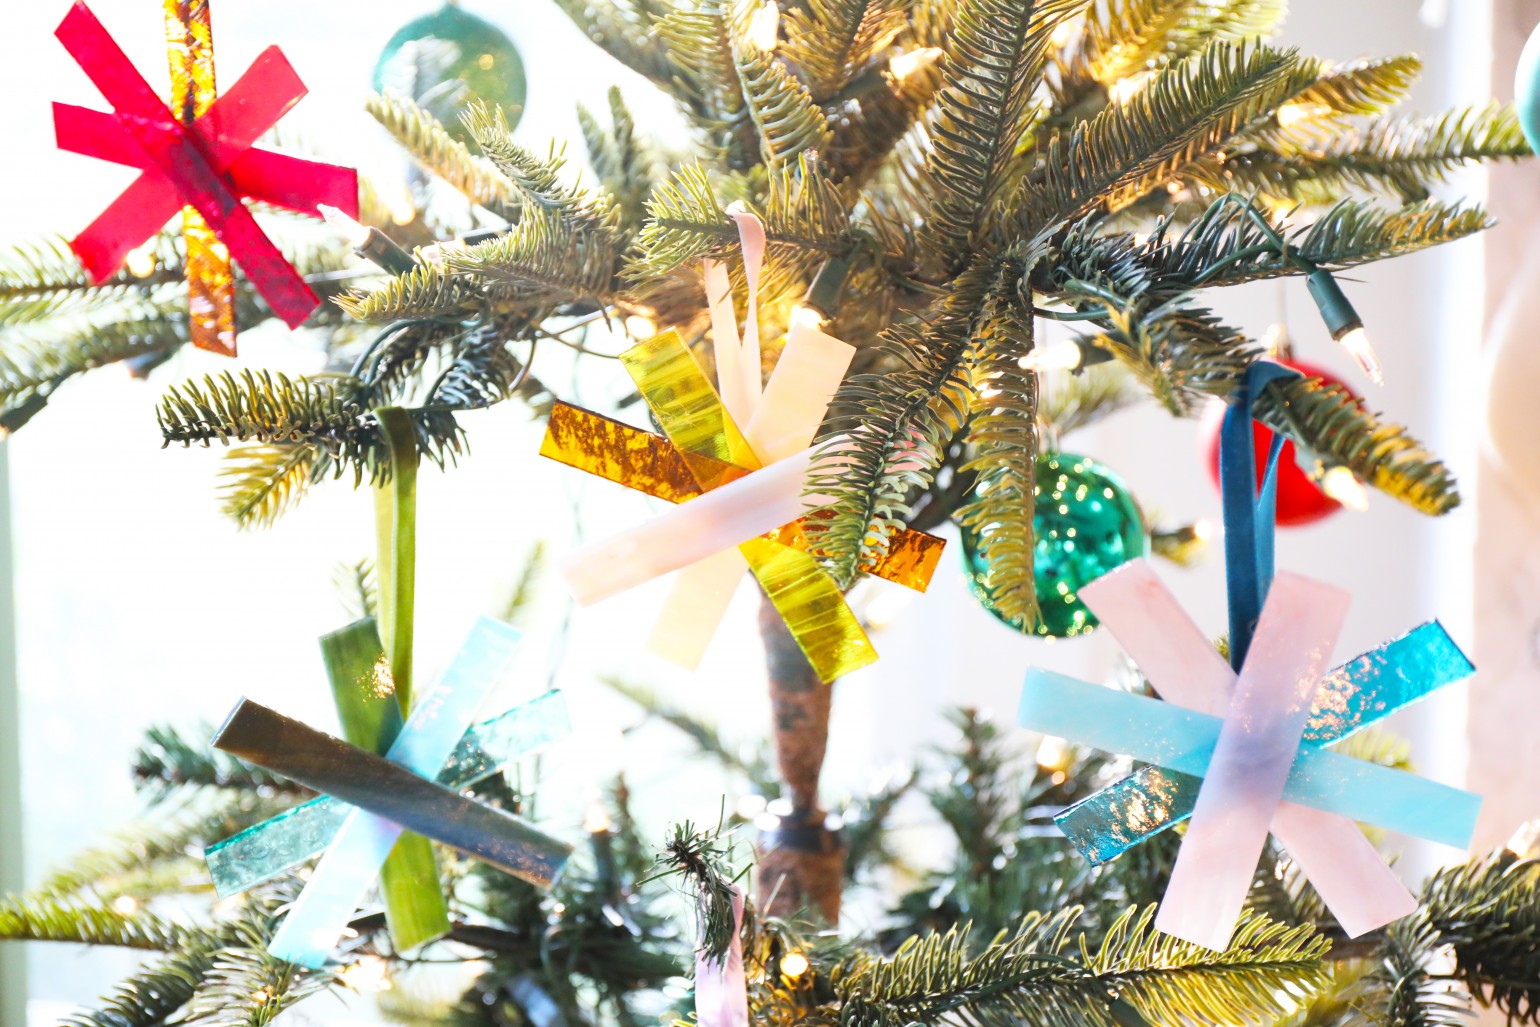
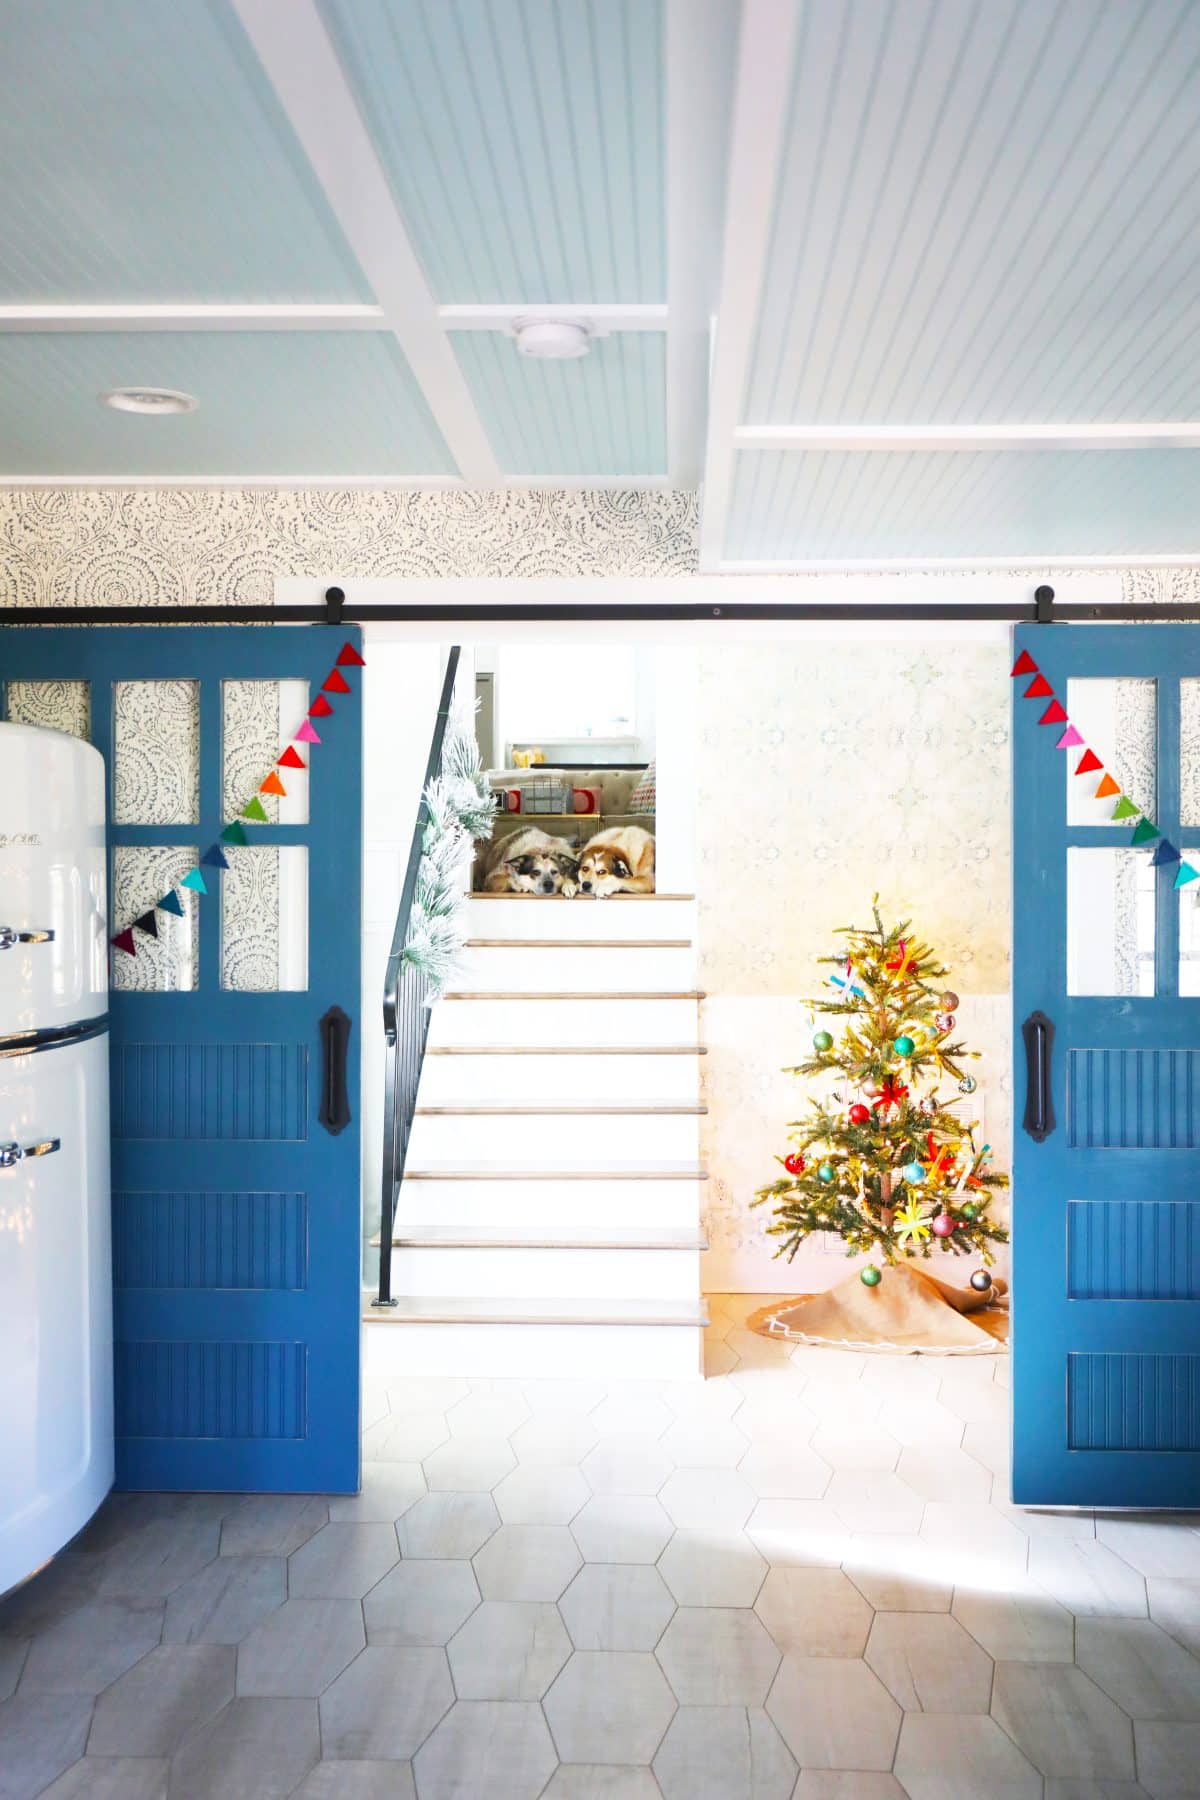
We love the way they look, especially when the sunlight shines through!
All the sparkles and happy hues.

As always, let us know if you try them. We’d love to hear.
Happy crafting and have an inspired day!