
the dollhouse diaries: floors, windows + walls
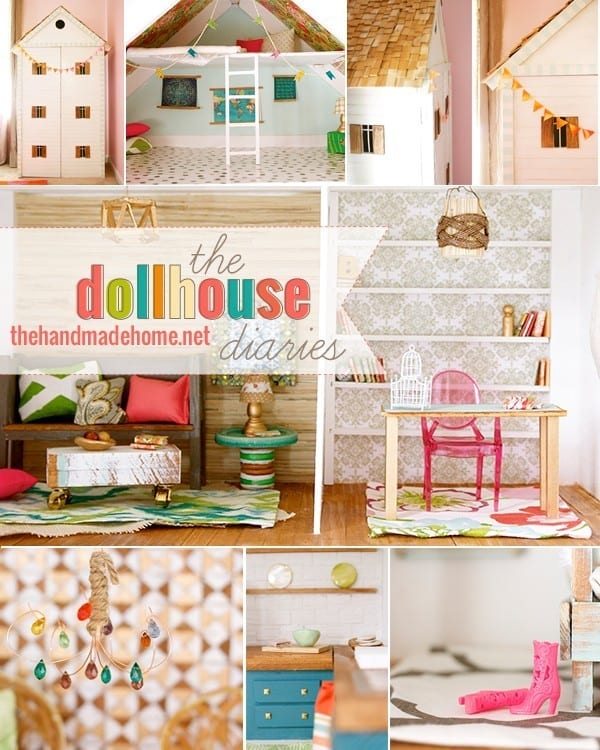
Last week, it was a blast sharing our dollhouse, er, I mean, Barbie’s home tour with all of you. Today, I thought we’d start with the next few steps and easy solutions to creating the spaces on the inside. {Check out how to build the dollhouse, here.}
In other words… where to start?
We began with deciding which rooms would be what, and how they would be divided up. In that, there were a few elements that went into nearly every single space… or the majority anyway. The floors, windows, and walls.
Here’s a few tips on how we did them.

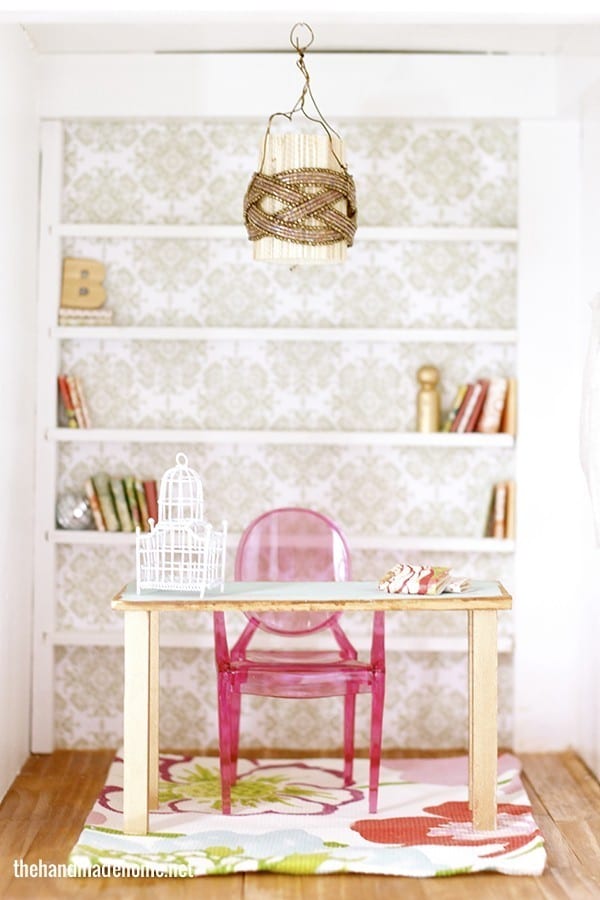
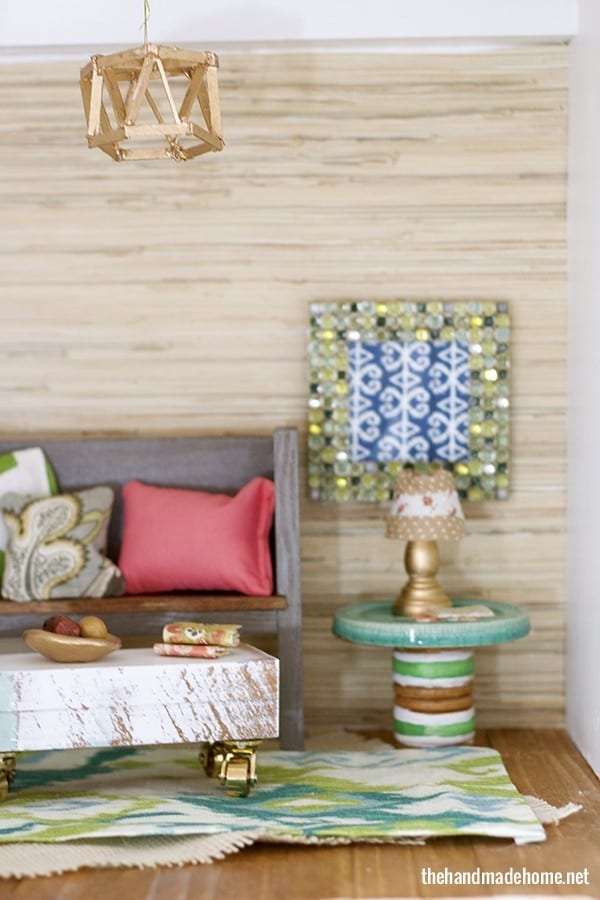
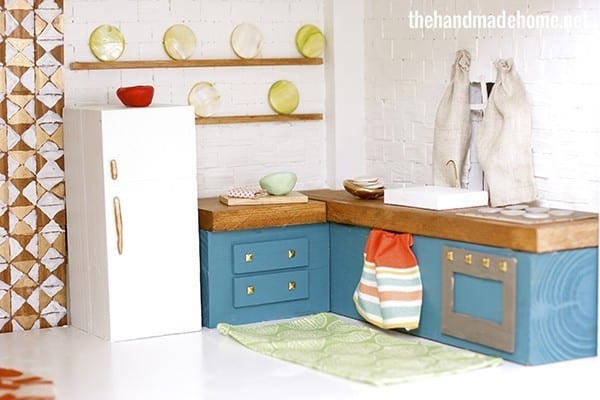
First things first, we decided which spaces would have hardwoods. {Of course, we mod podged scrapbook paper in certain spaces first-something I’m absolutely terrible at, by the way. I ended up matching patterns as best I could for a fun overall effect.} But after that, it was time to lay hardwoods.
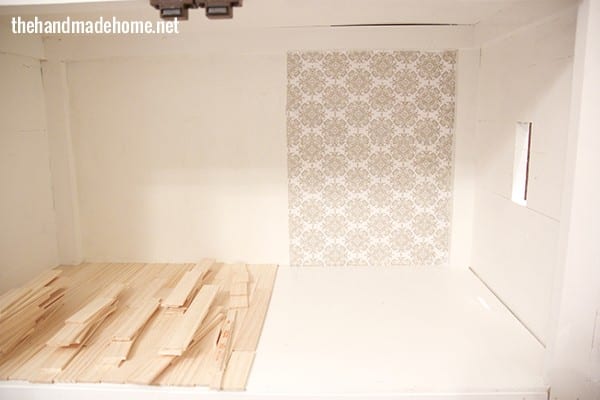
We simply took some paint stirrer sticks from Home Depot {I’m being specific, because the wood grain in their paint stirrer sticks are fabulous compared to other places : cue us looking like a couple of weirdos hoarding the paint sticks – hey, they were free.} And staggered their lengths by eyeballing them (once we knew the depth of the room-we simply cut off the curved parts) all the way across. (Place the graphic face down if it’s visible.)
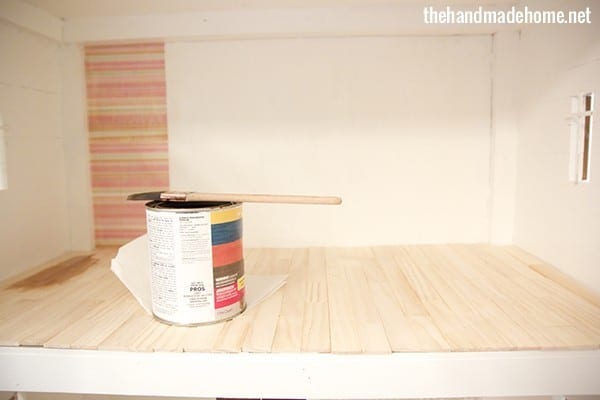
We laid them as we went, and then lifting each one up, secured it with wood glue.
When that was dry, we went back with Cabot (some stain left over from this project + this) and stained the floors. I have to say, of all the projects Emerson was the most interested in helping with, it was staining said floors (and picking out the fabrics for all the pillows. All. Of. The. Pillows). It was a great lesson in relinquishing control, and letting her have a ball-I wanted her to have a part in it, and she did. But of all the projects, she was the most interested in staining the floors. If you’ve worked with stain before, you know it can be a little particular, so I just went behind her and smoothed out the little gloops as we went. If your littles want to help, just be sure to go behind with a damp cloth. It will wipe right off those walls when/if they go a little crazy with the brush.
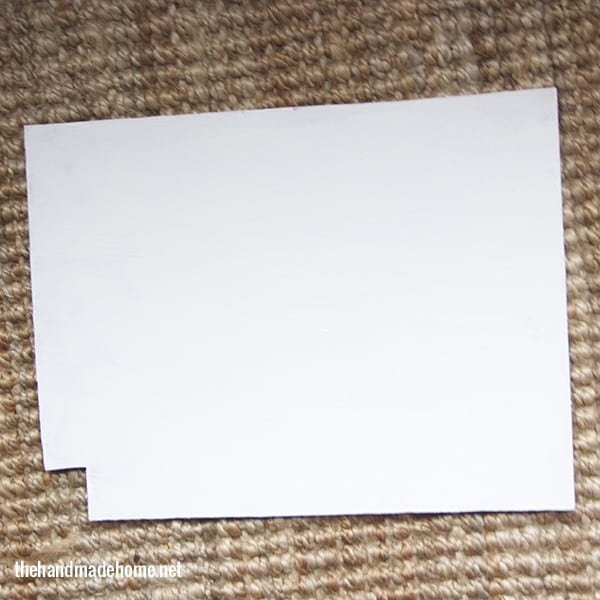
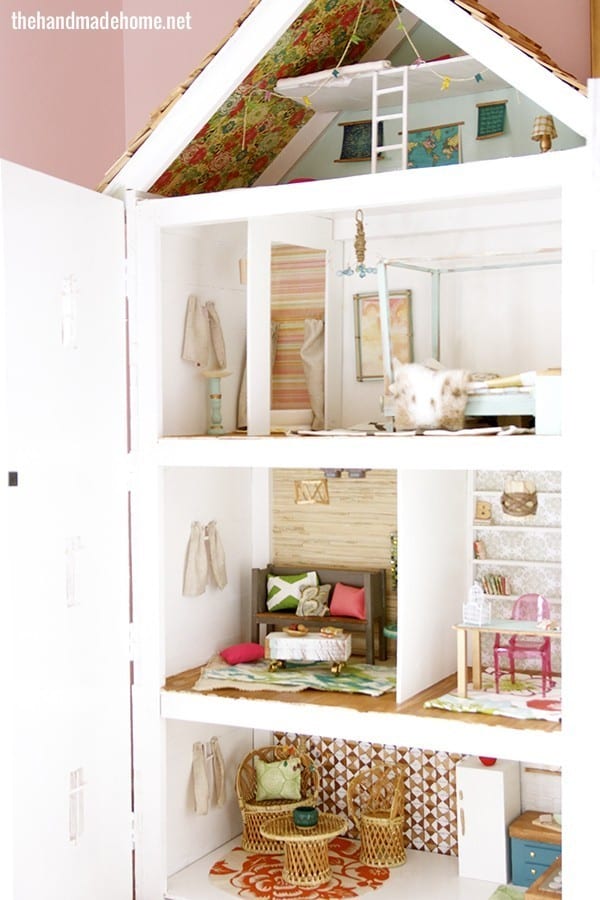
When those were dry, we went back with 1/4 inch MDF, and cut them to size for “walls” within.
If you look back at the bathroom, you’ll see that this one has a “doorway”cut in it. This one was left a little short so that she could move the dolls around the edge without “exiting” the dollhouse and making the dolls ‘levitate’. (Creepy Barbie.) We thought it would serve as a “hallway” and give her more room to play. Once they were cut (note the groove in the top for the wall to slide in) we simply painted them white, and worked them in until they were just right. Because their height is just the right size (get this by measuring the inside floor of your dollhouse -if you follow our plans each one will be a little different) They’re removable if we ever want to redo a space. A little wriggling and pulling, and they will pop right out.
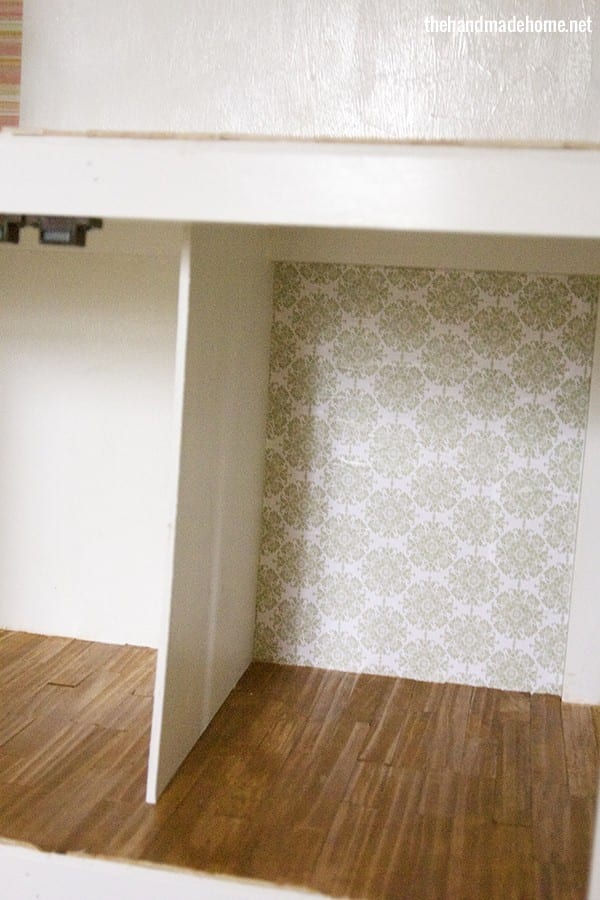
Tada! Instarooms.
If only decorating our own homes were this easy.
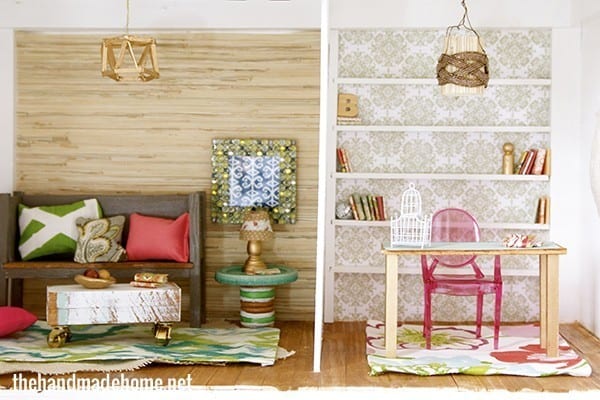
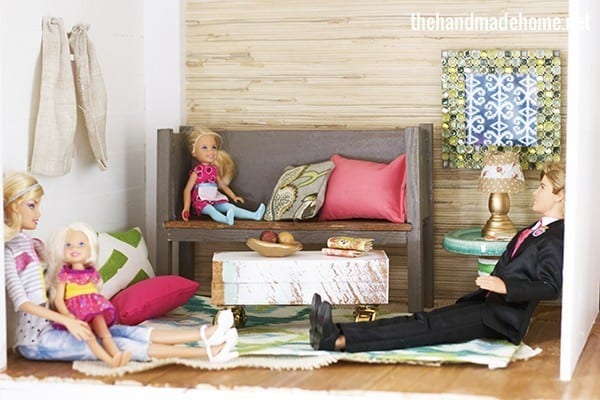
Another element we used in each space, that you’ll see consistently throughout, is that for the “rugs” we simply made them out of scraps of fabric. I’ll try my best to site specific sources as we go through each individual space, but it’s basically just fabric scraps, with the edges hot glued down for a “hem” (see: aintnobodygottimeforsewingminiaturethings-unlessthey’repillows-andeventhenwe’repushingit)
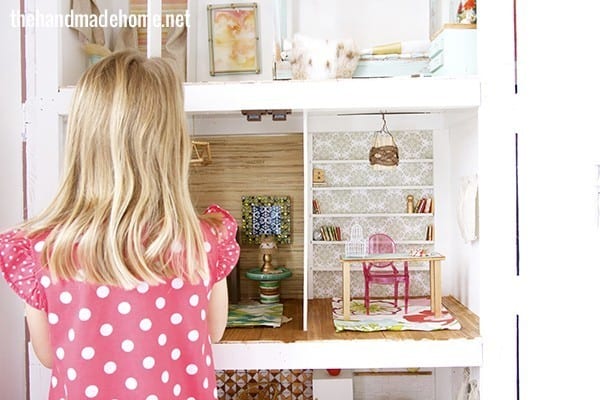
In the same way, on all the side windows, we cut two little panels for each side. I cut them all at once so the panels were the same, and then “hemmed” the edges as well with hot glue. I then faked a ‘pleat’, by gluing the little accordion folds together at the very top.
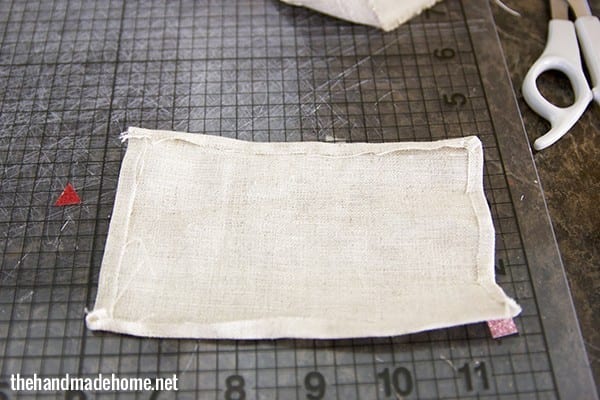
I tacked them to each side of a window with more hot glue.

Insta-minicurtains.
 That’s a quick little recap of the simple things you can do for each floor… I’ll be back room by room but I thought it was great to start with the simple things that work overall in the dollhouse.
Thanks, and let us know if you have any questions – have an inspired day!

Paint sticks! Who knew!? This is so smart. Now if only doing my own floors was this easy…
Ashley, I.cannot.get.over.this.dollhouse. These pictures bring me major joy. I just pinned it to my ‘Things that make me happy’ board 🙂
Aw man…Now all I want to do is stay home from work and redecorate my childhood dollhouse! ; ) Keep in mind I have no children…So cute!
As in the cutest dollhouse…ever!! In the history of evers!
Wow, that is the most beautiful and coolest dollhouse I have ever seen!
that is adorable! Wish my girls were still in the doll house age I would so make this!
Absolutely Adorable!! If I only had girls… maybe I can do a miniature “man/boy cave” for my two little men.