
the furniture challenge with habitat and talk of the town
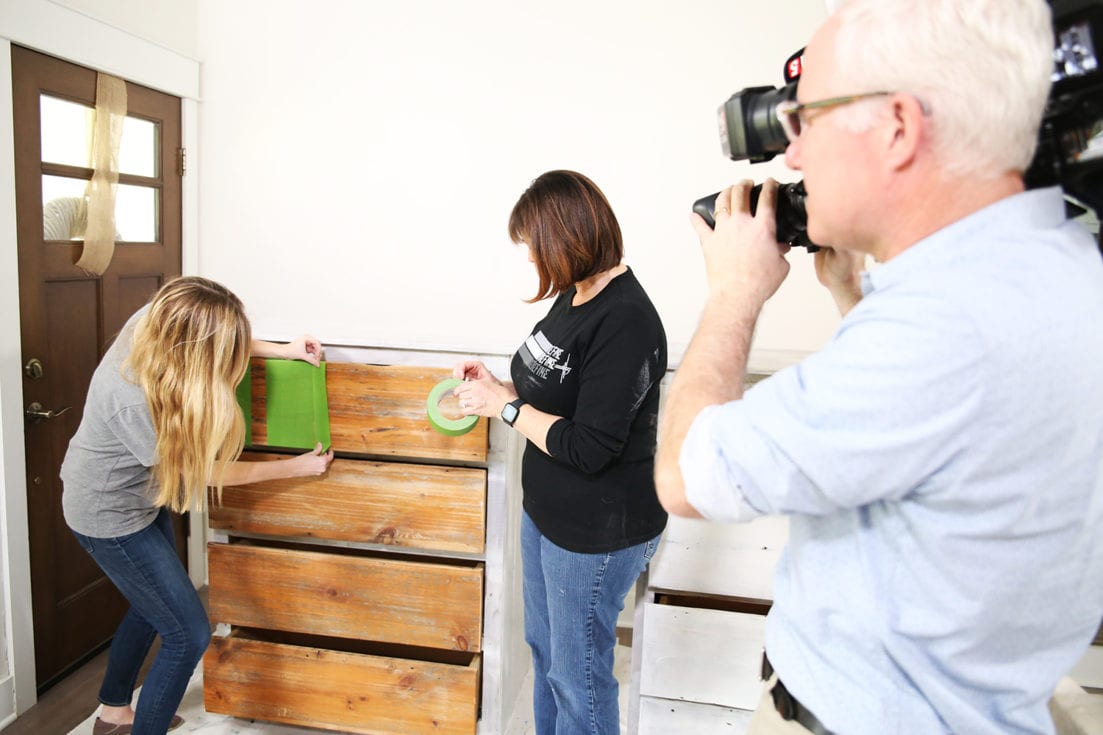
Hey guys, we’re thrilled to be back today to announce that we’re a part of a feature on Nashville Channel 5’s Talk of the Town. We’re with the fabulous Meryll Rose, talking all things furniture redos, and all for a good cause. We teamed up with the Habitat for Humanity ReStore, to take on two of their pieces. The challenge? To makeover two identical pieces in two completely different ways. The furniture will then be donated back to Habitat for them to sell, and go to a good cause for the nonprofit.
We’ll also be featuring the pieces this week, Friday March the 15th on stage at the Home Expo in Nashville. Here we’ll be talking all things furniture, along with featuring what we do, and helping homeowners through the process of taking on remodels. If you live locally, we hope you’ll tune in and we would absolutely love to see you there. Drop by and say hi! We would love to meet you.
Today, we’re giving a sneak peek of the fab pieces, and giving some of our very favorite furniture hacks. So without further ado…
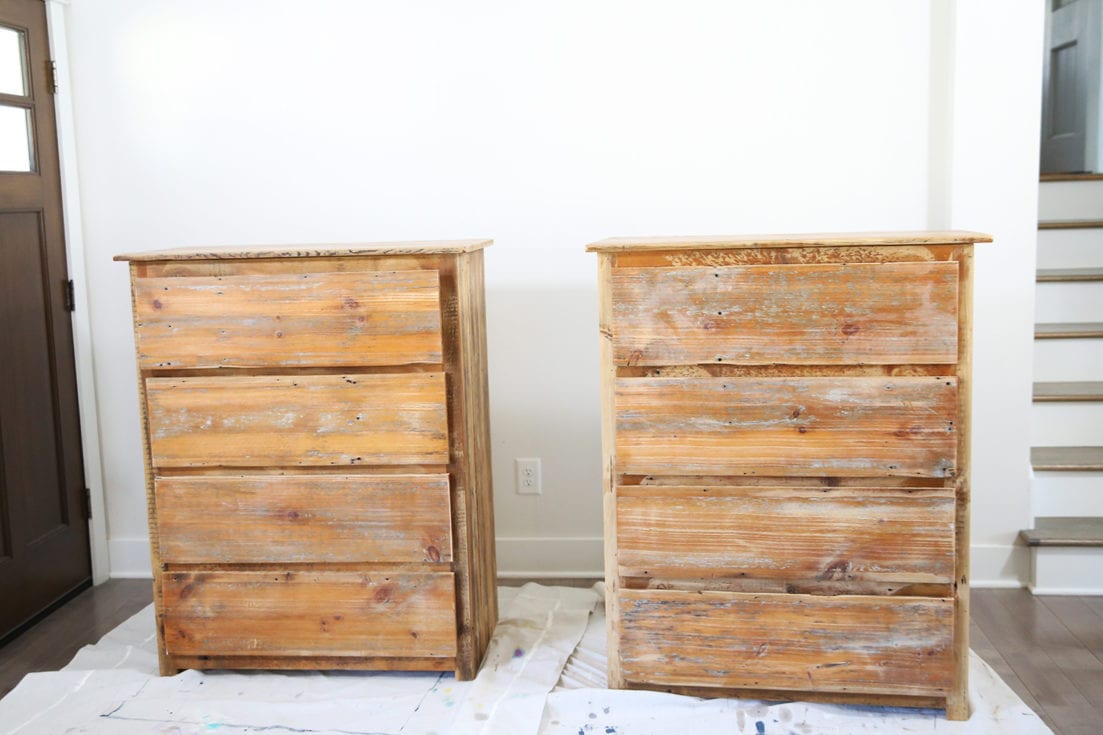
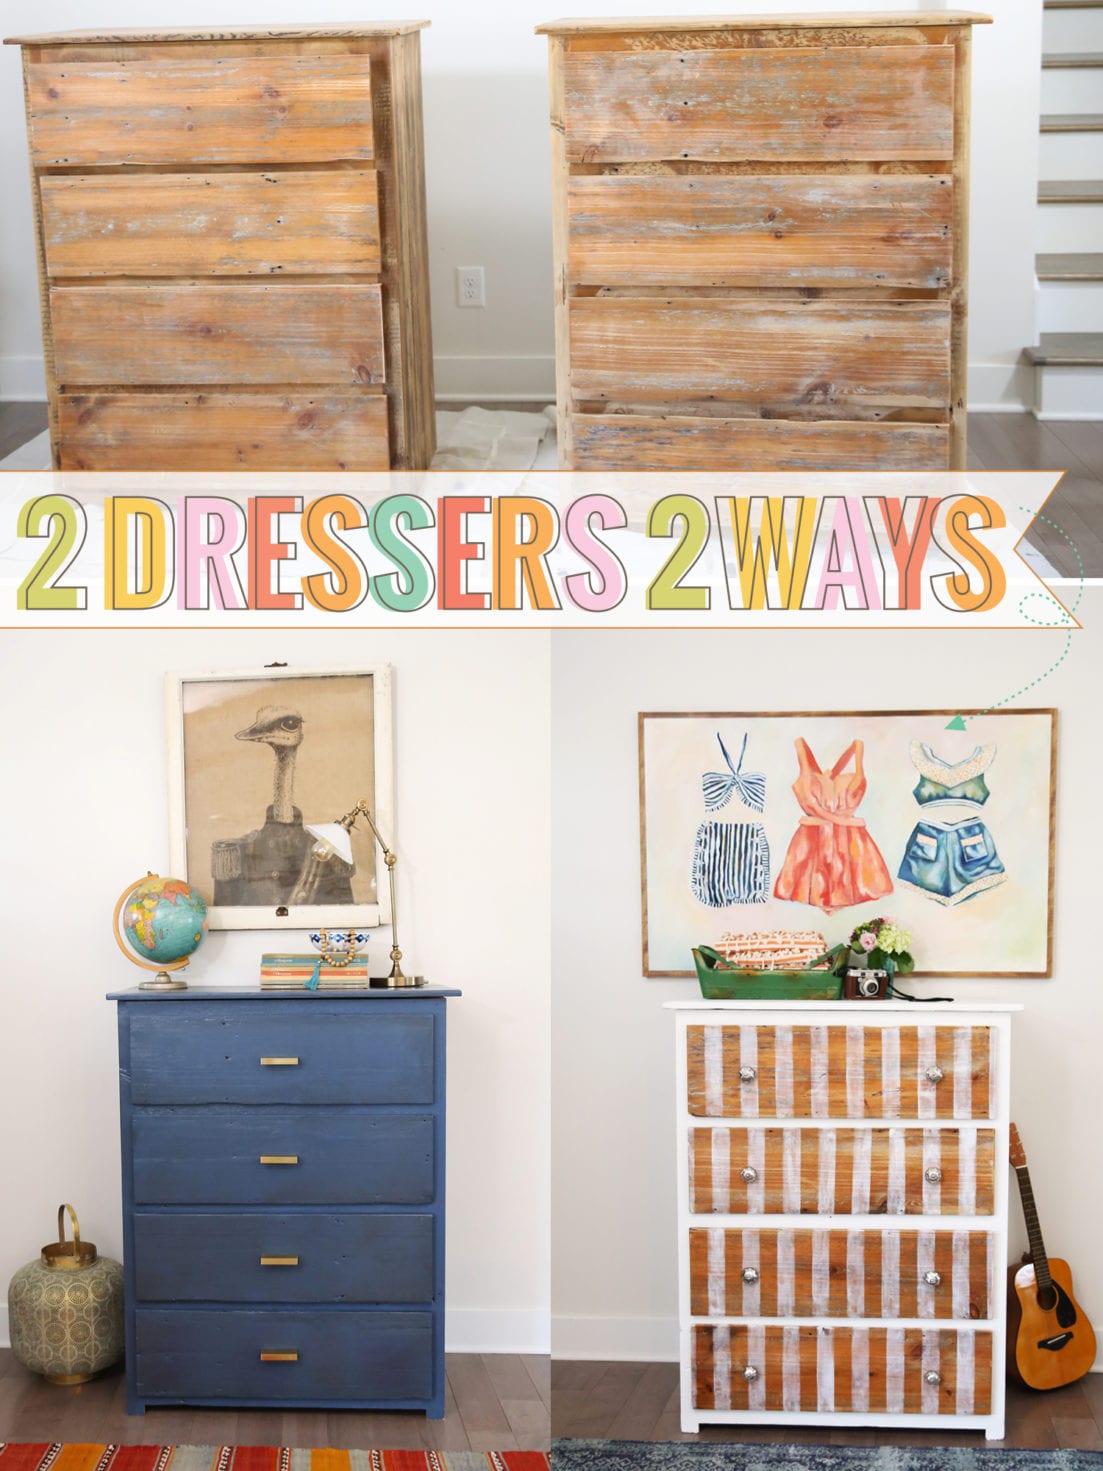
If you’re just tuning in from the show, or from our stories, welcome! Here’s the fabulous before that we started out with. Jamin mentioned they looked like two pieces from a retreat center, and I couldn’t agree more. The rustic nature of the pieces were a bit of a challenge but we loved diving in and getting our hands dirty for a great cause.

Here’s a fun fact about us: once upon a time, this little site was a mom blog. Where I talked about all things mom. And then I realized I could put my design major to a good use, and talk all things makeovers. Once upon a time, we started doing what we do, with furniture makeovers. Little did we know that about a decade later, we’d be doing what we do now.
So I guess you could say this is back to our roots. And because good causes and good furniture makeovers never get old.
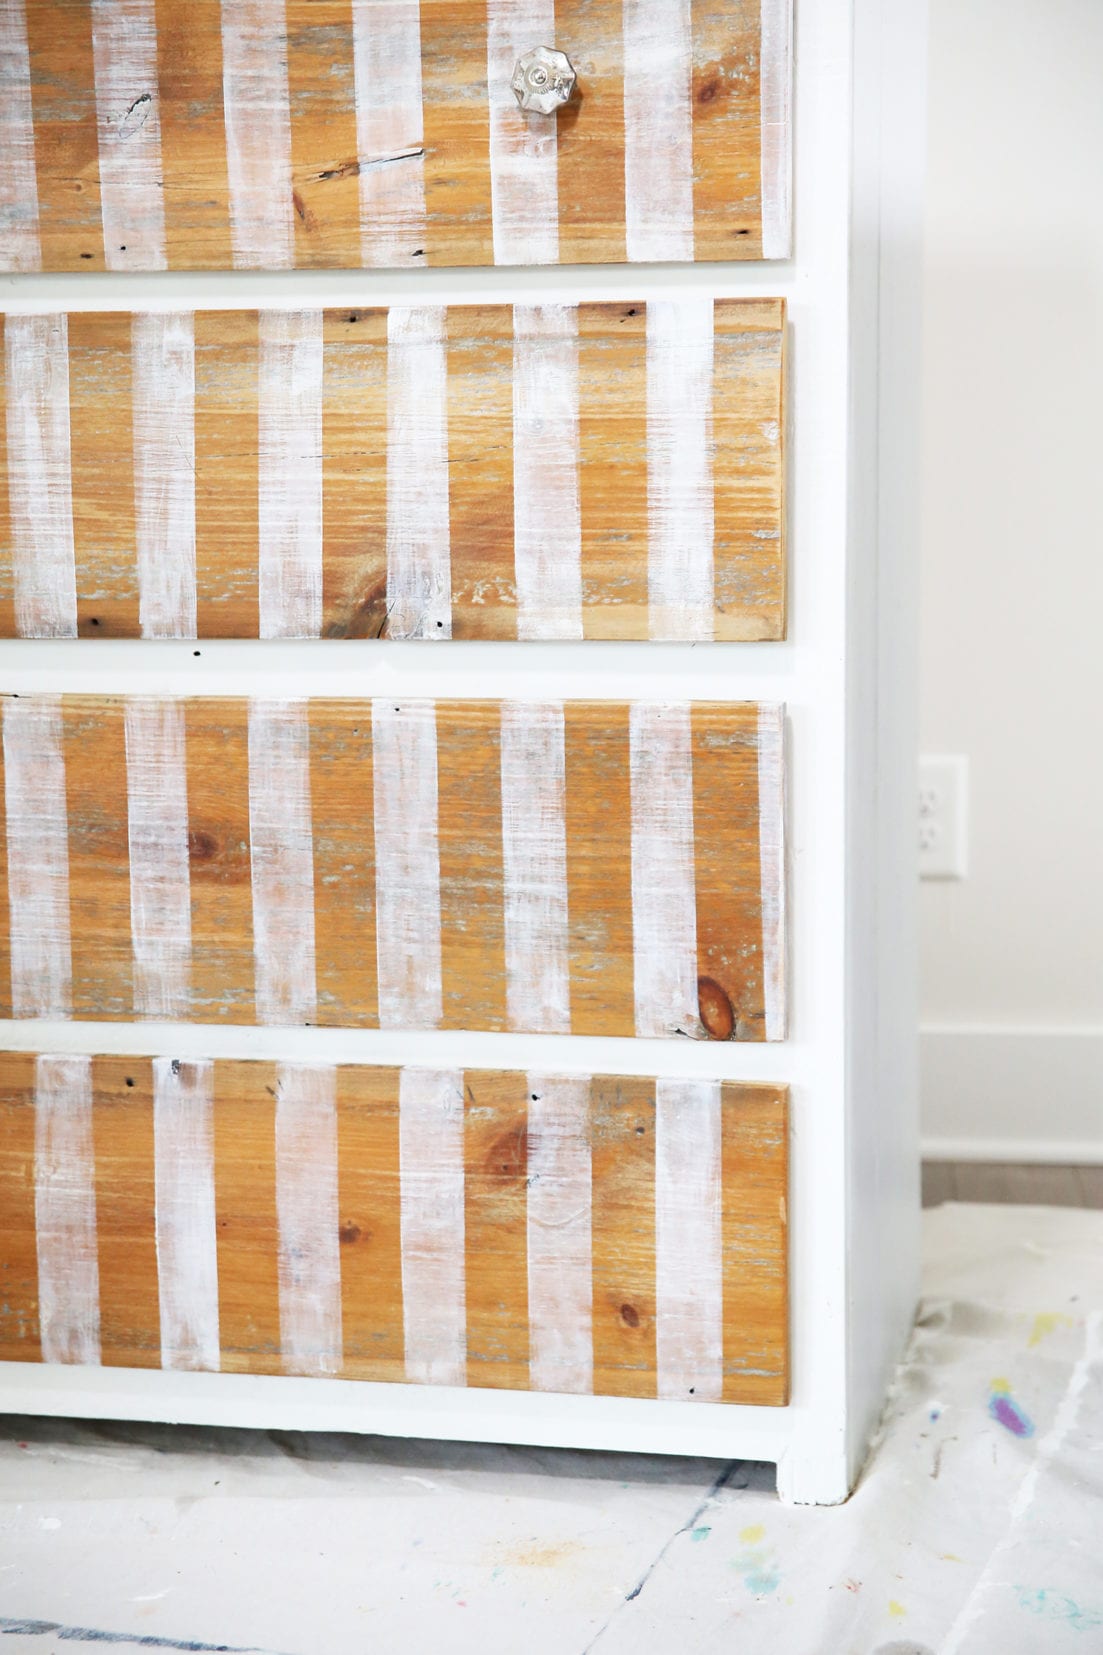
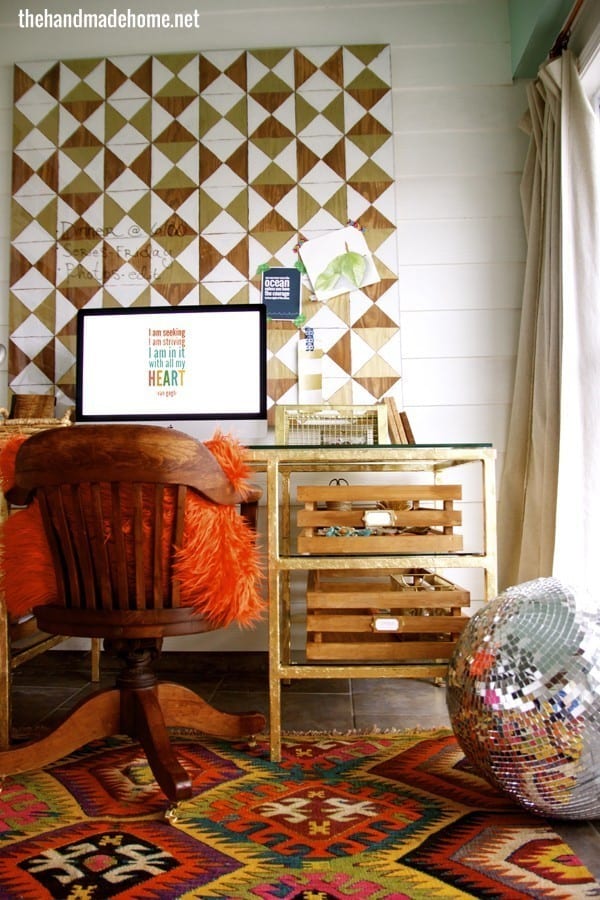
Here’s the after of piece no. 1.
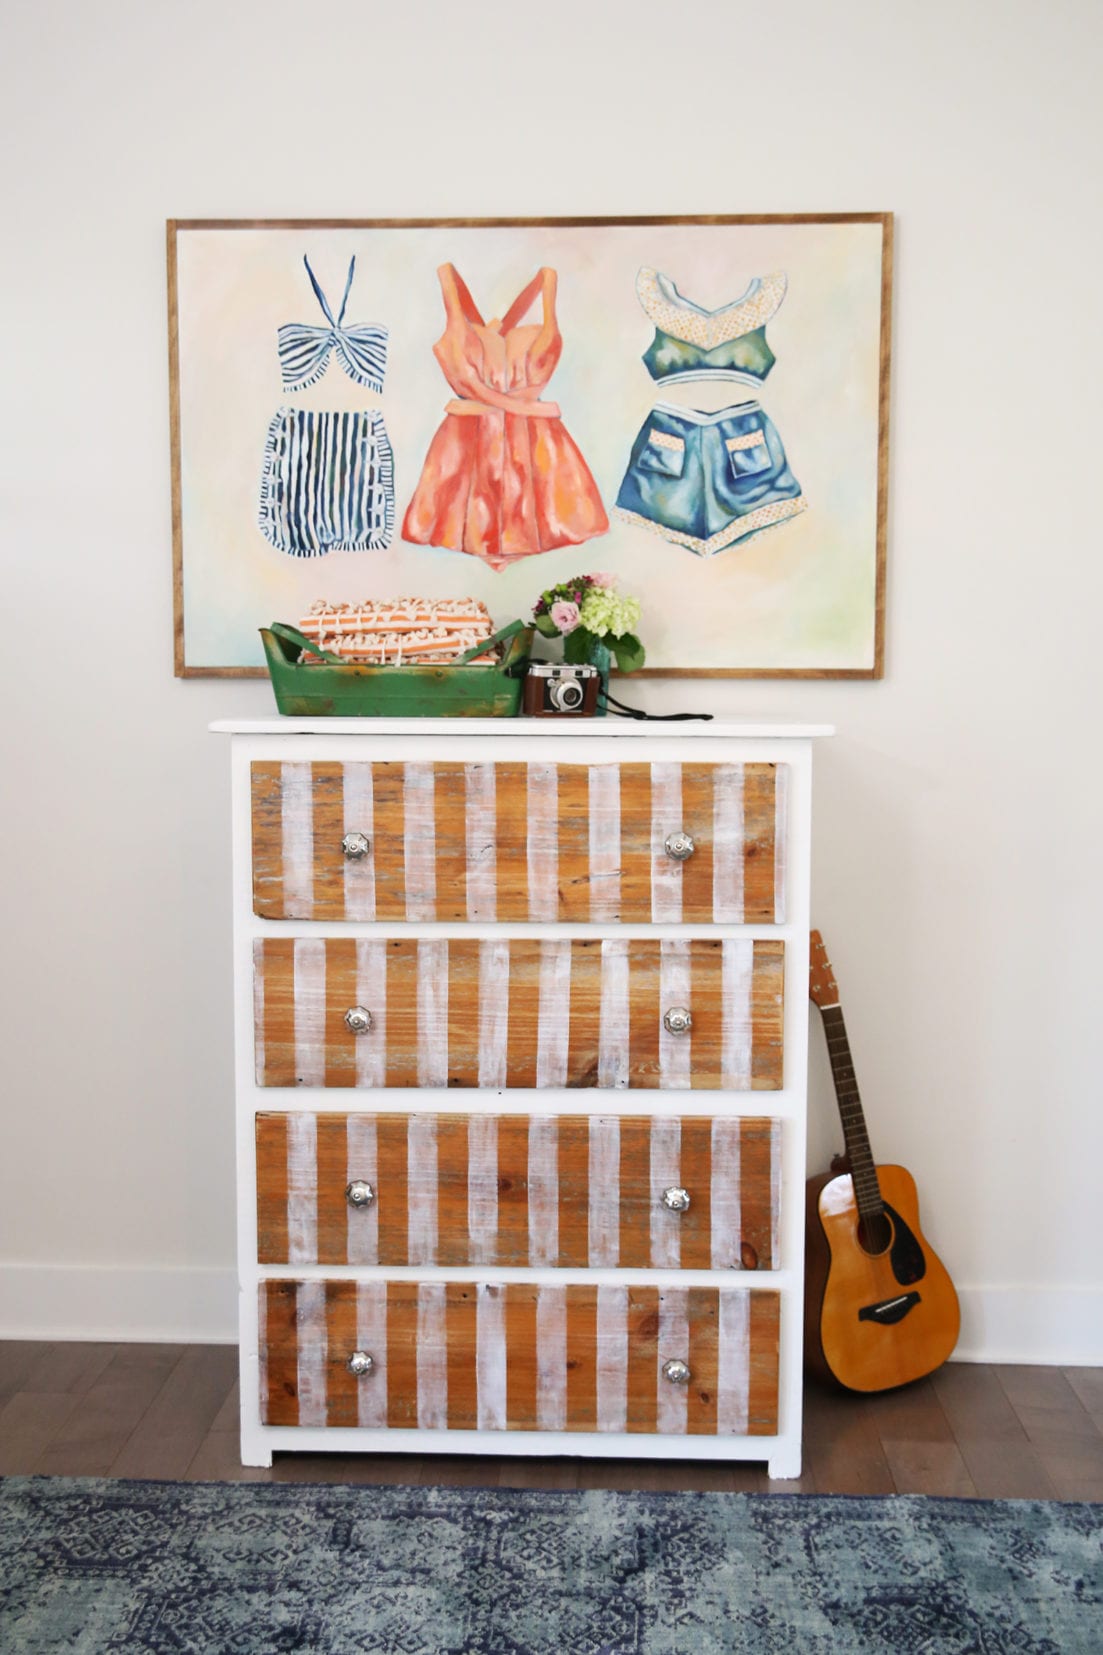
We went for a vintage vibe to embrace the rustic nature of the piece, and play with the funky finish of the drawers by highlighting their unique look. Such a fun piece could be used anywhere! And if you love it, it’ll be available soon at the Nashville Habitat for Humanity ReStore. {Insert shameless plug here.}
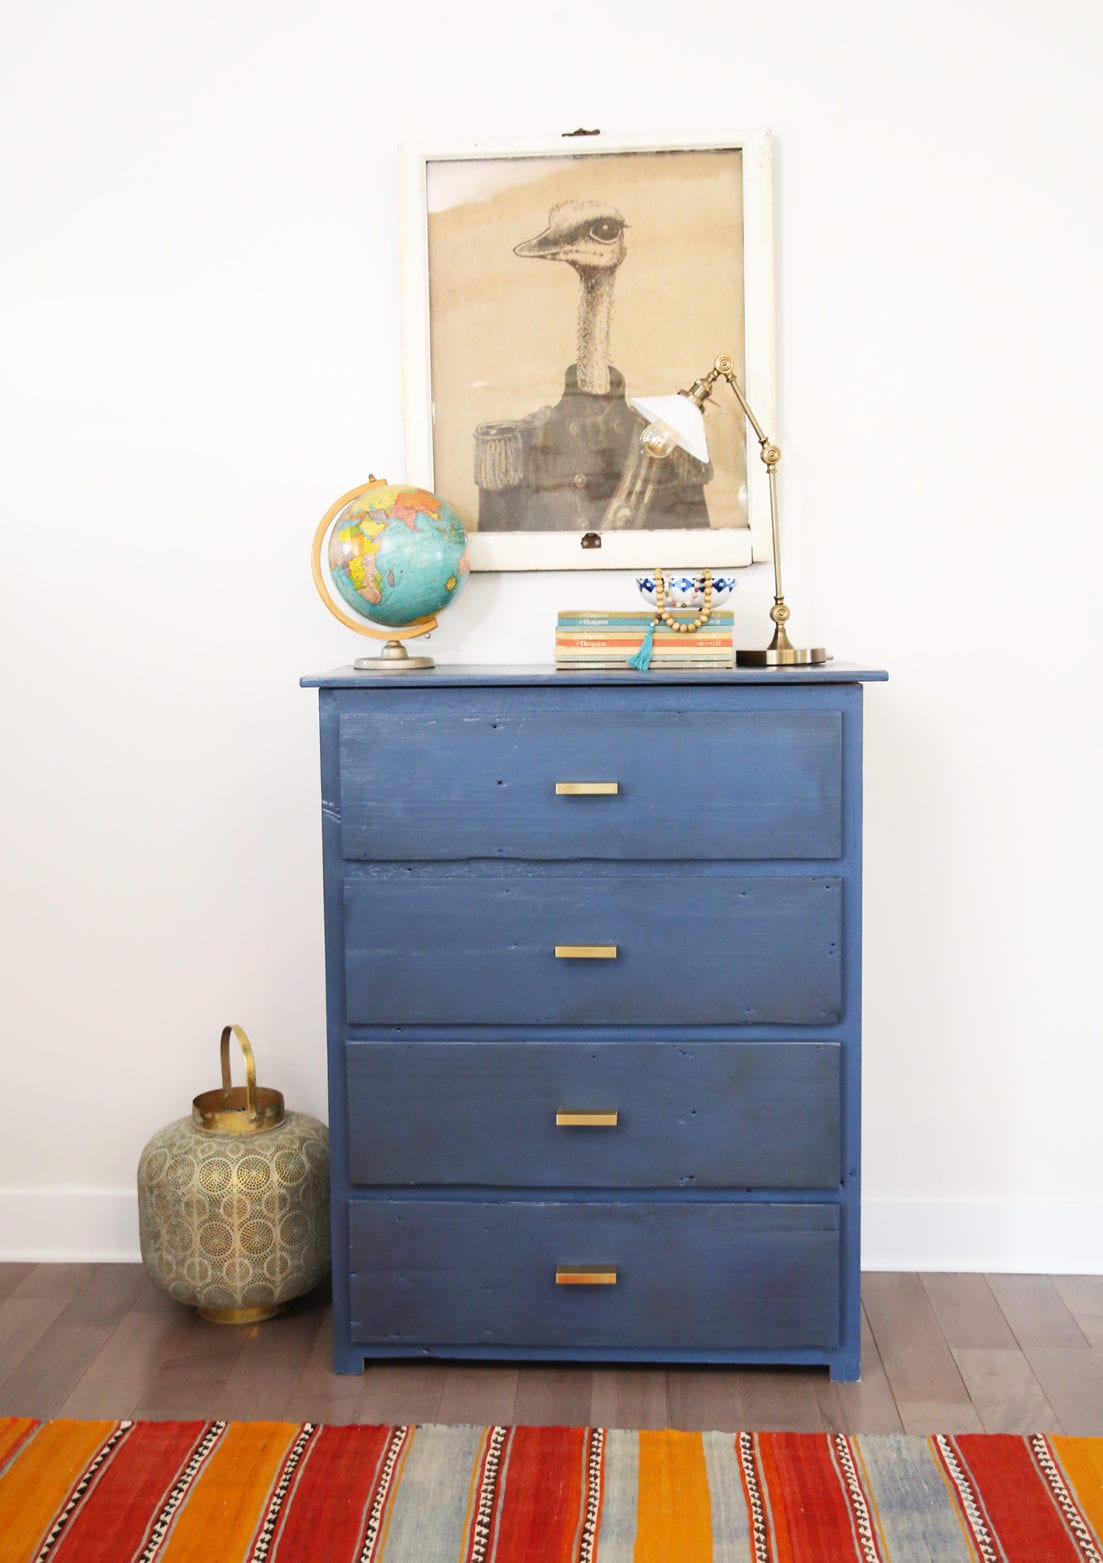
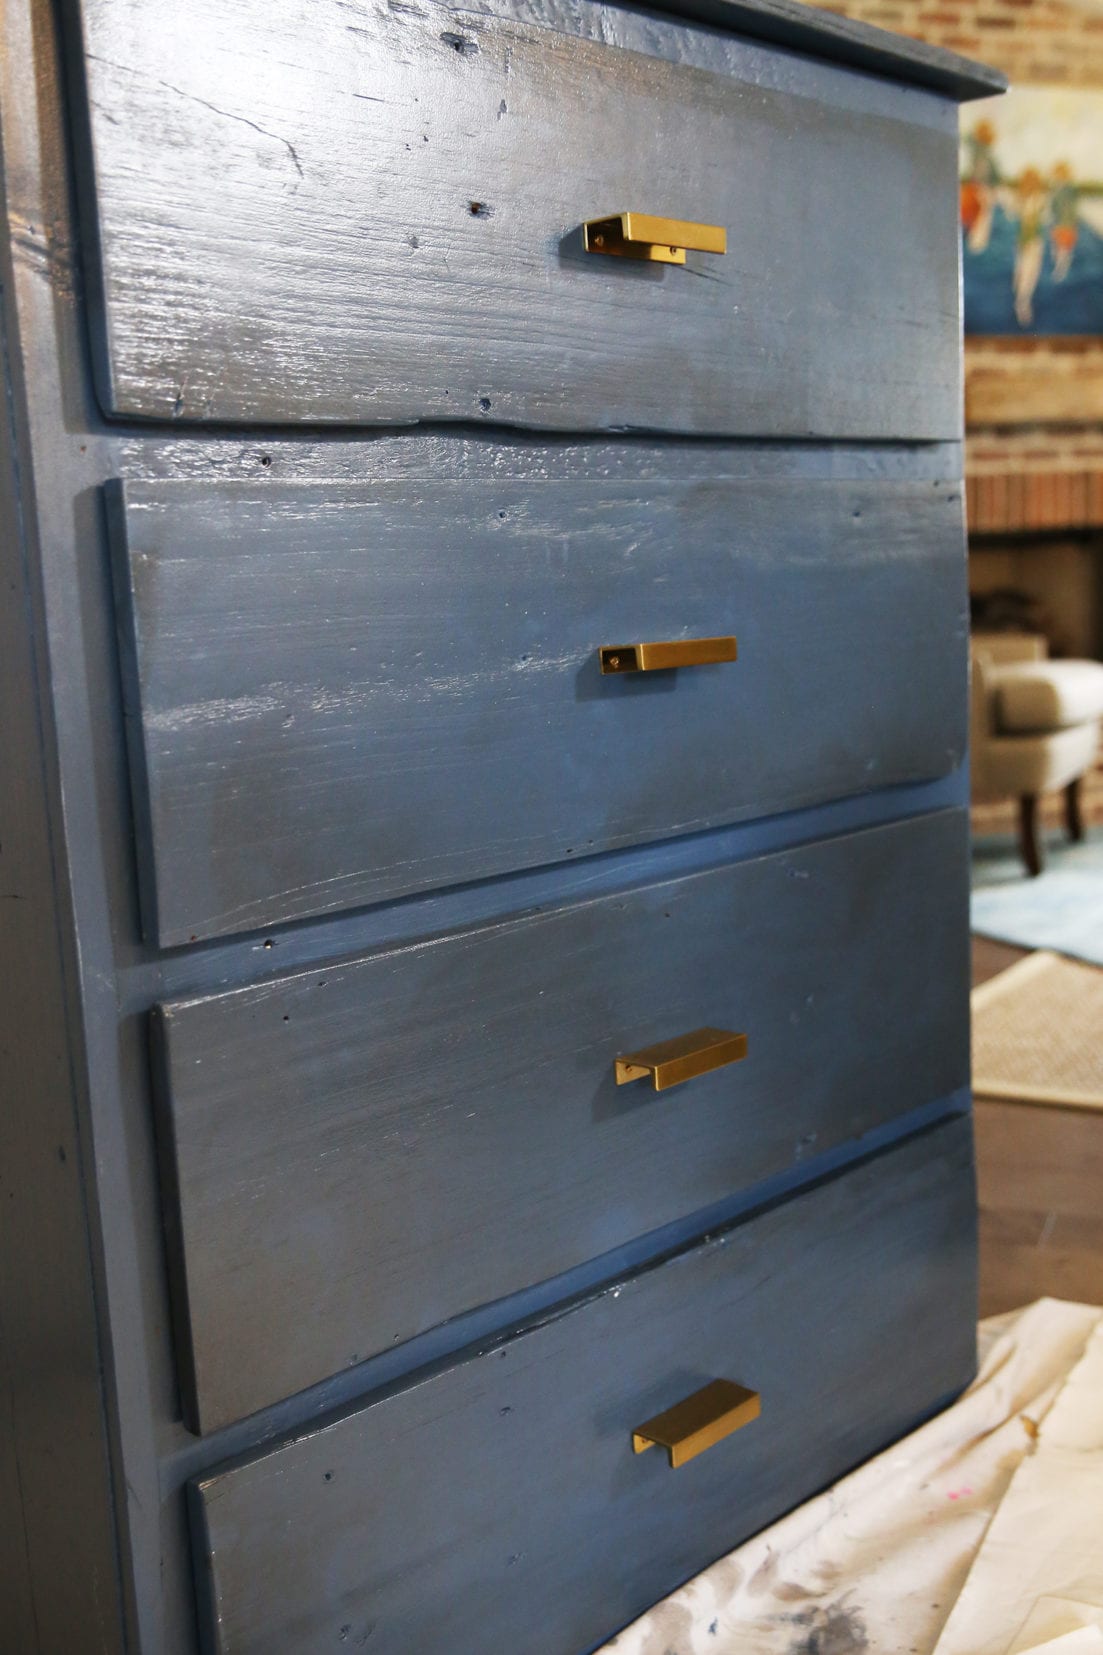
And here’s piece no. 2!
Such a fun result for a unique dresser. Quite the opposite of the first finish, we went for dark and colorful, along with some simple hardware choices to really juxtapose against the once super rustic look.
We love the way they both turned out!
Here are our very favorite tips for all things refinishing furniture.
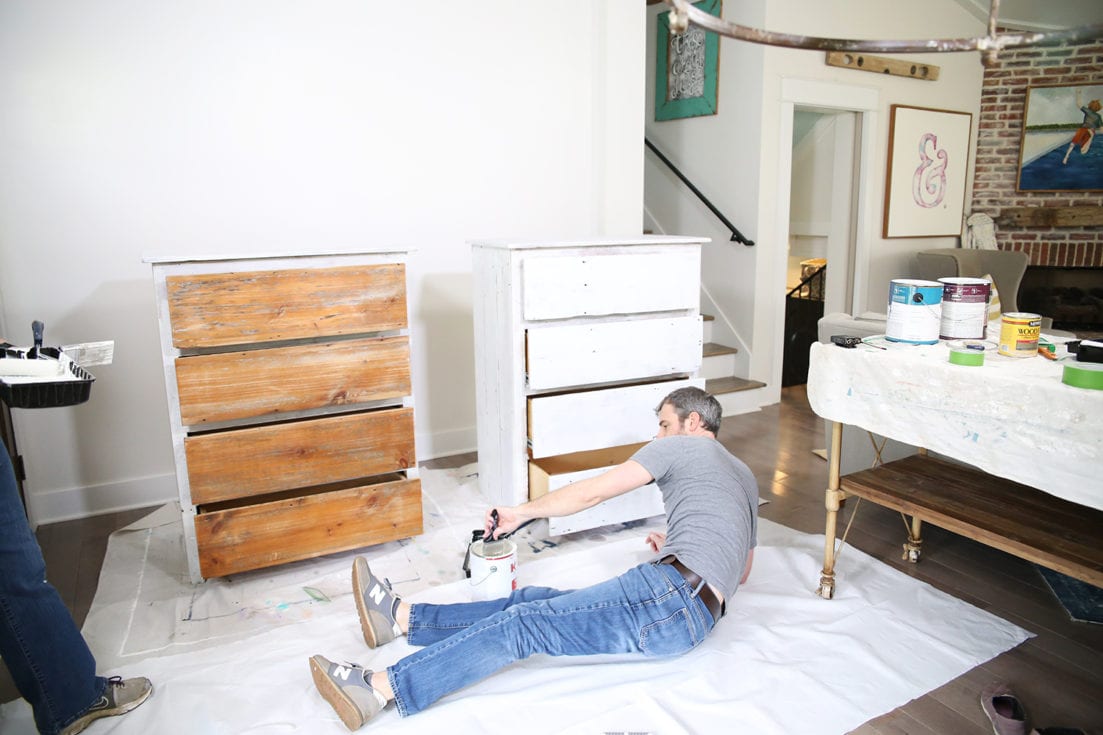
Jamin, going in for a good angle.
1. There are no shortcuts.
I know. we’re such Debbie Downers. But seriously. There is no magical paint with chalk in it and there is no special way to cut all the corners. I was once nearly burned at the stake for saying this circa 2015 at the height of the craze. Because the best way to refinish furniture, is to start correctly: a light sand, and kill it with Killz.
Then, and only then, may you proceed with your fabulous makeover. Trust us. We’ve used the special magical paint before, and we’ve tried to cut corners. We’ve regretted both. For long term, one of a kind pieces, stick with the tried and true. Lightly sand, prime, and then paint.
Tada! You’re on the right track.
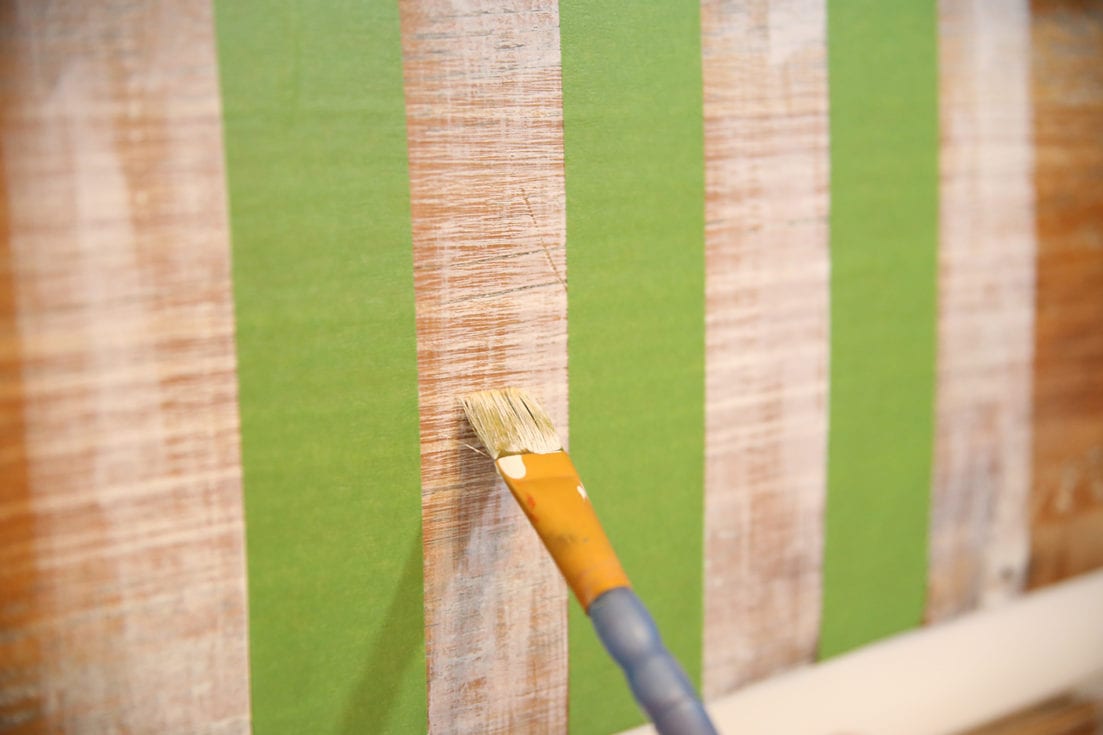
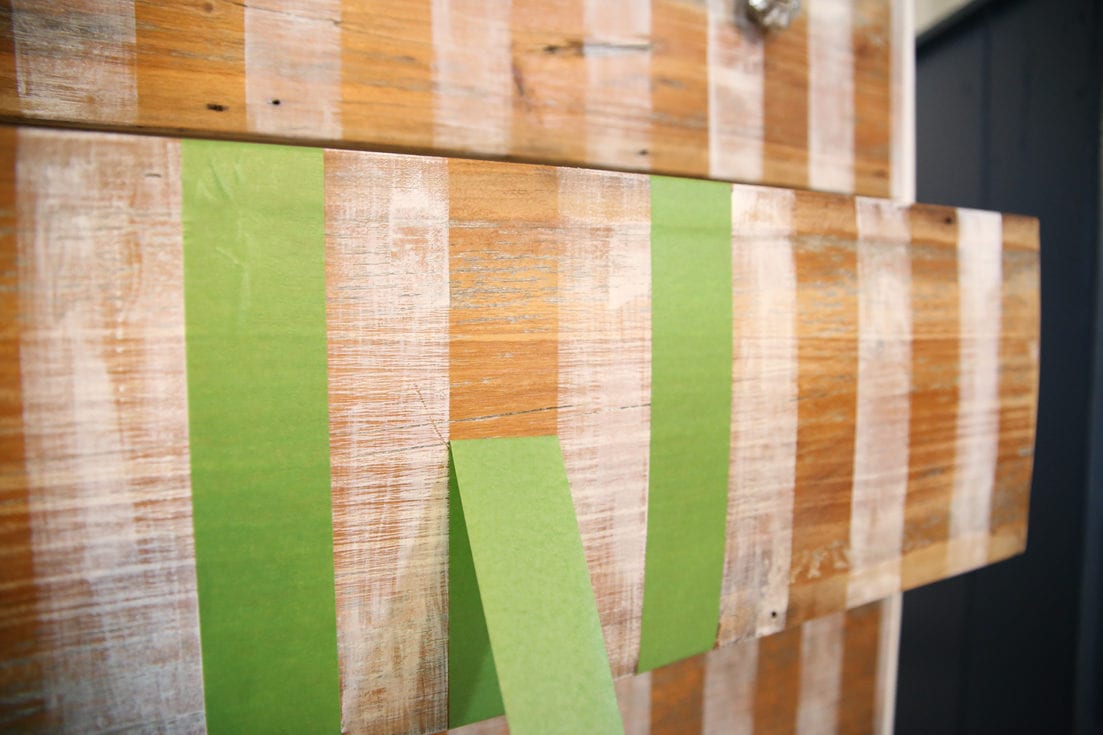
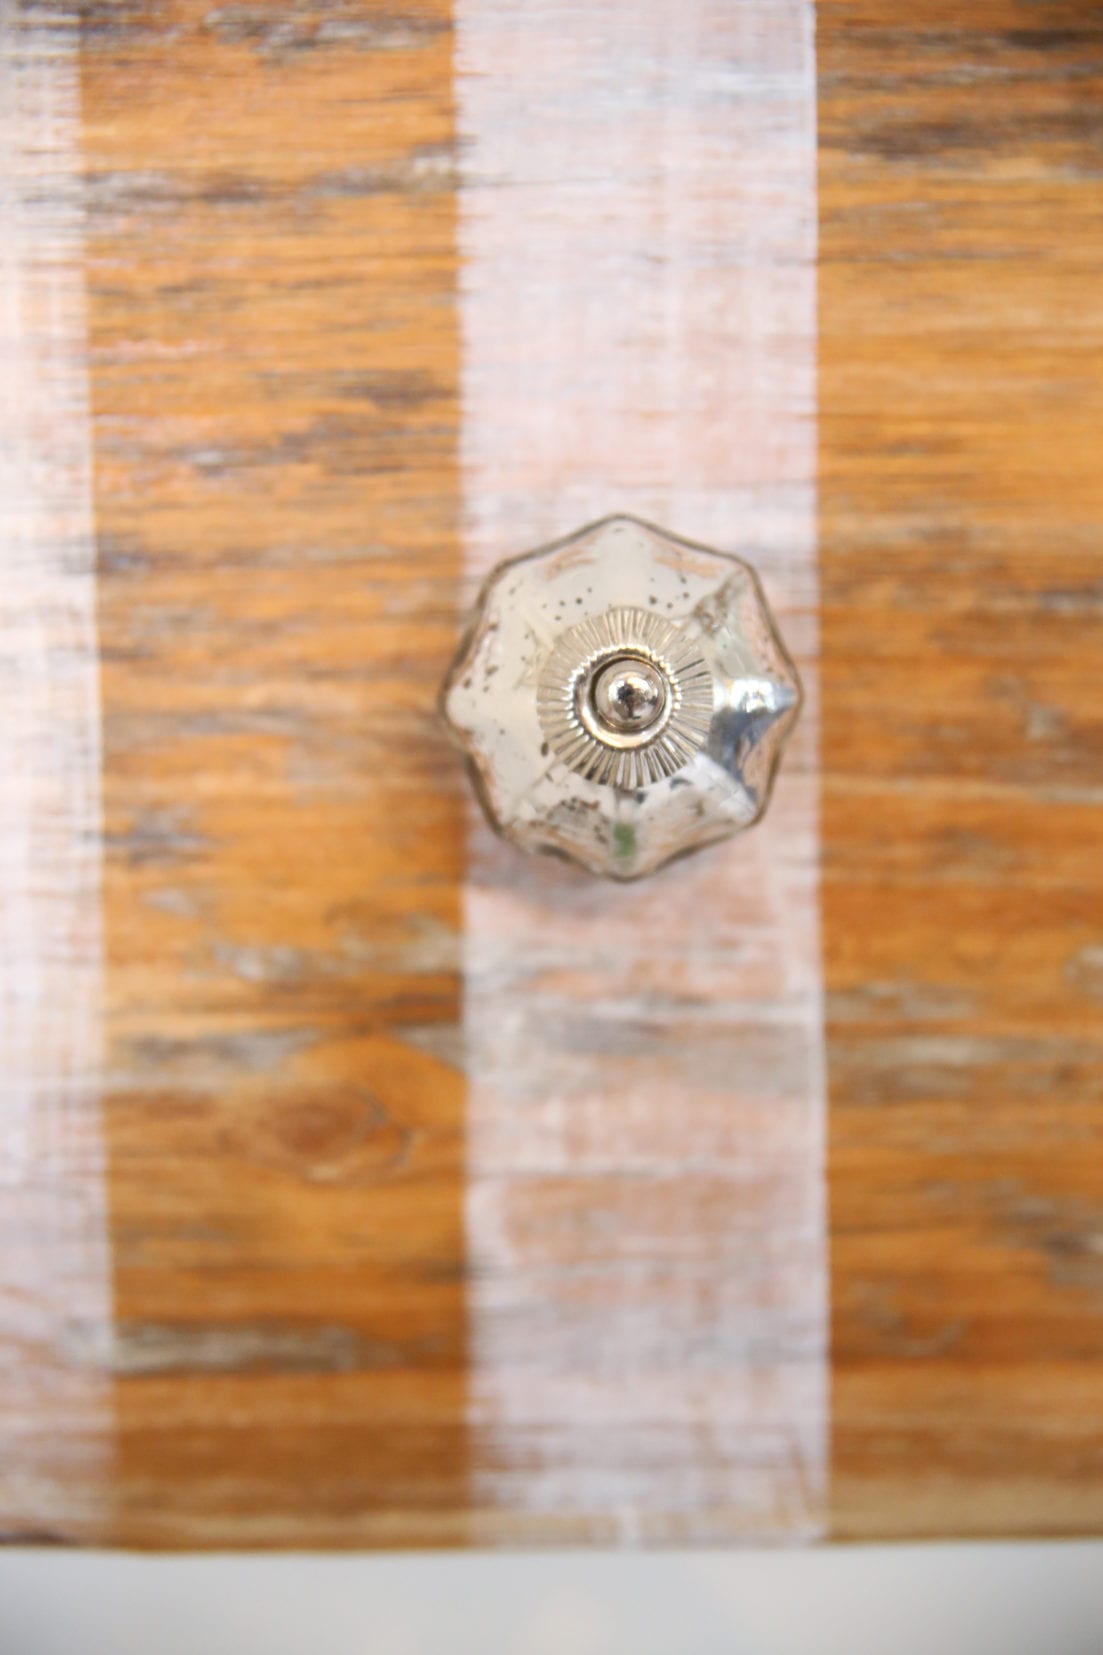
Creating stripes with the ever fabulous Frogtape®
2. Let the piece dictate what you do.
I had other plans for these pieces, and then I saw them in person. That meant our plans took a hard swerve to the right, and the end results were better for it. Sometimes, a rustic piece simply cannot be made modern. Something that is a beautiful wood, just doesn’t need to be painted. Be flexible and ready to work with that you’ve been given. Refinishing pieces will never go out of style, no matter what your approach. And it’s a great way to achieve a one of a kind look in your home.
3. Be fearless.
If you’ve been reading for a while, then we know you knew this was coming.
Go for what you want, and don’t let your grandmother’s sister’s brother’s uncle’s dog’s nephew’s voice stop you. If you want stripes, go for it. If you’d like purple, do it. Be flexible and “listen” to the lines and style of the piece so that your design works well, but also, just go for what you want, too.
Some of our very favorite methods:
Once you’re ready to paint, use rollers to apply the big areas. The fine sponge/tray sets you can purchase at your local home improvement stores are the best.
And use small-handled brushes to help get into the trim-able/hard to reach areas. This will give you your most efficient coats.
Wax on, wax off
Mr. Miyagi style.
I love to take a nice, eggshell piece {or semigloss} and finish it off with some stain on top. Any stain will do, but I usually reach for the Minwax, since it doesn’t have to be anything fancy. I just rub some stain on the top coat, and then wipe it off. Over and over again in different ways, until I’ve achieved the look I’m going for, is always the best.
It enriches the finish and gives the top an extra protective coat.
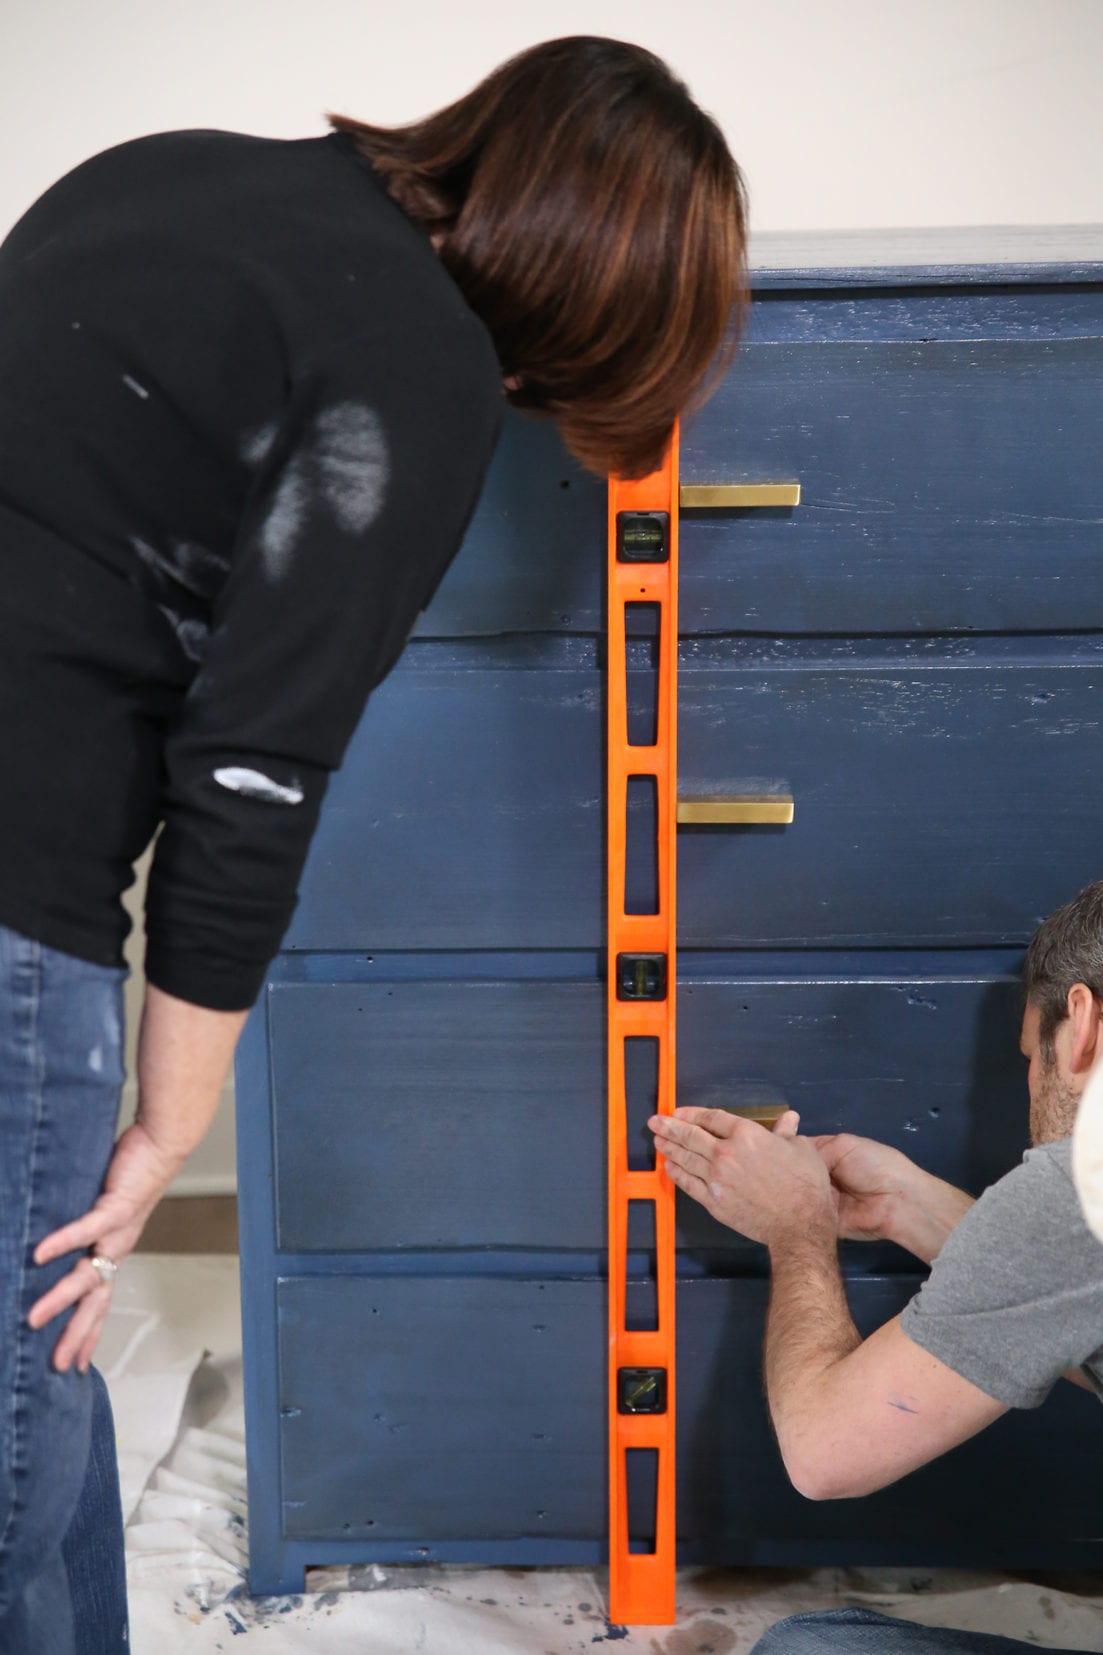
Use a level
…if you’re installing a series of hardware pieces. Measure, of course, and then make sure all the pieces are lined up by using a level as you install.
This way you can double check yourself as you go. It’s faster. We’ve installed many a hardware on many a piece. Trust us.
Hardware Woes
You’ve scored the perfect find for the perfect piece, only to go in and realize that center screw isn’t long enough for the extra thick drawer. Ew. First world probs.
This actually happened to us when we were filming, and there was no time to go to the hardware store. Also, sometimes you don’t want to go back, anyway.
So, instead of heading back to the hardware store, take care of it with glue. No, seriously.
Get your hot glue gun ready, and shoot it into the drilled hole. Then immediately insert the hardware. Done. And it’s only semipermanent, so if you change your mind later, it can come out easily with a little heat. But it works just fine, in the meantime.
I should write a book on hot glue gun fixes around the house. Oh wait that’s probably already been done. ;}
We hope you enjoyed a few of our very favorite tips and tricks today, as well as our makeover for a good cause! We’d love to see you at the Home Expo this coming Friday. Be sure to stop by and say hello!
Have an inspired day!


Excellent post – great tips and results. If I lived in the Nashville area I would enjoy seeing you st the Expo. Will have to settle for your recap of it if you do one.
This is beautiful! Great job guys. Adore the transformation!