how to create a staircase gallery
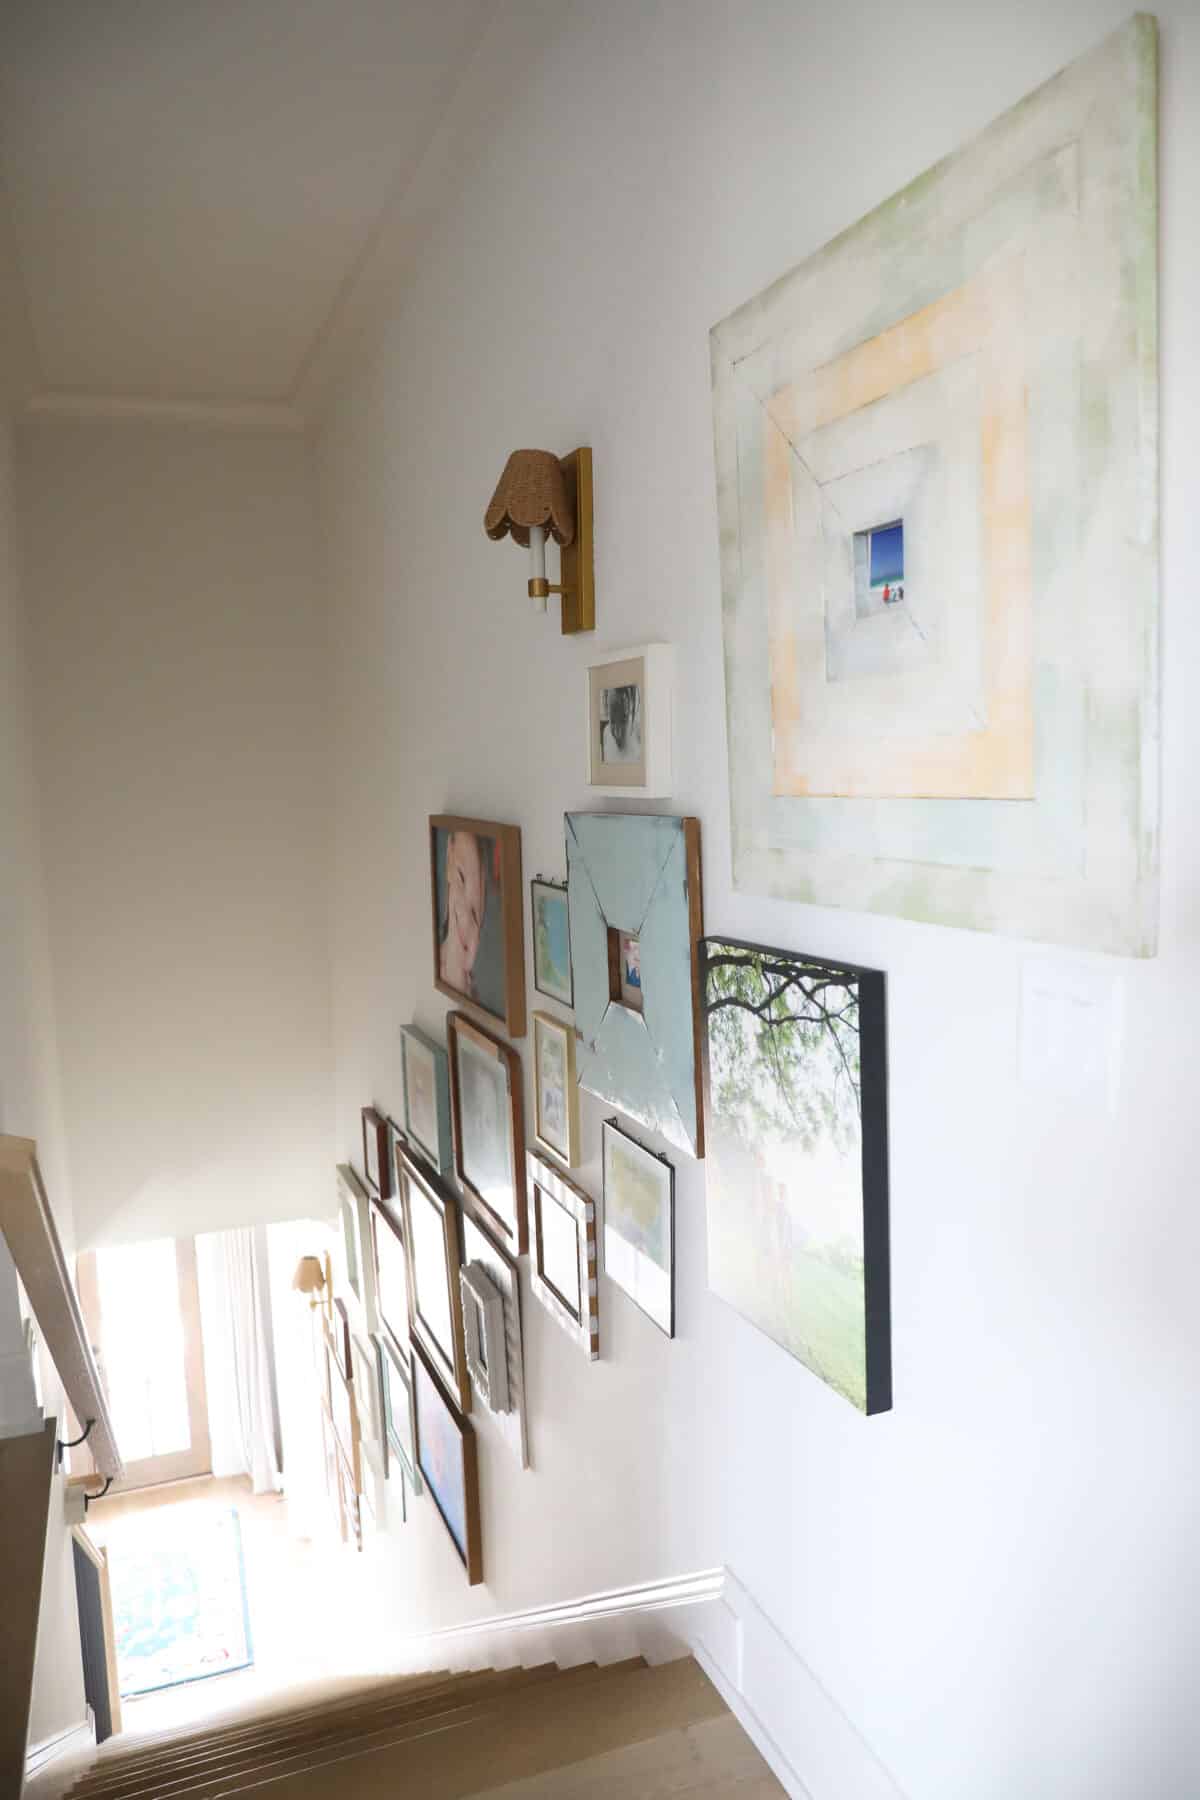
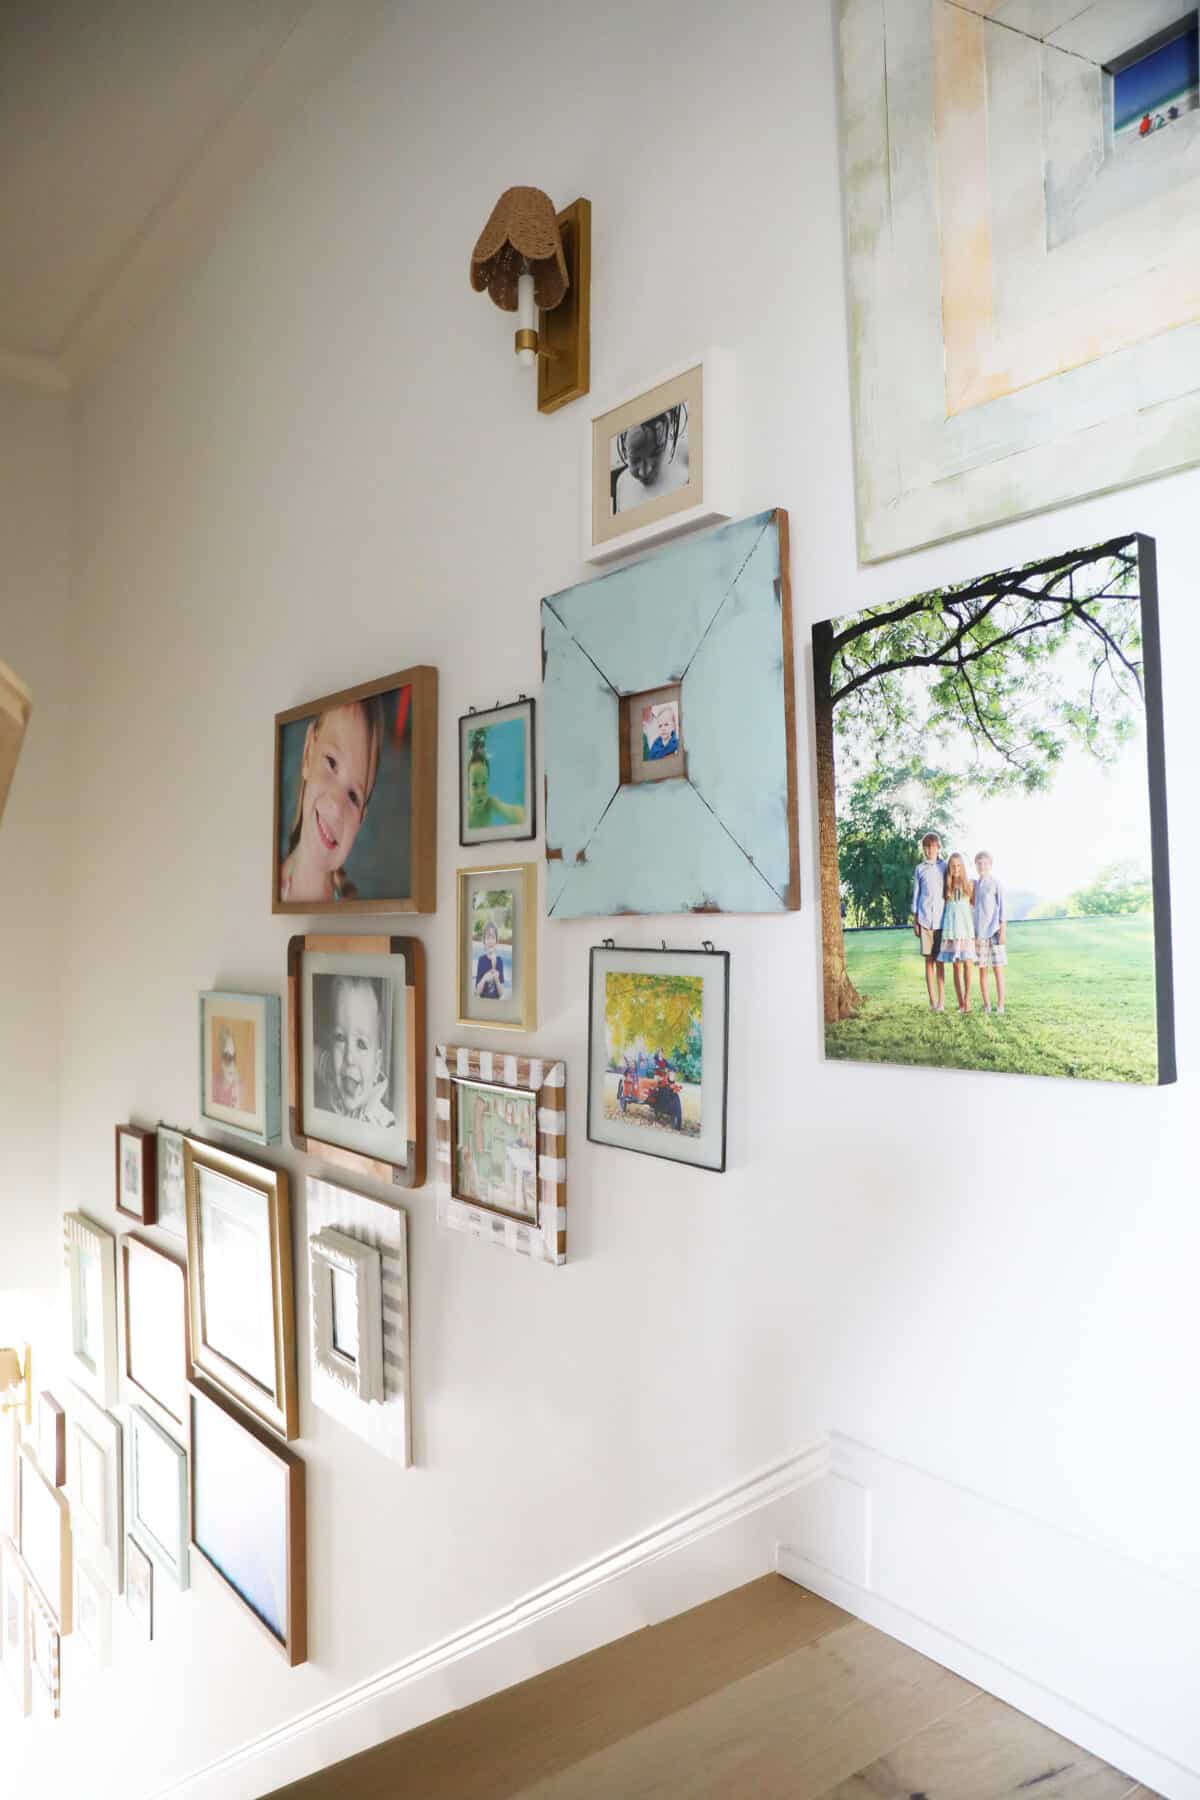
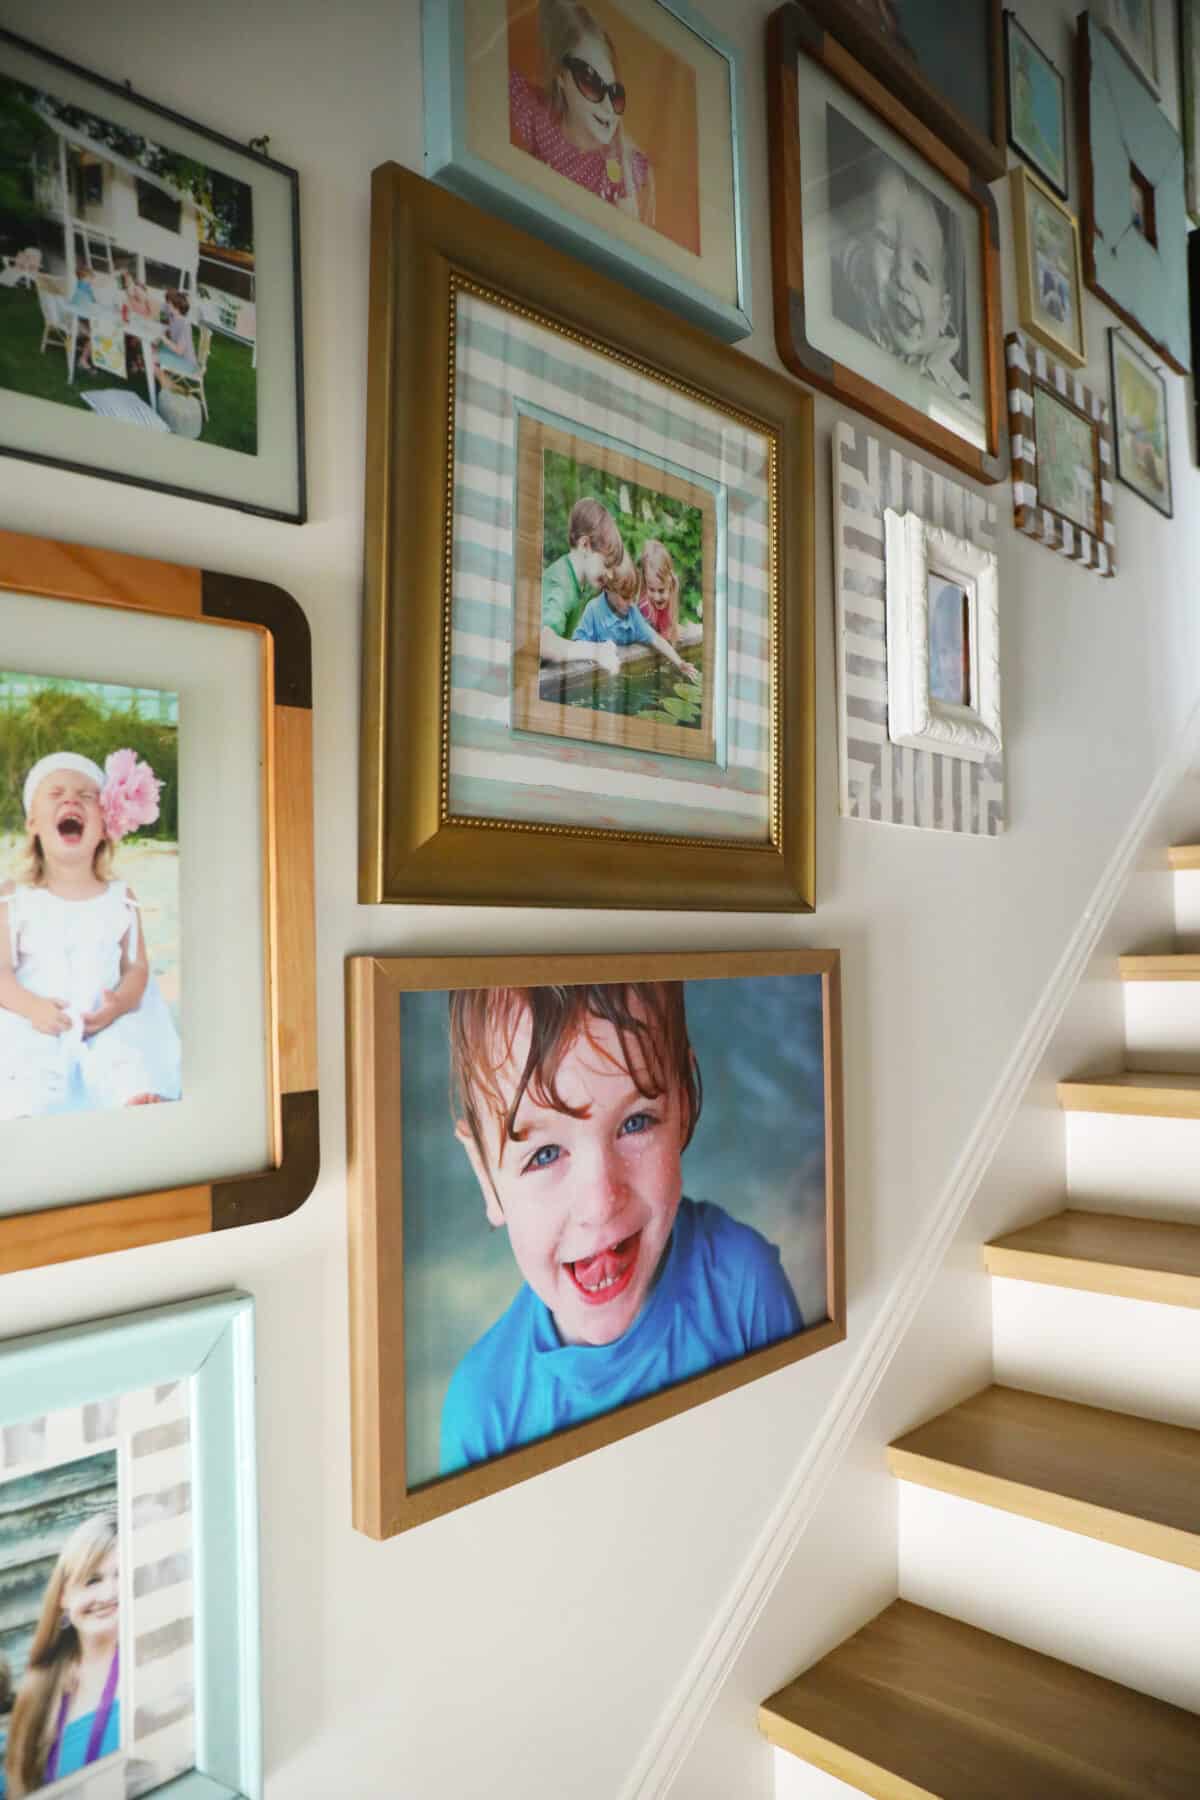
Here to share my fave wall of the house with you… and it’s clearly the most difficult to capture {next to the entryway} : how to create a staircase gallery!
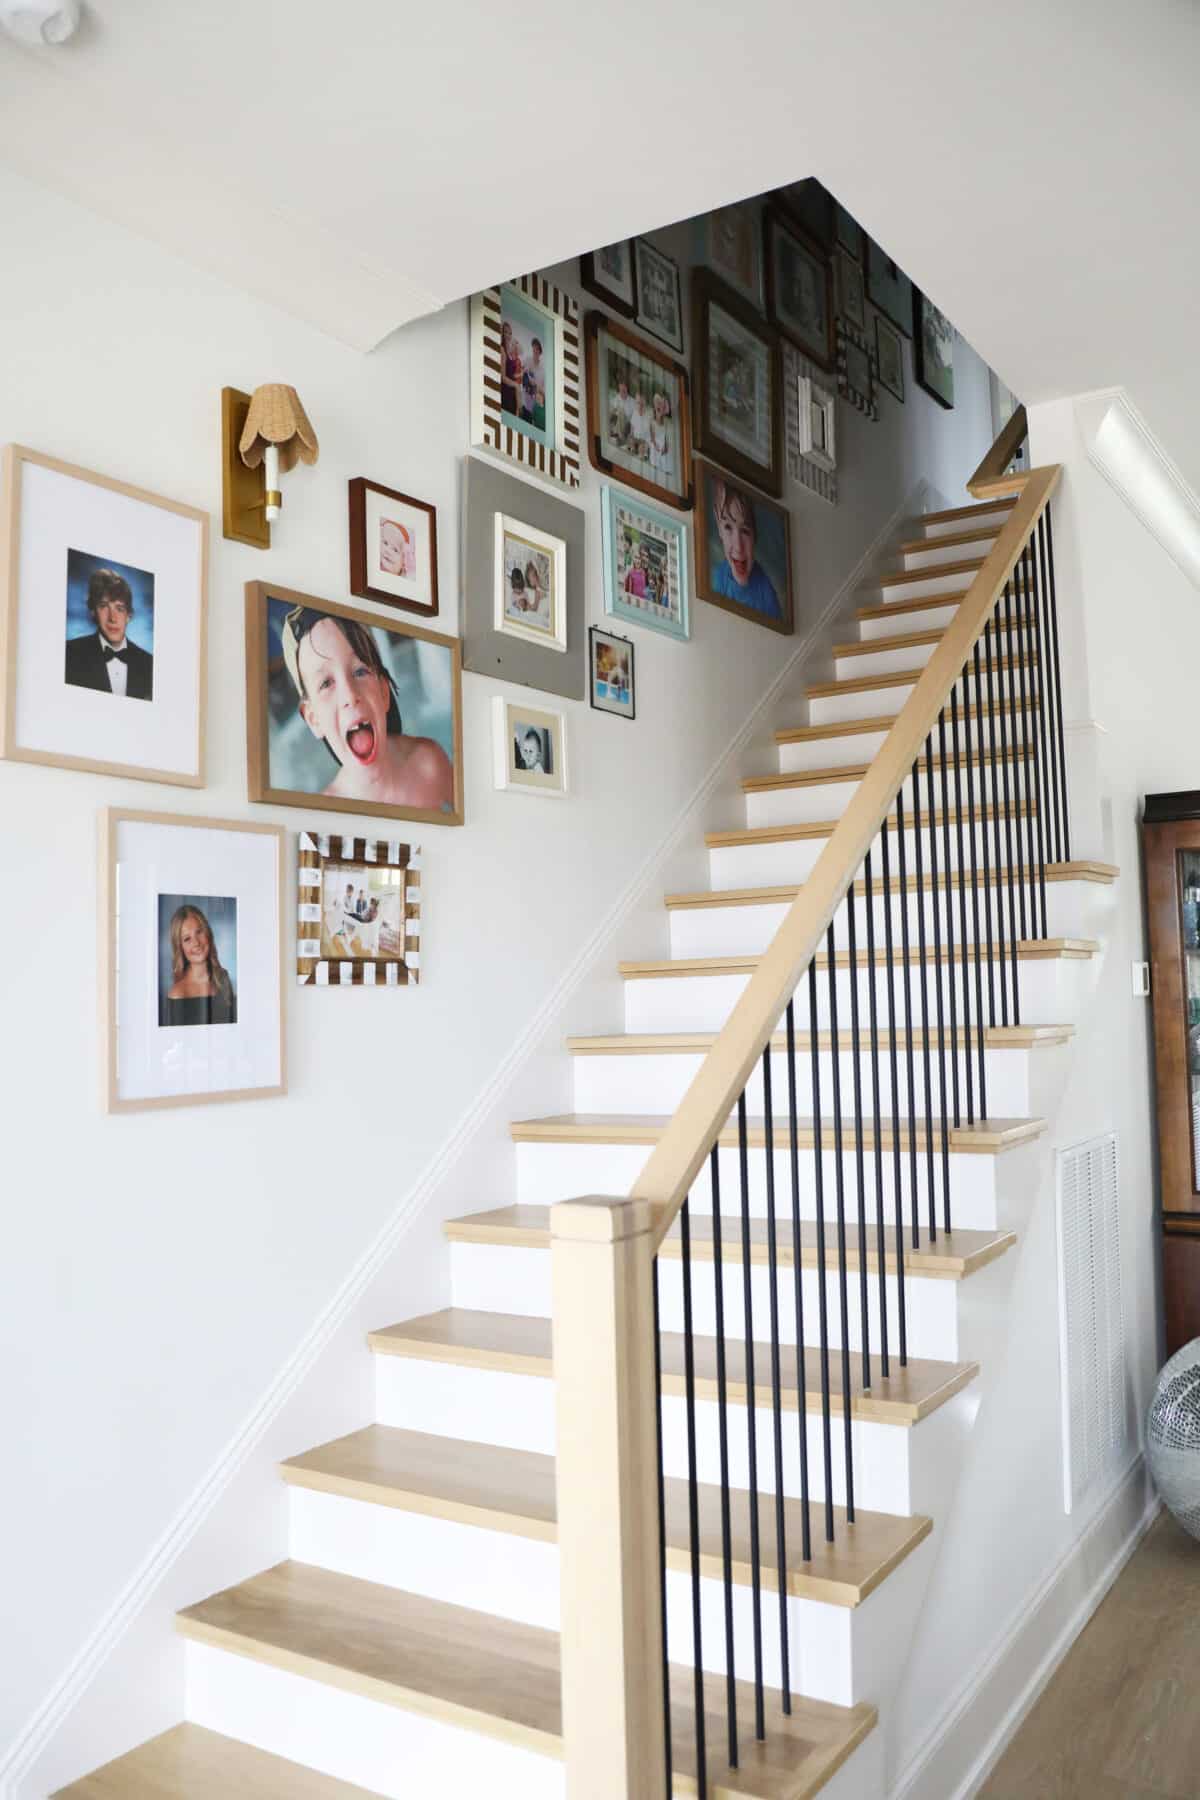
In this new rental, we went from having minimal walls in our previous home {one of the greatest tragedies to someone who loves art + photography so much} to a lot more. And while we don’t quite know where we’ll be going or what we want, we do know we’ll be staying here a while. I was eager to get the kids settled in and make it feel like home again. So I was really happy to tackle this wall… almost immediately.
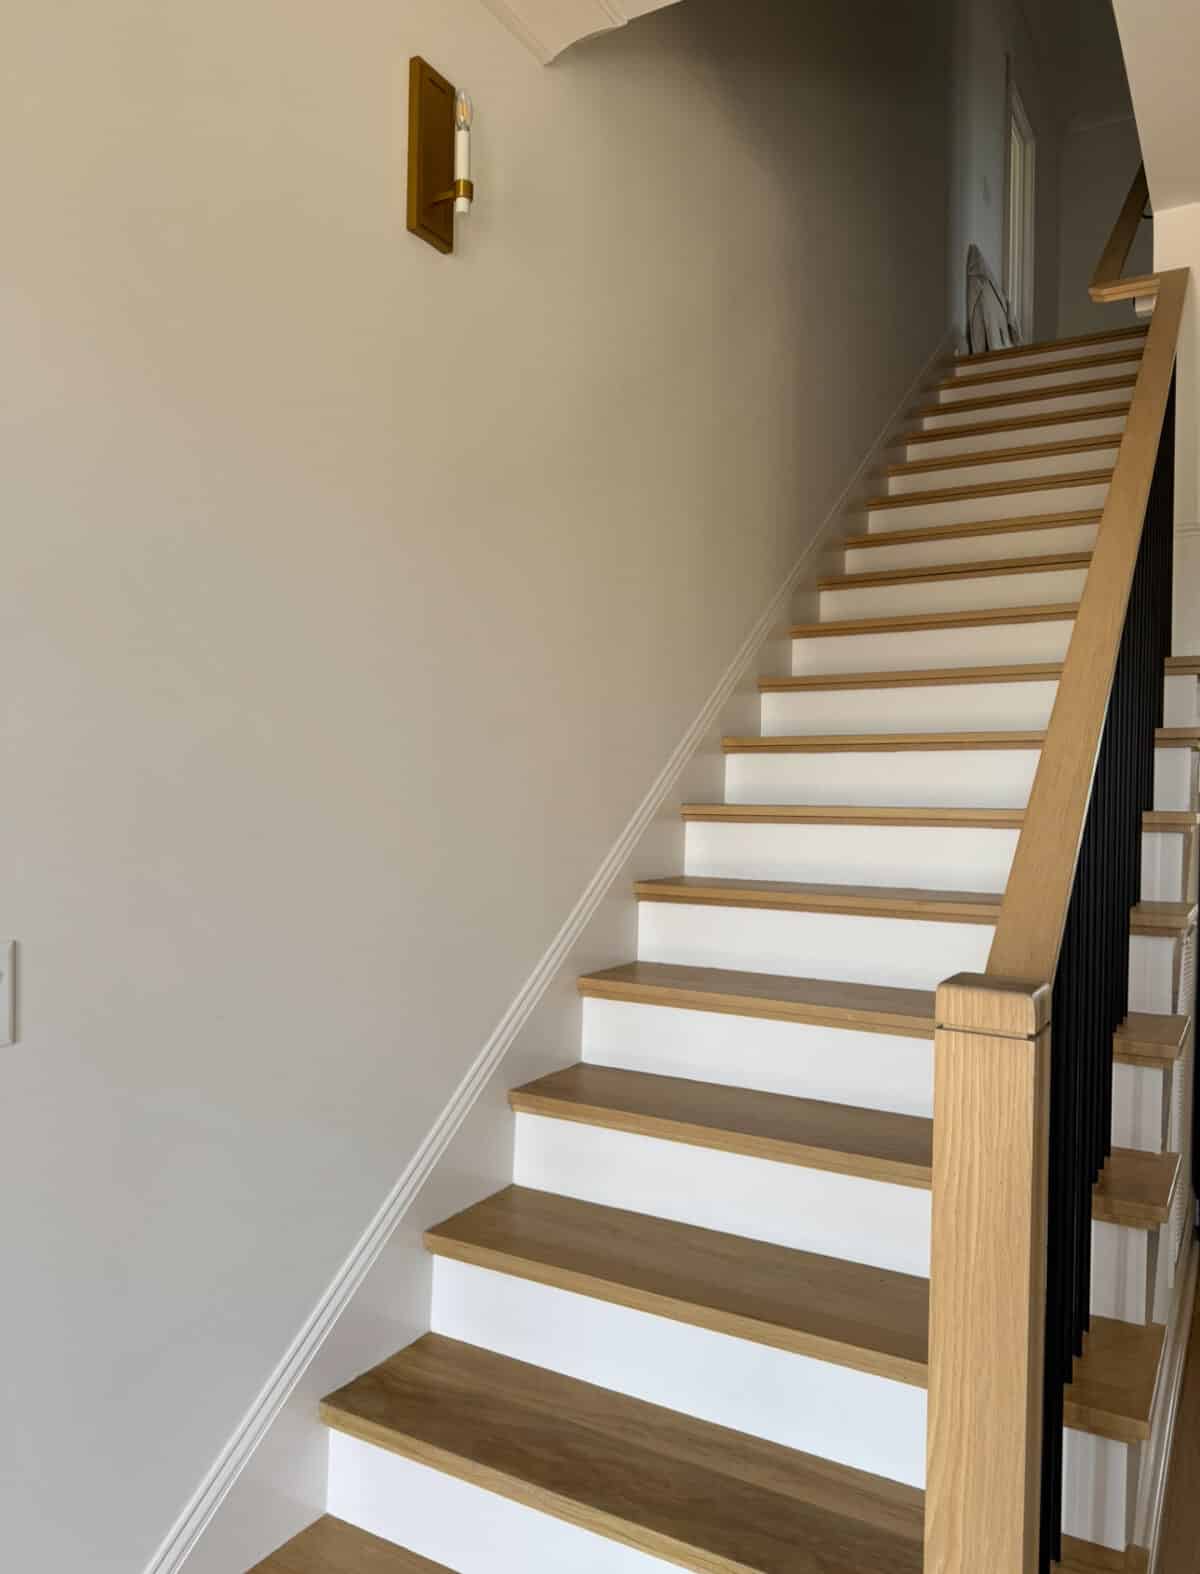
We started out like this. It’s a very long, steep staircase, and I knew it needed major character.
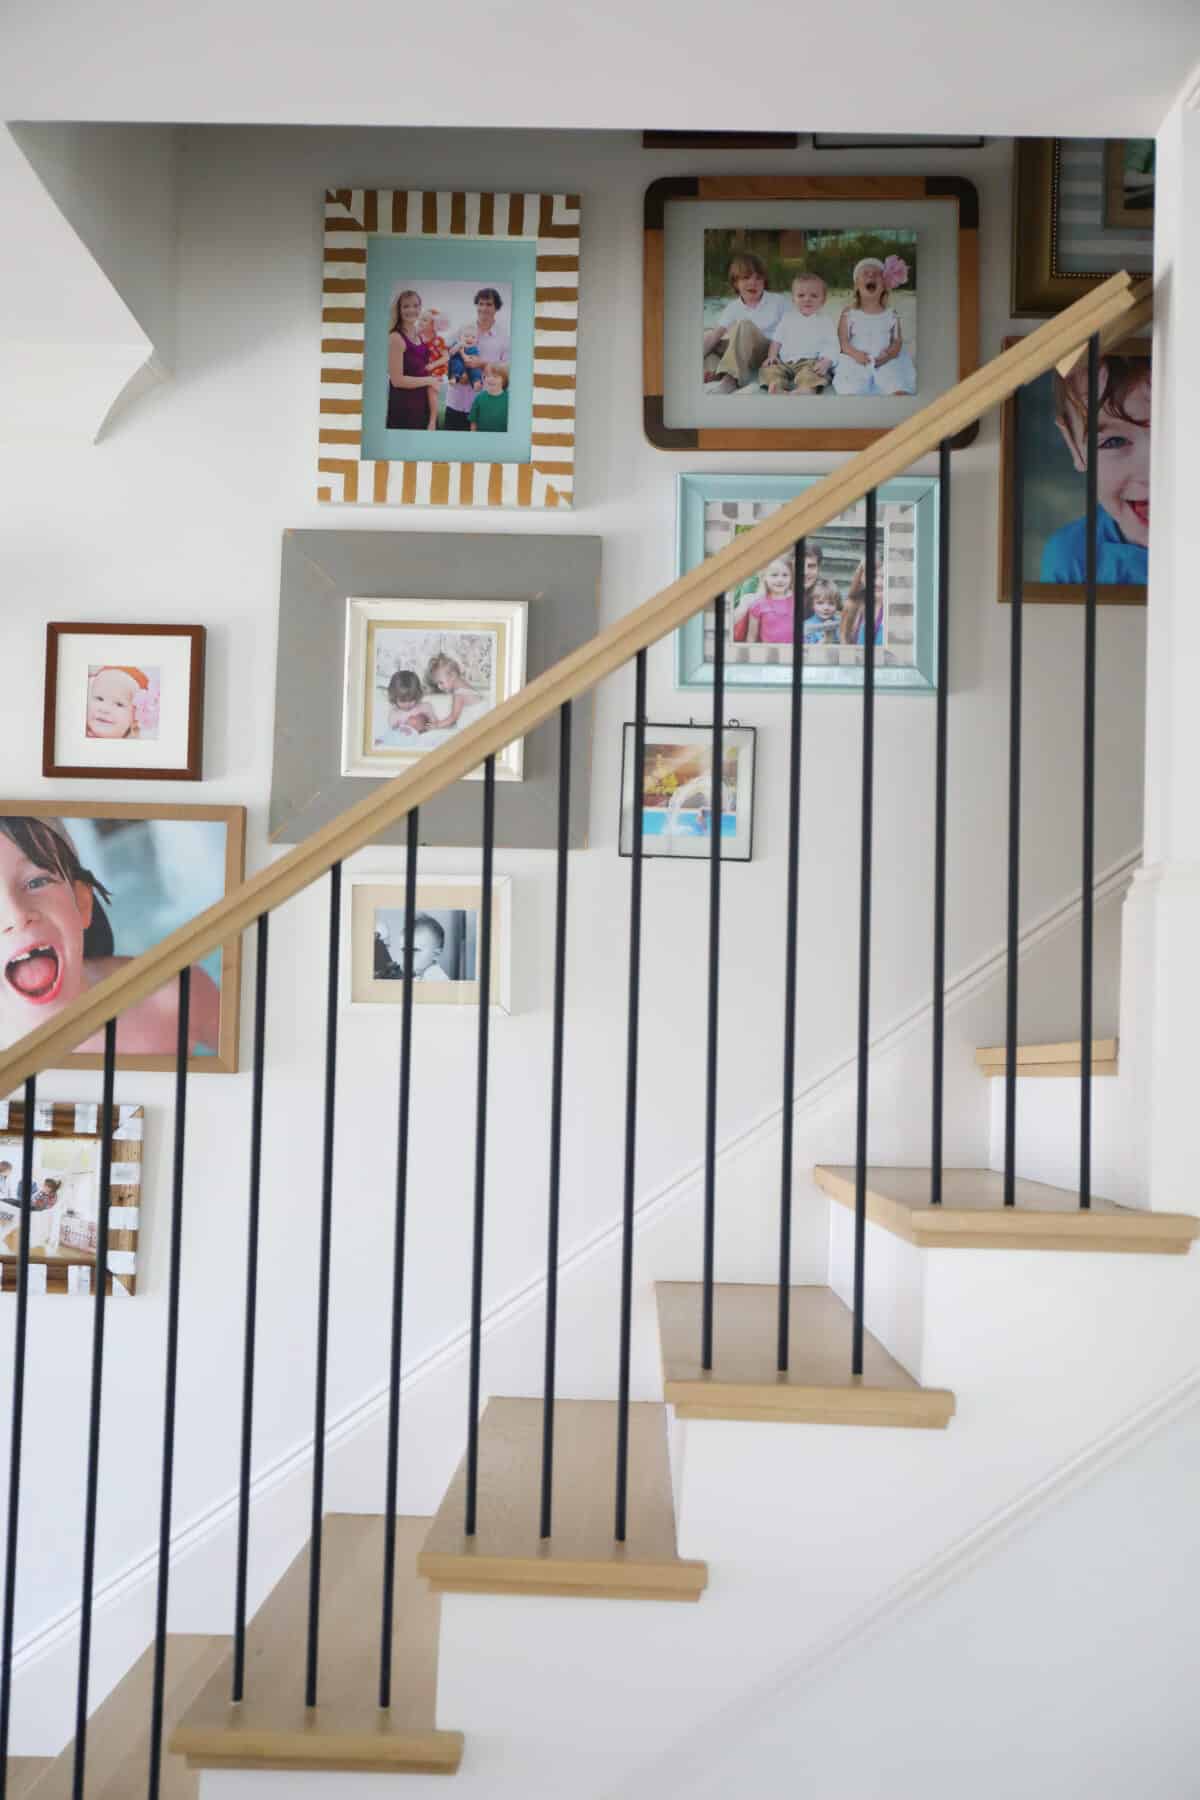
Emerson’s senior photos just came back in, and since I never hung Aiden’s… I figured it was time to remix a few tried-and-true pieces, along with some fresh additions, to make it feel oh so welcoming and fun.
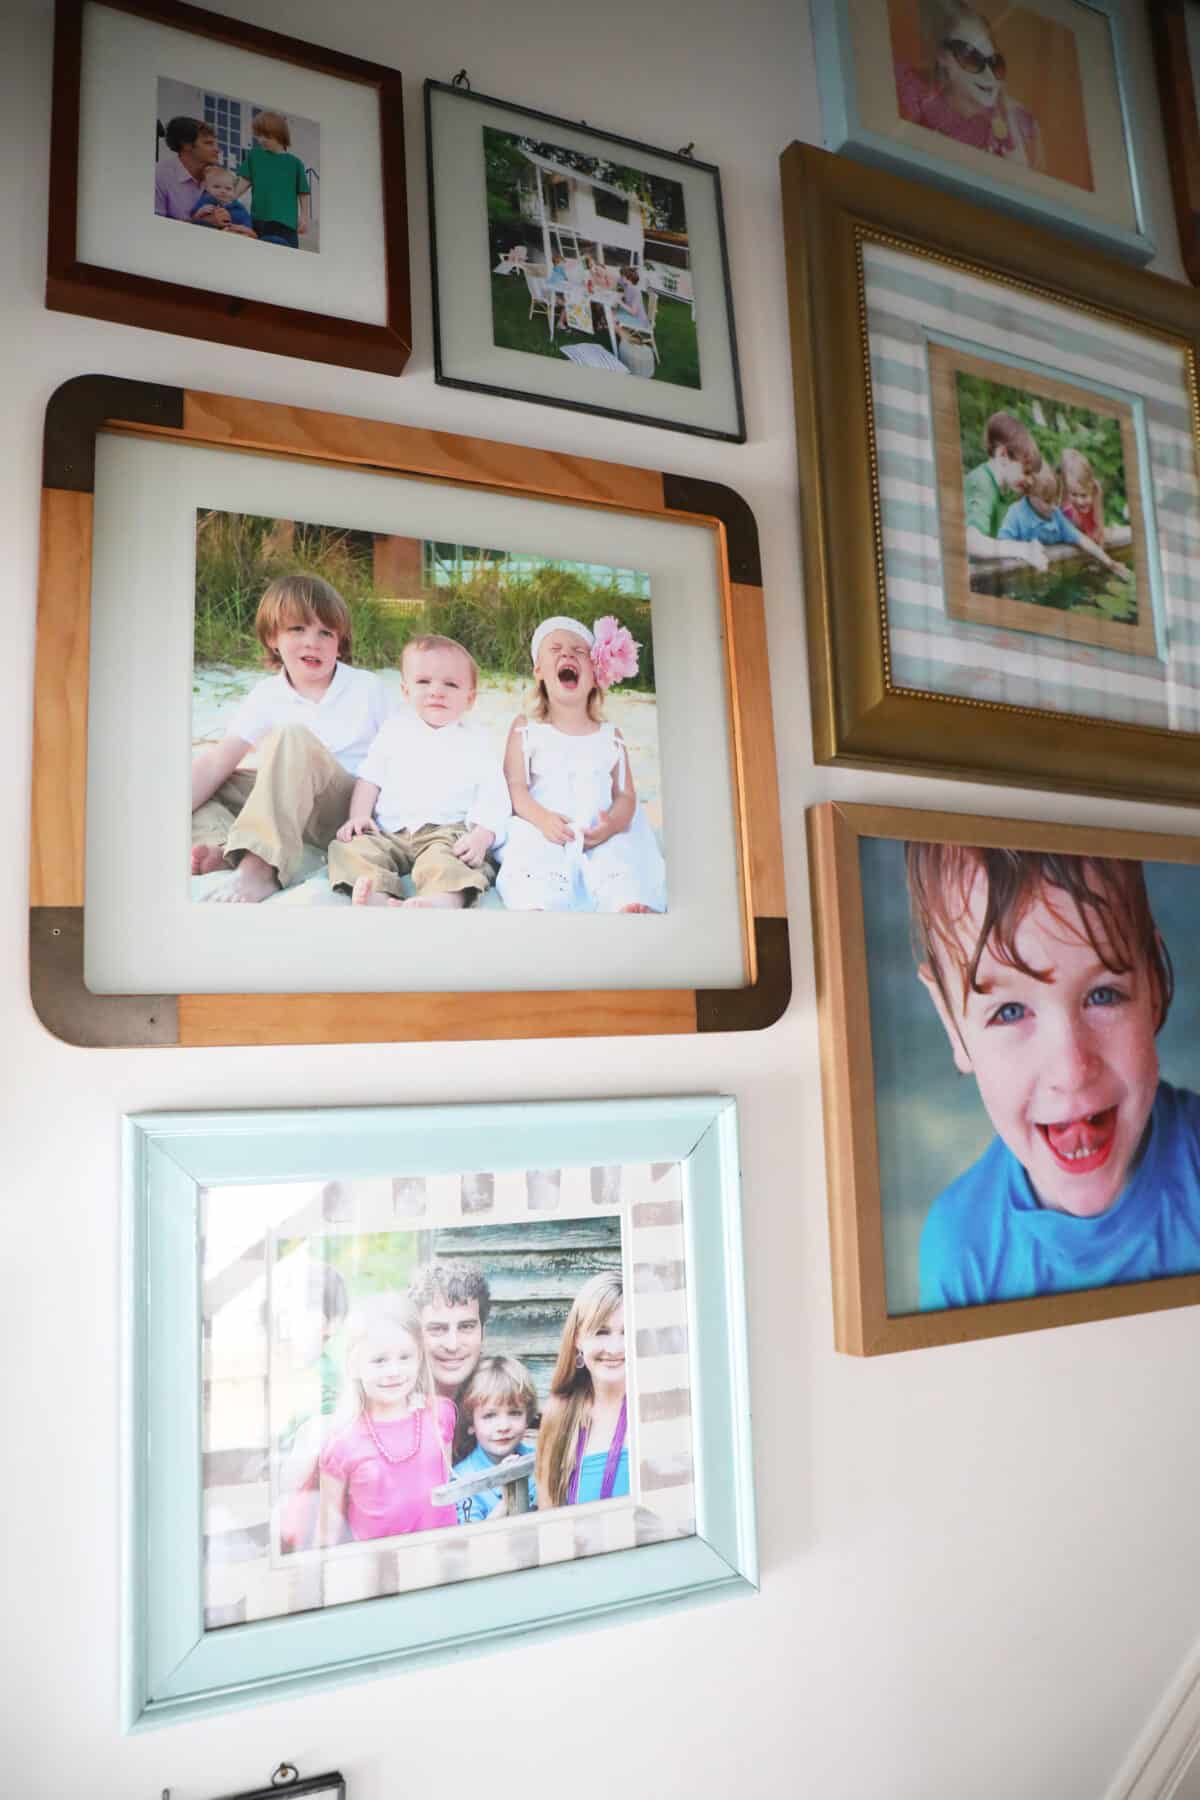
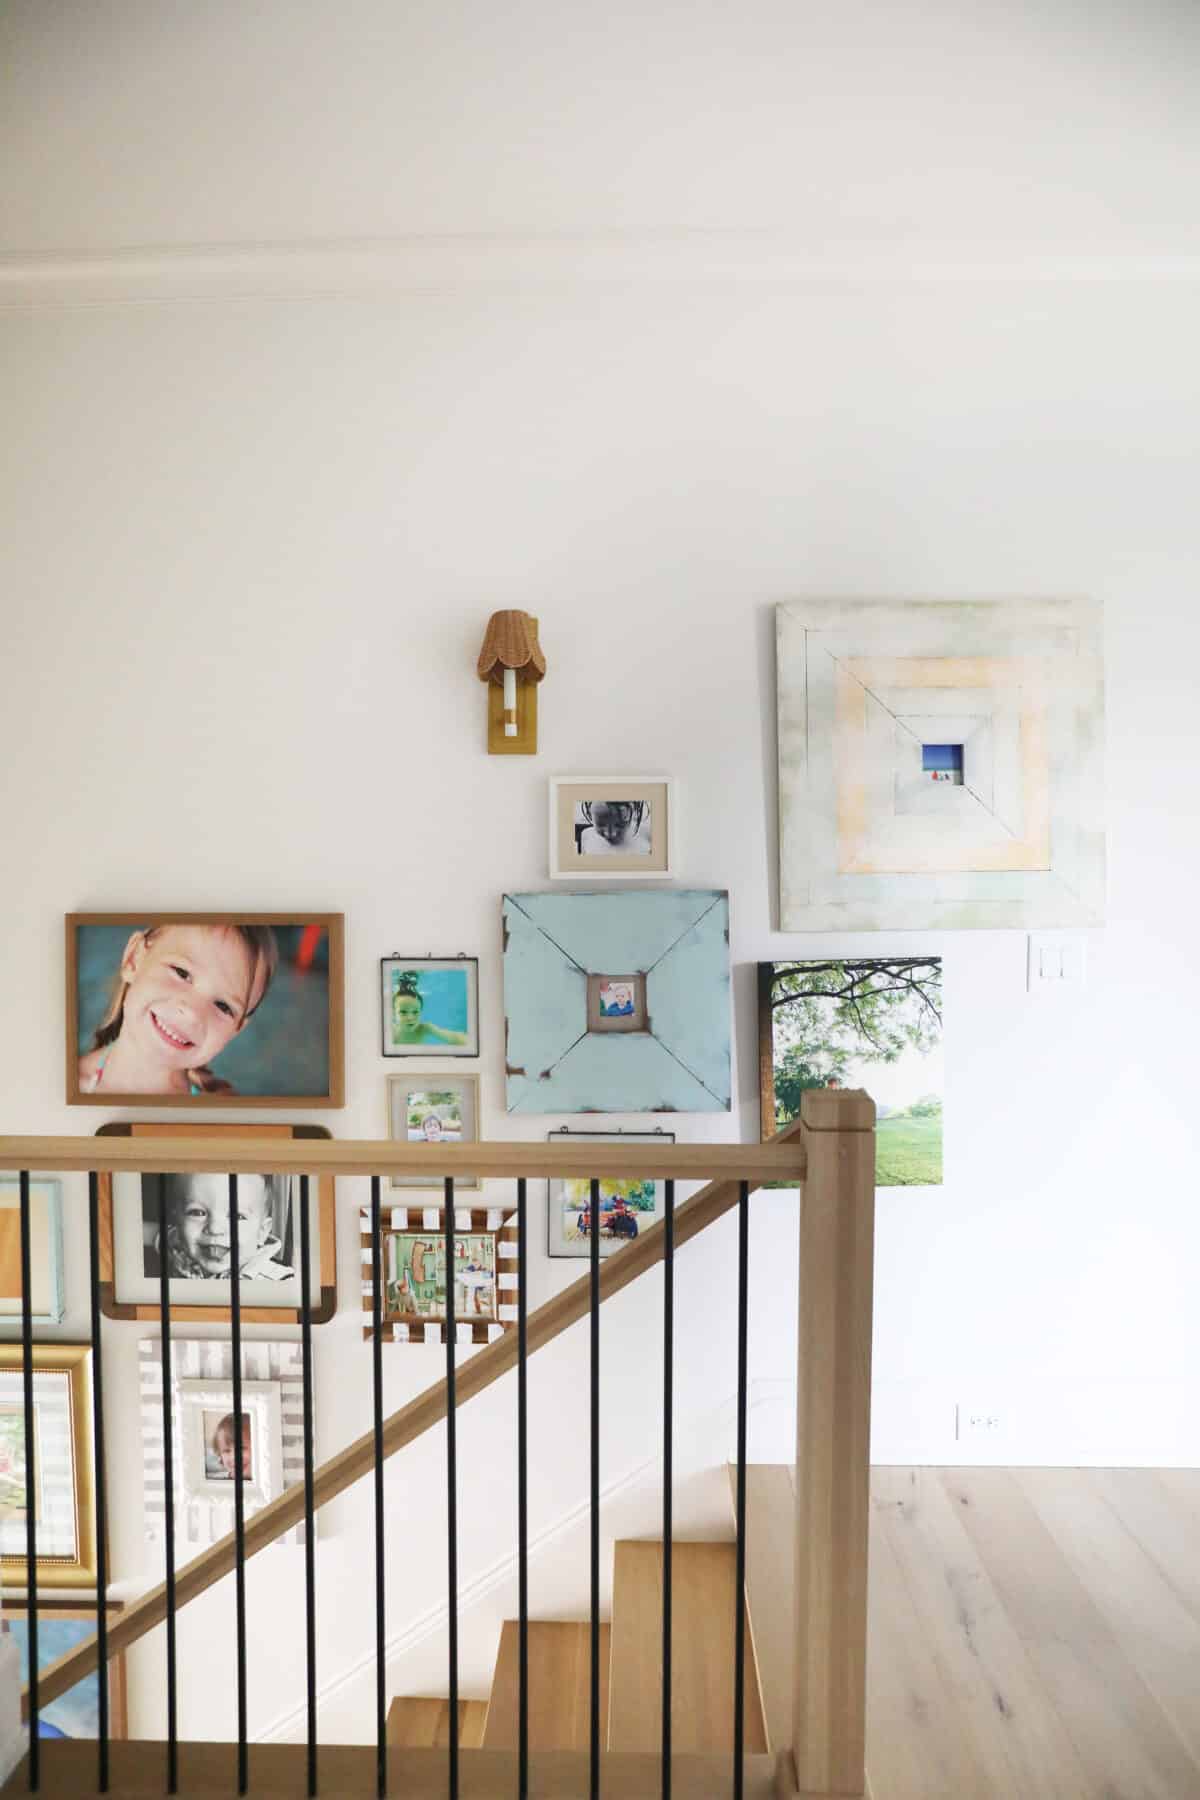
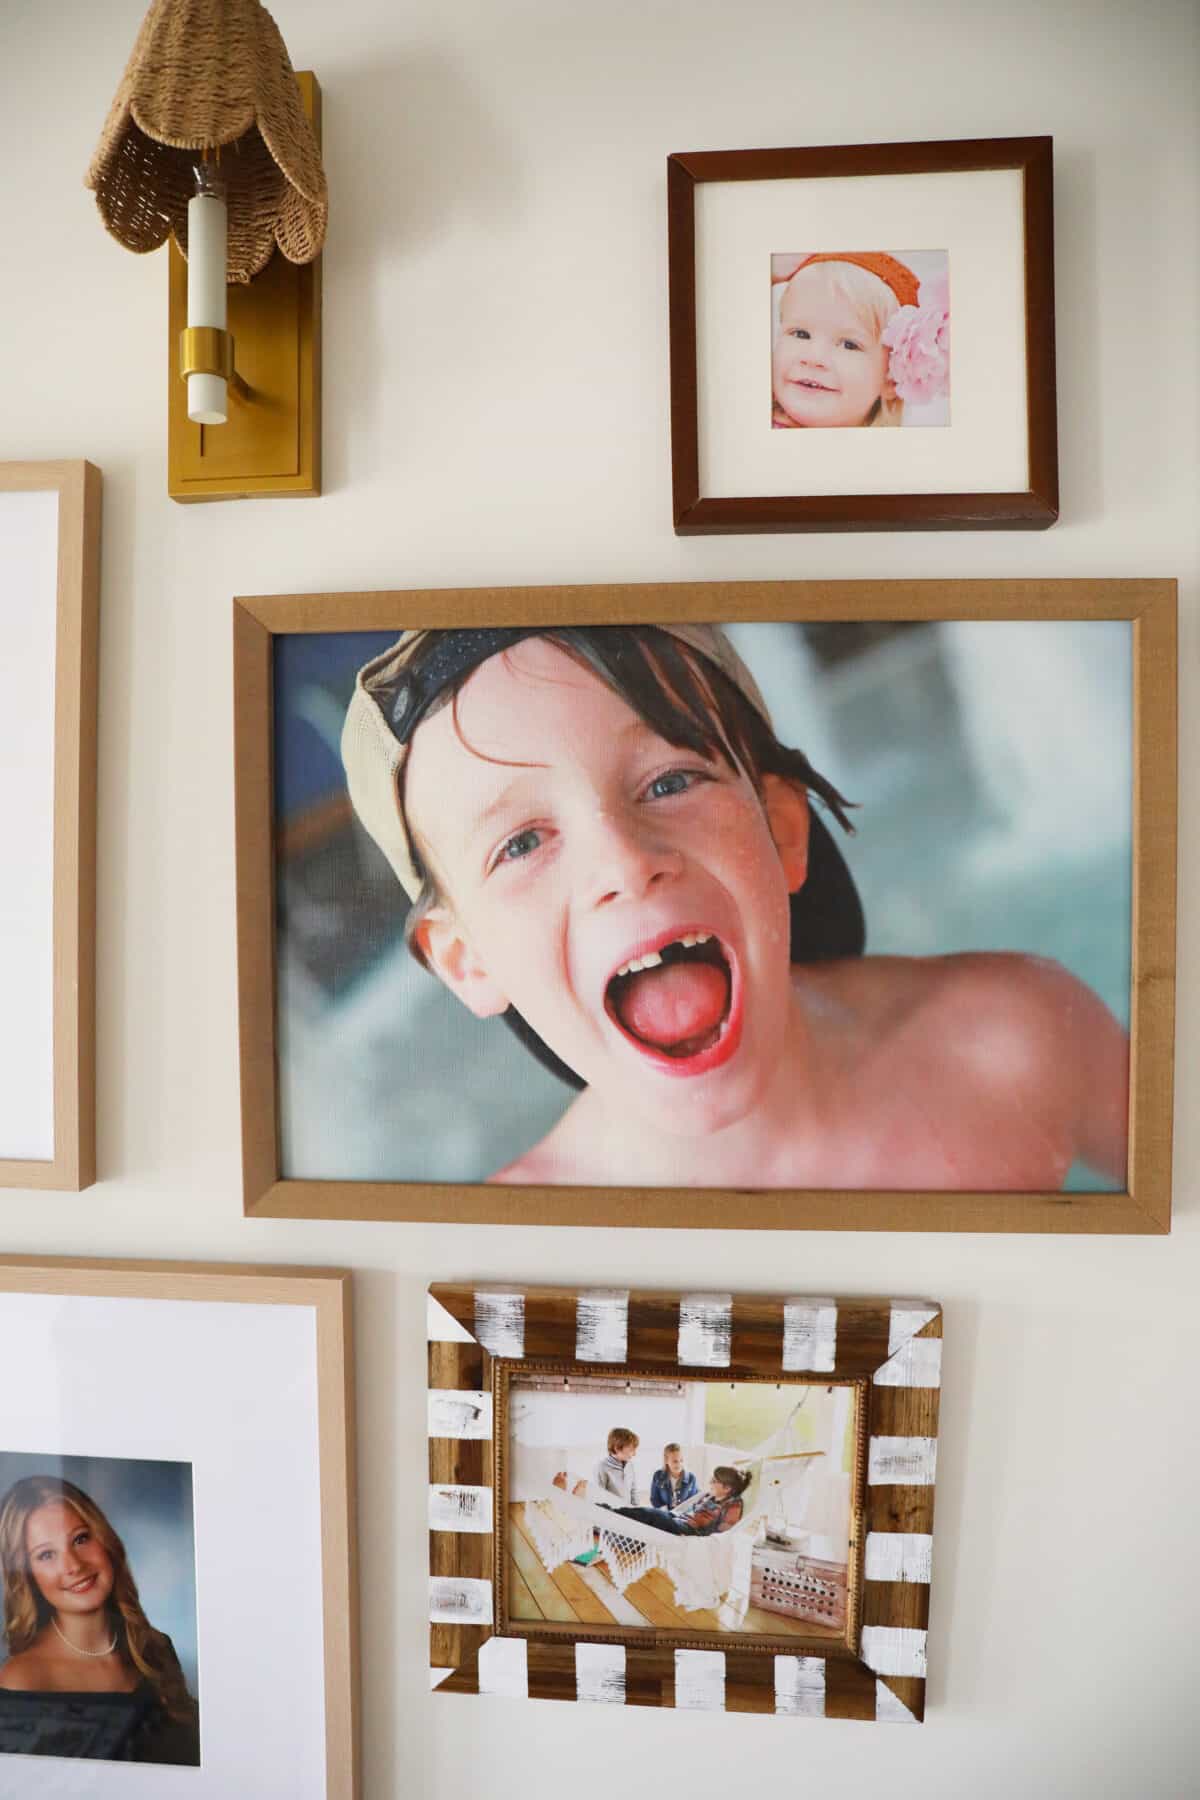
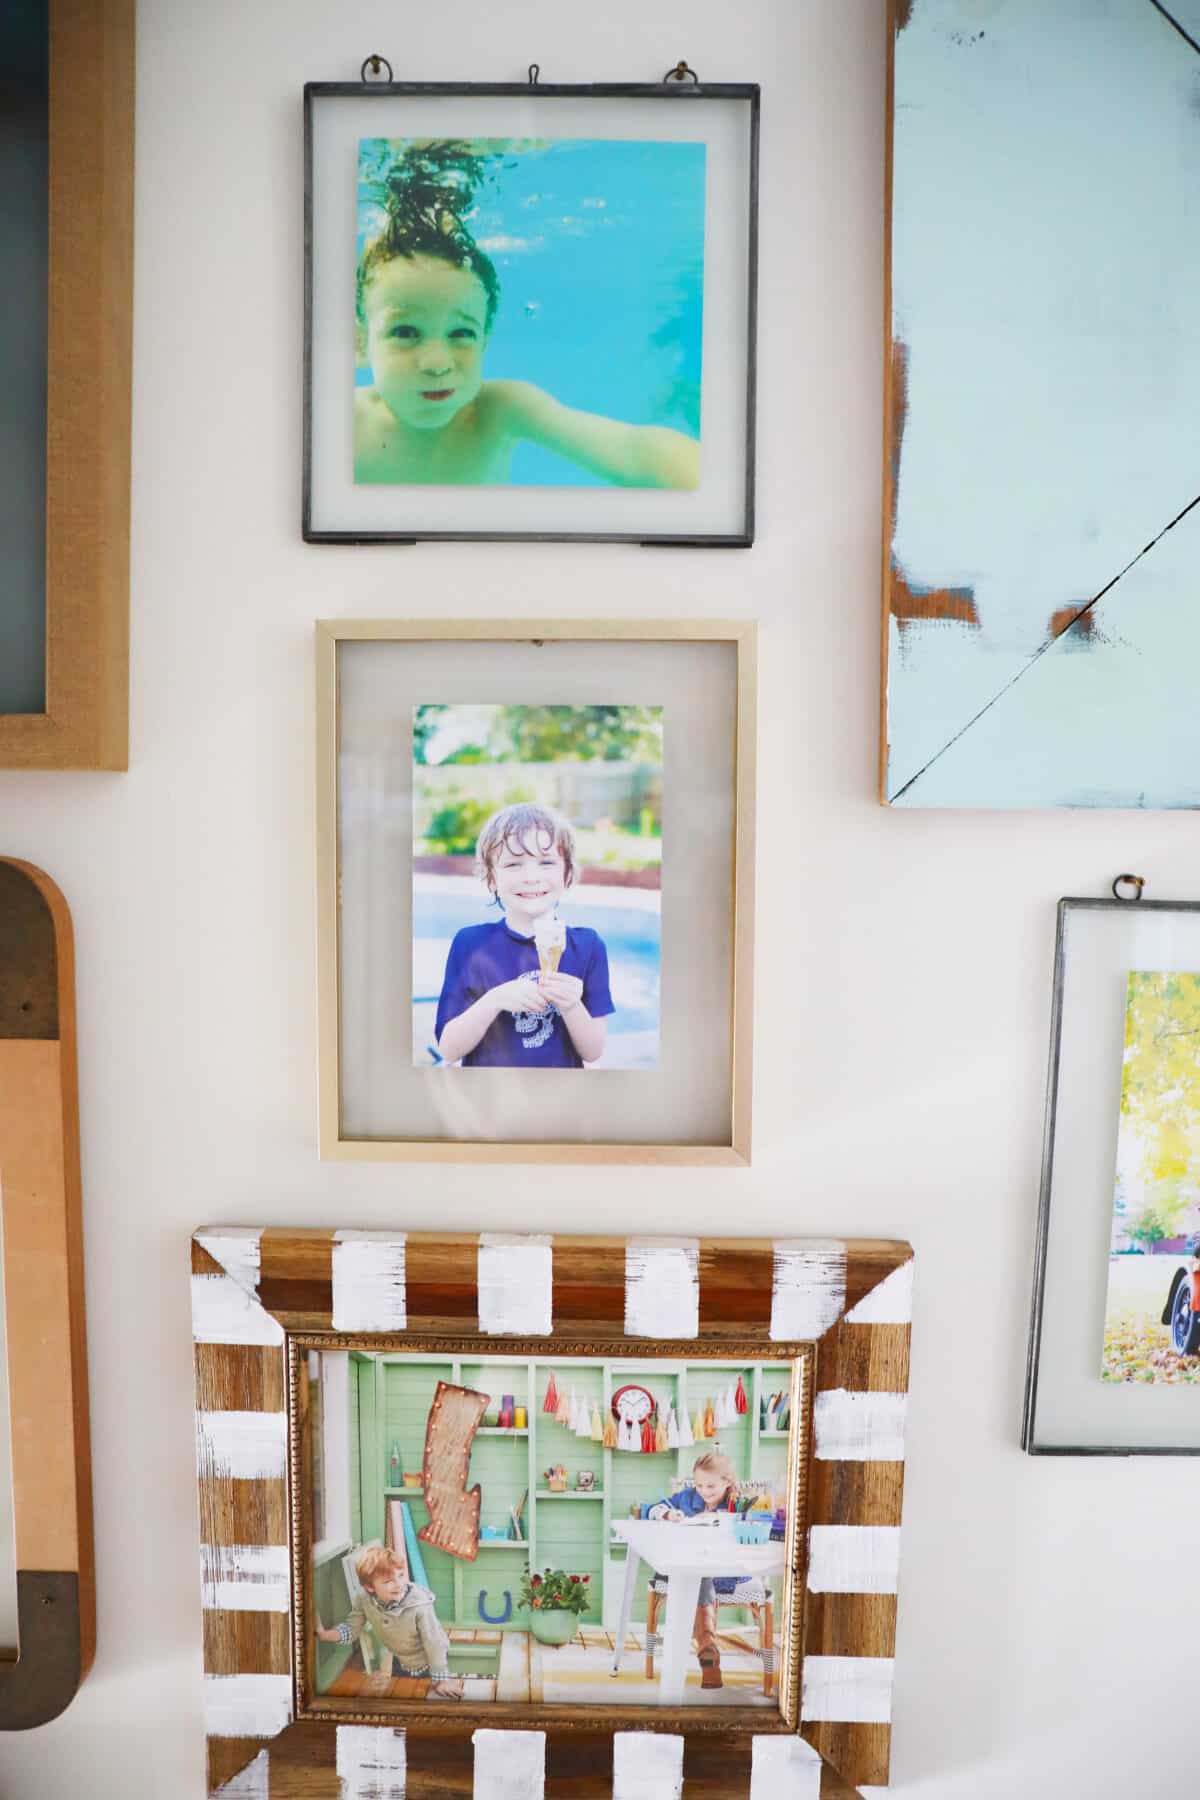
So I tackled the gallery wall. It’s a mix of my photography captures and my other fave photographers’ work we’ve worked with over the years. We love that they’re also paired with many embellished or painted, handmade frames for a one-of-a-kind collection with a lot of character and color.
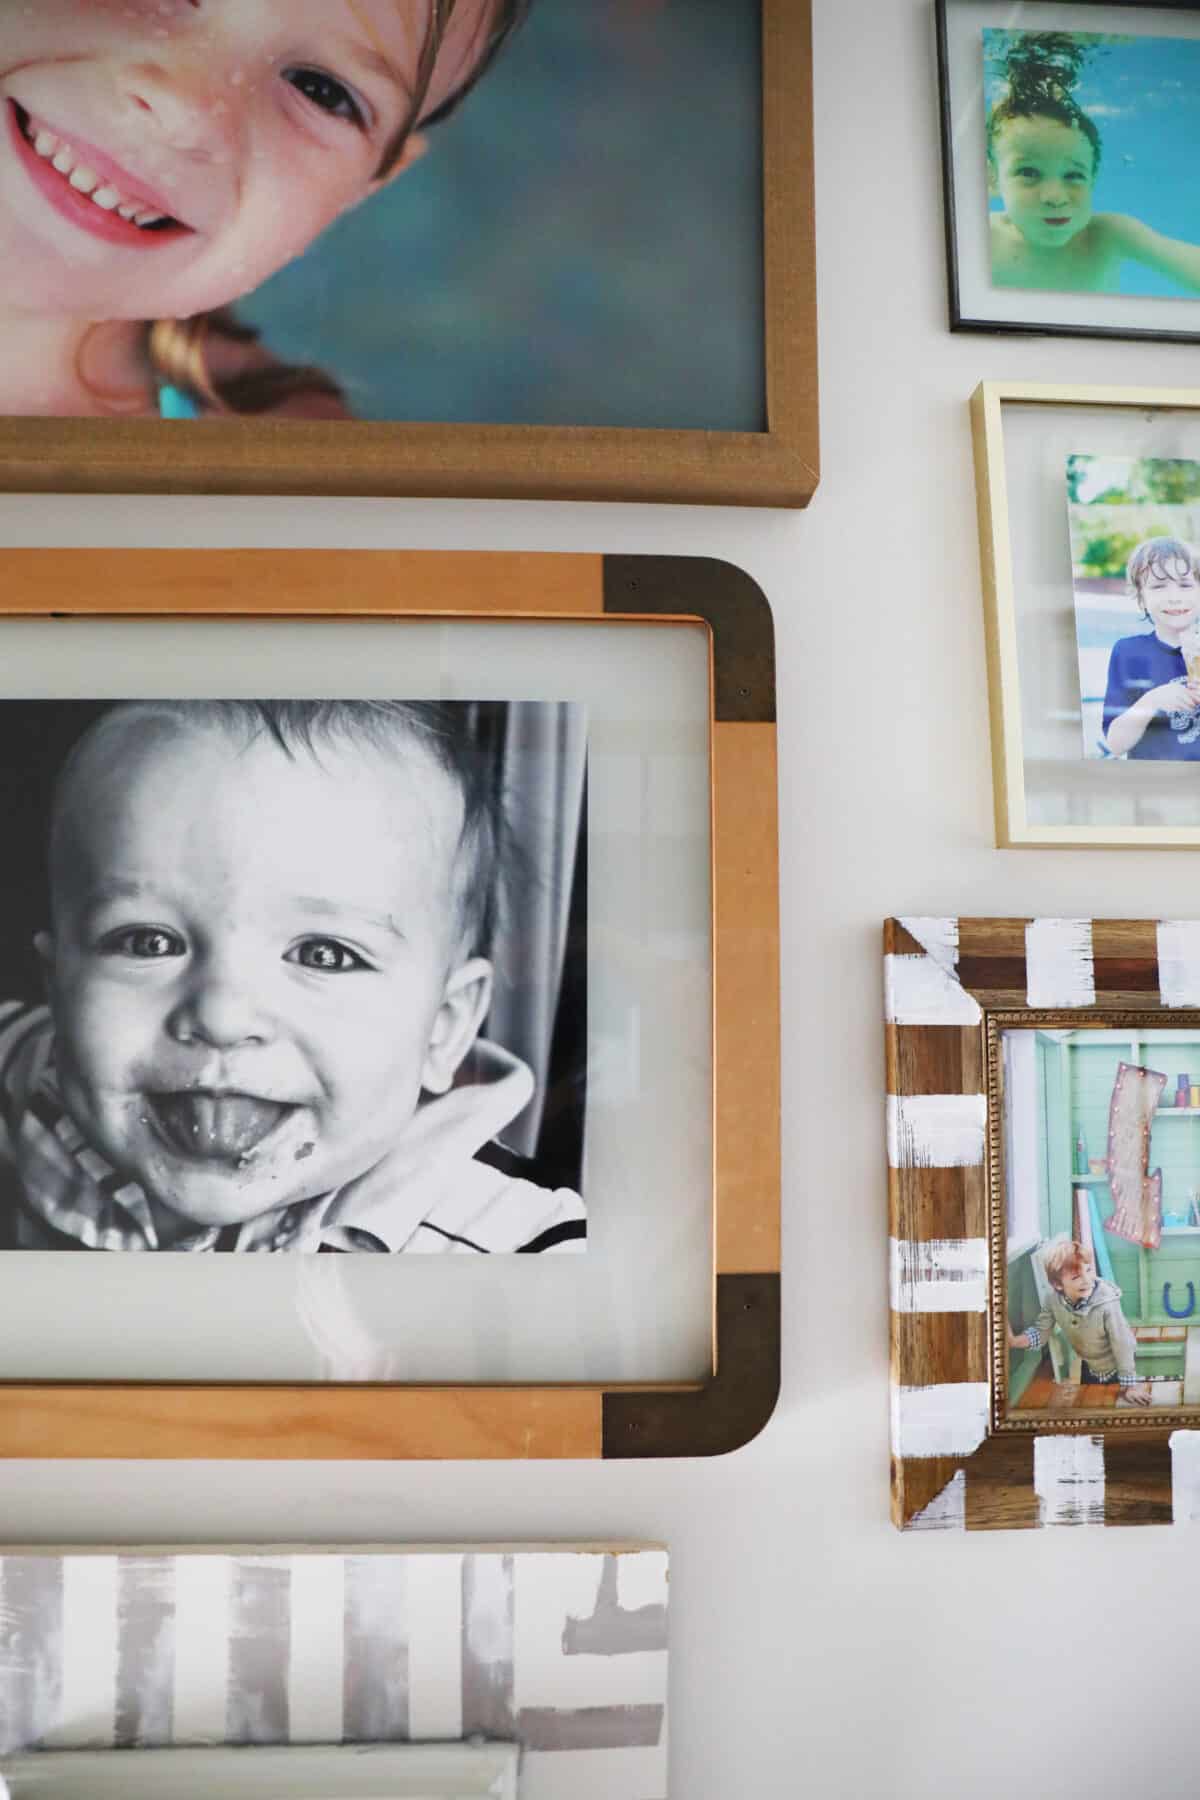
These are my very favorites. And it makes quite a display up and down the stairs… so goal achieved, it feels like home.
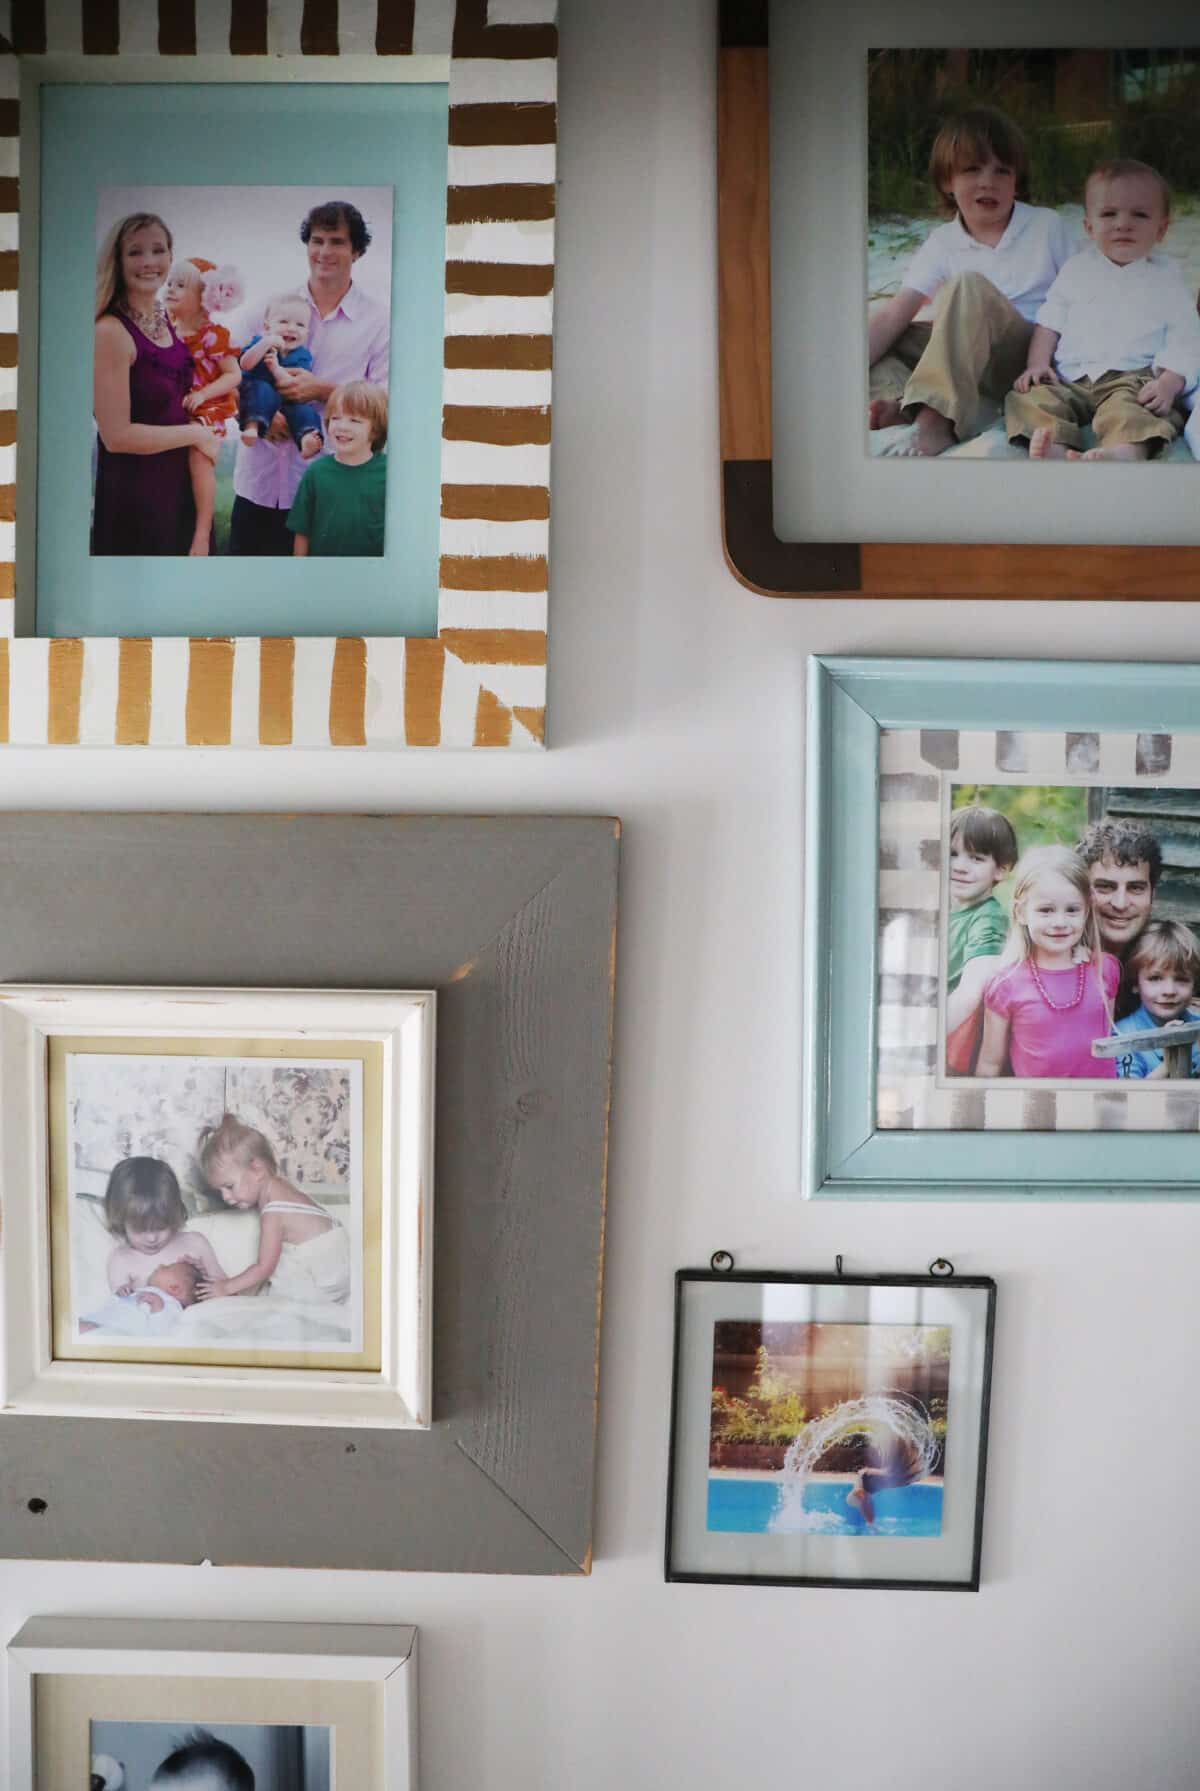
In short, its my very favorite wall and I think you can see why.
At this point, we’ve created gallery walls with our work so many times that it feels like second nature. Today, I thought I’d share a few tried-and-true tips to knock out a simple afternoon project. No, it doesn’t look simple, but it really is with these tips:
This is a trick we’ve used for over a decade, and it always helps with balance and intentional placement on the walls.
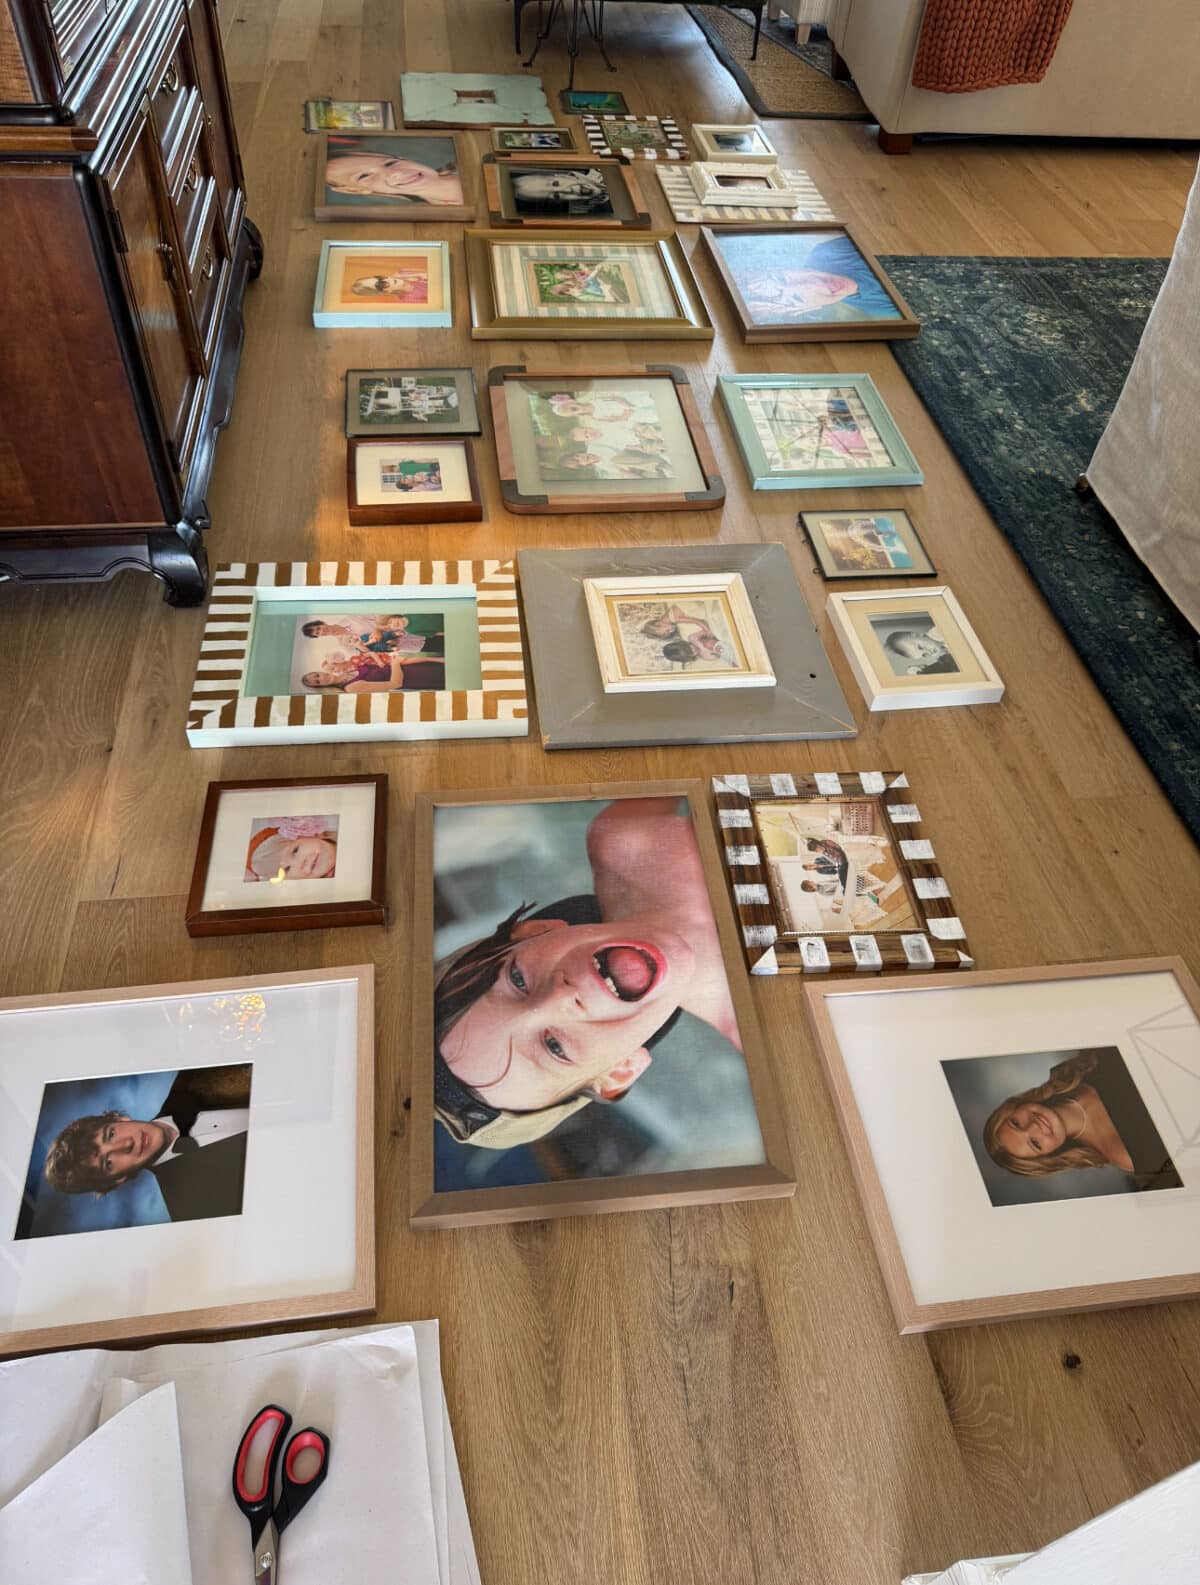
Step 1: Measure the length of your staircase so that the floor space you’re working on is roughly the same length. You can duplicate this on any wall as well. The staircase has just added another element since the photos will naturally stagger as we go. This way, you have a rough template to follow.
Visual tips: If you aren’t sure about placement, lying them all on the ground helps. I wouldn’t aim for symmetry, so much as a rough balance, especially for those collected-over-time pieces.
For instance, if you have two identical frames, or similar ones, try to distribute them evenly throughout the display. Or, if you have photos of similar sizes, it can help to mix them around so there is a sense of distribution throughout. I also tended to counterbalance larger frames by surrounding them with smaller ones to display. To me, this is the fun part, just mixing and matching for that collected feel… because they are.
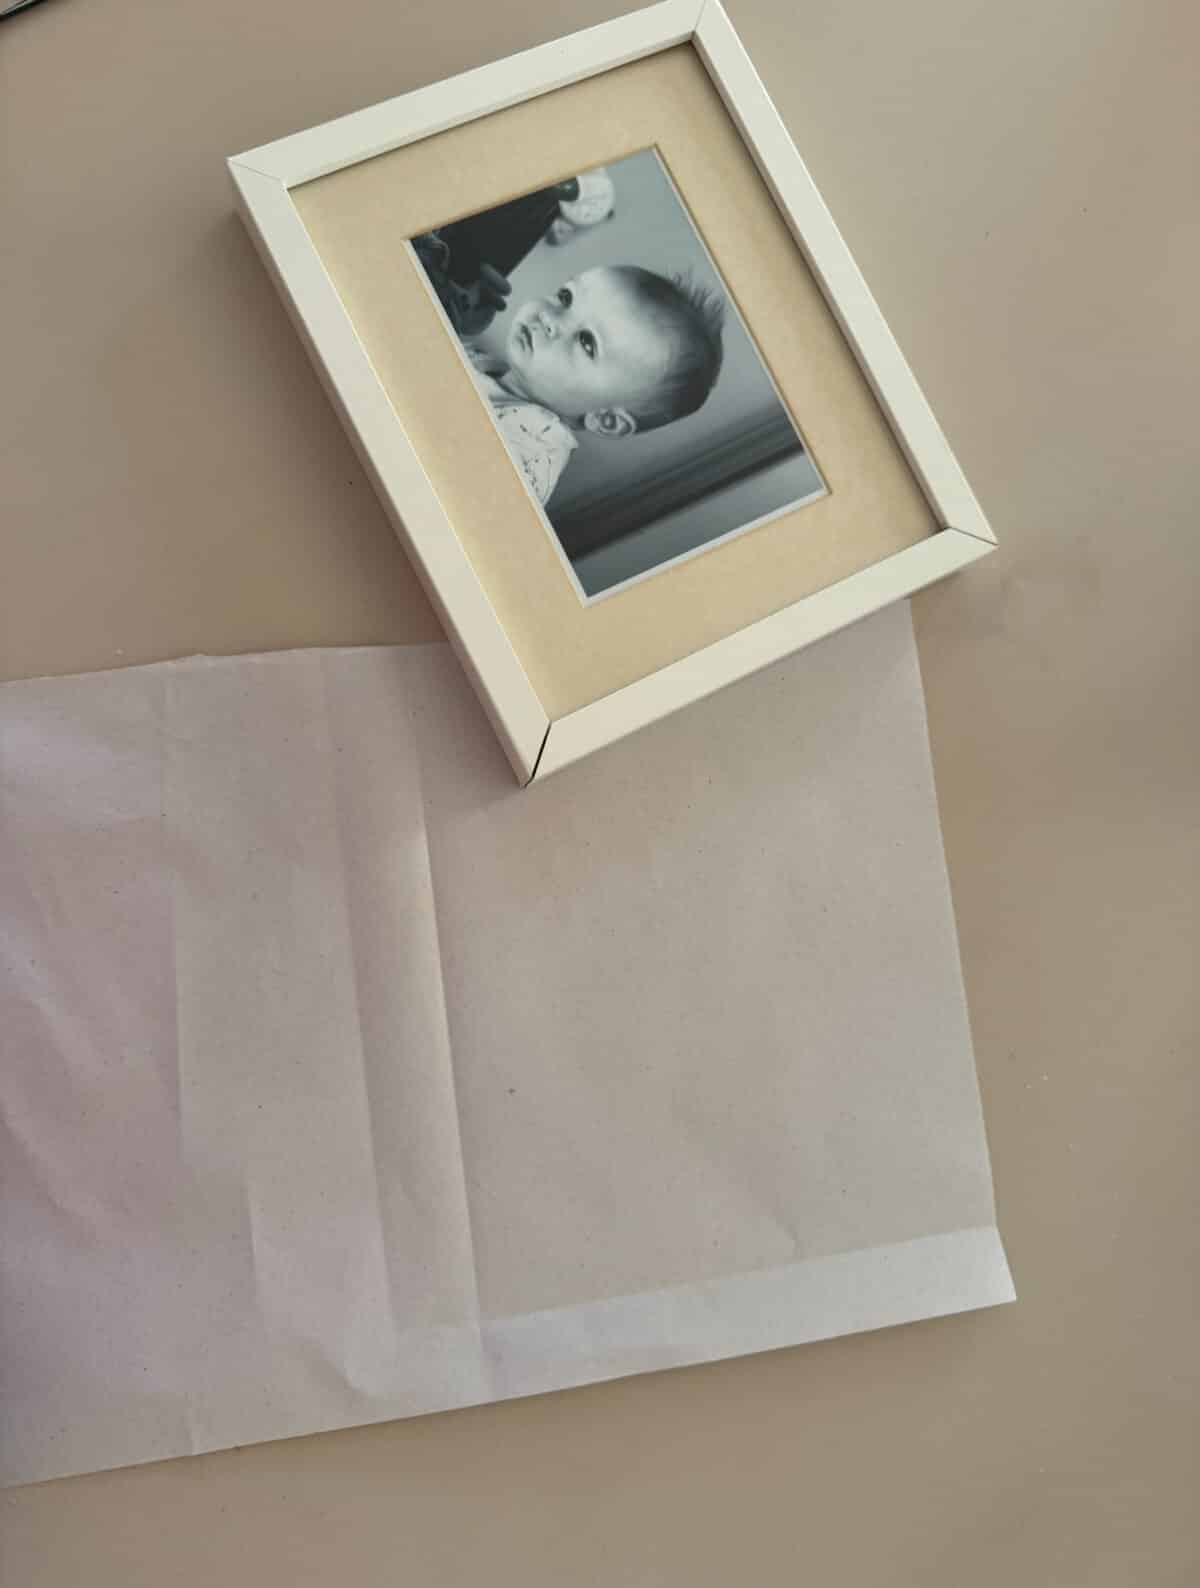
Step two: Grab large-format paper + scissors, and measure out each frame. The newspaper will also do. Here, we used some extra packing paper we had from the move. To make this a quick process, I placed the paper under the frame and folded it upwards. With a soft score on each edge, I had a clear guide on where to cut.
Tip: If the piece is larger than your paper supply, layer pieces of paper together and tape them with painter’s tape. Then do the same thing: place the paper underneath, fold it up to create a score, and cut.
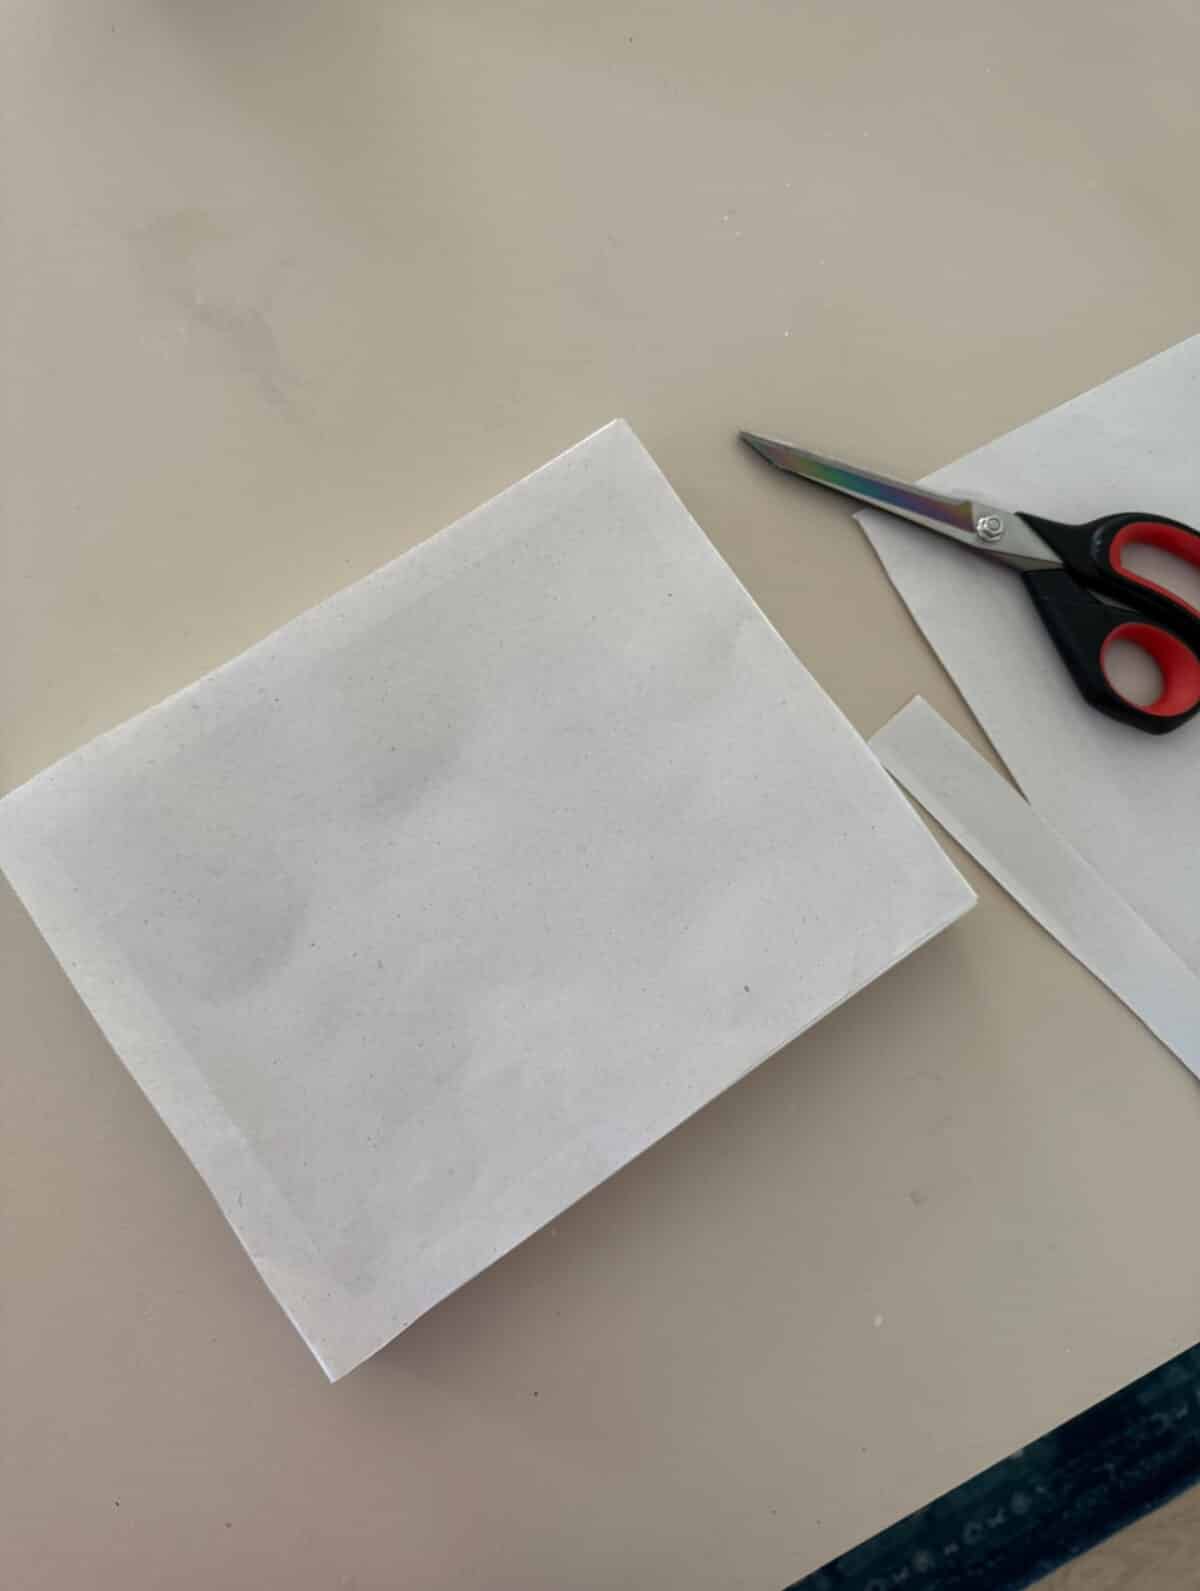
Step 3: Cut + start placing the paper over each frame.
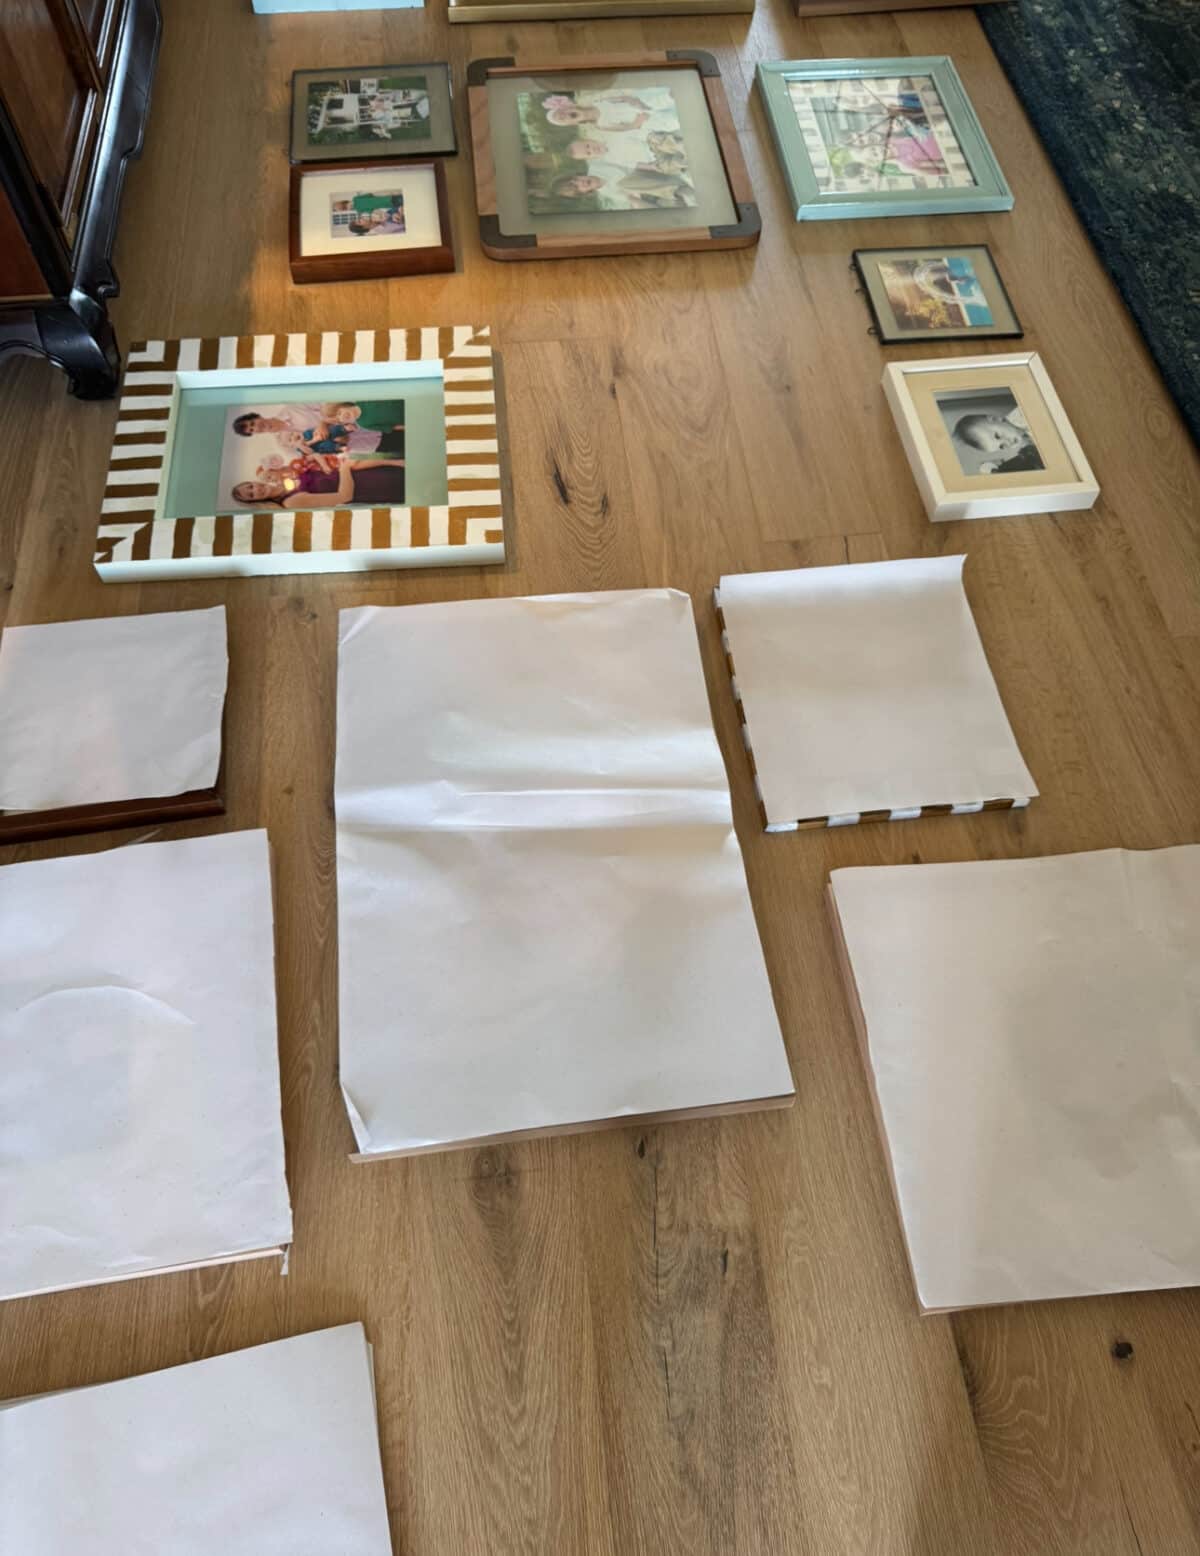
Step 4: Label. I also labeled each one before I moved a piece of paper from the frame to the stairway, in case I rearranged it once on the wall. There were a few that we flipped around because they made more sense in actual translation. It helped keep track of what was what, so we had no extra holes or surprises in the process.
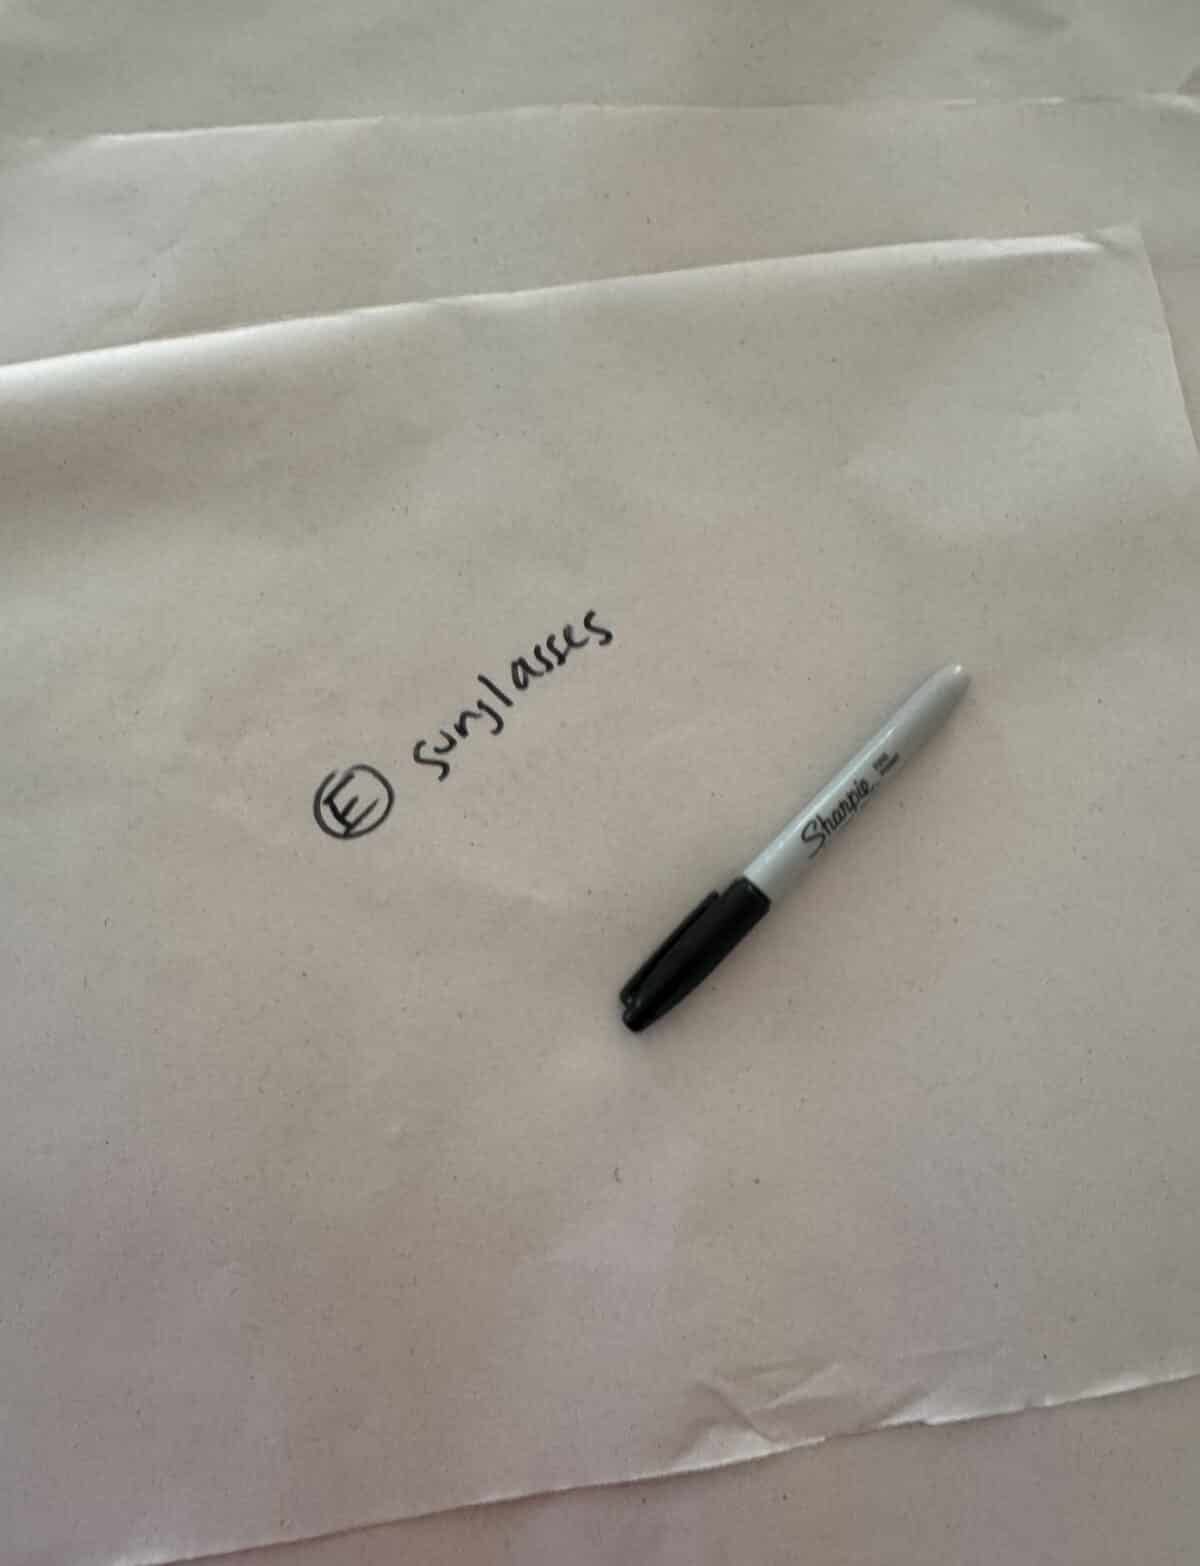
Before long, we had an entire floor of paper – with Jamin working from one end and myself on the other, it probably only took us about thirty extra minutes for this step. It’s key in getting your placement right and totally worth it in the end. It’s a game-changer.
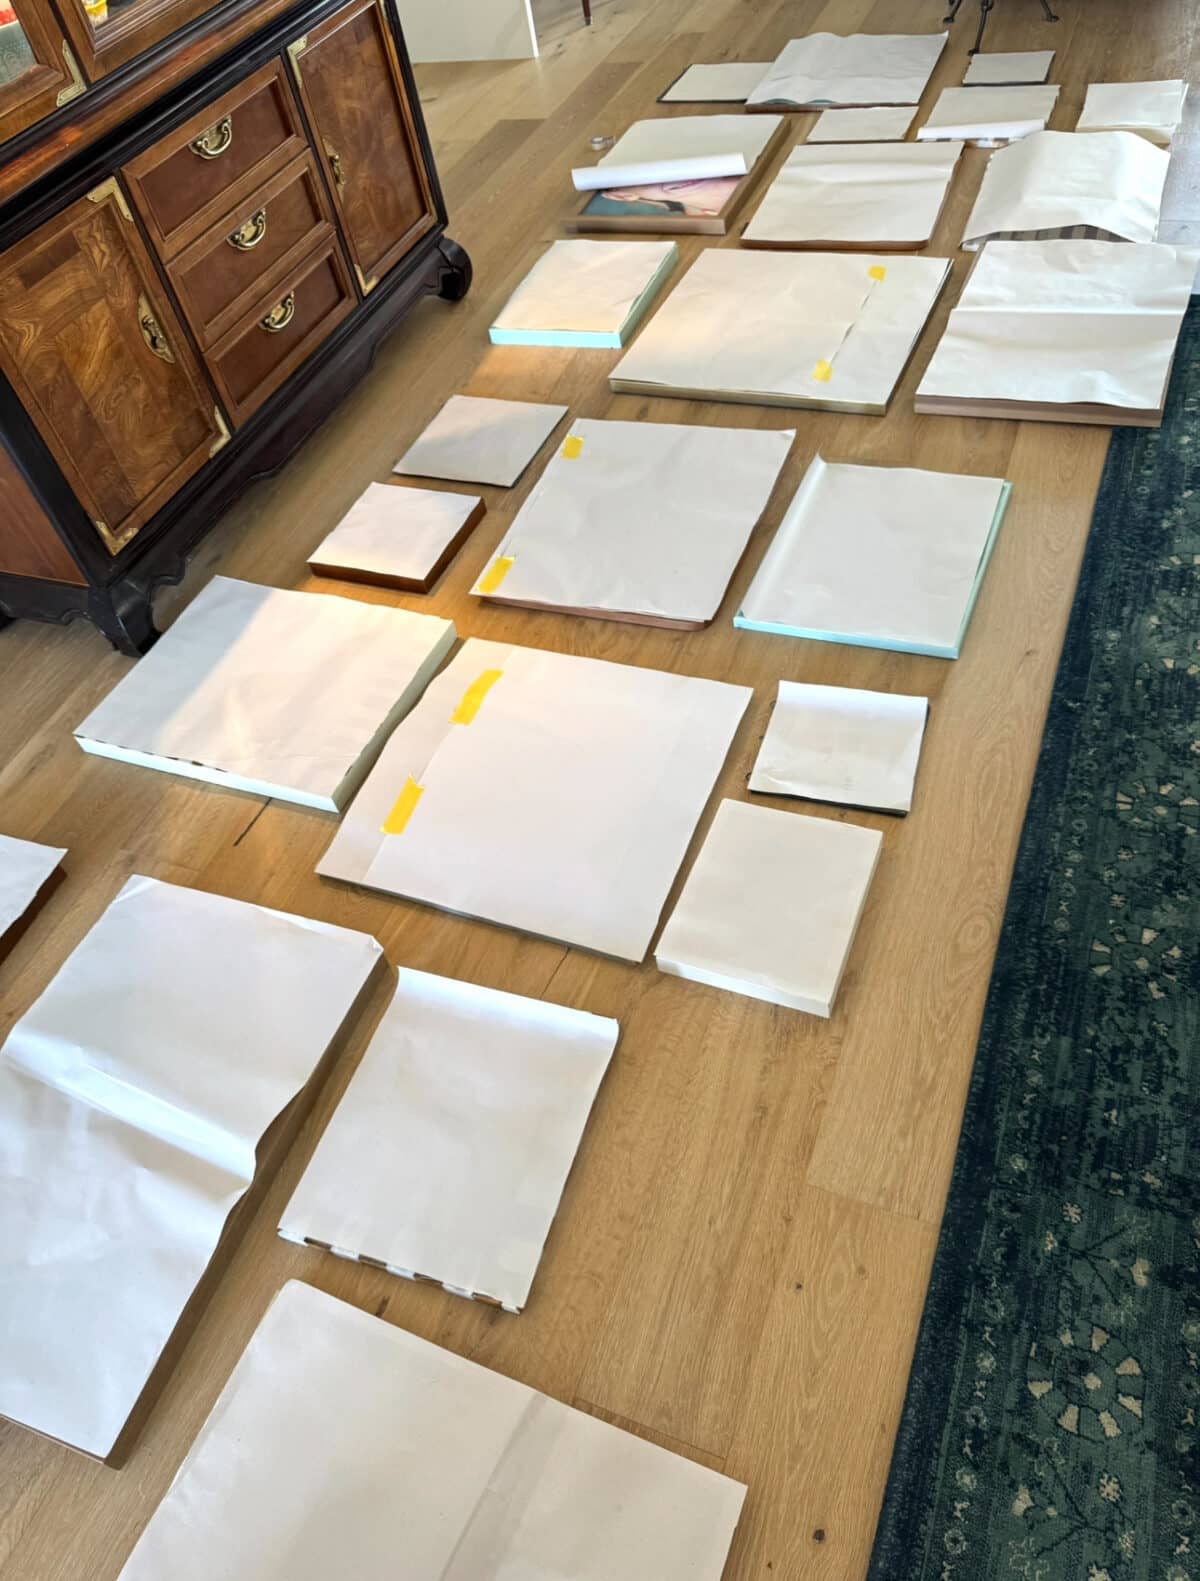
Step 5: Roughly following the pattern you’ve created, place your paper as it makes sense with spacing, visually up the stairs. We used painter’s tape for this one and gently moved the paper all the way up. This is where the labeling came in handy, since sometimes things translate differently to walls. We could adjust as we wanted, and we knew what was what thanks to the labels. We did a little finangling, but all in all, we were ready to go.
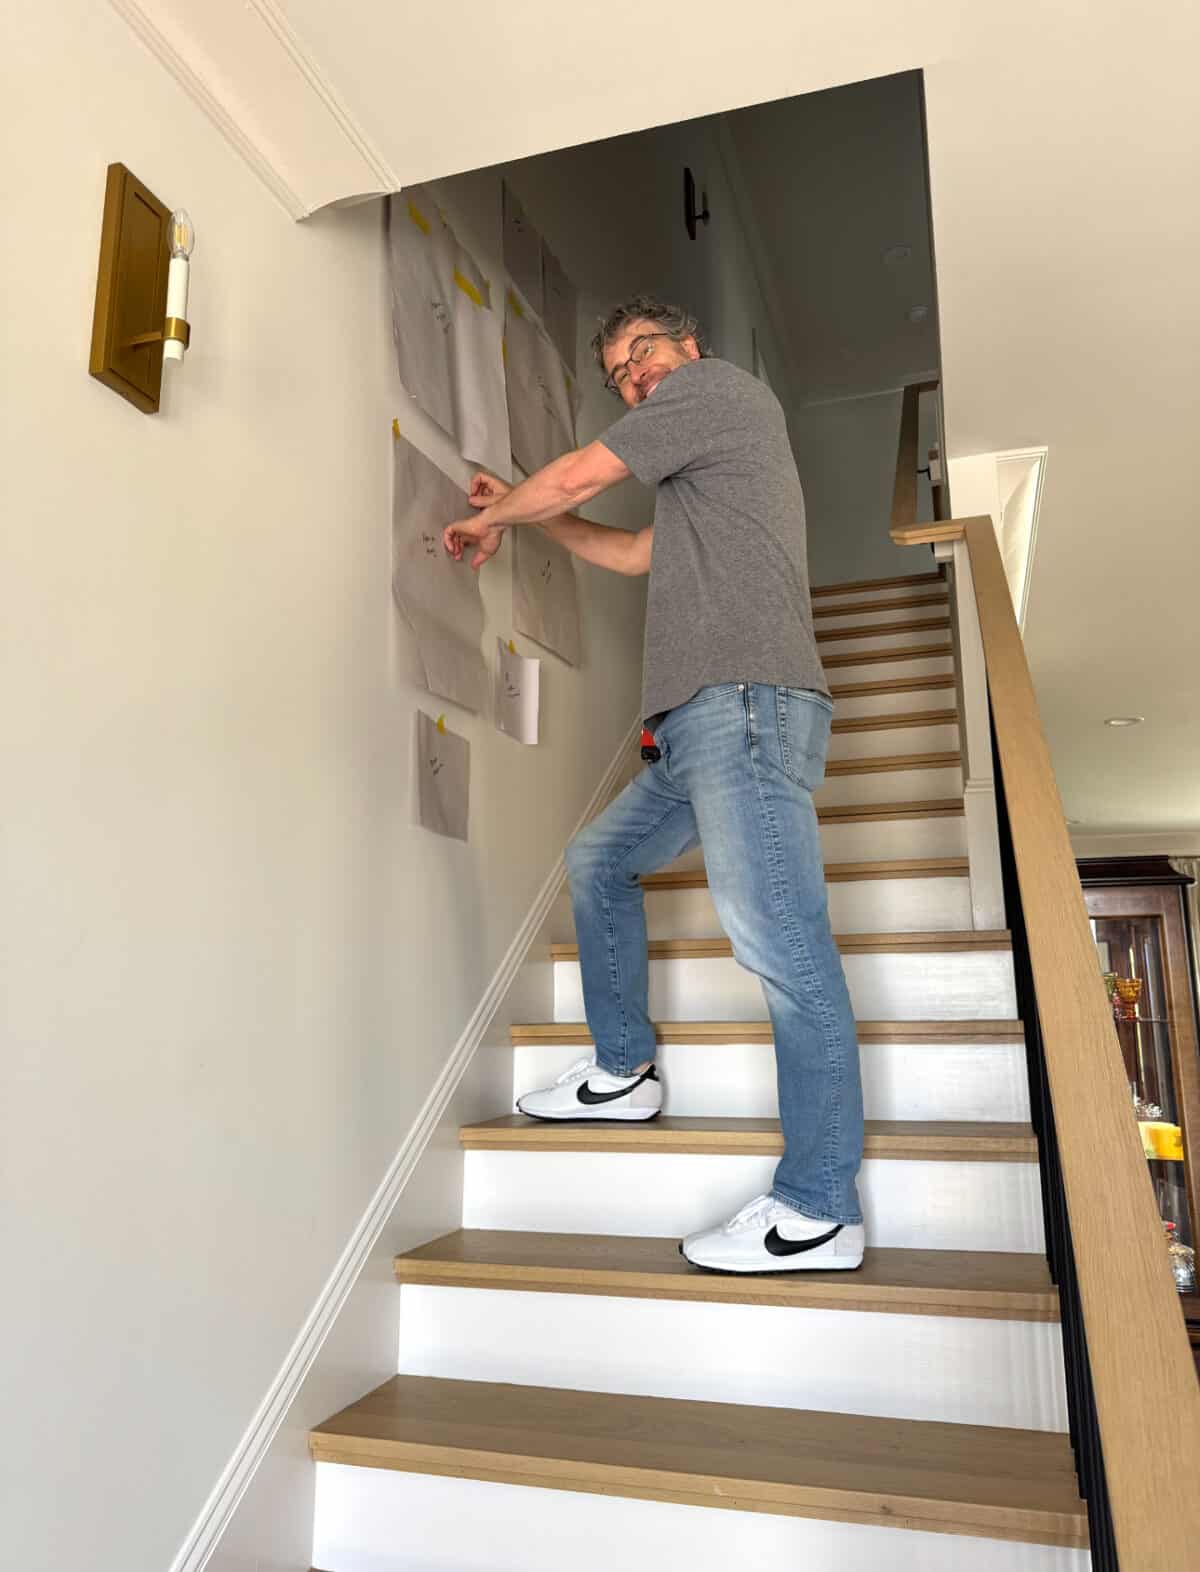
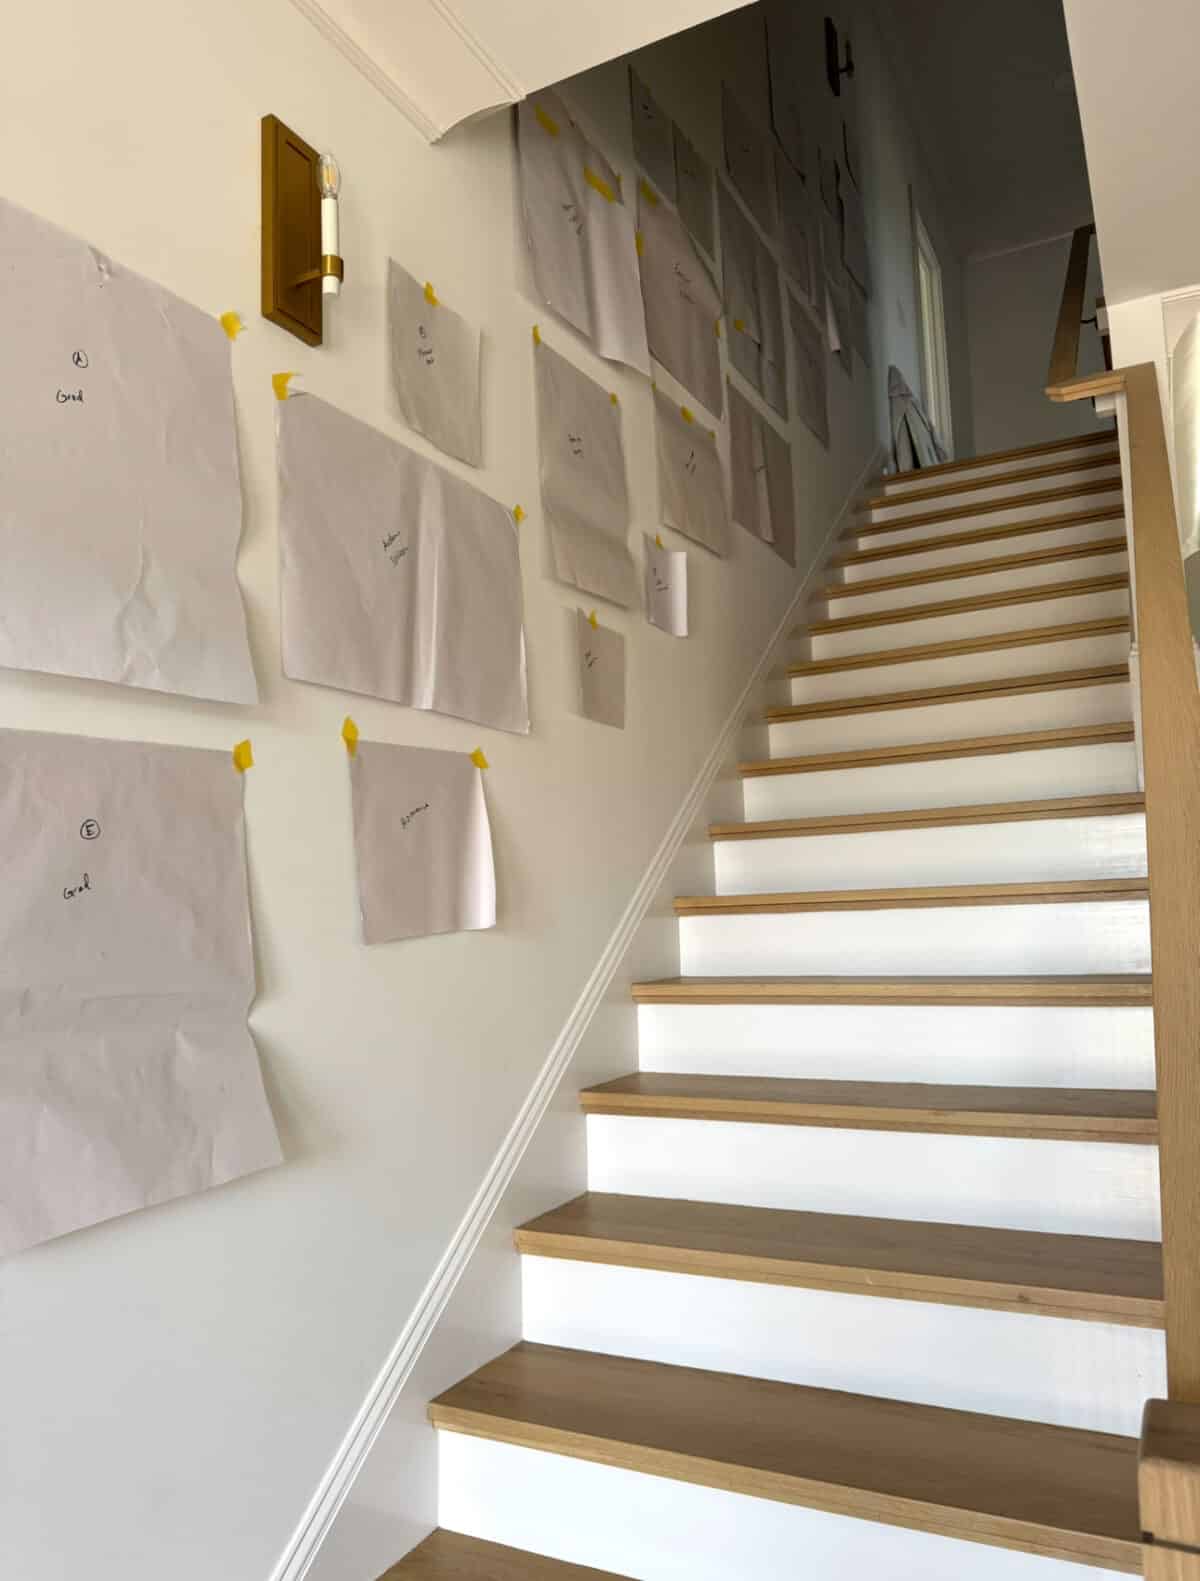
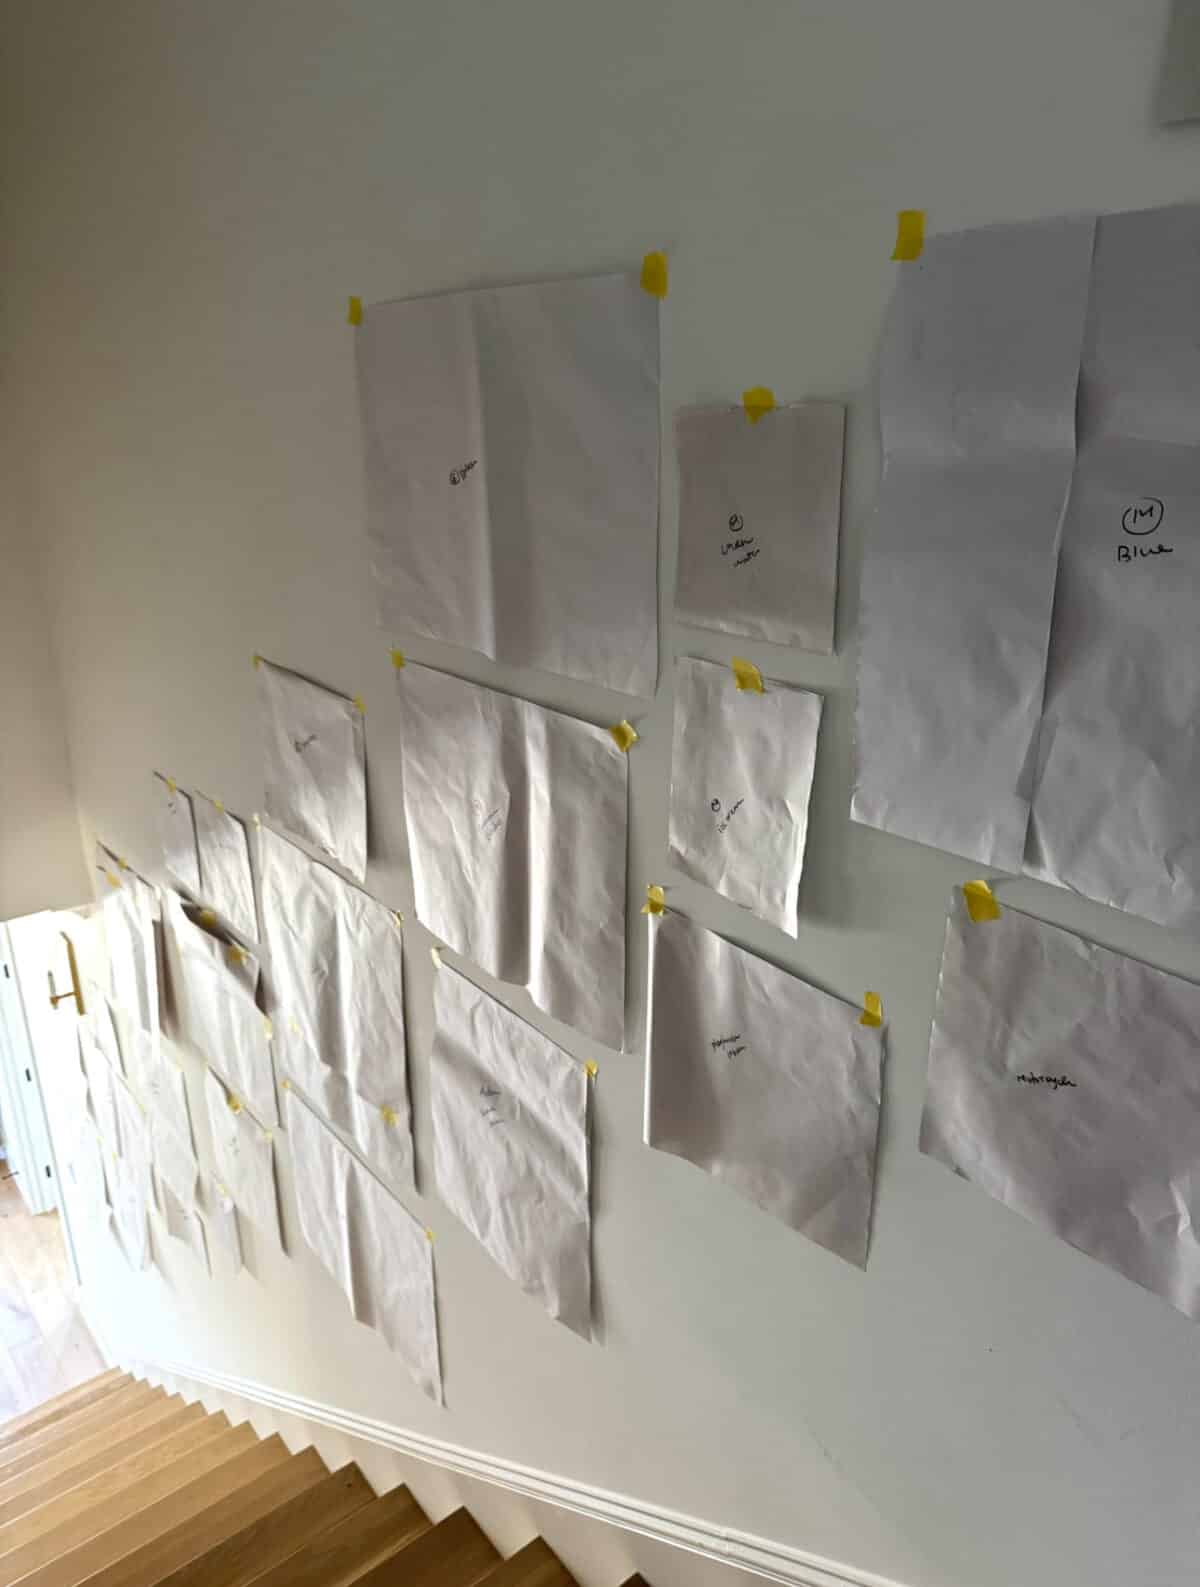
Step 6: Hang. We gave it a moment to breathe, readjusted a few things, and then decided to go for it. No regrets.
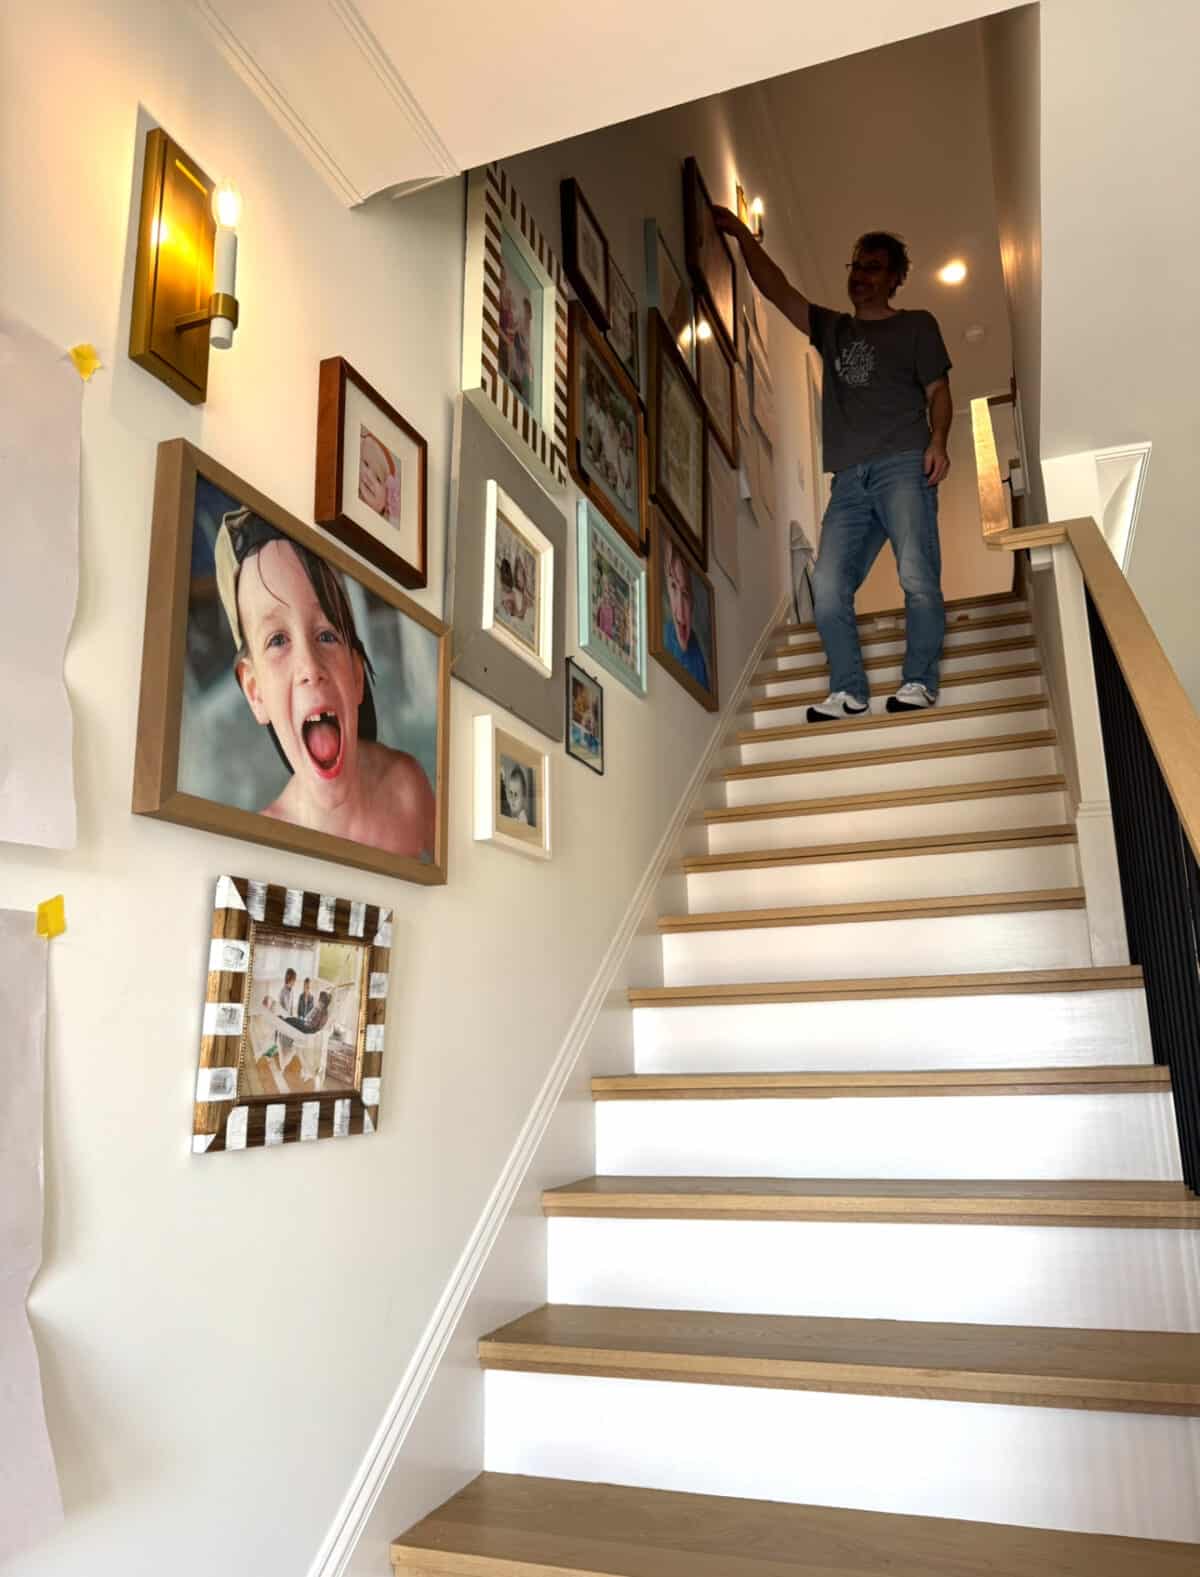
I truly love this eclectic, collected, timeless vibe of my kiddos on display. Emerson screaming is my all-time fave, if anyone’s wondering. Though it is hard to pick.
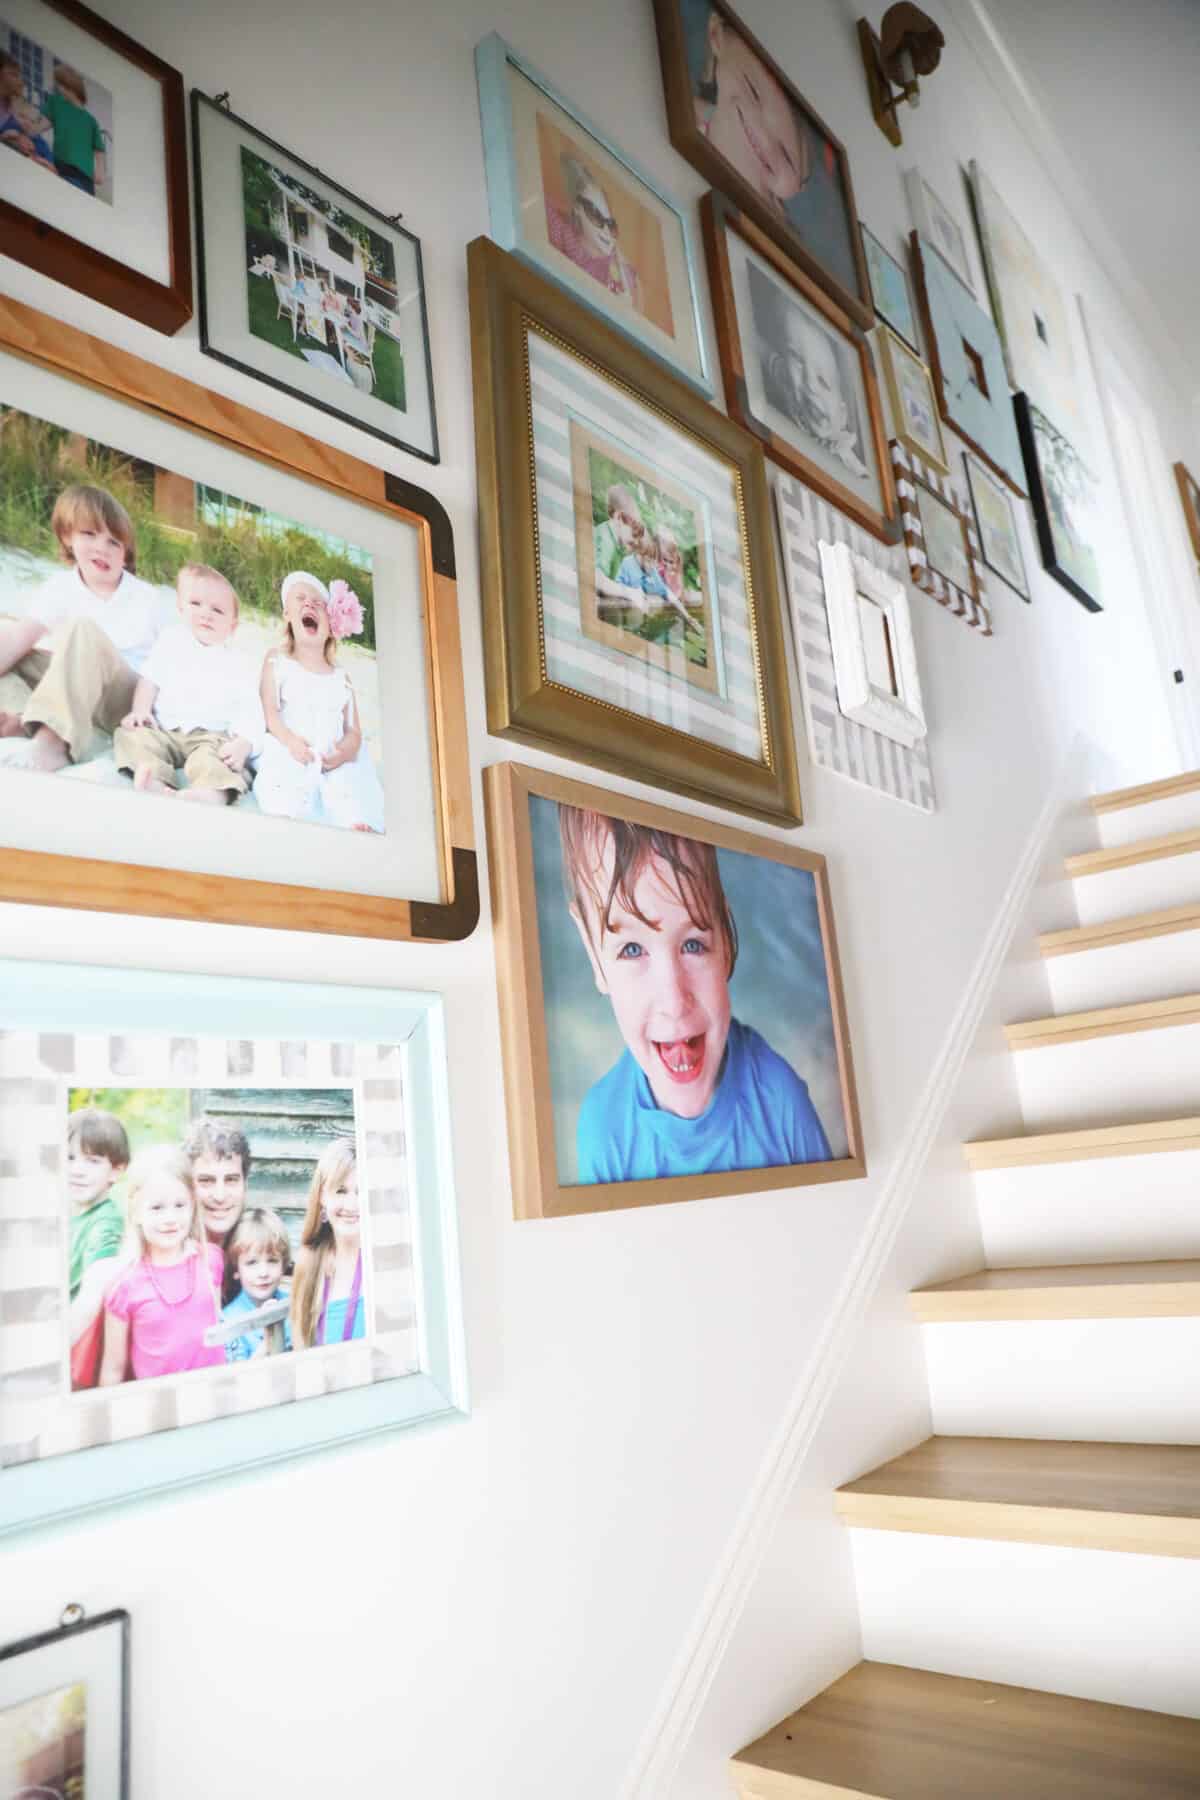 These are decades of handmade frames, photography, and favorite moments captured on one wall. I love the fun, effortless feel it brings to a pretty but otherwise plain staircase.
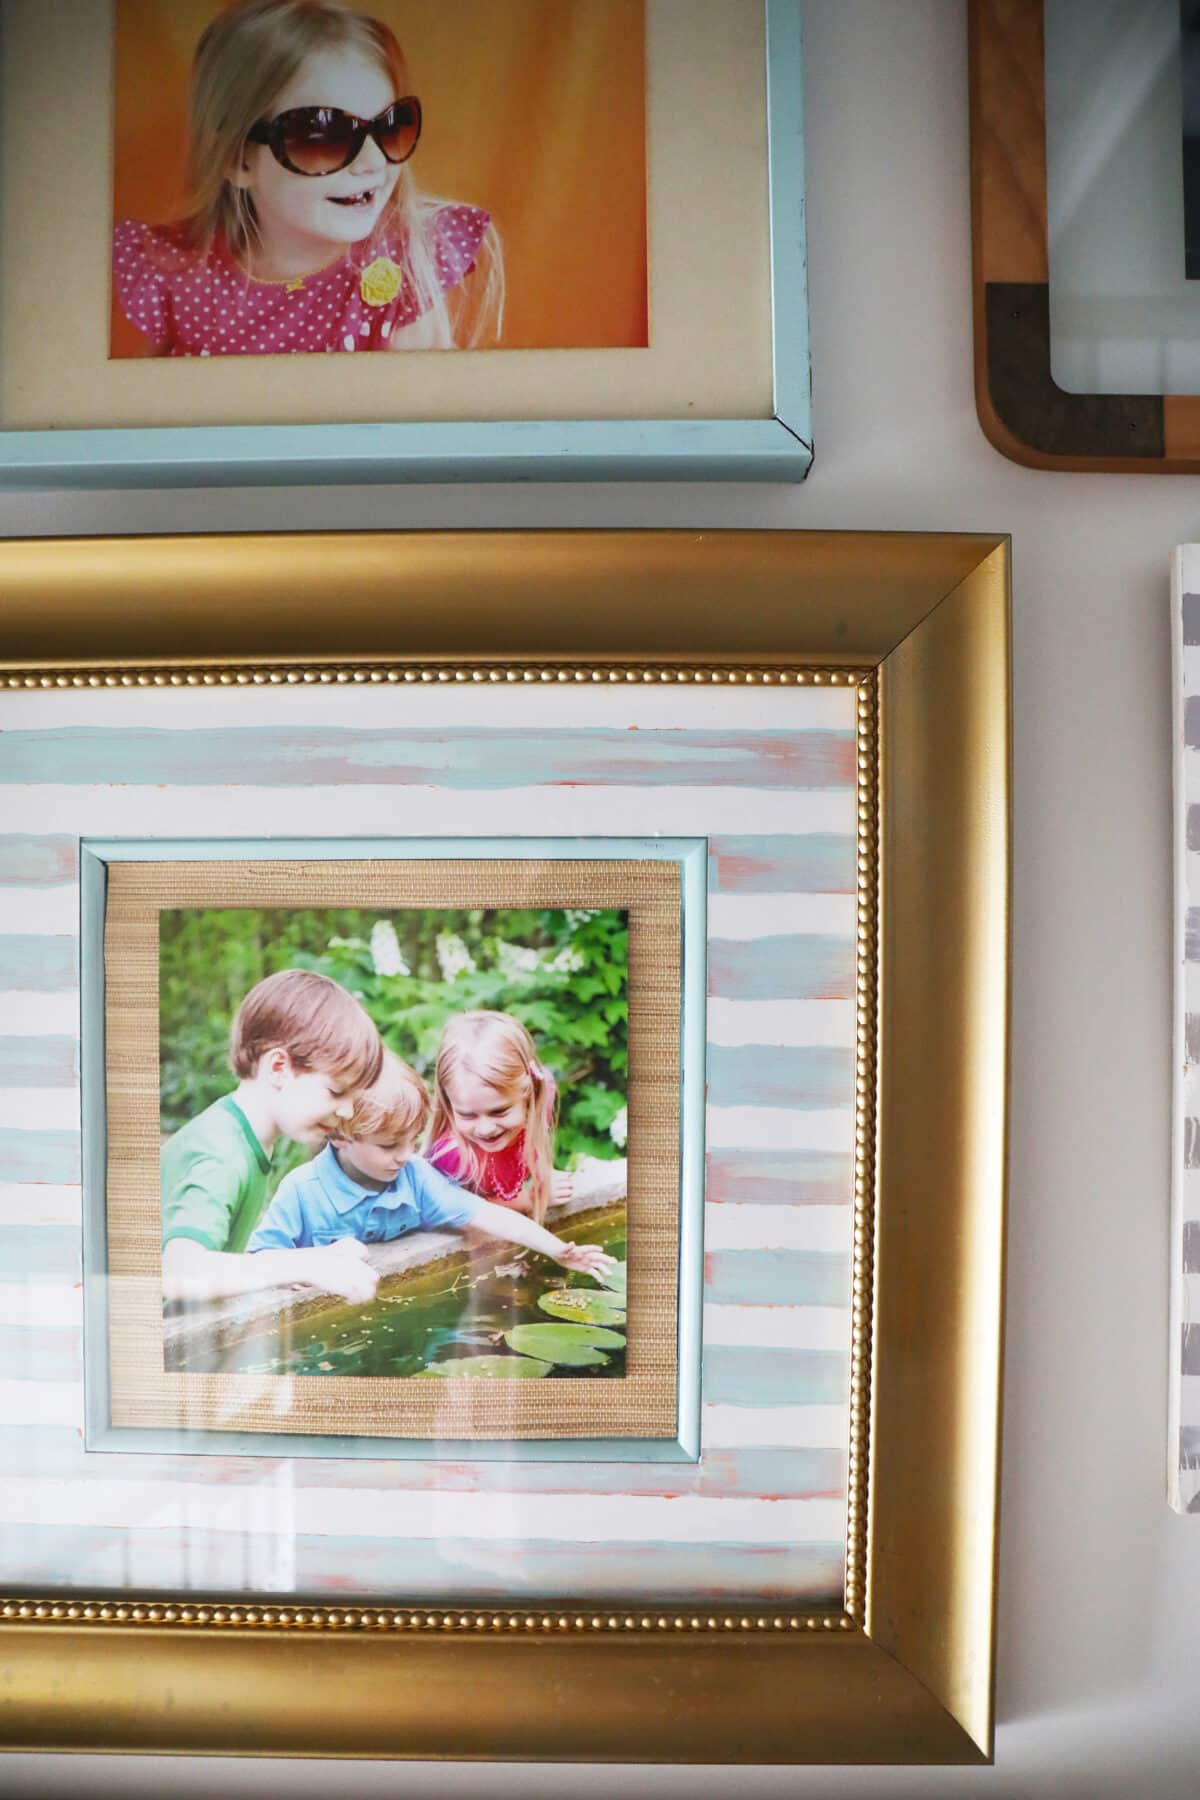
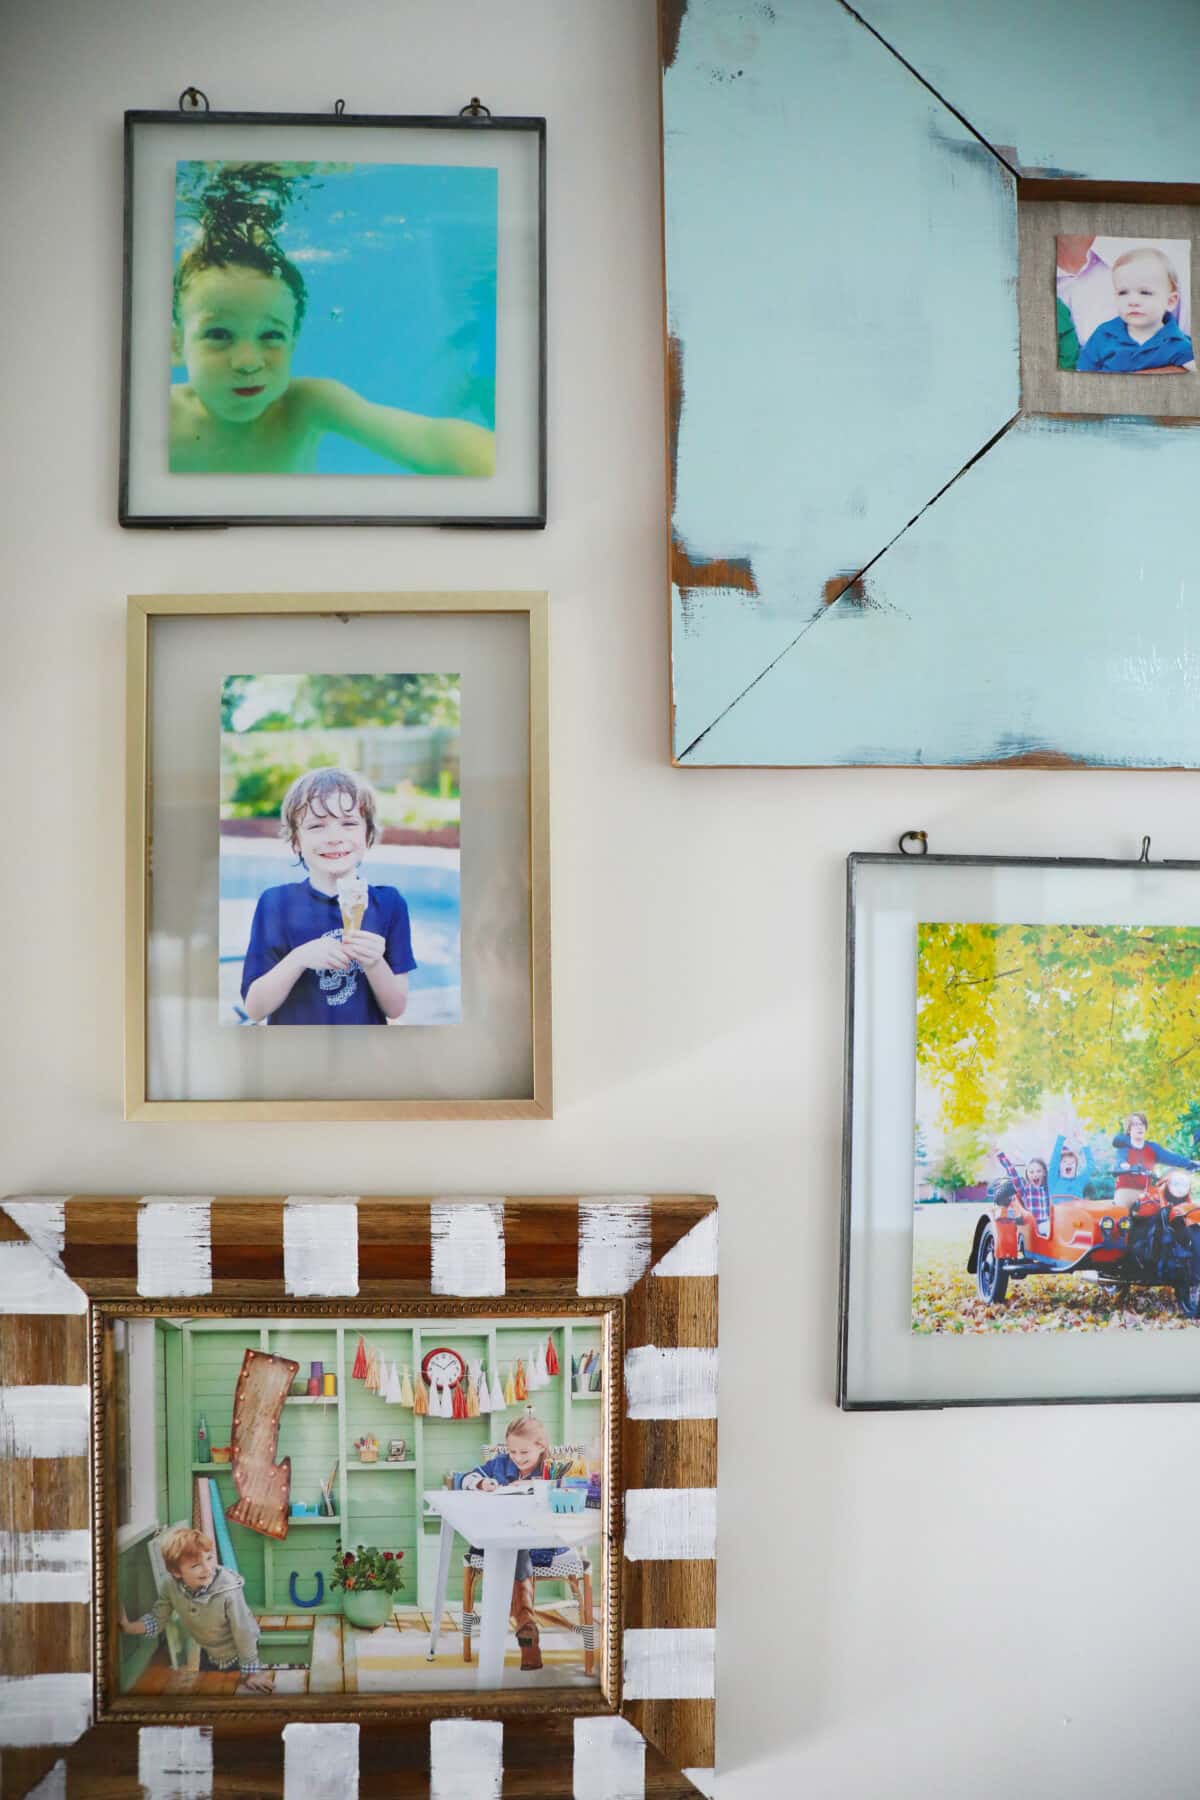 Many of them are nods to our old home, and I think this brings a little comfort to all of us.
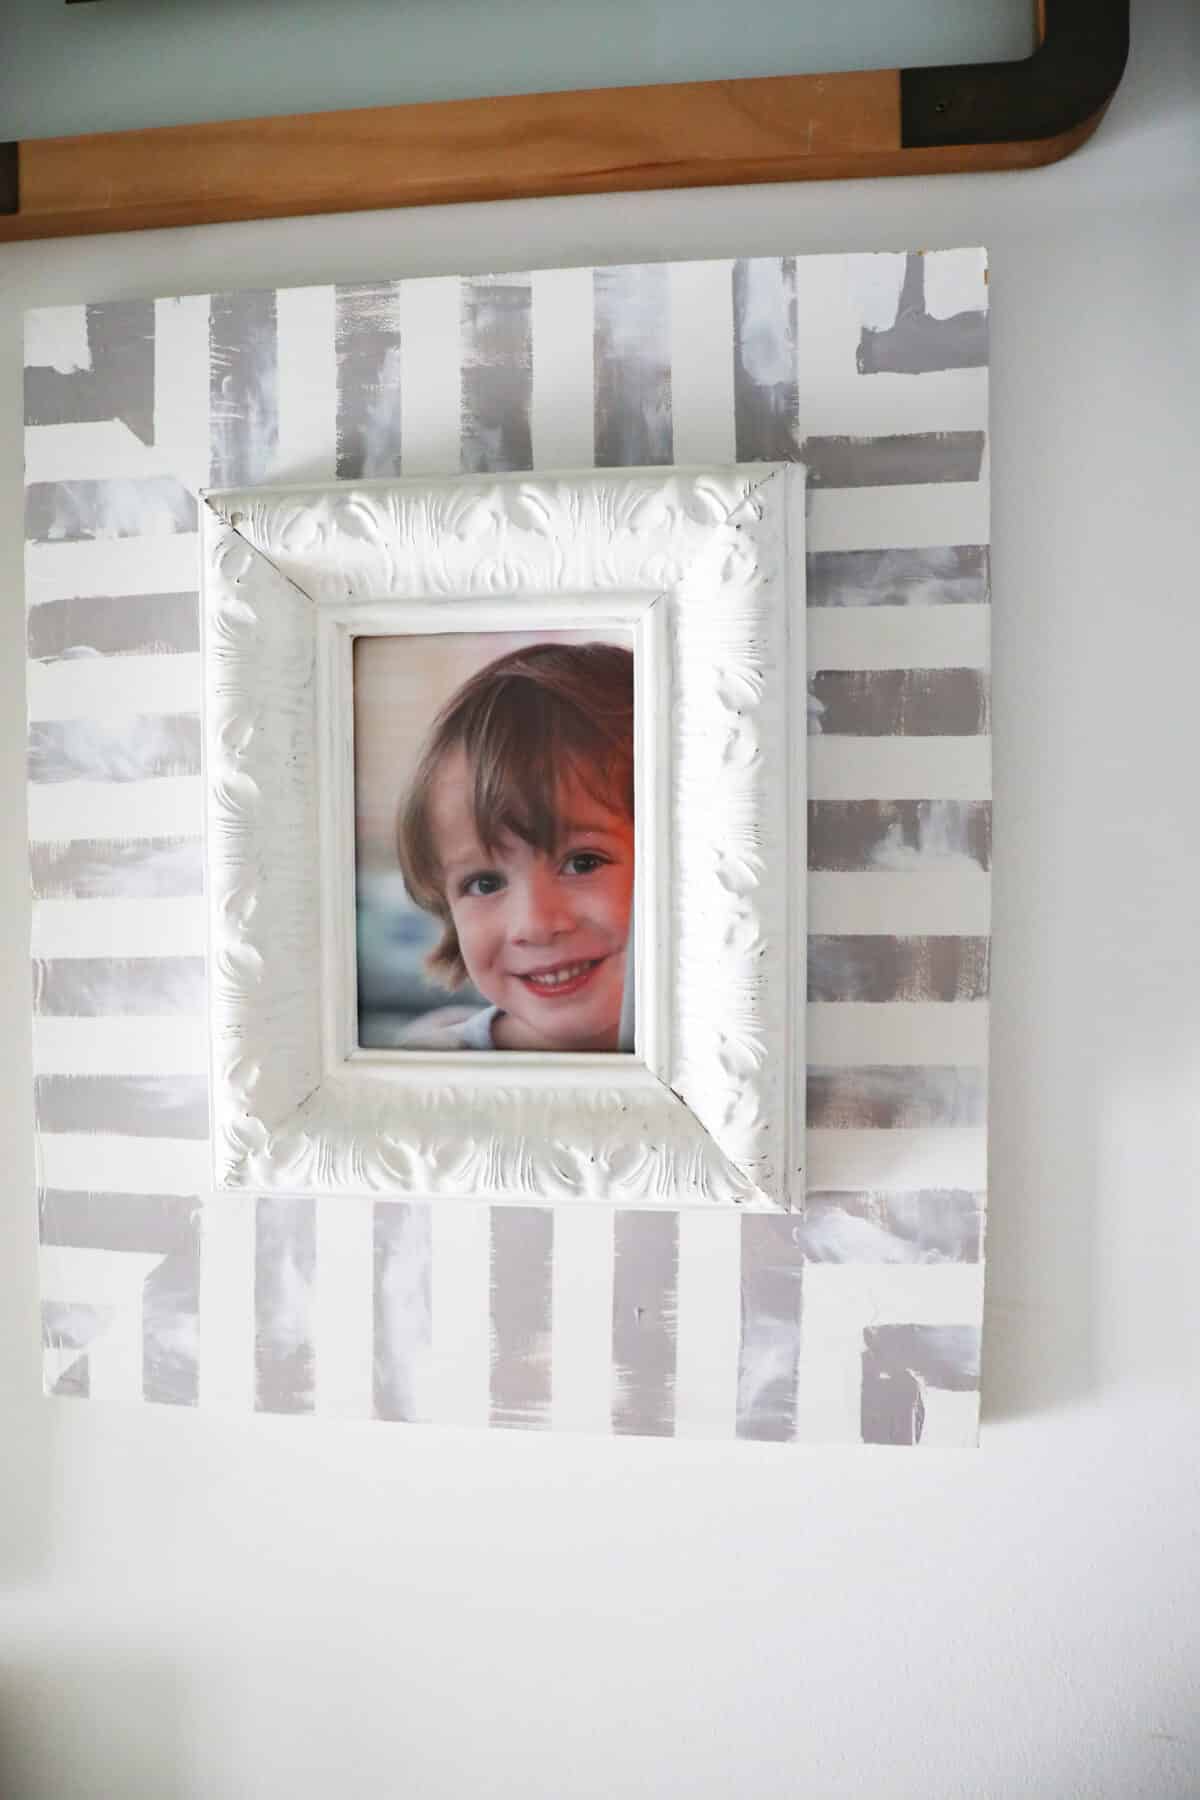 Also, look at those sweet faces. I have room on the other end for our youngest’s senior photo when he graduates, with a matching frame. But I do adore the way all of this came together!
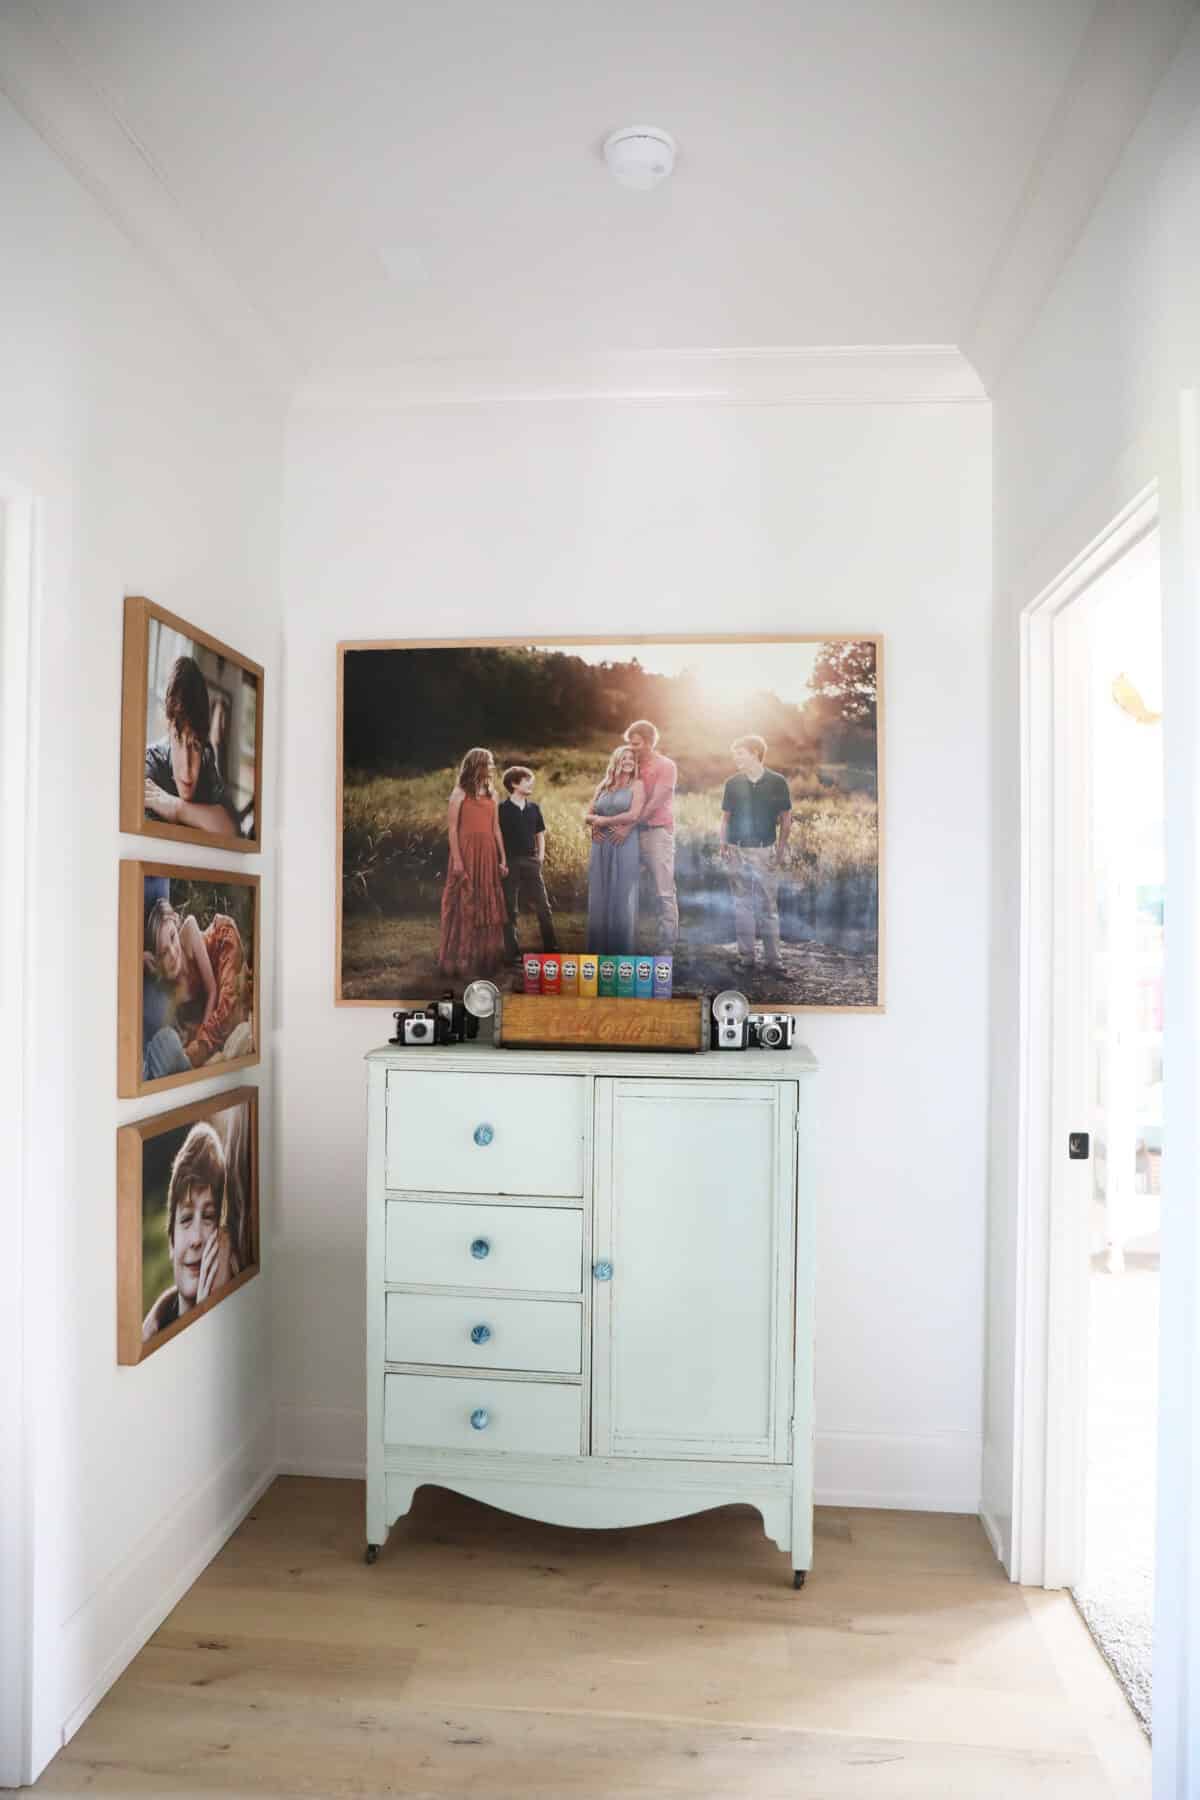
I can’t wait to share a little house tour, but the upstairs opens into this small alcove, where it was fun to share more photos. Don’t worry, we have contrast on the other walls, where there are minimal elements. I just had to take my opportunity here to share our fave memories.
Here are a few posts we’ve done in the past on all things frames, if you’re interested in some of the more custom pieces: how to build a layered frame / all about frames / frame flipping / how to add stripes
We hope this helps you create your own, one-of-a-kind beauty in your home. This space is slowly but surely starting to feel like a real home, one day at a time. As always, let us know if you try any of these things! We’d love to hear. Have an inspired day!