best tips for painting with frogtape®
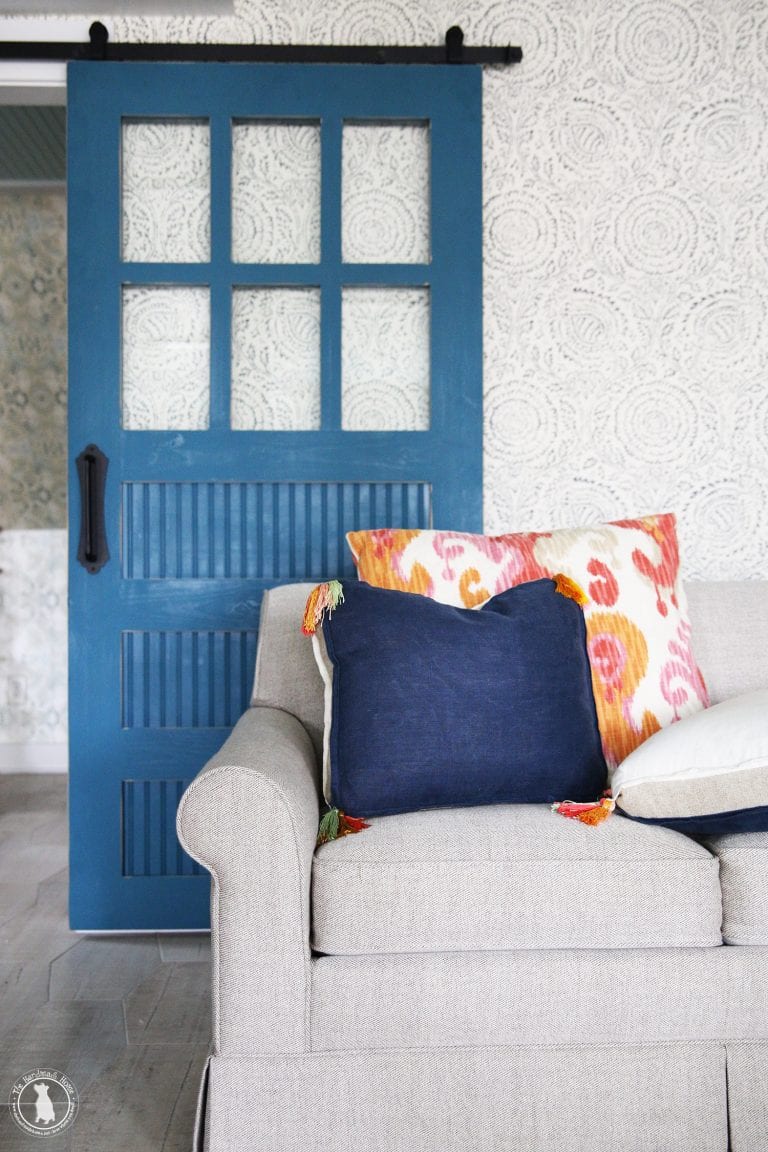
We’re to that exciting point in our renovation where it’s time for all things paint! As you know, we design and manage renovations for clients. But in the meantime, we’ve been tackling this primary addition. We’re currently to the trim work + painting phase. So we thought we’d share our best tips for painting with FrogTape®!
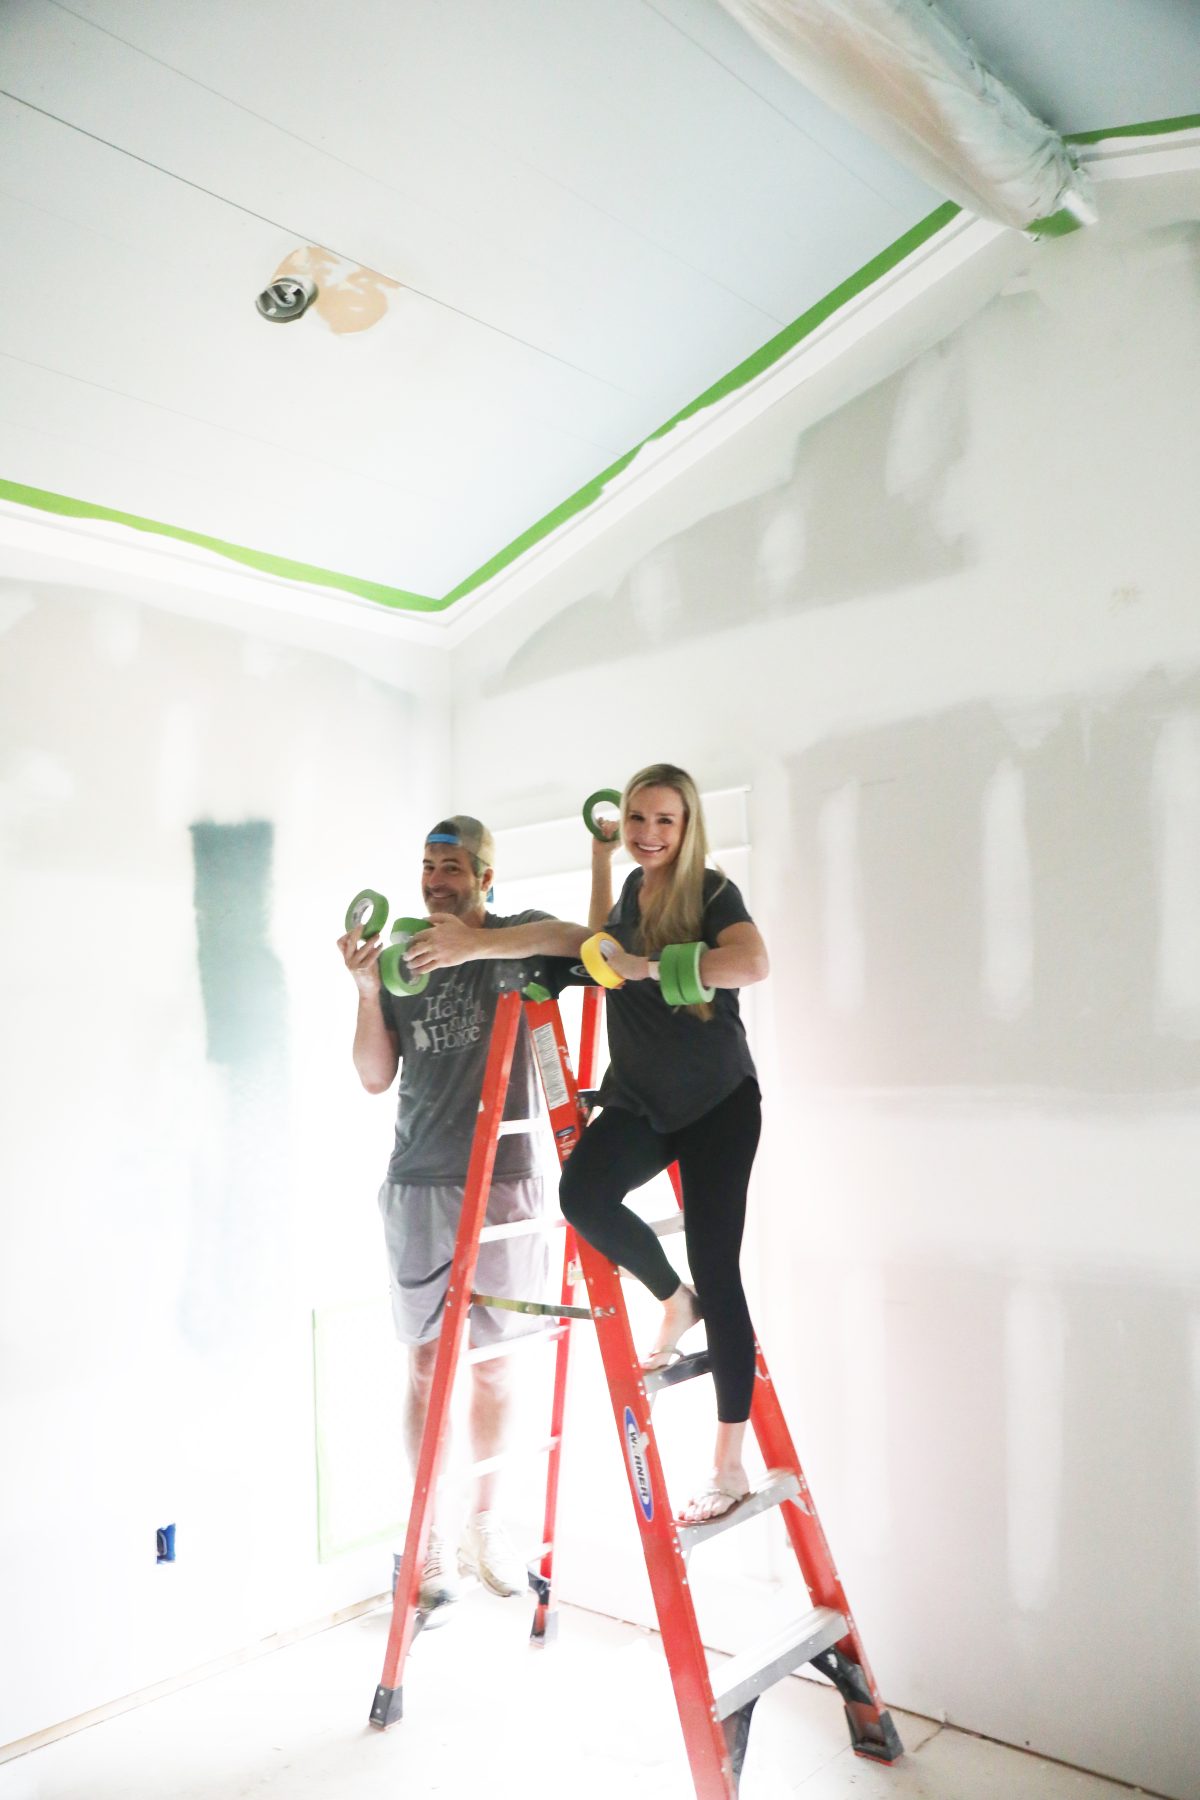
It always helps to reference a few good tips before getting started, if you’re thinking of taking on a project like this of your own. FrogTape® truly has so many incredible uses, it’s one of our most valuable tools. Here are a few of our best.
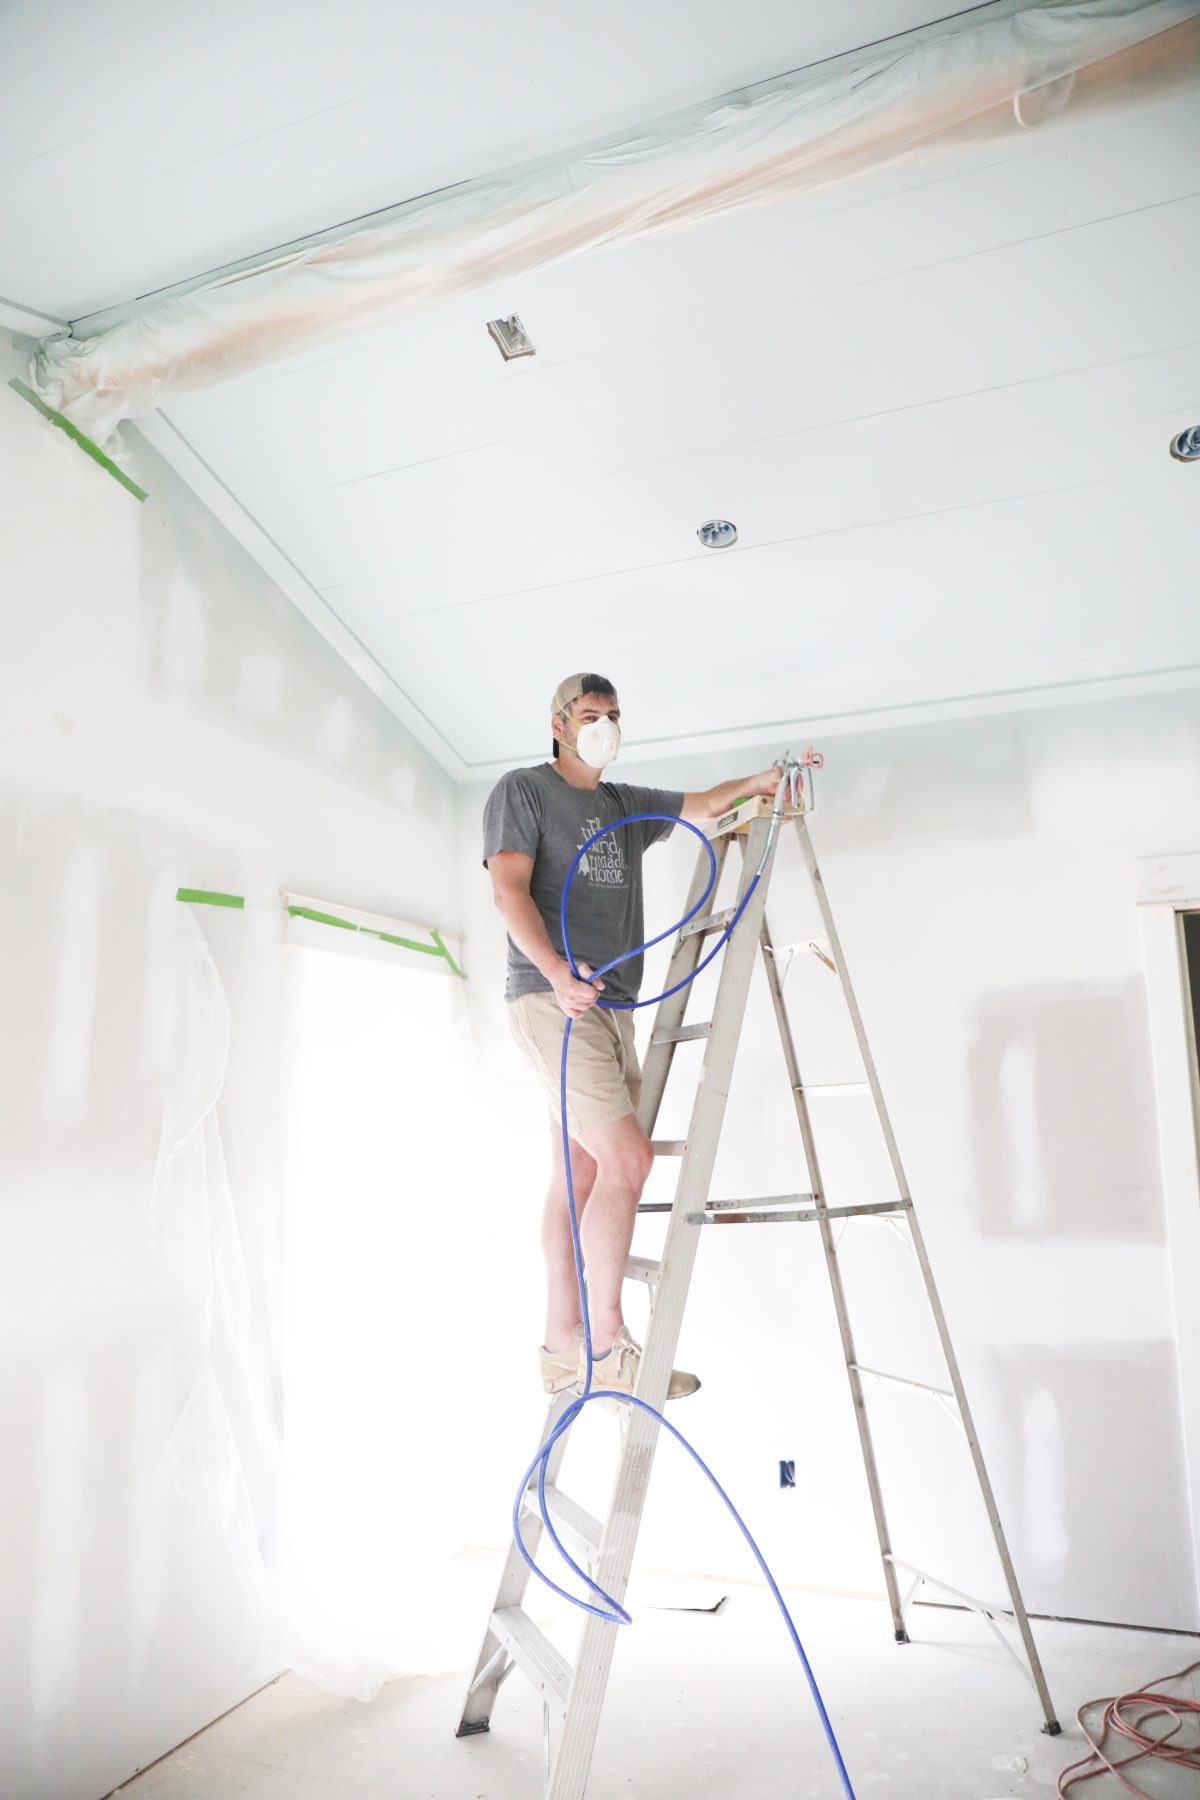
Starting out: We learned the hard way a long time ago, to use a combination of a sprayer and roller. There are definitely pros and cons to both processes, for the most efficient job. It takes a little more prep work in the front end, alongside cleanup, but saves lots of time in the long run. We’ll be sharing where we like use various applications, below.
1. Best Tips for Painting With FrogTape®: Protect Those Windows
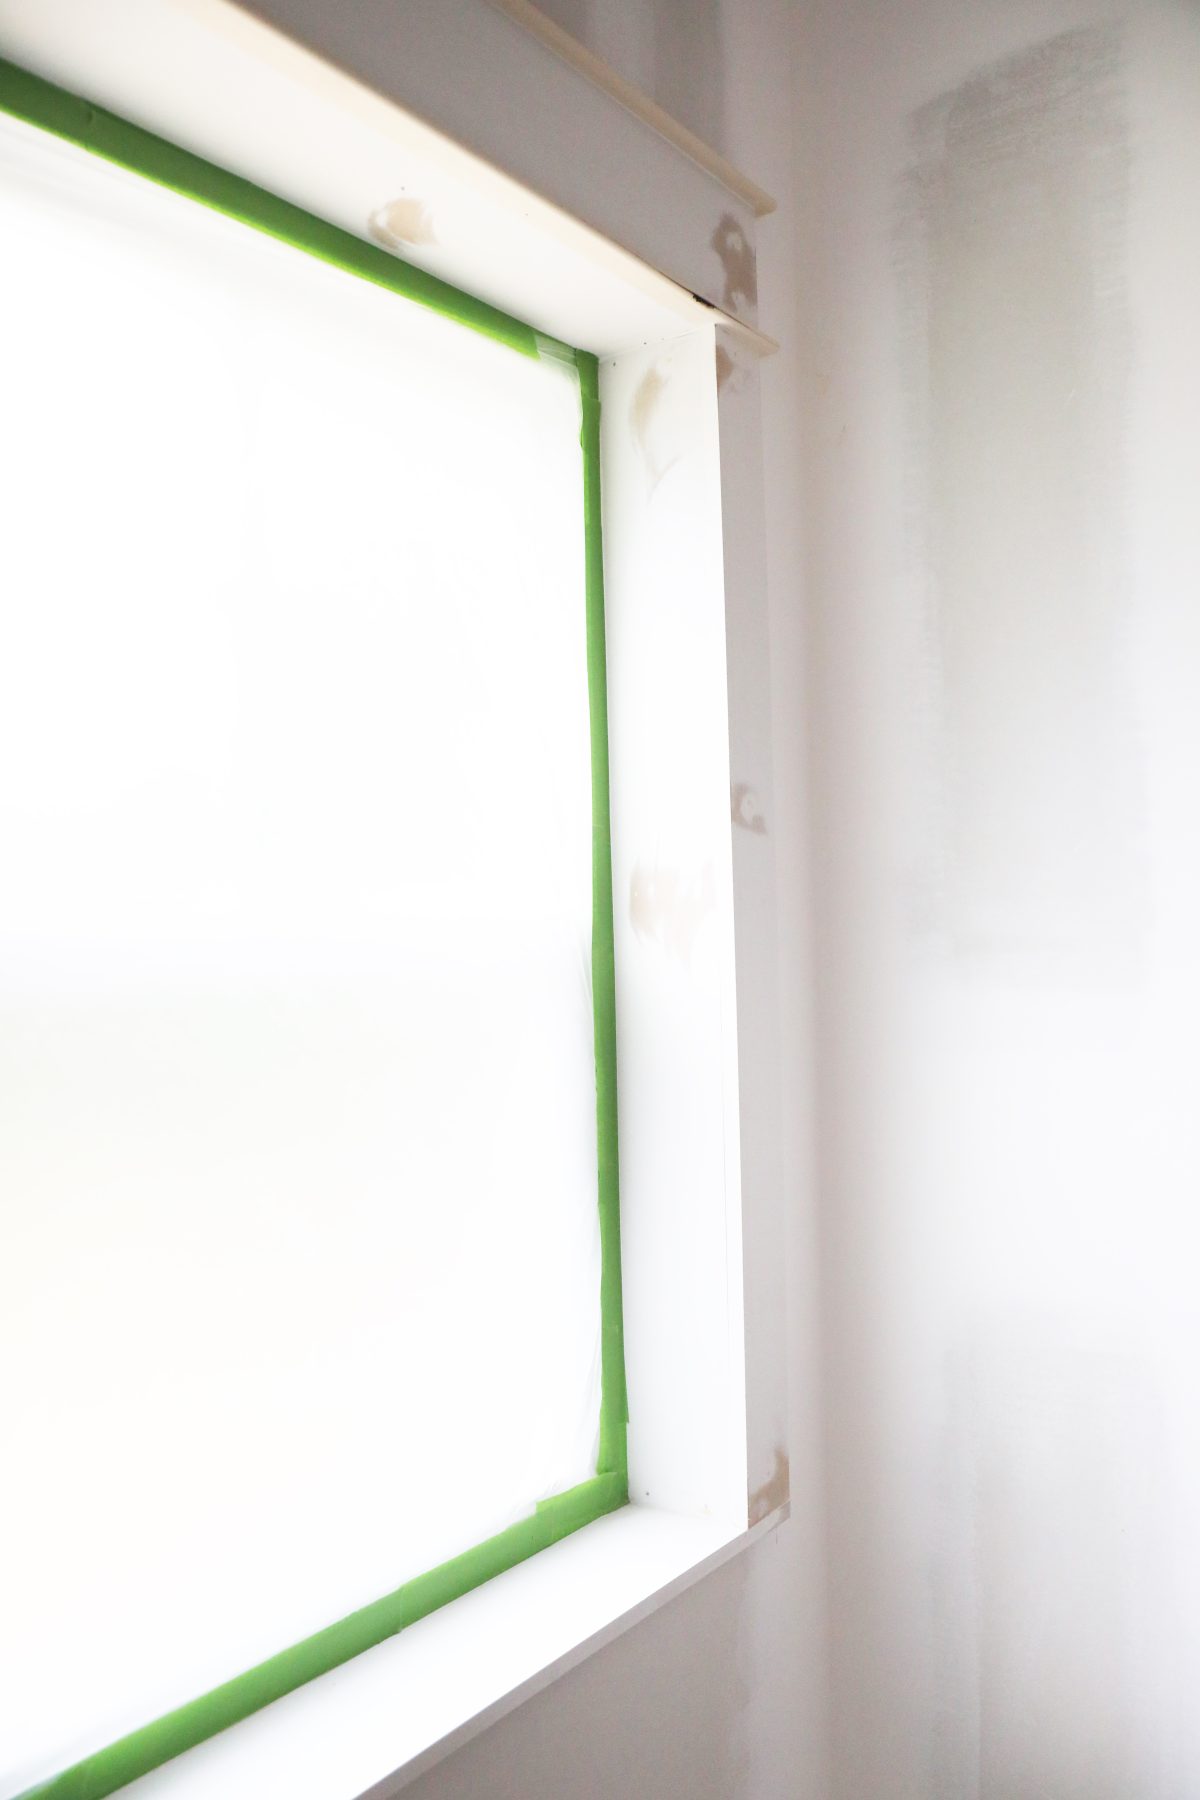
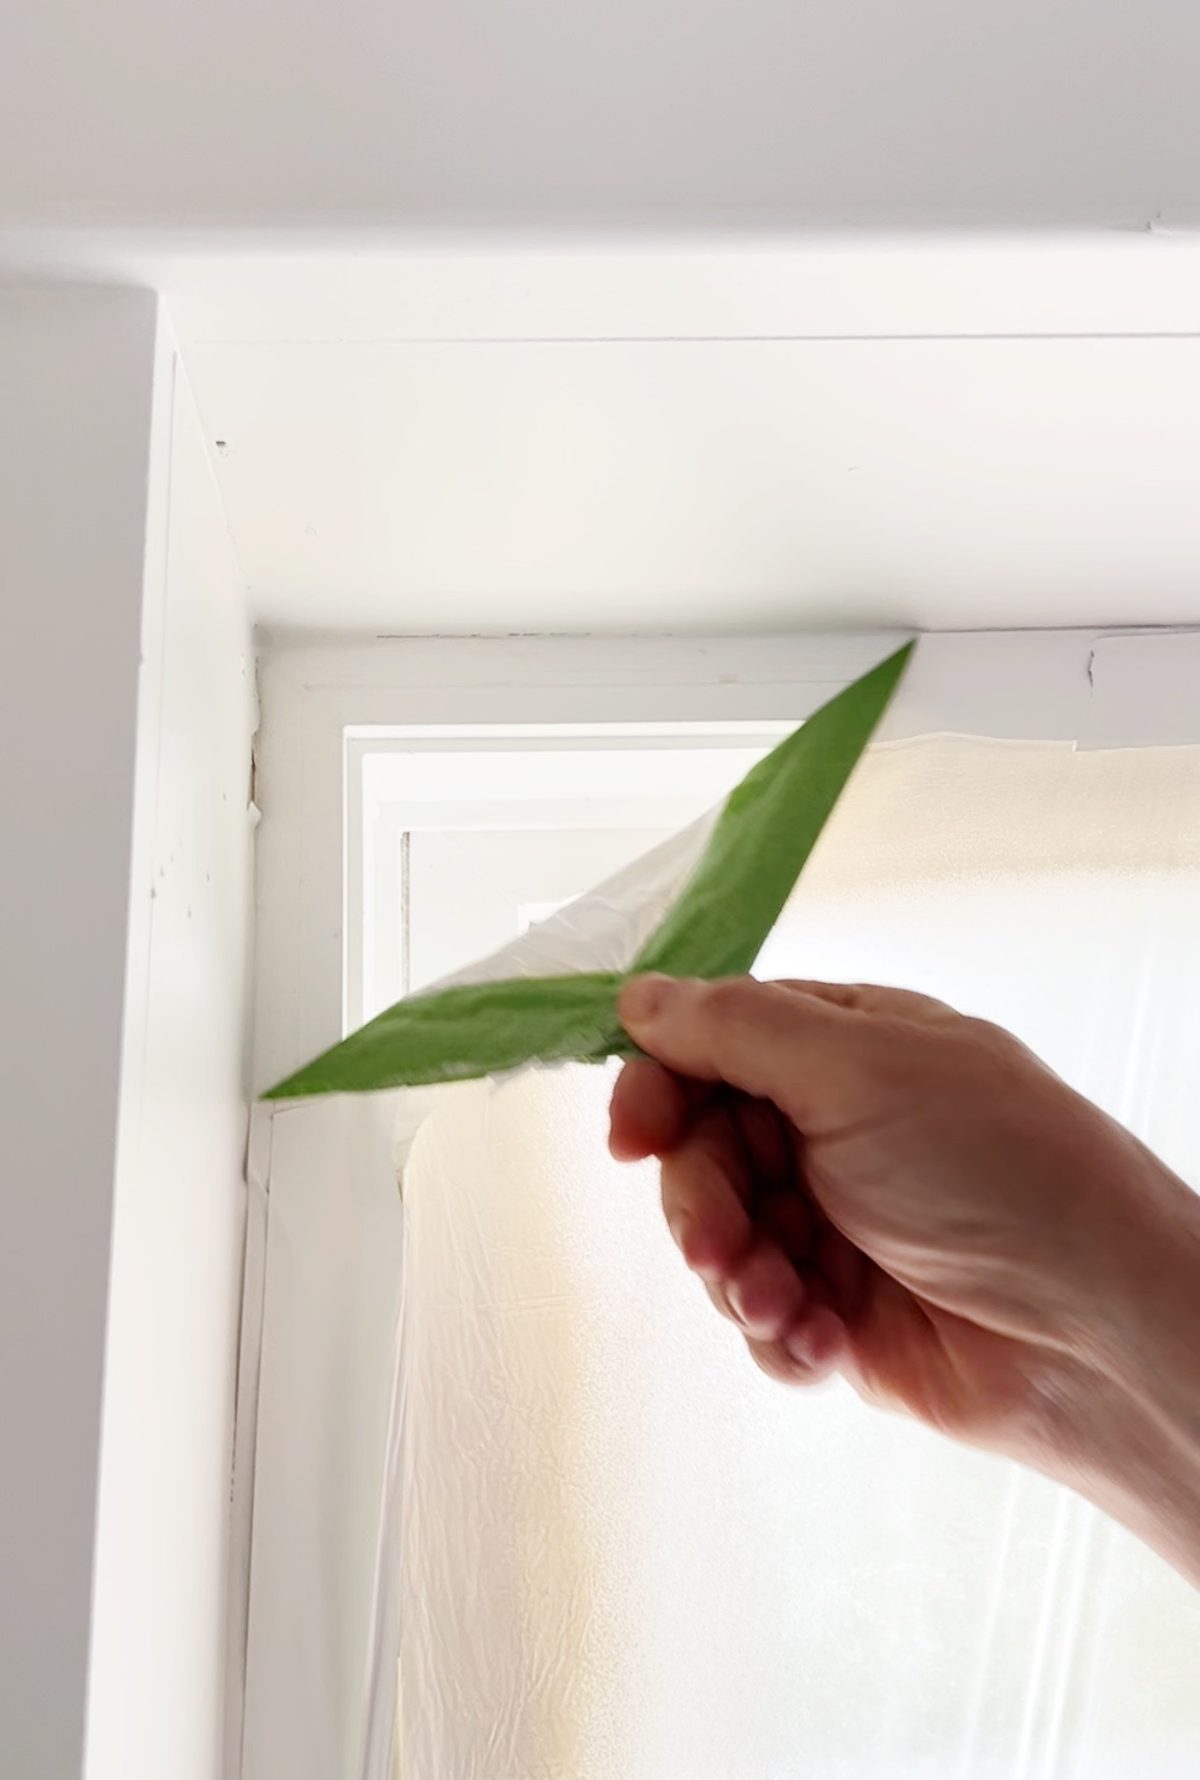
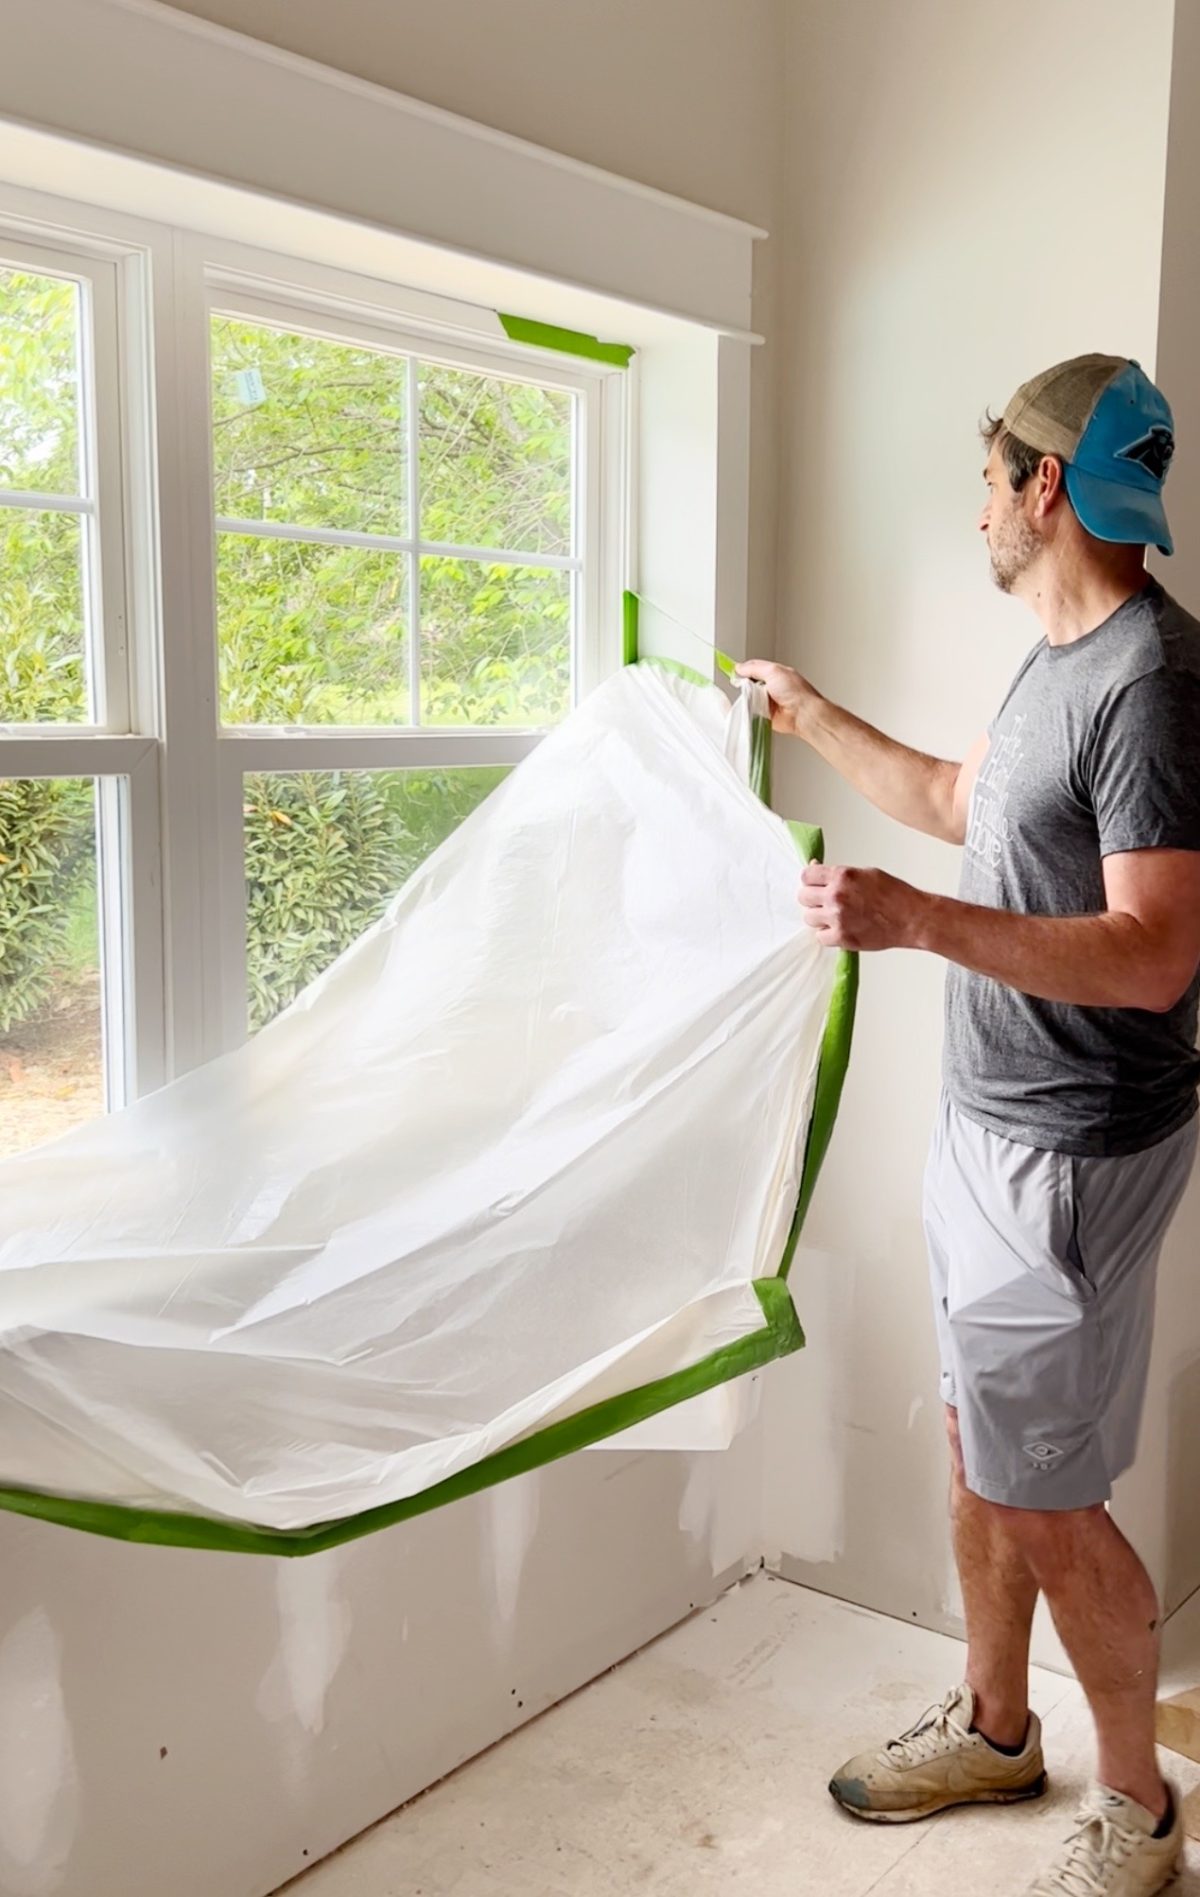
This may seem basic to some, but for those who haven’t used a sprayer before, it’s essential to cover any surface that you don’t intend to paint, to protect it from overspray. We use a combo of tape + plastic or paper {whichever we have on hand} to cover up, along with FrogTape® placed on those inner edges.
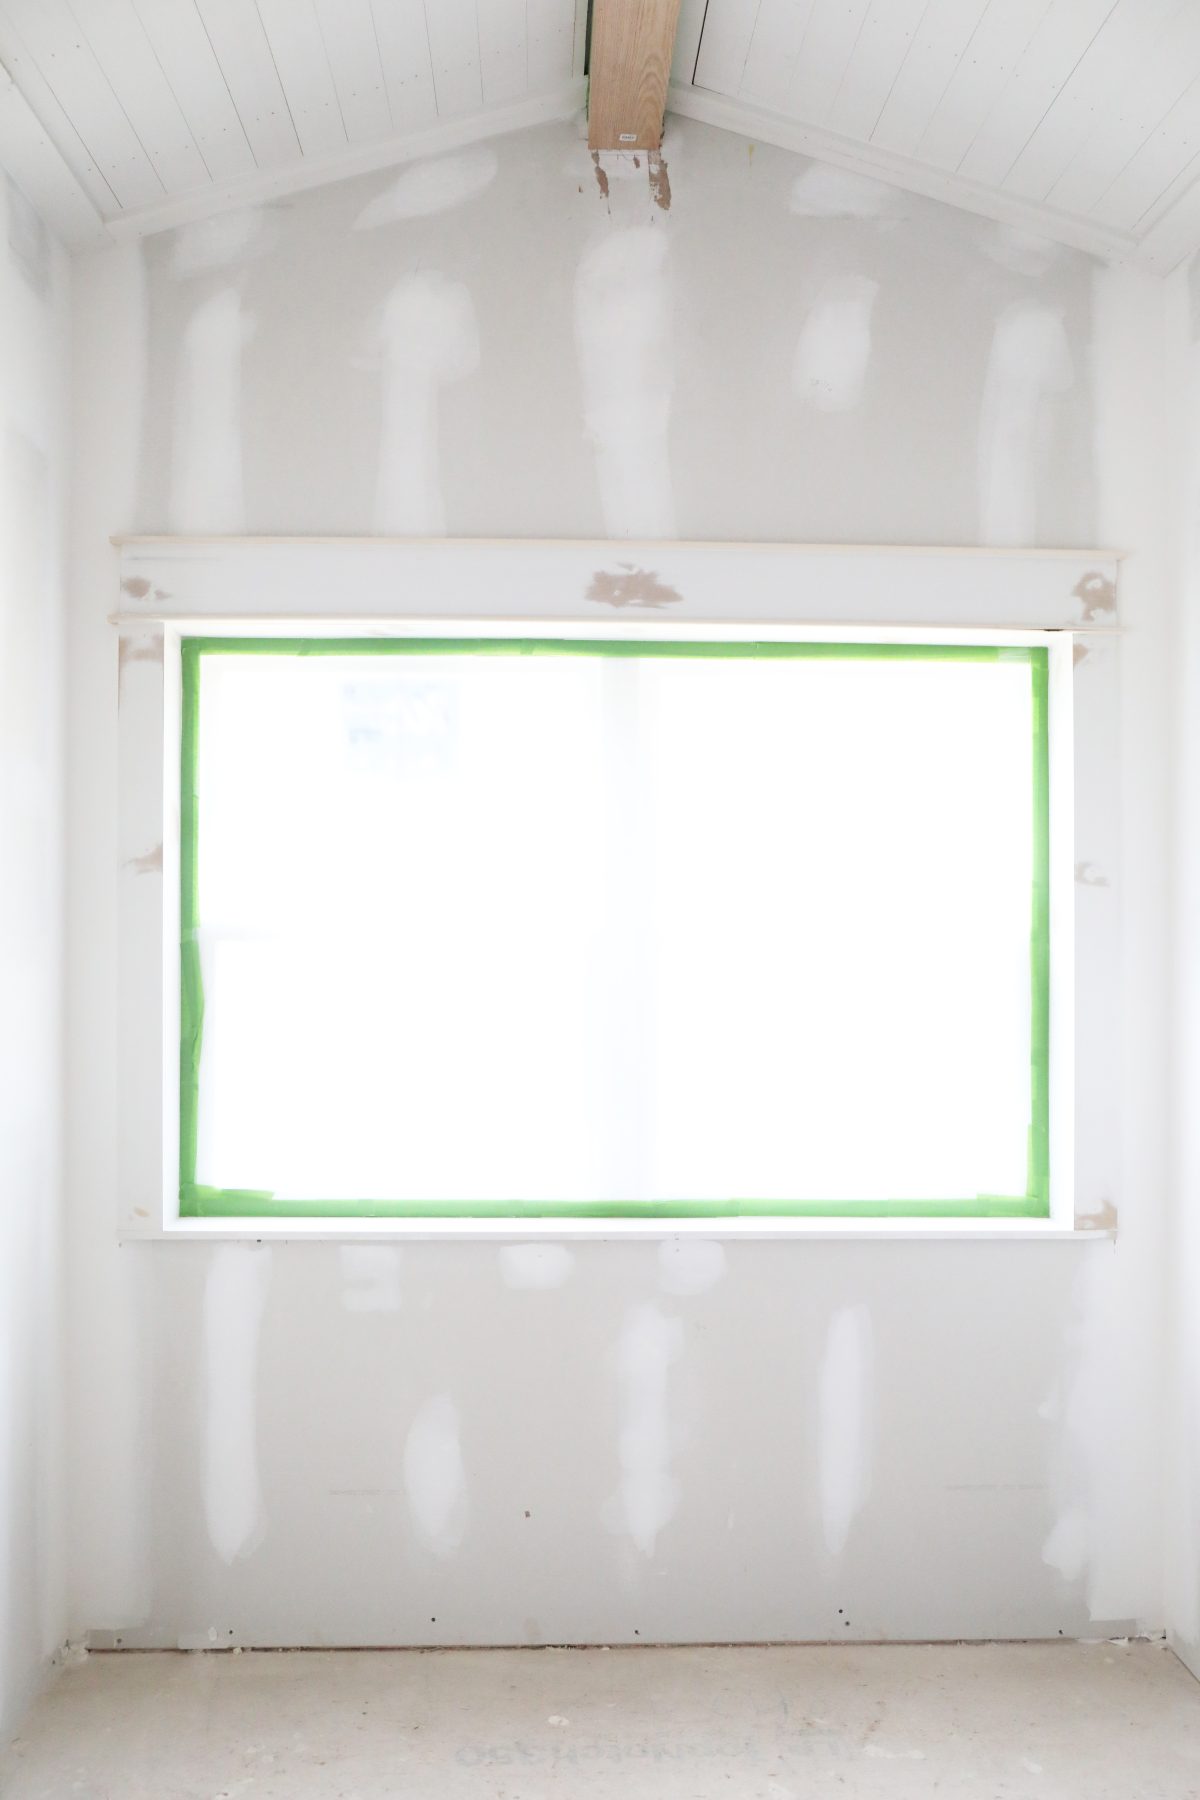
Pro tip: It’s common to try to tape the plastic or paper directly to the window, which can be frustrating because the plastic is so flimsy. So to make this easier we use our FrogTape® to tape the edge of the area first, then tape the plastic/paper to the FrogTape. This way you don’t have to worry about getting a flimsy product straight, but the FrogTape gives you some grace. (more on this below) And when it’s finished, we’re ready to go!
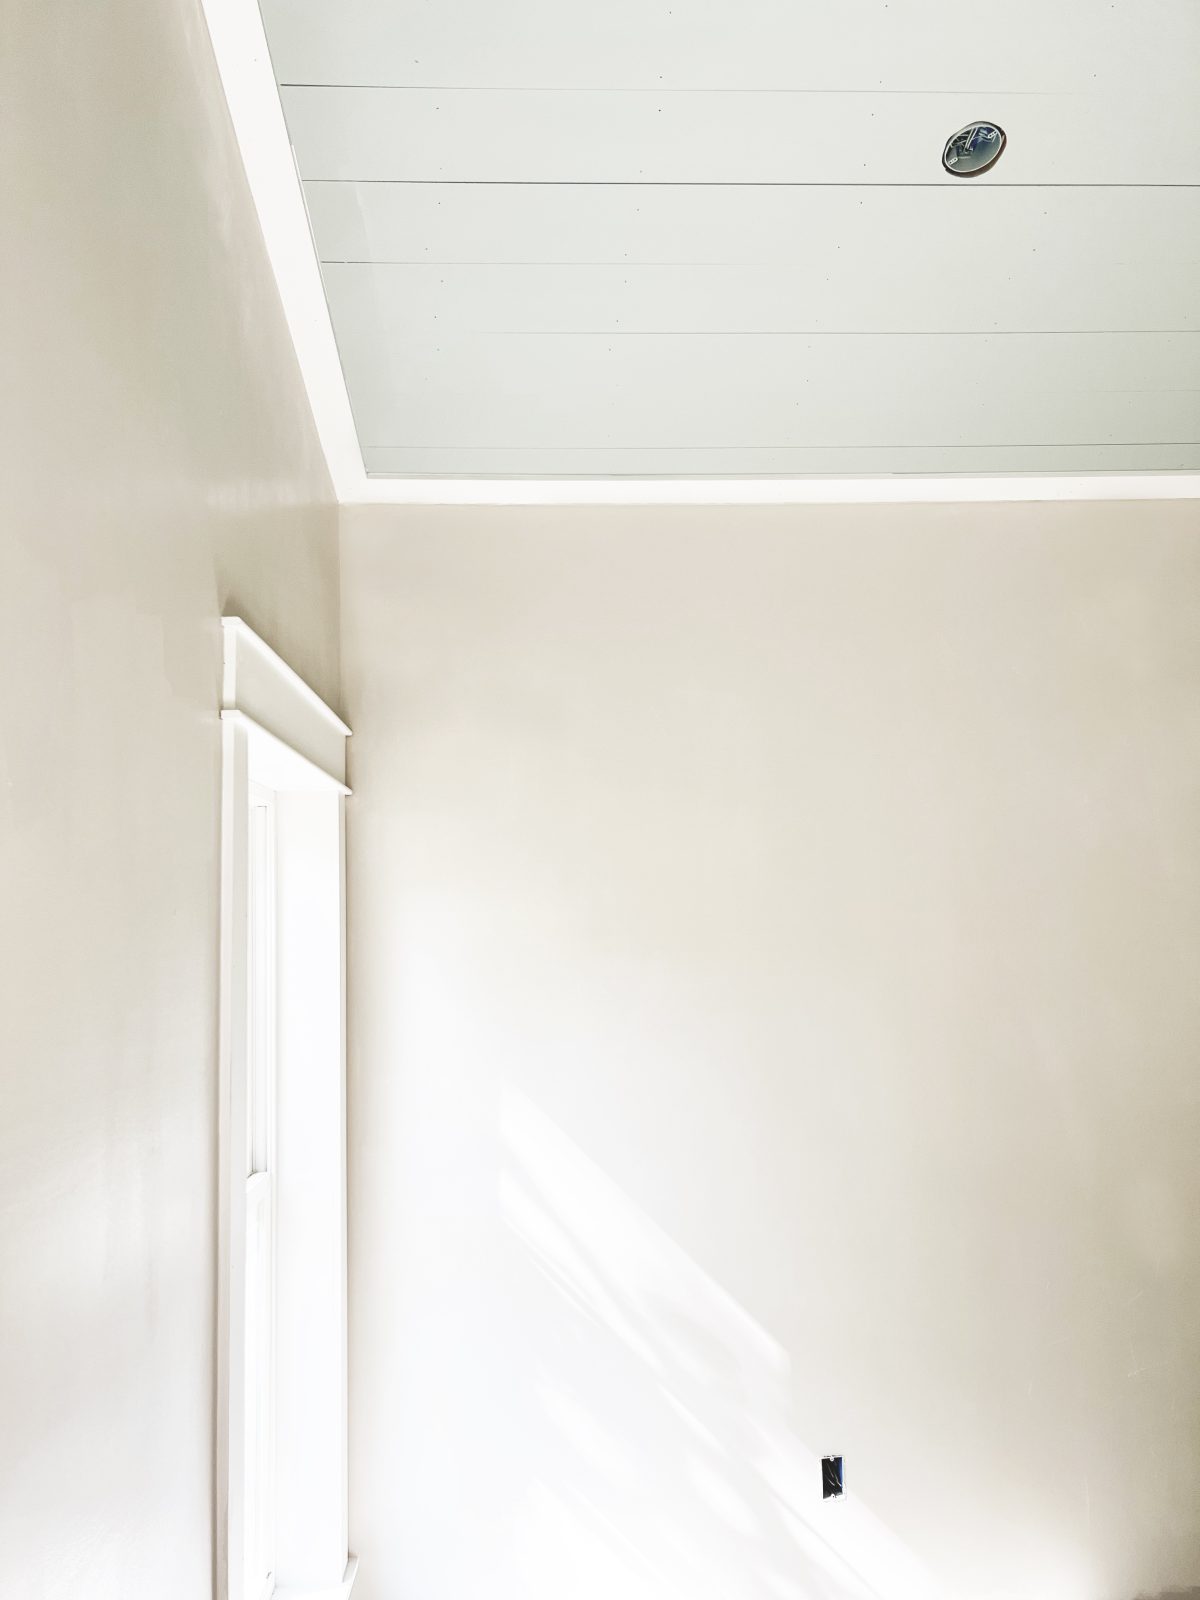
Here’s a glimpse of that after! We still have a few touch-ups to do, but progress, y’all!

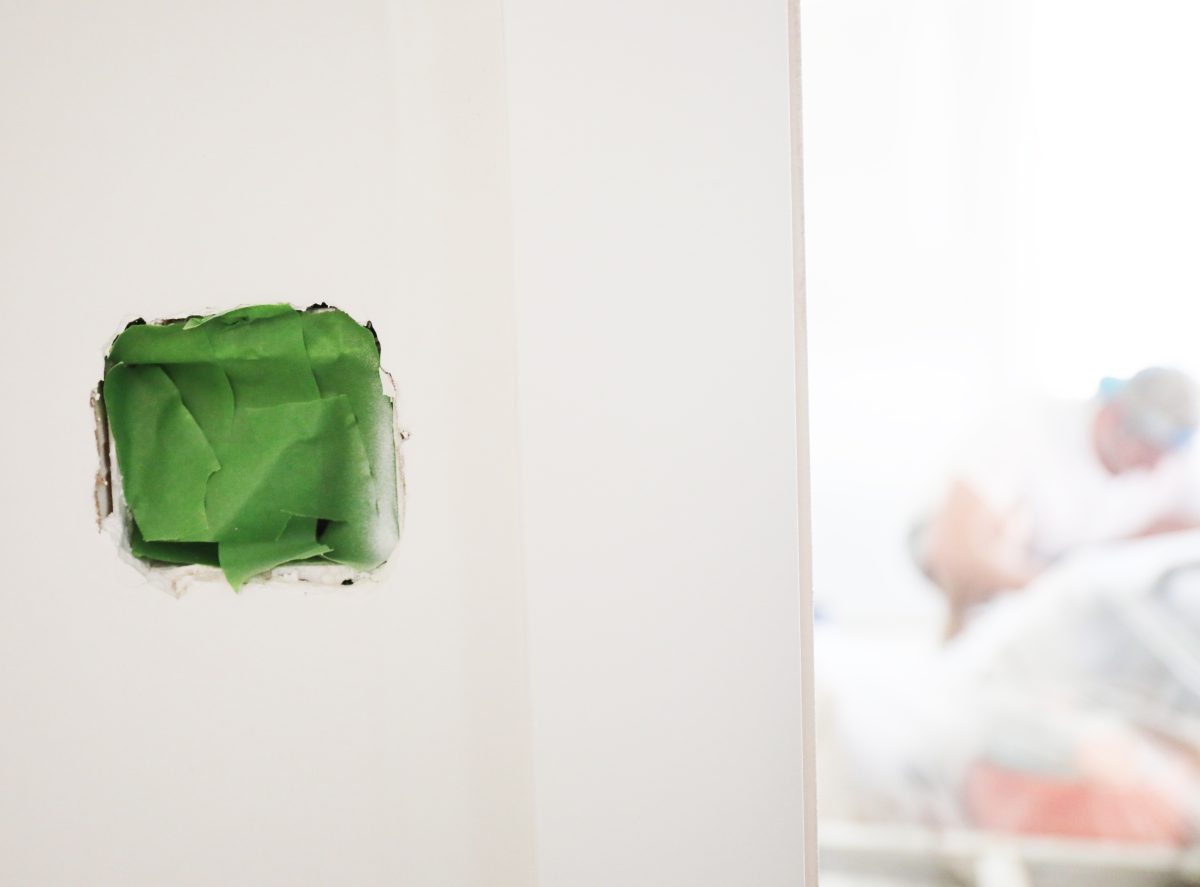
2. Best Tips for Painting With FrogTape®: Protect Any Electrical
Before passing over any electrical areas with paint, be sure to protect it with FrogTape®. It’s just smart to cover all those areas, and the best and smartest solution is to do it with tape! Quick and easy. Also, it’s much more affordable than buying plastic covers.
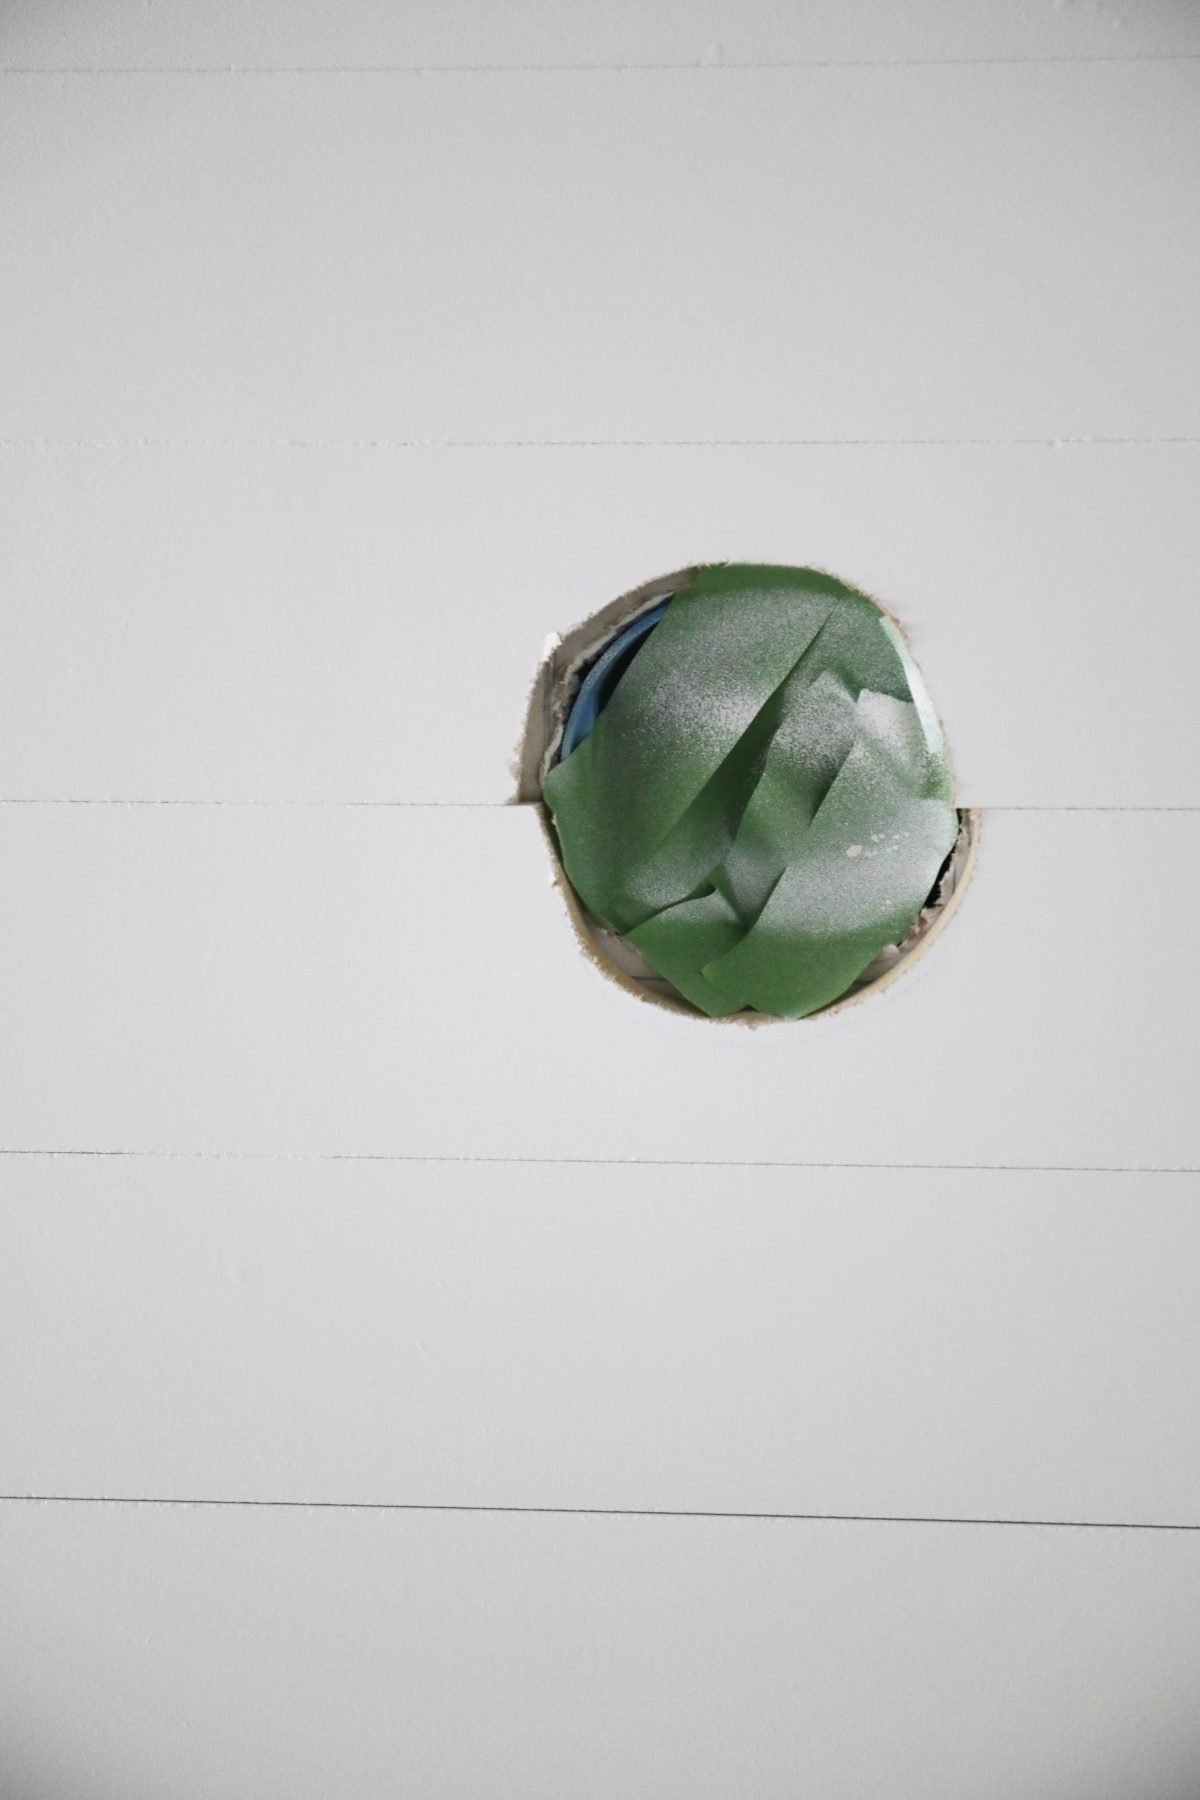
These are the little things people sometimes don’t consider, until they’re in the middle of the job. It helps to keep all these areas clear of paint. And it’s best to do it ahead of time in the prep work so that it’s out of the way. Your electrician will thank you.
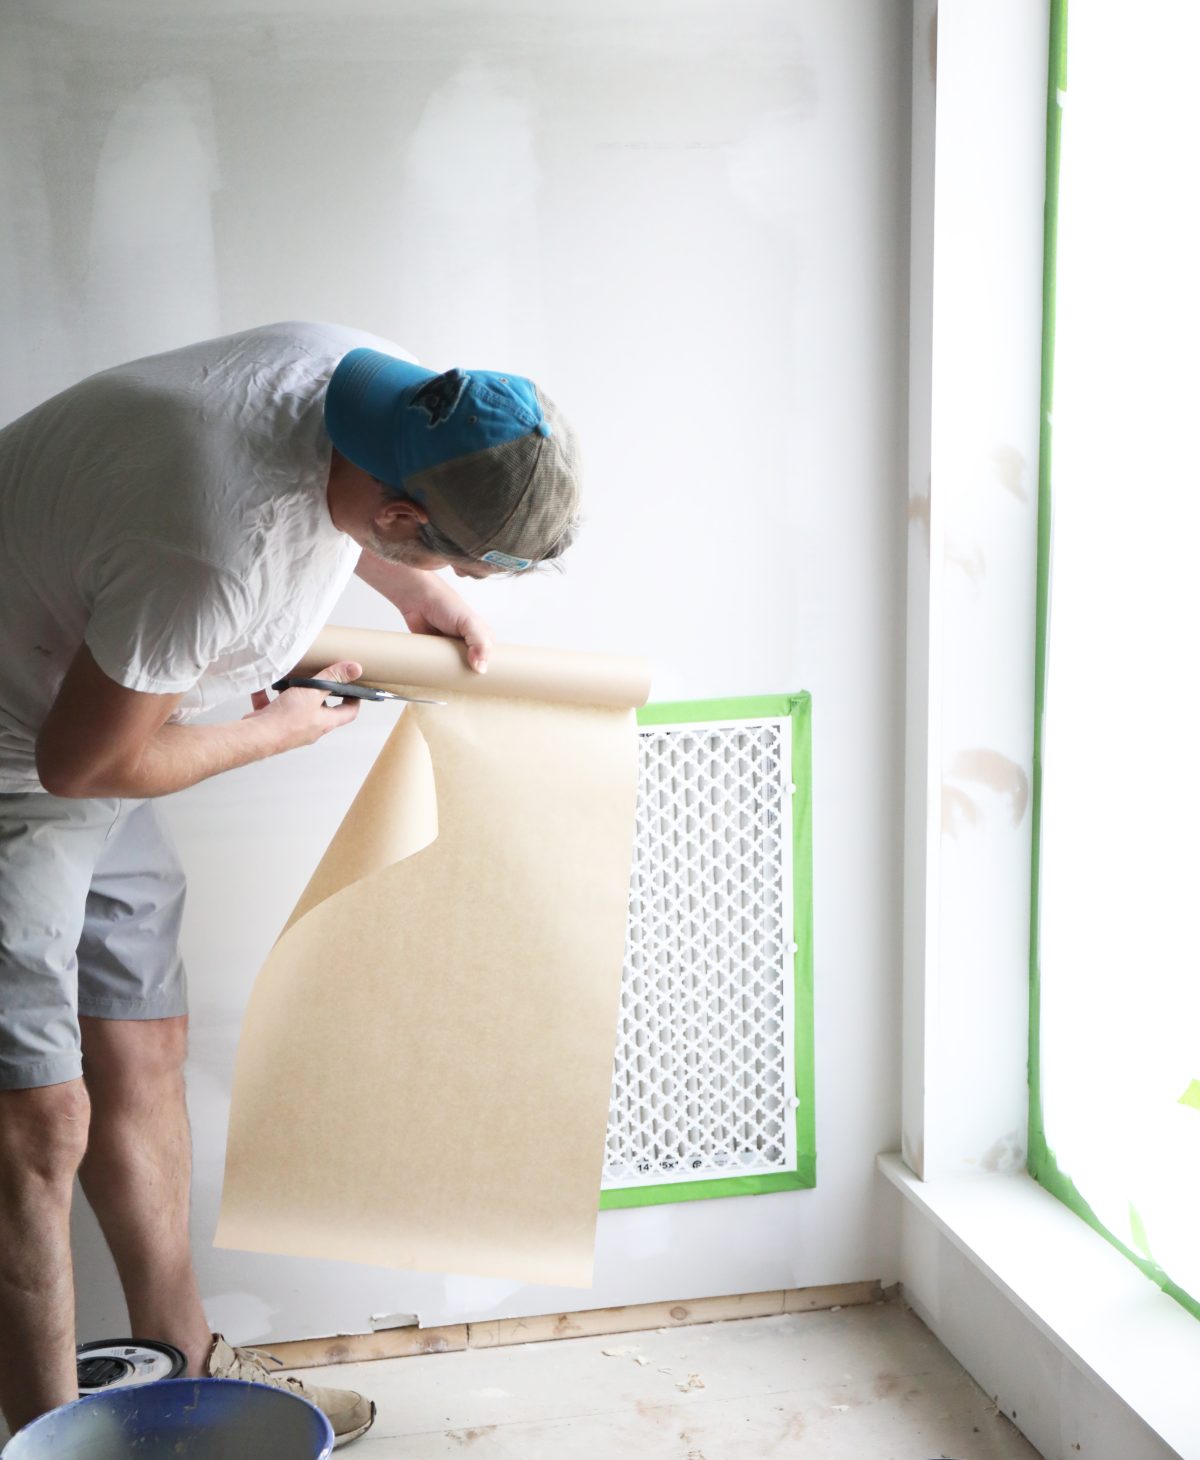
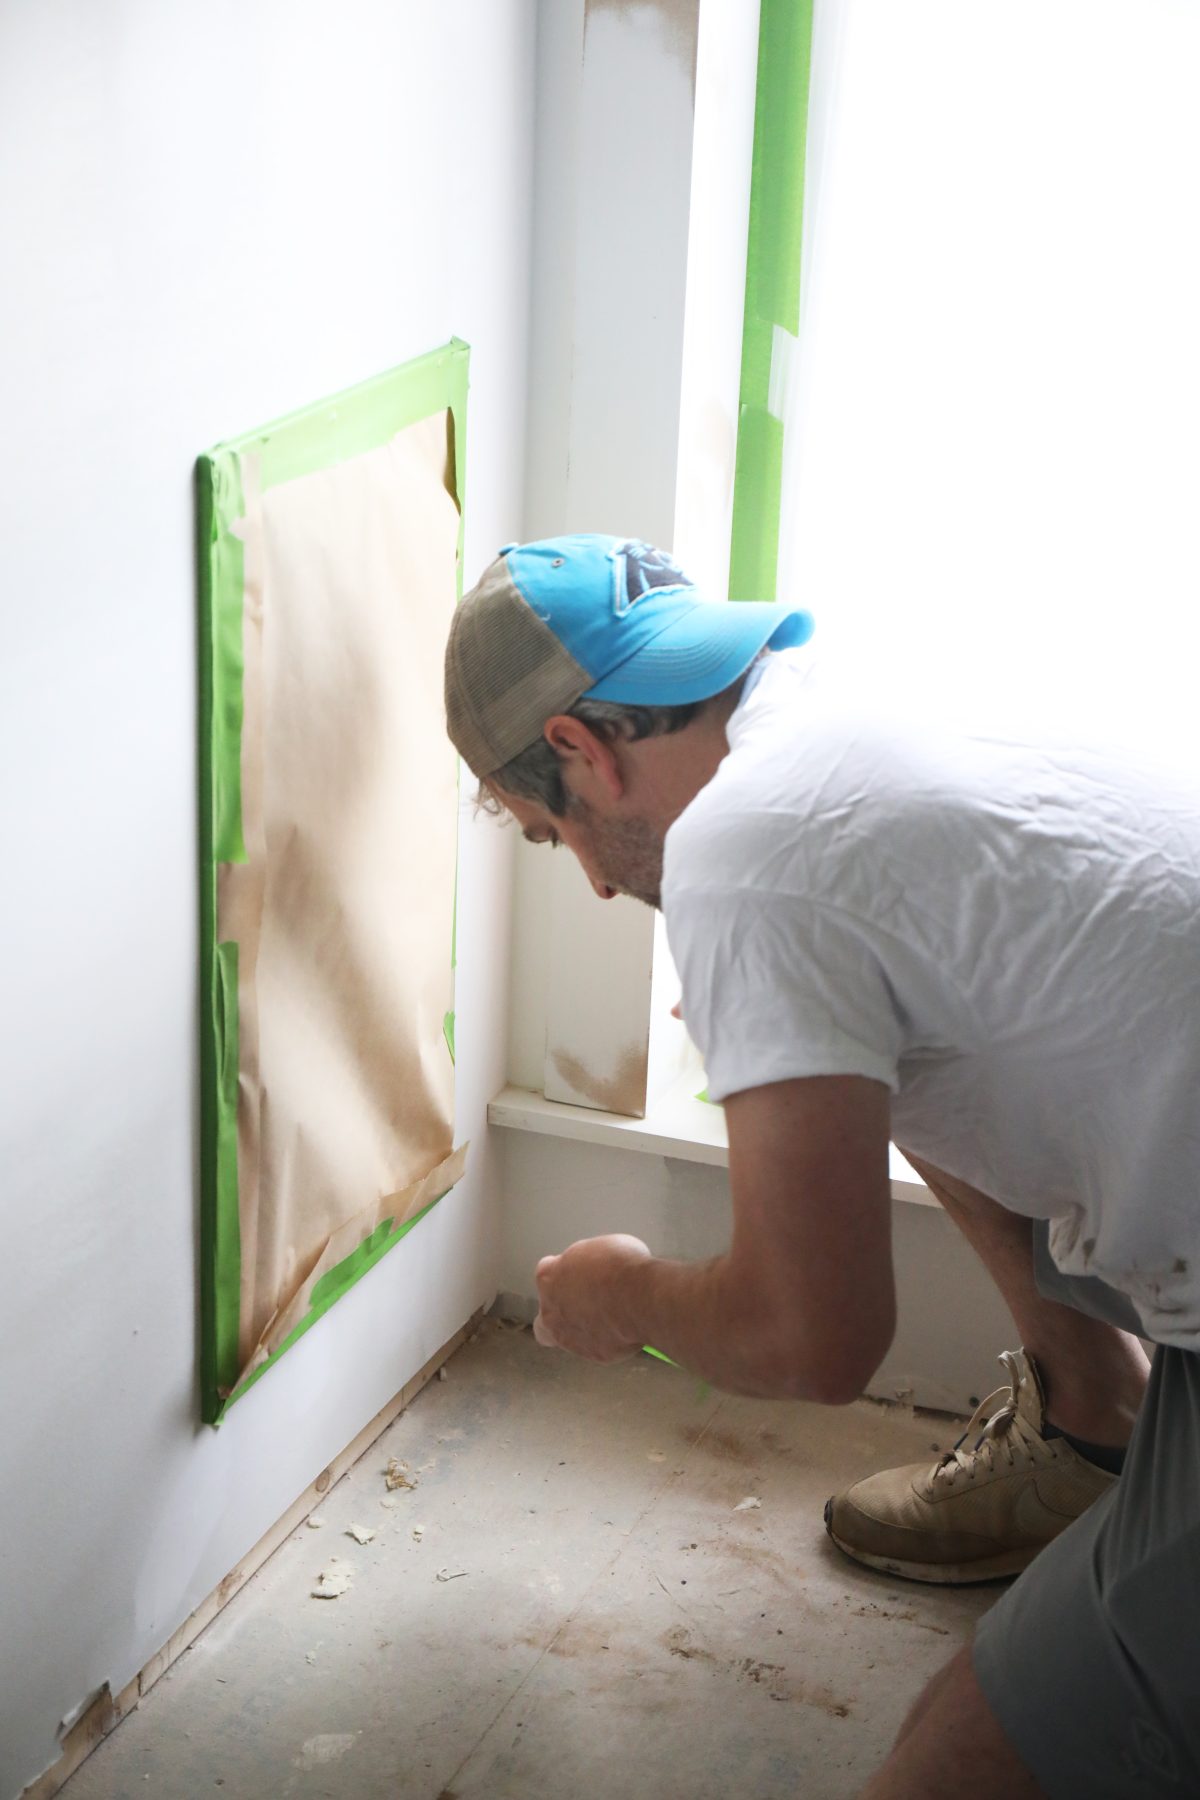
3. Best Tips for Painting With FrogTape®: Vent Covers + All the Little Spaces
Be sure to cover up all things HVAC in your process! The last thing you want is paint ruining any existing vent covers, or spilling into your openings. Not only is it dangerous, but inconvenient, too. As always, FrogTape® definitely does the job here.
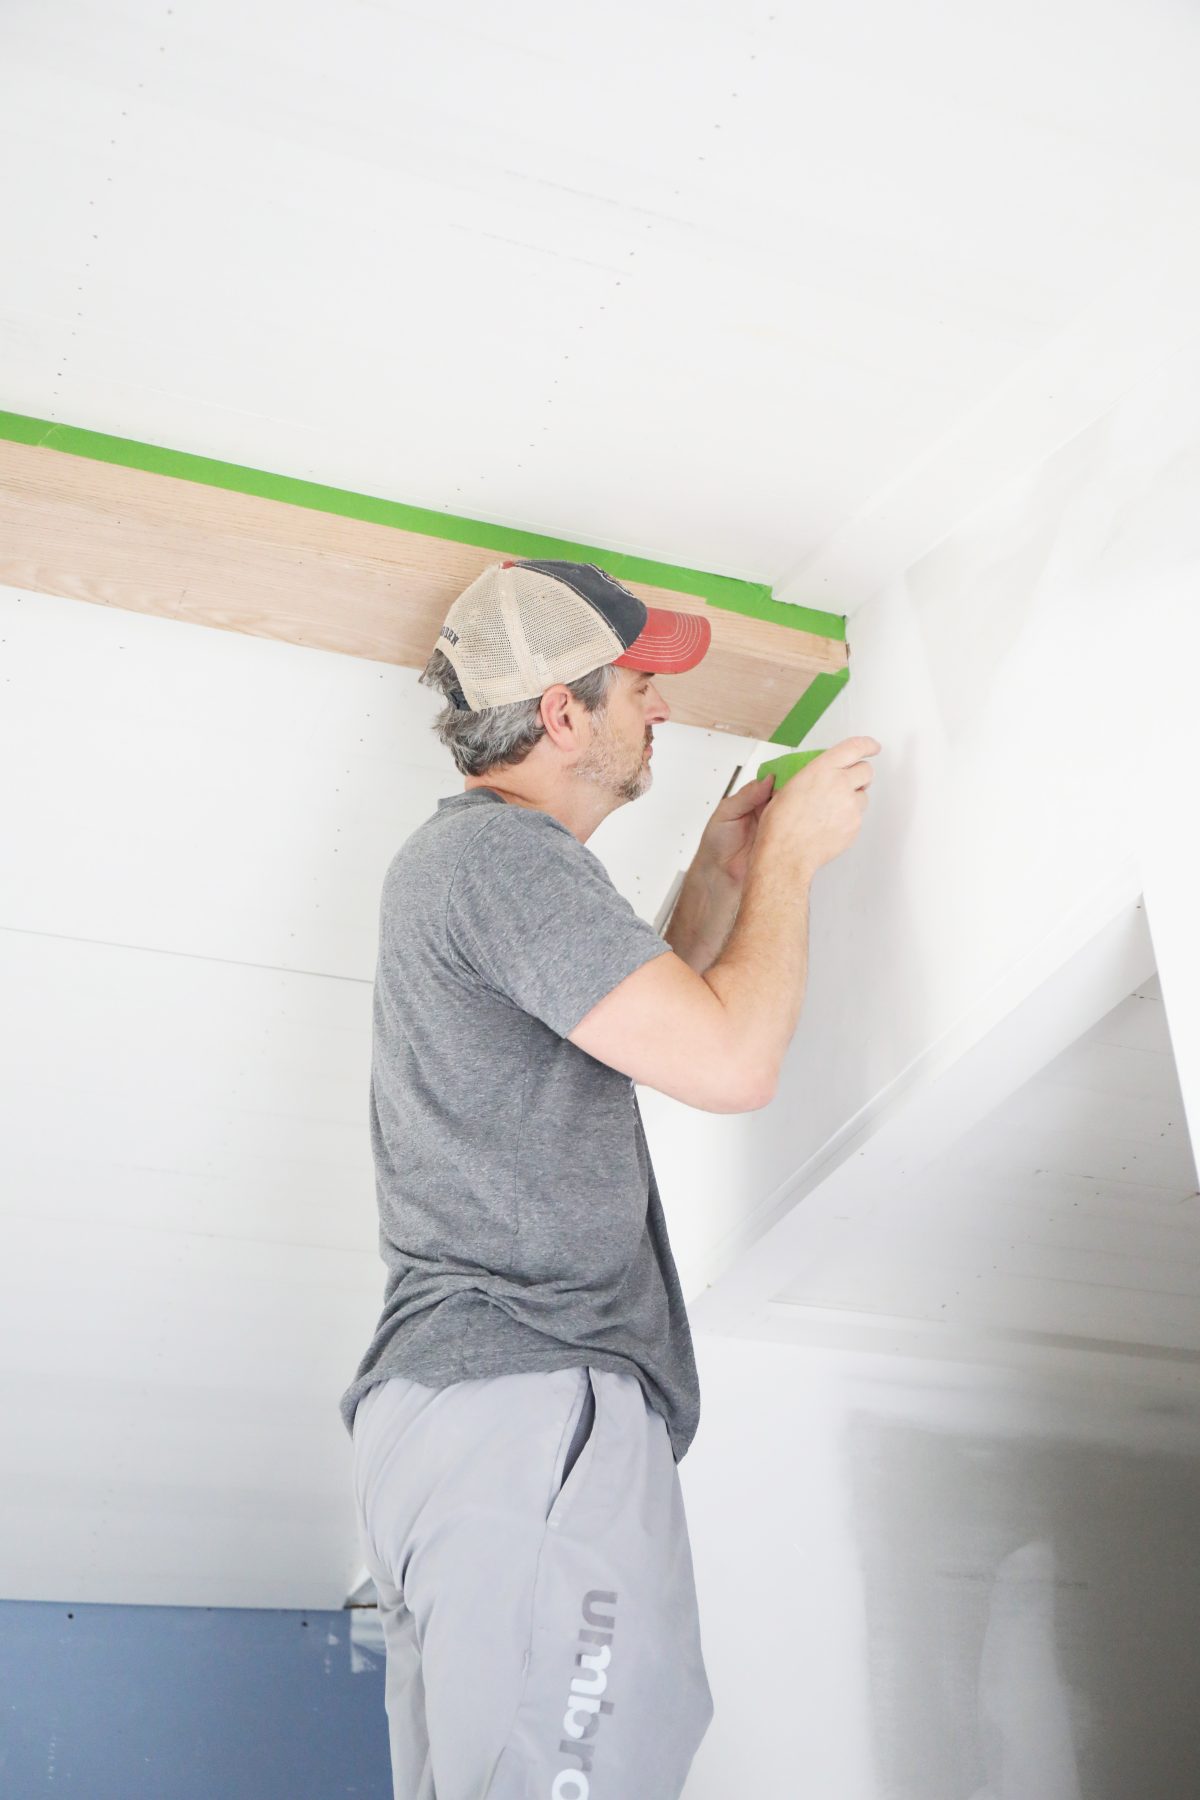
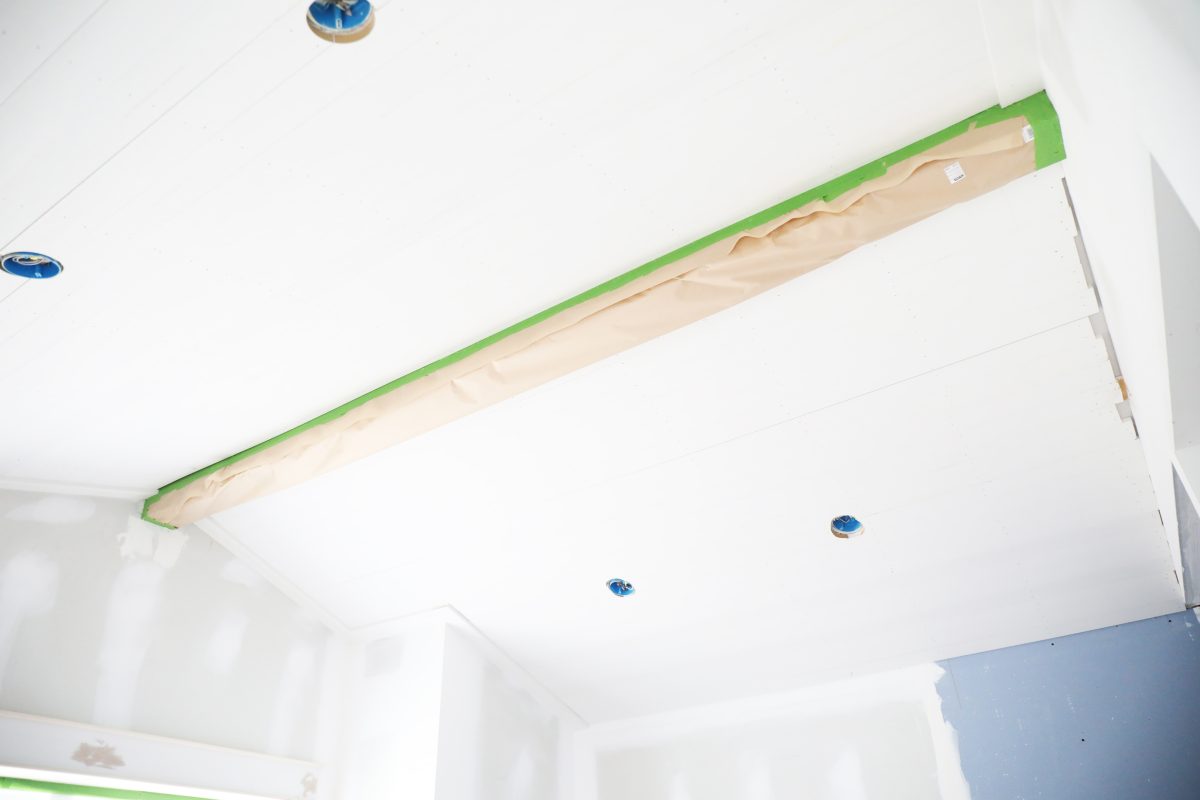
4. Best Tips for Painting With FrogTape®: Layer UP!
What on earth does that mean? When you’re about to paint a space, especially one with beams, make sure to layer it first with a protective seam of FrogTape®. Then add the plastic to protect the wood around it.
In the photo above, you can see Jamin placing the tape around the wooden beam to form an extra protective layer, then how it looks with all things plastic, ready to go.
Speaking of layers…
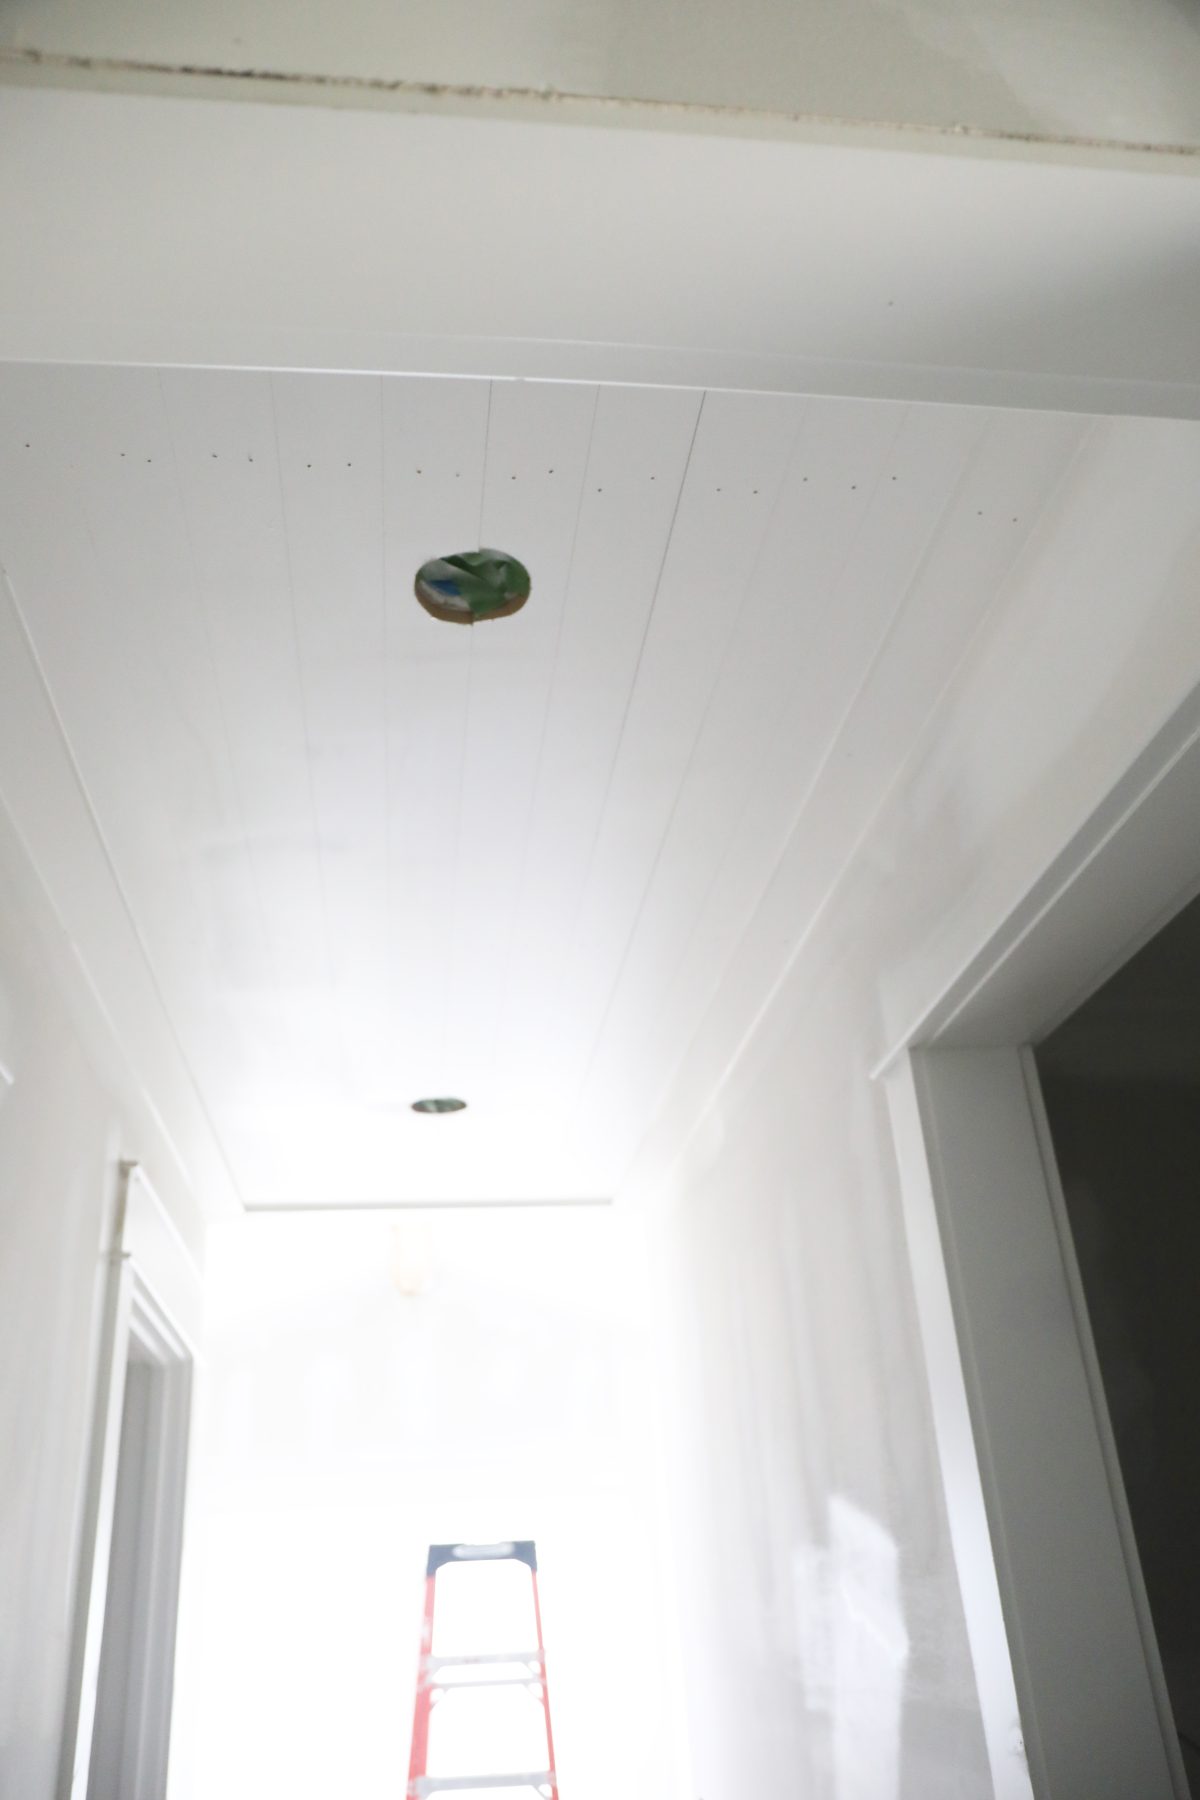
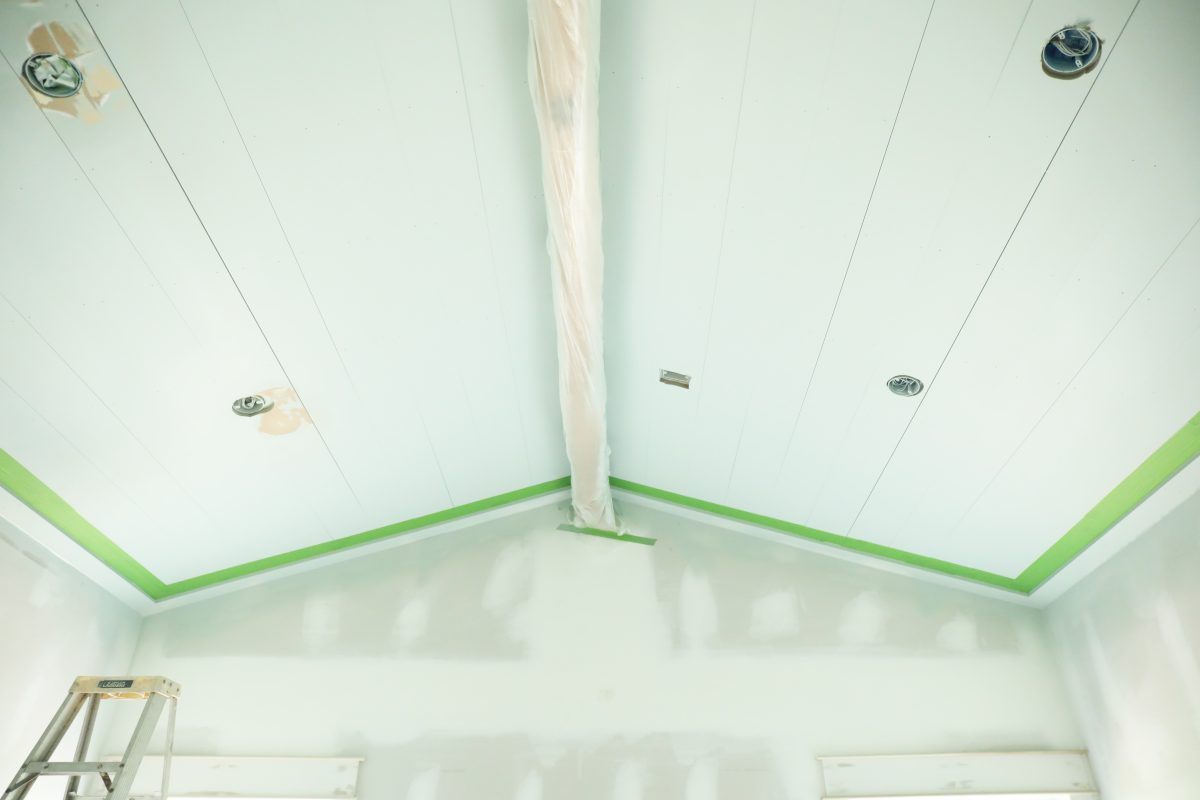
5. Best Tips for Painting With FrogTape®: Have a Plan.
Because painting literally happens in layers, you have to decide what you want to do, first.
In this addition, we did doors, ceilings, then trim {ceilings that have the same color as trim} + walls. That means prep also happens in the in-between. Once this ceiling was painted and dried, we separated the trim from the ceiling so that we could continue.
This is where you can realize not all tape is created equally, which is why we sometimes use FrogTape’s delicate surface tape, too.
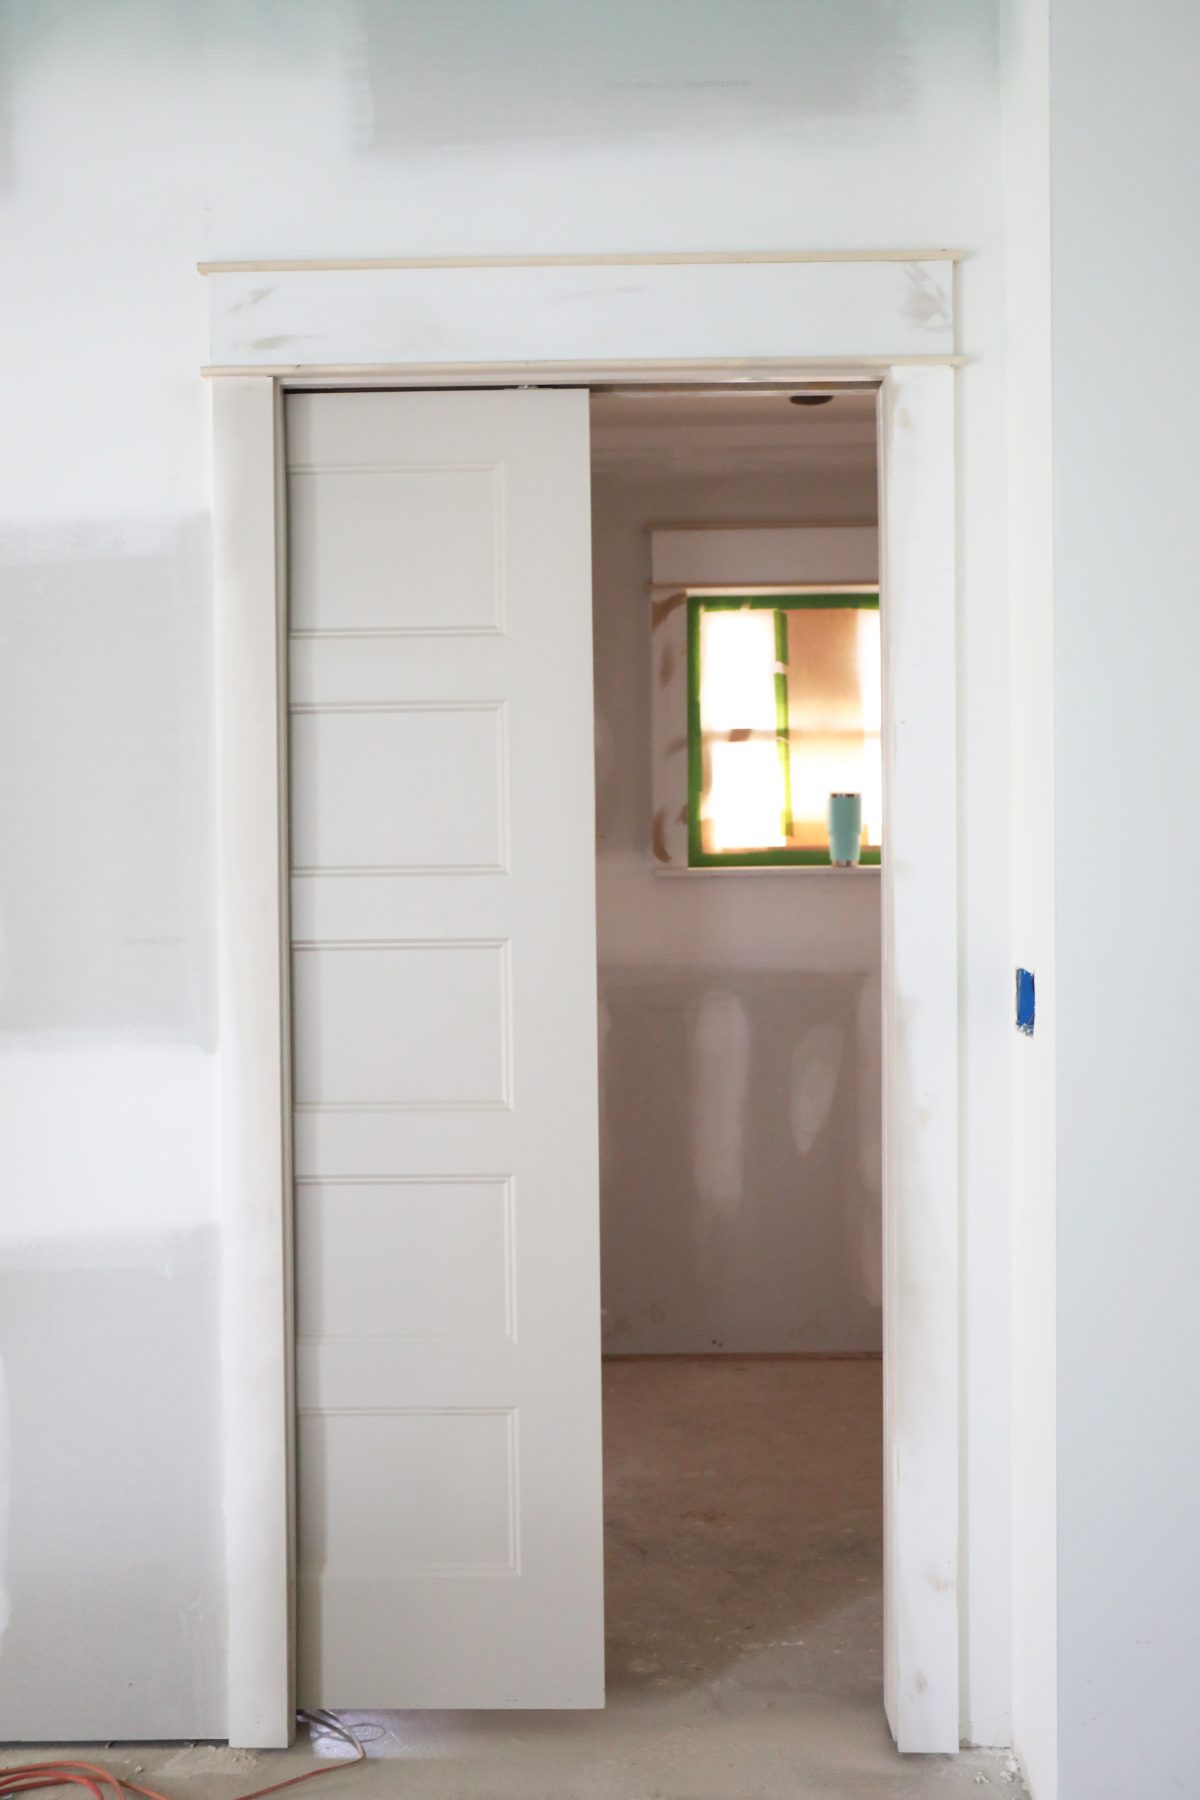
And once the doors were painted and dried, we protected them as well. It helps to think through all those steps and layers as you move along. FrogTape® can protect as needed while you move forward.
We like to paint in the following order, with the following tools: {After prepping it all, of course!}
1. Doors: sprayer
2. Ceilings : sprayer
3. Trim: sprayer
4. Walls: Roller
We’ve found that it’s actually faster to take a roller to those walls, to avoid all the overspray that will happen on top of all your neat, finished work.
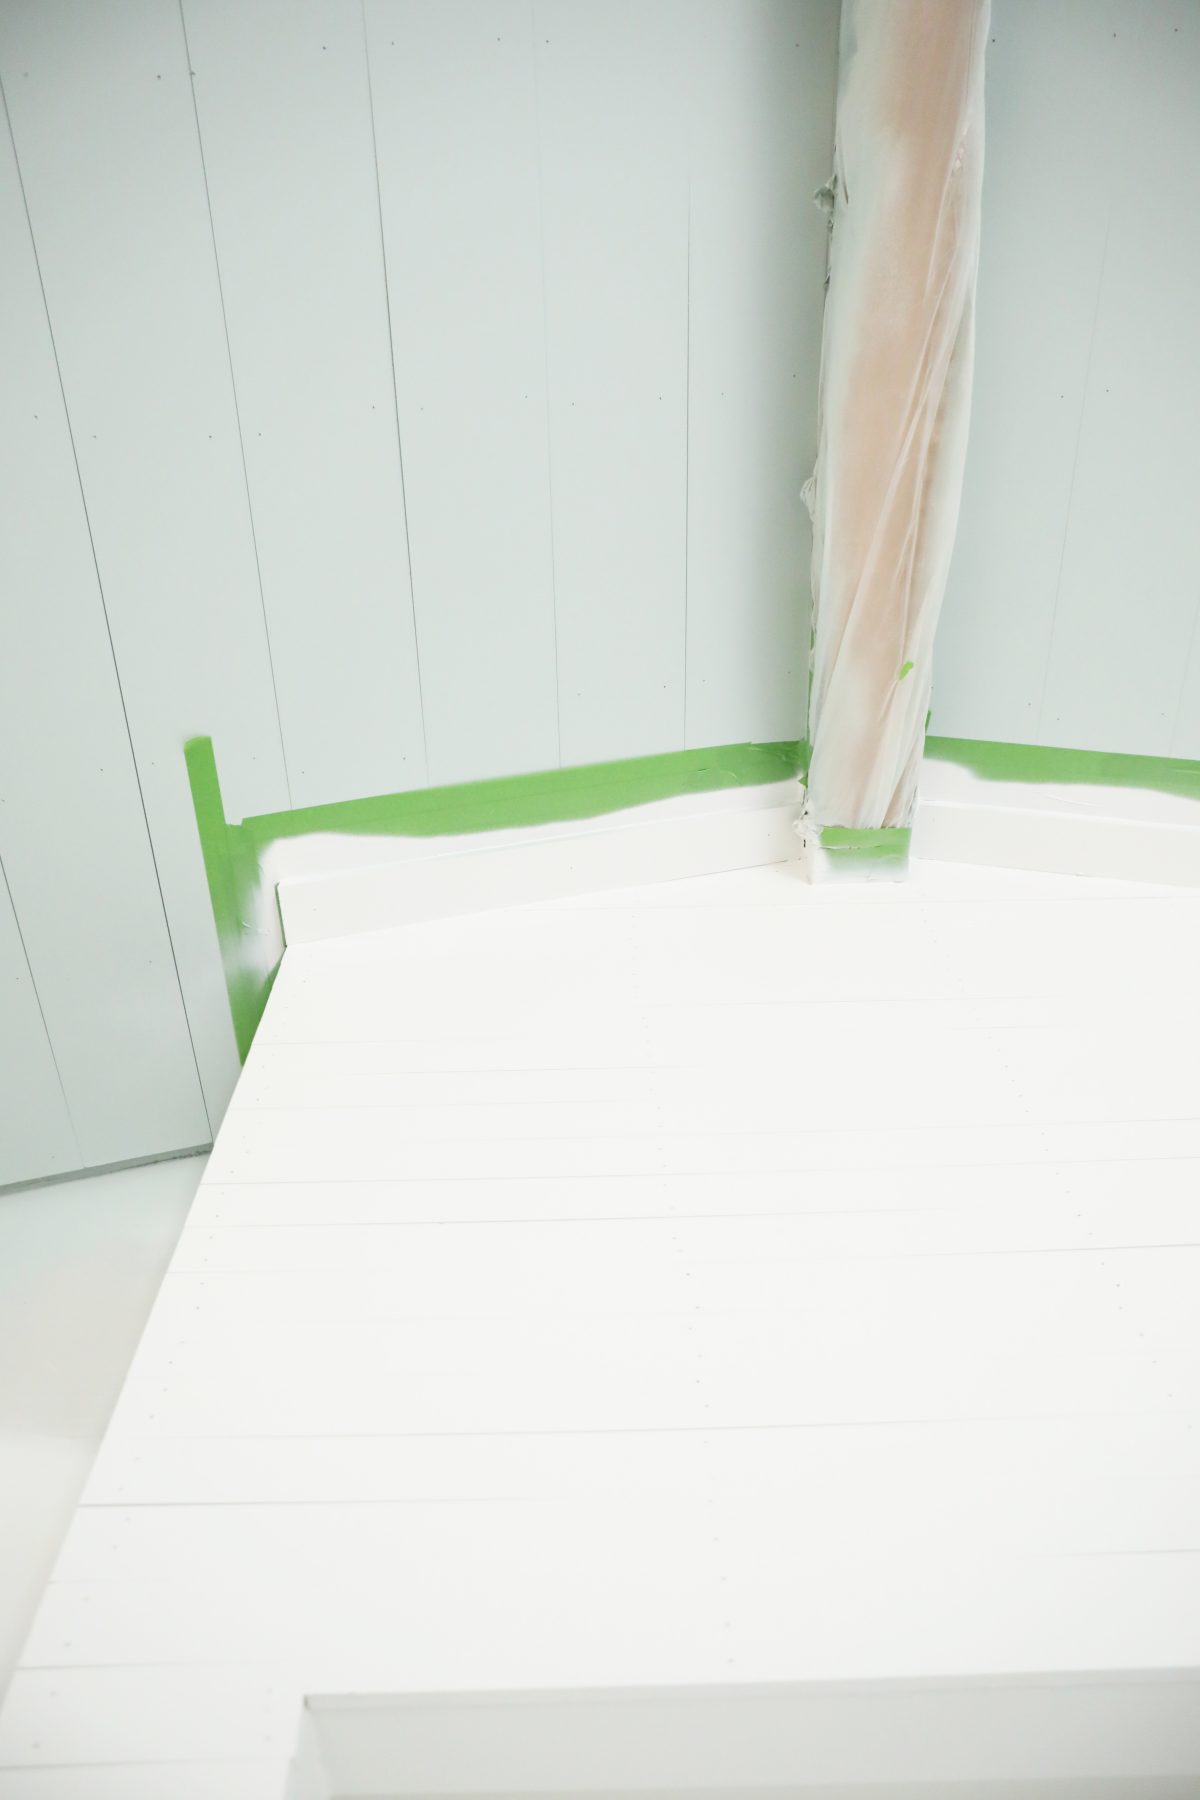
6. Best Tips for Painting With FrogTape®: Enjoy That Peeling Feeling
The best part is when it’s all complete. Sharp lines and crisp finishes for the win! It’s when all that hard work pays off and it looks so good!
Prep work can go a long way to ensure a job well done. Our go-to and trusted tool is our favorite tape.
We love seeing this progress!
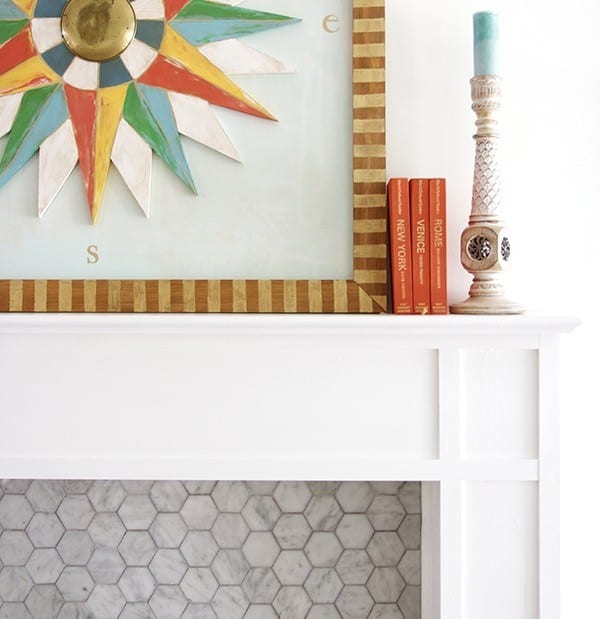
Be sure to check out other ways we use FrogTape® in a renovation, from our post where we listed just a few of the endless possibilities, here!
 _________
So what are some of your favorite uses for FrogTape®? We’d love to hear and always love seeing new ideas. Have an inspired day!