
build a simple entryway bench
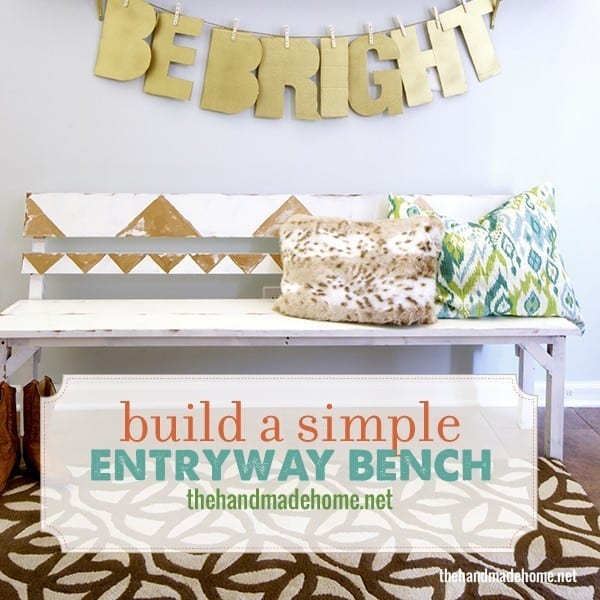 Hey guys! Jamin here today with a simple entryway bench. From start to finish, this little guy can be made in under two hours……or if you want to be like me, you can build 2 in a little over 3 hours. (I may or may not have misunderstood the requested design, but who’s keeping track of things like that?)
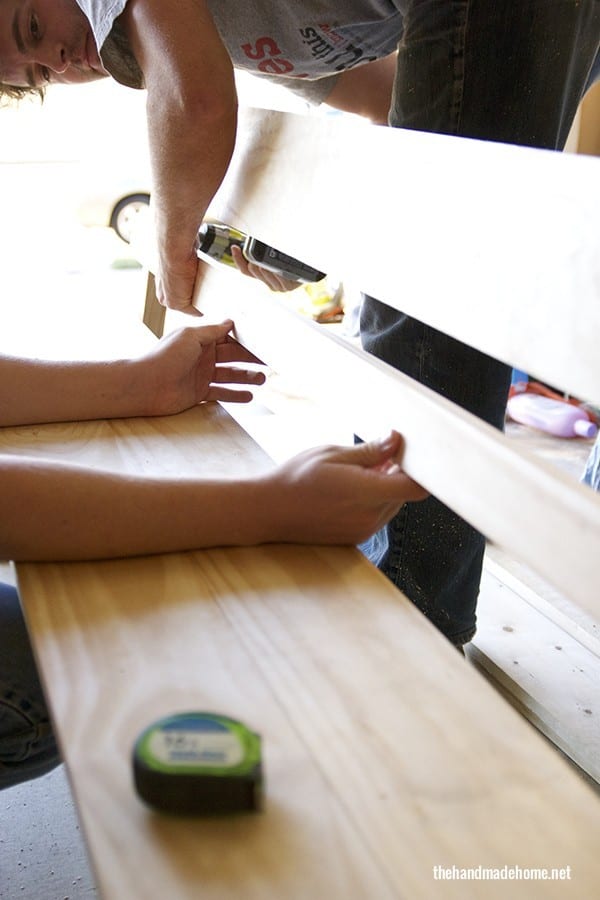
Sometimes working together can be really fun.
It’s the perfect little bench for an entryway, so let’s dive into what you’ll need:
(4) 2 x 2 x 8
(3) 1 x 6 x 6
(1) 1 x 3 x 6
(1) 1 x 2 x 6
box of #10 1 3/4 inch screws
wood glue
wood putty
Cut list
• Take (2) of your 2 x 2’s cut them into (1) 61 inch piece (1) 15 1/2 inch piece (1) 6 1/2 inch piece and (2) 5 inch piece.
• Take the 3rd 2 x 2, cut it into (2) 21 inch pieces (2) 15 1/2 inch piece and (1) 6 1/2 inch piece
• Take your 1 x 6’s, 1 x 3 and your 1 x 2 and cut them to 66 inches.
• On your 2 x 2’s cut to 5 inches cut a 45 degree angel on both ends.
• On your (2) 21 inch 2 x 2’s measure up from one end 3 inches and cut a 30 degree angle here. (Or any angle you choose for the back of the bench to recline to.)
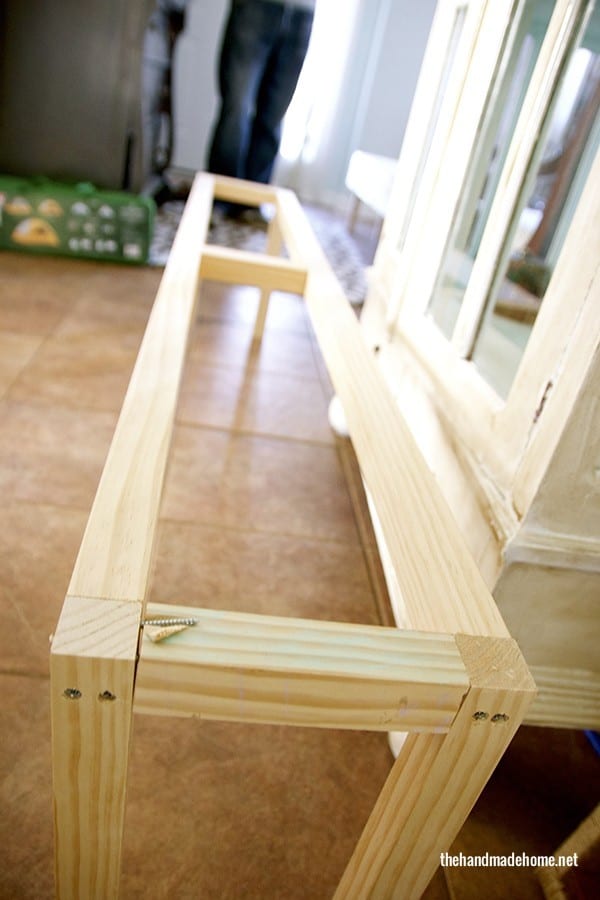
Constructing the legs and frame
First you will need to assemble the legs/base. Take your (4) 15 1/2 inch pieces (legs), Your (2) 61 inch pieces and (2) 6 1/2 pieces (base) and your (4) 5 inch pieces (leg supports).
You will need to screw the legs into the 61 inch base pieces. I did this by first pre-drilling a hole using a 1/8 inch bit. I then come back with a 1/4 bit and drilled in about 1/2 inch. This allowed me to not only drive the screw in easier, but also to overdrive the screw into the wood to hide it. (Note: you will want the ends of the 61 inch piece to butt up to the legs, this should give you and over all length of 64 inches.)

Once all (4) legs are attached to the 61 inch pieces place the (2) 6 1/2 inch pieces in-between the sets and screw them together using the same method as above. Your over all width should be 9 1/2 inches.
Also, screw the 3rd 6 1/2 inch piece in the middle of the base as seen below.
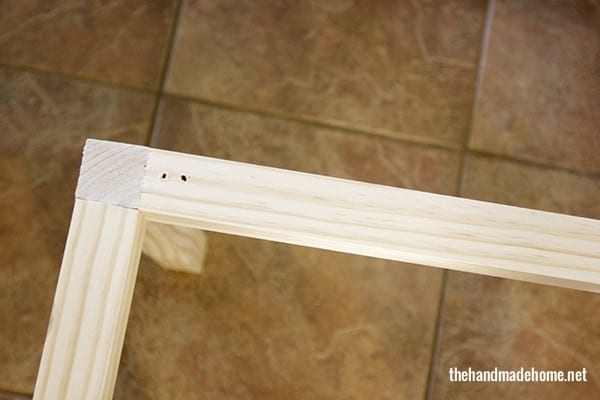
Finally to help stabilize the legs, you will need to screw the 5 inch pieces on. Screw one end onto the 61 inch 2 x 2 and the other end to the leg. Do this for all 4 legs.
Constructing the seat
Spread some wood glue over the top of the base frame and place (2) of you 1 x 6’s down lining one of them up with the back edge of the bench. The front 1 x 6 will hang over the edge by 1 1/2 inches. Shoot a couple nails through the boards to hold them in place until the wood glue dries.
Next, place some glue your 1 x 2 and place it onto the back of the bench seat using the 1 inch side as the width, shoot some nails through it to hold it in place. This should make your seat 11 3/4 inches in width.
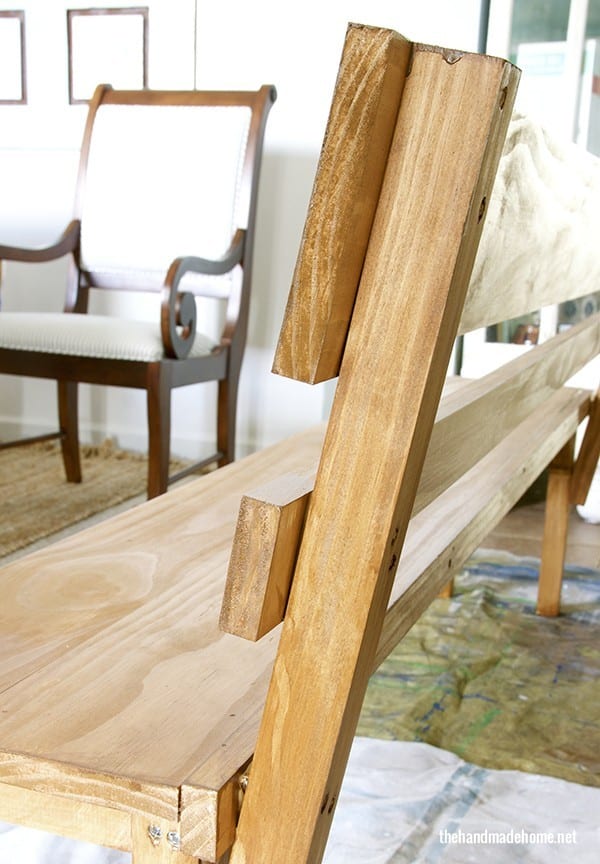
Constructing the back
First, measure from the bottom of the seat down 7 inches on both of the back legs and place a mark. Take your 21 inch 2 x 2 and screw the end that has the angled cut on it to the leg. Make sure to place the cut next to the leg. Do this on both back legs.
Now take the 1 x 6 and screw it to the 2 x 2’s you should screwed in. Make the top of the 1 x 6 and the 2 x 2 flush with each other and of course flush with both ends of the bench.
 Then, measure down 2 inches from the bottom of the 1 x 6 and screw in the 1 x 3 making sure it is flush with the ends of the neck.
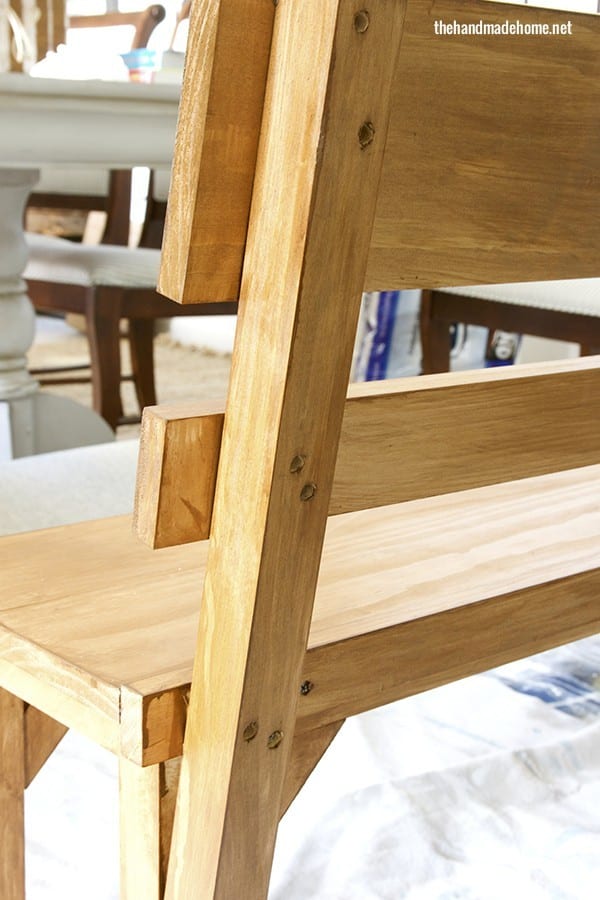
Finally if you have time and desire to, fill in the screw holes with wood putty and let it dry. Sand the bench and paint or stain to you desire.
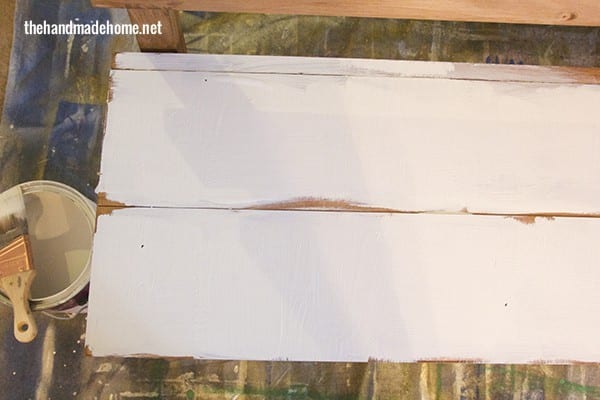
For our bench, we used some stain on top, and when it was dry…
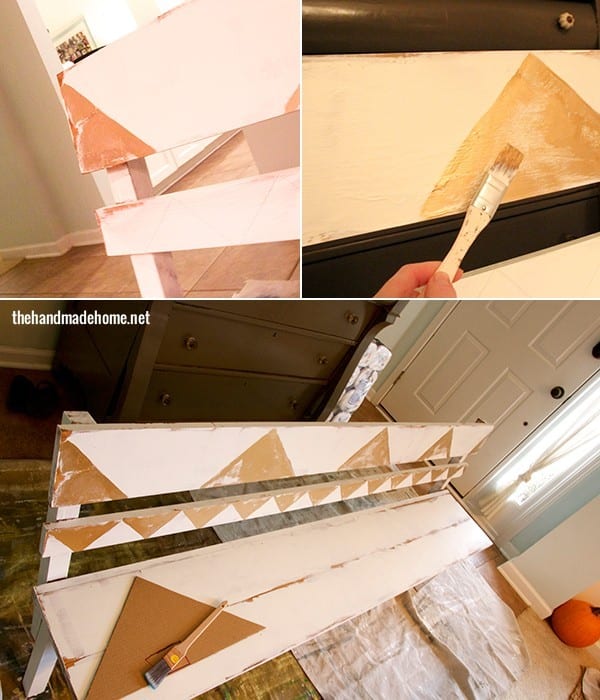
We went over it loosely with a nice white paint {Benjamin Moore’s Chantilly Lace}. When I say loosely, notice how we didn’t fill everything in completely, and left some of the edges exposed. We also went in different directions with the brush, for an over all rough kind of finish for a vintage feel.

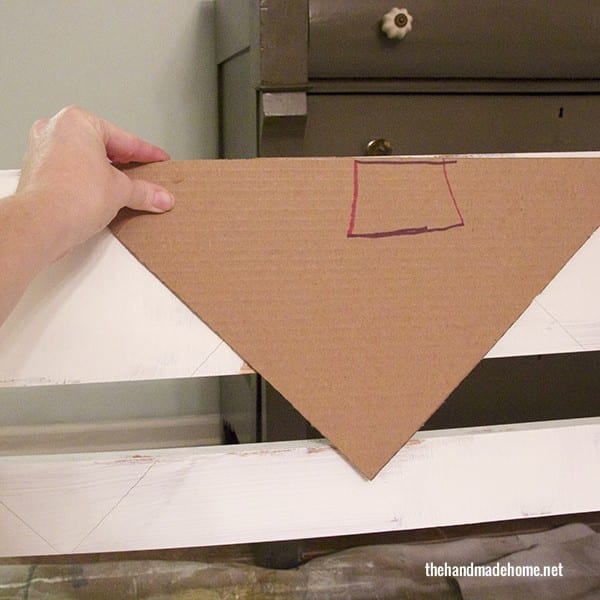
When that was dry, we cut a triangle out of cardboard (the kiddos drew on top of it when we weren’t looking in case you’re wondering what the drawing is about) and used it as a rough guestimate for a fun stencil down the top part of the bench. We traced it with a pencil…
And then used (a bit of a dry brush technique) with some liquid gold leaf paint. Feel free to create whatever shape you want to go on the back. The first plank used the bottom half of the triangle, and the second plank used the top half. We kind of made it up as we went for a fun, overall vintage modern effect.
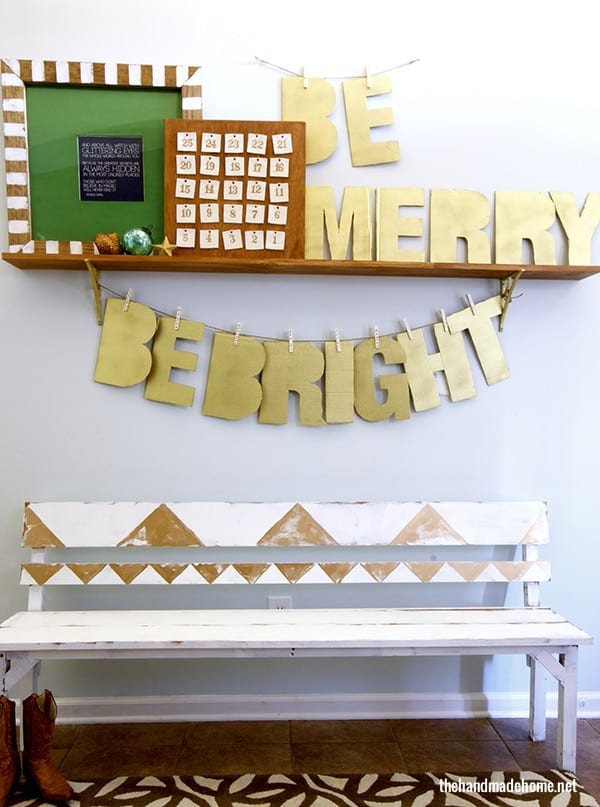
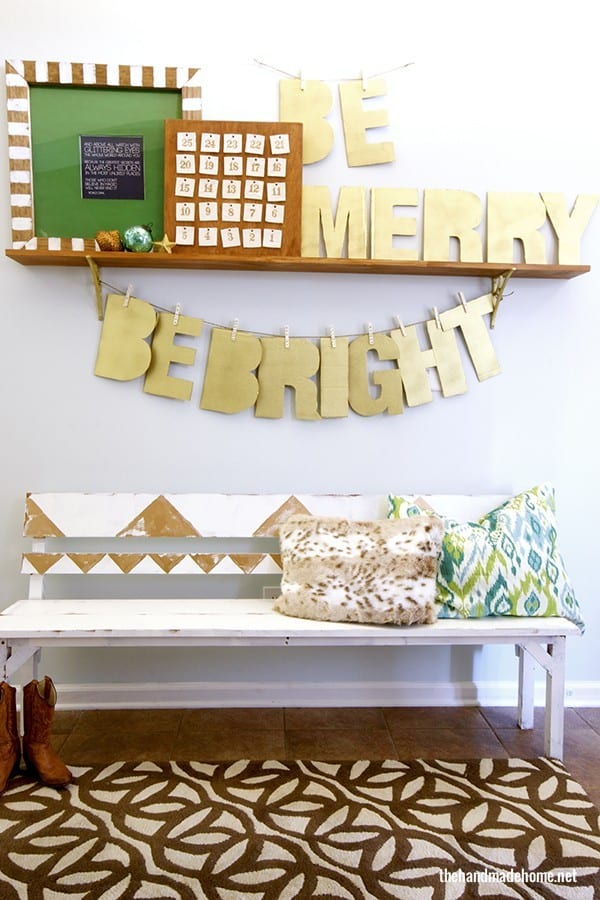
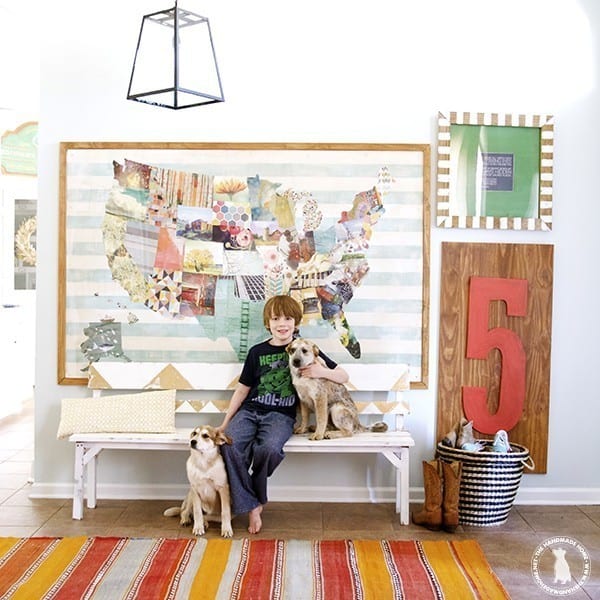
It opens up our foyer area, and serves as a great space for the shoes/drop off/catch all area that every home has, and our kids love it.
It adds quite a bit of style for the holidays. A fresh change just in time for all those guests!
Pssst: see it in its current space here!
As always, let us know if you try it! Have an inspired day!


Love what you did with the paint. Perfect vintage look. Well done!
cute. i love how it fits in with your decor too perfectly. darn it i wish we made a mud room for our back door…but we do have a mud “space” by the entry in our garage. Maybe i can spiff that area up!
Awesome Ashley. I’m going to make one but make variations on legs. Wait till you see it! Remember, I live in the woods so I find all kind of stuff. You should see my lumber, bamboo and special pieces from the natural forest behind my house! I’m either talented, eccentric or a little crazy! A little of all! Merry Christmas to you and family.
Thanks for this fabulous post, I’ve been looking for an entry way bench for a while, this may just fit the bill.
Hey- Love this bench! Can you tell me the final dimensions? And what species of wood you used? I am thinking of making one for indoors and one for outdoors… can we use the same type of wood for both?
Thank you for any help you can give!
This bench would be great at a dining table for little munsters! Do you by chance have any kind of project total for this? I’m going to try to get my husband to build me one and he’ll want a ballpark figure 🙂
Love your design. Did u whitewash or paint?
Hey Bessie! Just painted with white paint. ;}