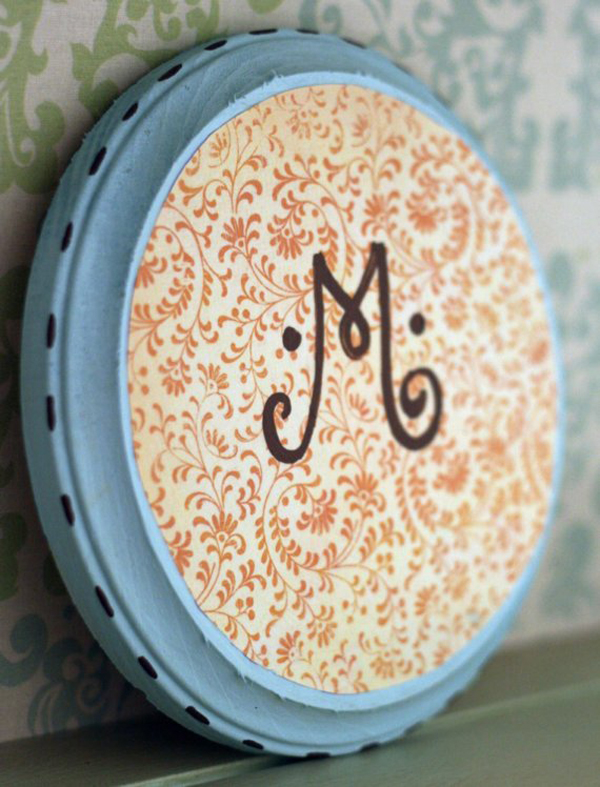
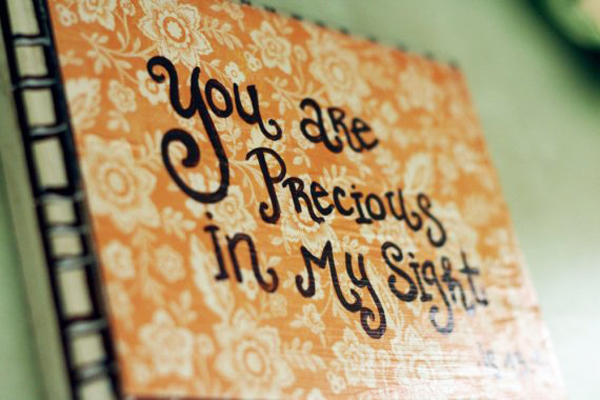
Need a gift for that baby shower you’re attending this weekend? Or something unique for a housewarming party? OR for your own home? I can think of quite a few fun uses for this lil plaque, and thought I’d include a fun lil DIY over here-a super easy, versatile, unique gift to make for anyone that’s on your list.
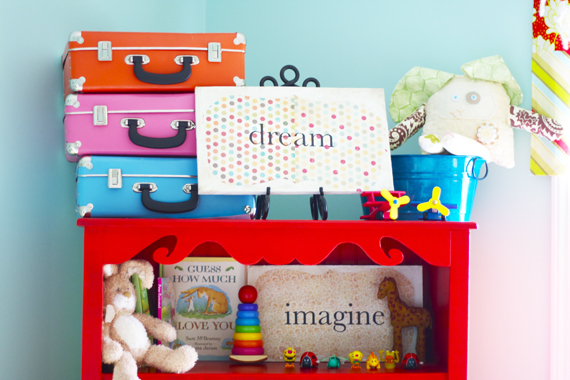
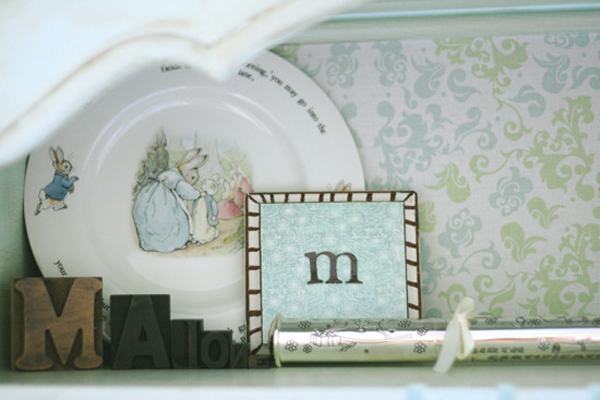
I used these little plaques for Malone’s nursery design, and they made the perfect accessories for his shelves…something a little different for accents and pops of color.
Remember this post from not too long ago, regarding MDF, some scrapbooking paper, and mod podge?
I was selling these little plaques in my store, and they’re kind of a different version of that…but include the same process, and thought it would make a fun DIY post for those of you who may be interested.
What you’ll need:
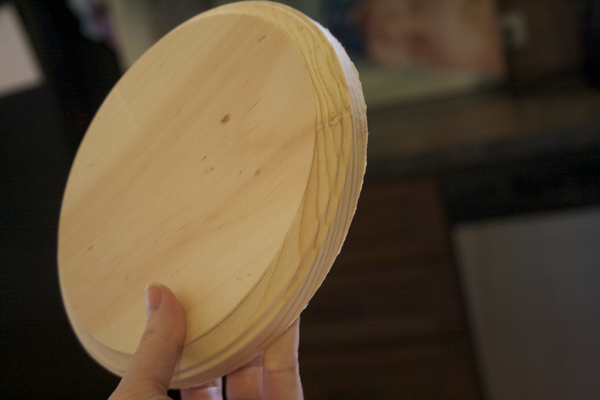
• a piece of wood (from any wood section of any craft store) The more “ledges,” the cooler.
• an exacto knife (scissors will do, but an exacto will get you through those tough angles and trims)
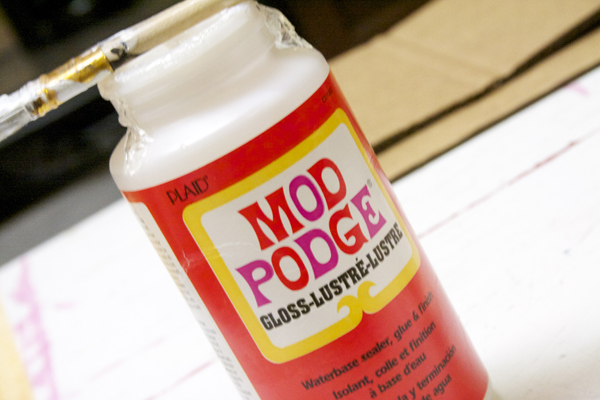
• mod podge and a brush
• a painty pen (I usually do brown and then white on top of the brown)
(and/or chipboard alphabet in font of your choice)
• contrasting/coordinating paint color of your choice
• scrapbook paper
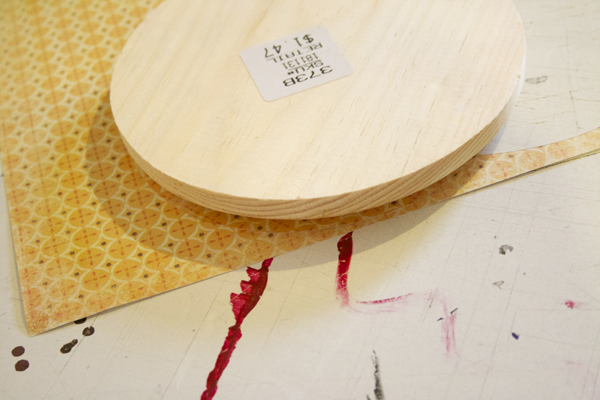
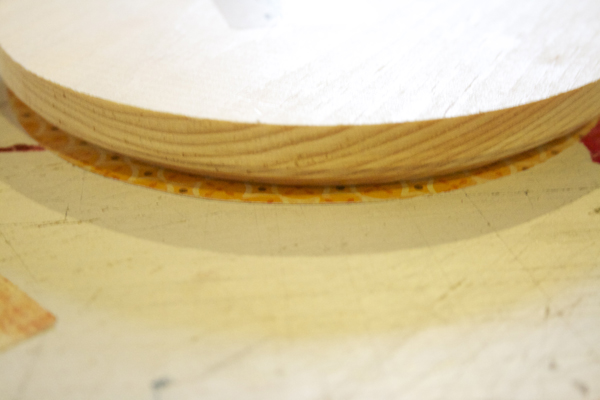
Deciding on what shape of wood you use, lay the front side facing down, on top of the paper.
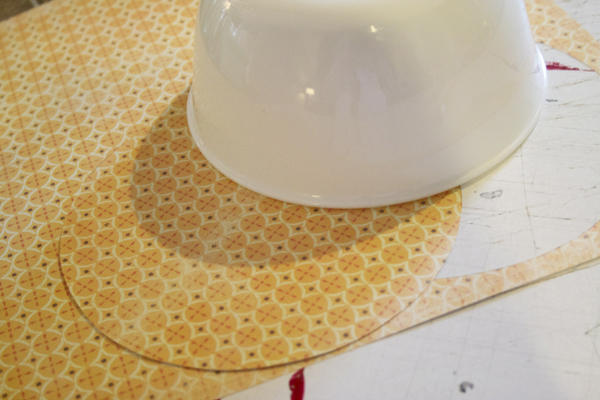
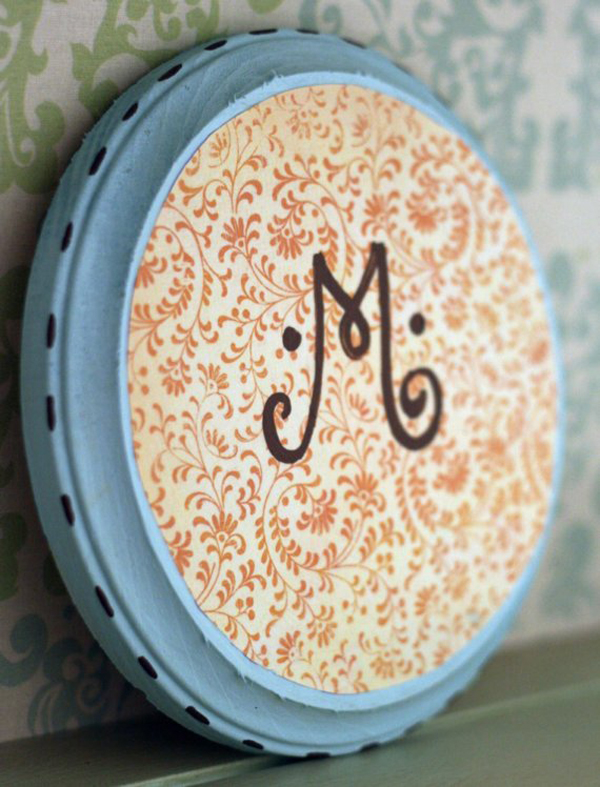
Sometimes, I cheat with something in close proximity to the actual size of the front part of wood, because the lower “ledge” makes for a larger overall circle. So I guestimate, and then trim from there, to give it the “taylored” or cleaner look. (I just made that up.)
It’s still not dead on, so I basically trace a closer shape by lying it down with the edges lined up.
Trim it up!
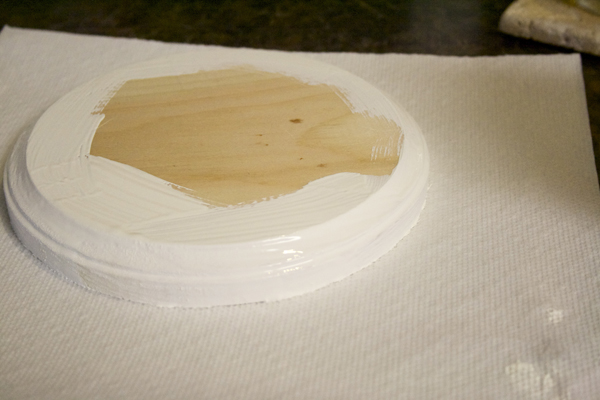
Before you apply the paper, paint your piece of wood around the exposed borders.
helpful tip: DON’T paint it on this paper towel like I did. {DUH. It’ll stick!}
Mod podge is a tricky thing, and not really for the faint of heart. (read: perfectionists.) 😉 Get ready to embrace the messups, and enjoy the process. I kind of freaked the first time I used it, so just be forewarned.
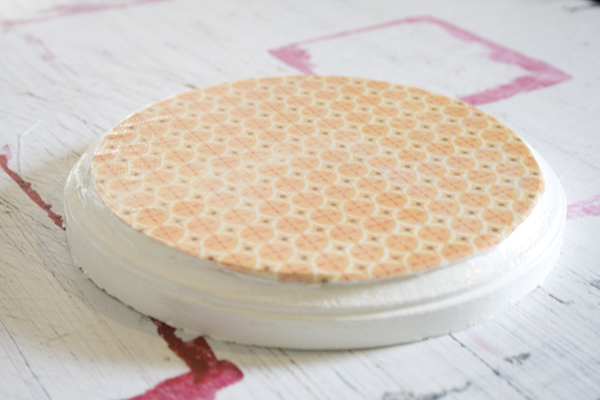
To apply your paper, flip it to the backside, and apply a thin coat with your brush. Then apply the front surface of your wood with the same technique. Once the layers are both slightly tacky but still very wet, press them together, starting from one edge and working your way to the other. Immediately begin working out the airbubbles with your fingers. When you’re close to making it look right, add a thin layer to the top of the paper. When it dries, repeat these steps, again and again.
I’ve found that using various directions of brush strokes, and LOTS of layers of MP usually eliminates any imperfections I wasn’t initially happy with.
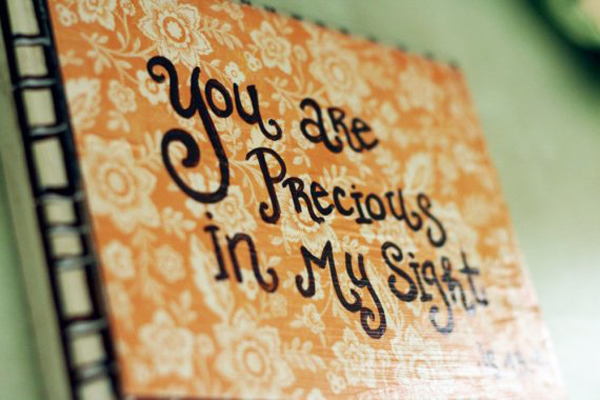
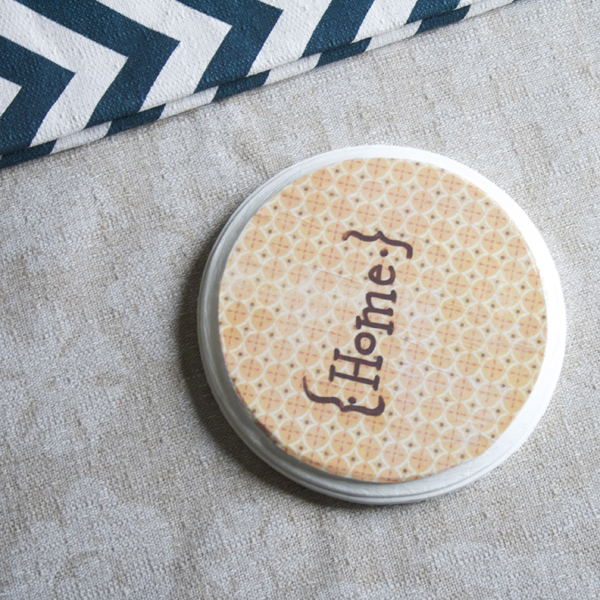
Once you’ve given it quite a few hours to dry, bust out the painty pen. And embellish any way you like! These were freehanded. And as you can see, the process is a little different every time-thus the unique prettiness of your handmade piece. And the treasured status of your gift.
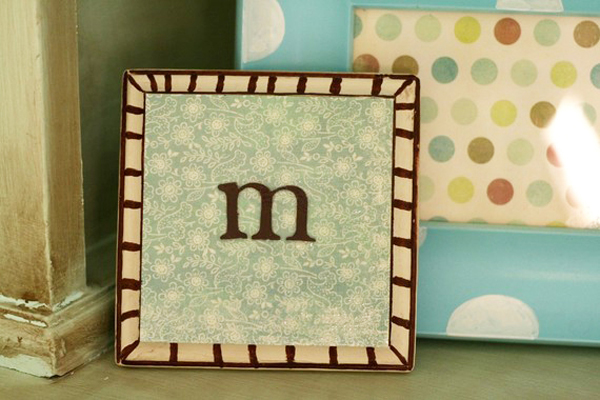
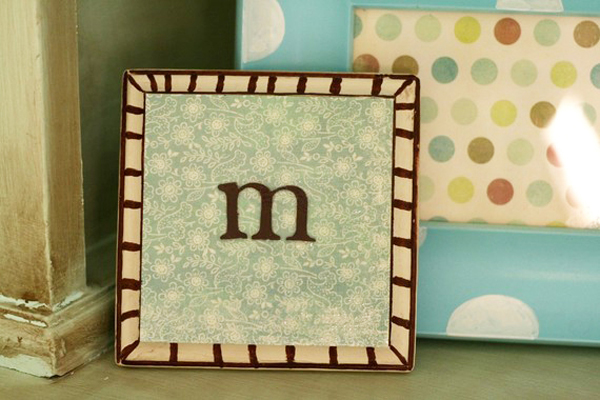
For this one, I played with the outsides with my painty pen, but then added a cardboard scrap booking letter. I painted it in with my pen, and then added one more layer of mod podge to secure it. Super fun for a nursery!
the different quotes, initials, bible verses, names, phrases, colors, paper, patterns…and possibilities really make this a fun gift to give! Give it a quick wrapping job in brown butcher paper with colorful tissue and a pretty string…and you have the recipient’s fave gift of the entire shindig. 😉
Hope you have fun with it-let me know if you use it!
Happy gifting! {and crafting!}


Love this idea!! xoxo
Excited that my request made the site! Thanks so much–it's lovely!
This was so cute and so easy!! Thank you for the adorable idea!!! :))