
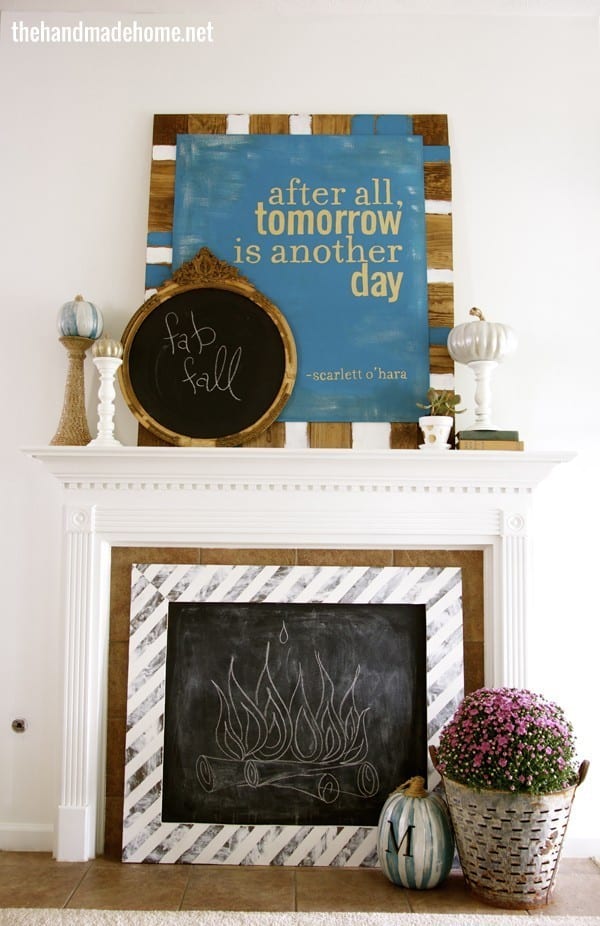
fall mantel art
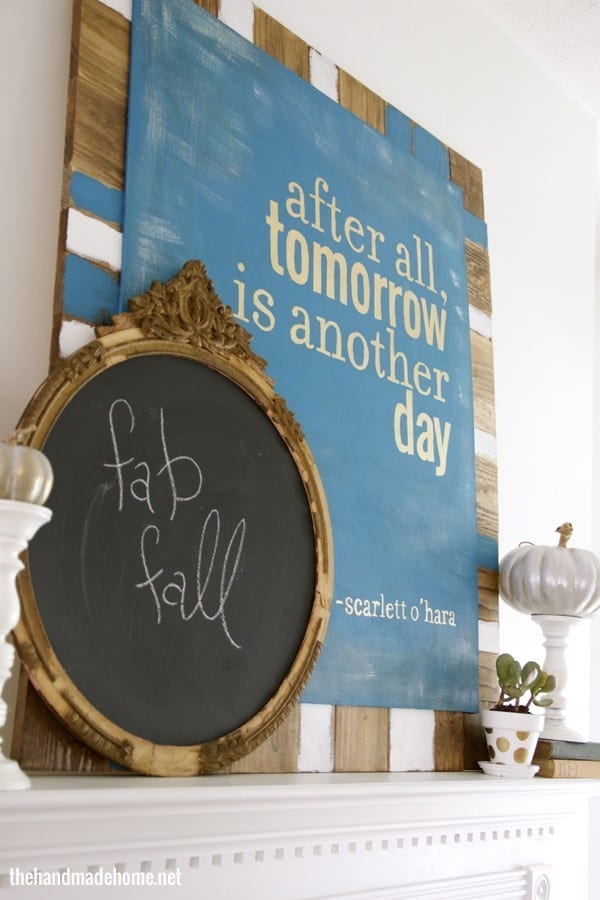
Hey friends, Happy Friday! Jamin here with a fun how-to on DIY art for the mantel. This piece can also be a simple, fun spruce up for any space in your home. We really love the fresh look it gives… and who doesn’t love this classic quote?
Here’s what you will need: (1) 1 x 3 x 8 • (1) 1 x 4 x 6 • (2) 1 x 6 x 8 • (1) sheet of 1/4 inch MDF • Nail gun • 3/4 inch finish nails • Wood glue
 Once you have your supplies, cut your MDF down to 42 1/2 inch x 35 1/2 inch. Once it is cut, paint it with your color of choice and set it aside to dry.
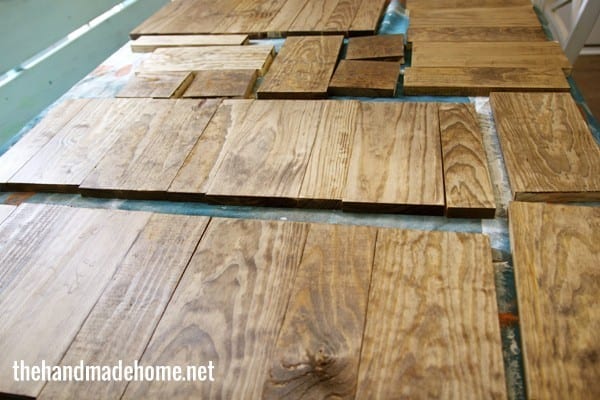
Next, cut all your wood planks down to 9 inch pieces. We decided to do it like this, so that we could turn the wood to different angles (and it saved moolah to go with less wood). Sort and label the pieces. This part is like a little preschool block puzzle.
On both of the long sides you will use:
(5) 1 x 3’s
(3) 1 x 4’s
(5) 1 x 6’s
On both of the short sides you will use:
(3) 1 x 4’s
(4) 1 x 6’s
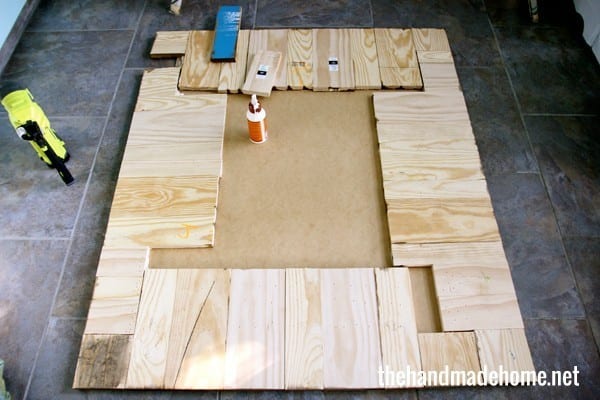 Now just simply arrange those pieces in the order you want them to go. We kept ours varied. You’ll notice is that the corner pieces overlap. You’ll need to cut the corner pieces down to 4 7/8 inch pieces so that they fit properly.
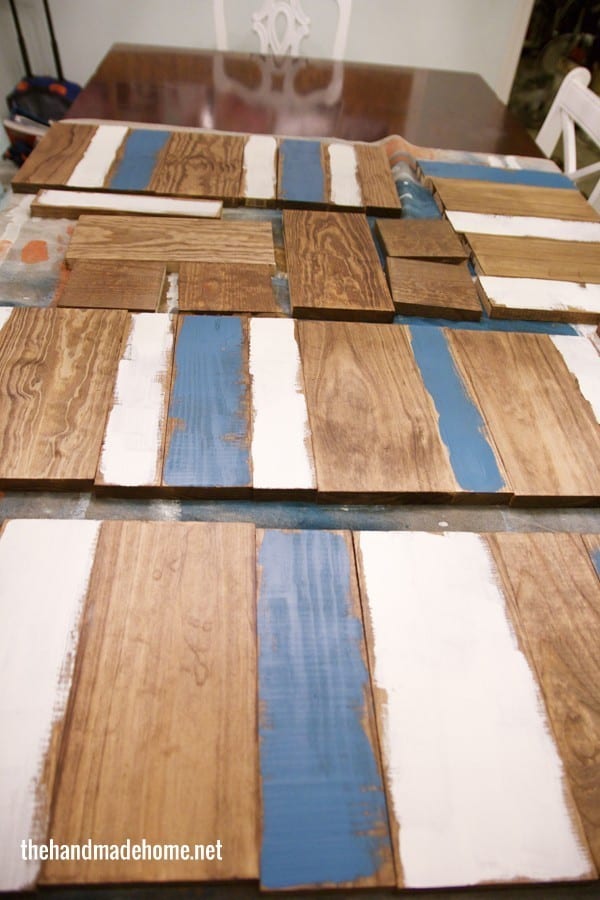
Once all these cuts are complete and you are happy with your arrangement, it’s time to paint and stain the planks. (Don’t forget to label them so you will know where they go when you put them back. We may or may not have learned that the hard way, once upon a time.) We chose to stain all the planks, and then be a little sporadic with our paint, because that’s how we roll. For this look, we painted heavily in the middle of each plank, and then brought it to the edges with a dry brush.
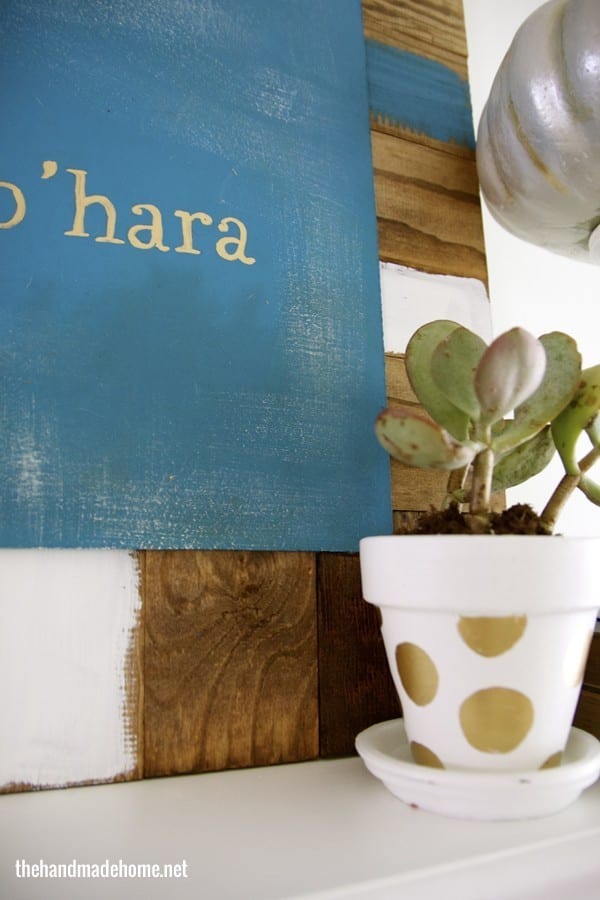
While the planks are drying, you can add your quote or art to the MDF. We used the tested and true method of the good ole’ overhead projector. We simply traced them on, and then filled them in with a gold leafing pen we already had from another project. You could also print the letters out to size on a printer, and trace them onto your MDF. {Ppsssstttt… want to make your own? Get your PDF here.}
We used Minwax’s Early American, Benjamin Moore’s Chantilly Lace + Benjamin Moore’s Pacific Palisades for all of these colors. When we were finished with the quote, we dry brushed it a bit with some of the white, and then added a light tea stain on top.
(Side note: Ashley thinks we used this phrase because it felt like a fresh beginning with fall and or some other reason I don’t really know or care about. Truth is I’ve been in love with Vivien Leigh “Scarlett” since Jr. High and may or may not have had a “Gone with the wind” poster in high school and Freshman year at college. No judging.)
Once everything is dry, place the MDF face down on a soft flooring, to prevent scratching. {We recommend a towel or drop cloth of some sort if it’s not on carpet.} Spread wood glue all along the edges and about 4 inches in. Place your planks in order and nail them to the MDF. We used our RYOBI Airstrike and 3/4 inch finish nails, which barely go through the planks, but tack it in place enough until the glue dries. Repeat this on the other 3 sides, and once the glue dries you are done.
Have an inspired day, and as always, let us know if you try it!
This is absolutely gorgeous. I love this mod twist on such a classic. What a pretty fall mantel!
Sooooooo pretty! I love the fire drawing in front of the fireplace. FUN!
OH! I must have that blue color in our home. How gorgeous!
love it all and gone with the wind is an all time favorite of mine!