
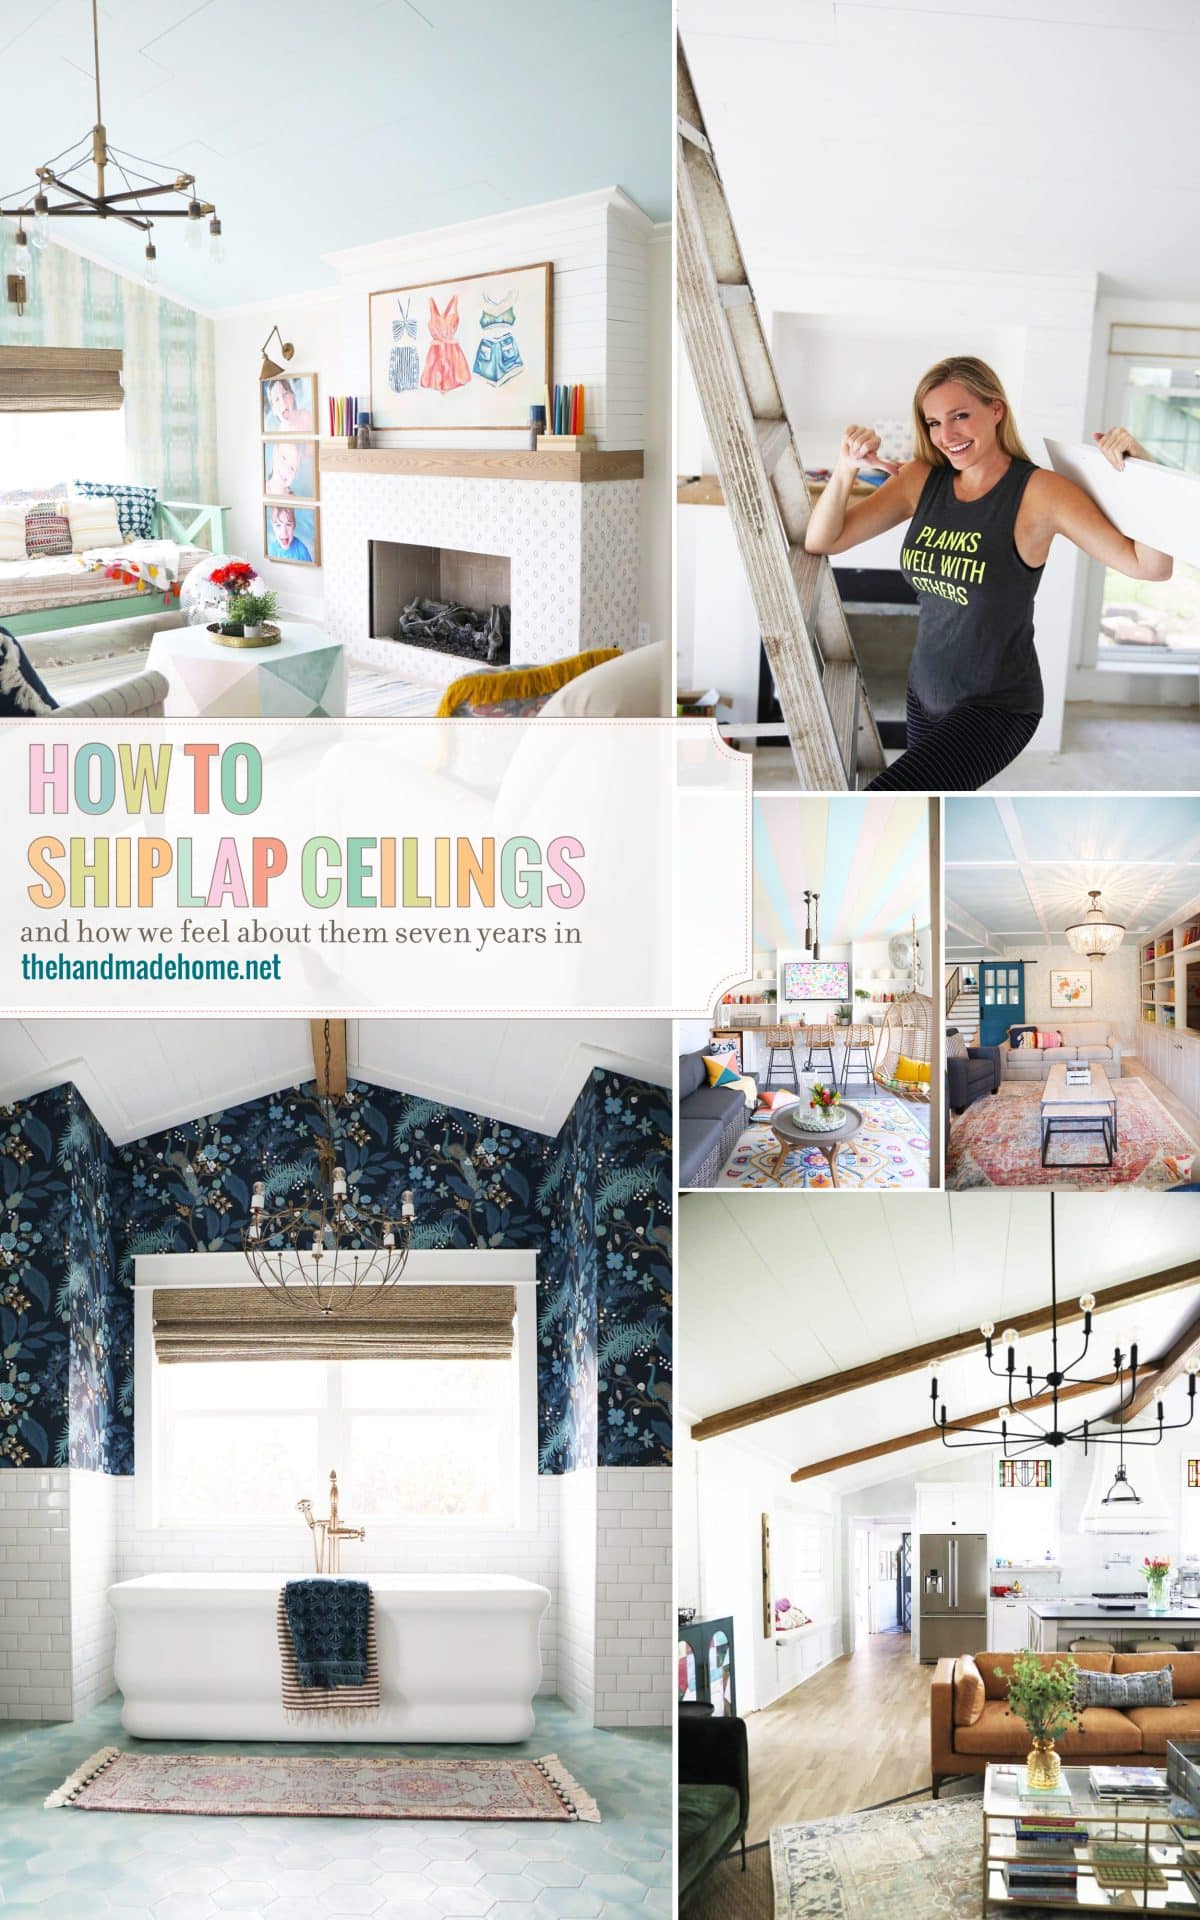
how to shiplap ceilings {+ how we feel about them seven years in}
We shared this post a few years ago, and now that we’ve built on yet ANOTHER addition, I thought it was great to circle back around, and give a little recap, SEVEN years in. Because once upon a time, we found this little house. It had a great footprint, and we saw our futures here. We saw a yard, our children and their schools, and we knew that we wanted to stay. So this little house became our house and we began our favorite personal project ever, to make it our home.

One of the questions that we see the most is, “What did you do with your ceilings?” And it kind of pertains to each level of our home because while we used the same basic application, we varied them in every space. We did the same idea in different styles, no matter what version. Just a little bit of a varied take. So today we’re sharing how to shiplap ceilings, along with a few FAQ’s, and how we feel about them, seven years in.
So first things first…
1. How to Shiplap Ceilings {+ How we Feel About Them Seven Years In}: How Did You Shiplap Your Ceilings?
Because this is where we started. We kind of took it on all at once, with the lower and upper levels, but addressed it in different ways since they were very different types of ceilings.
We covered all the how-to in detail, with the two different versions for upstairs and down, here.
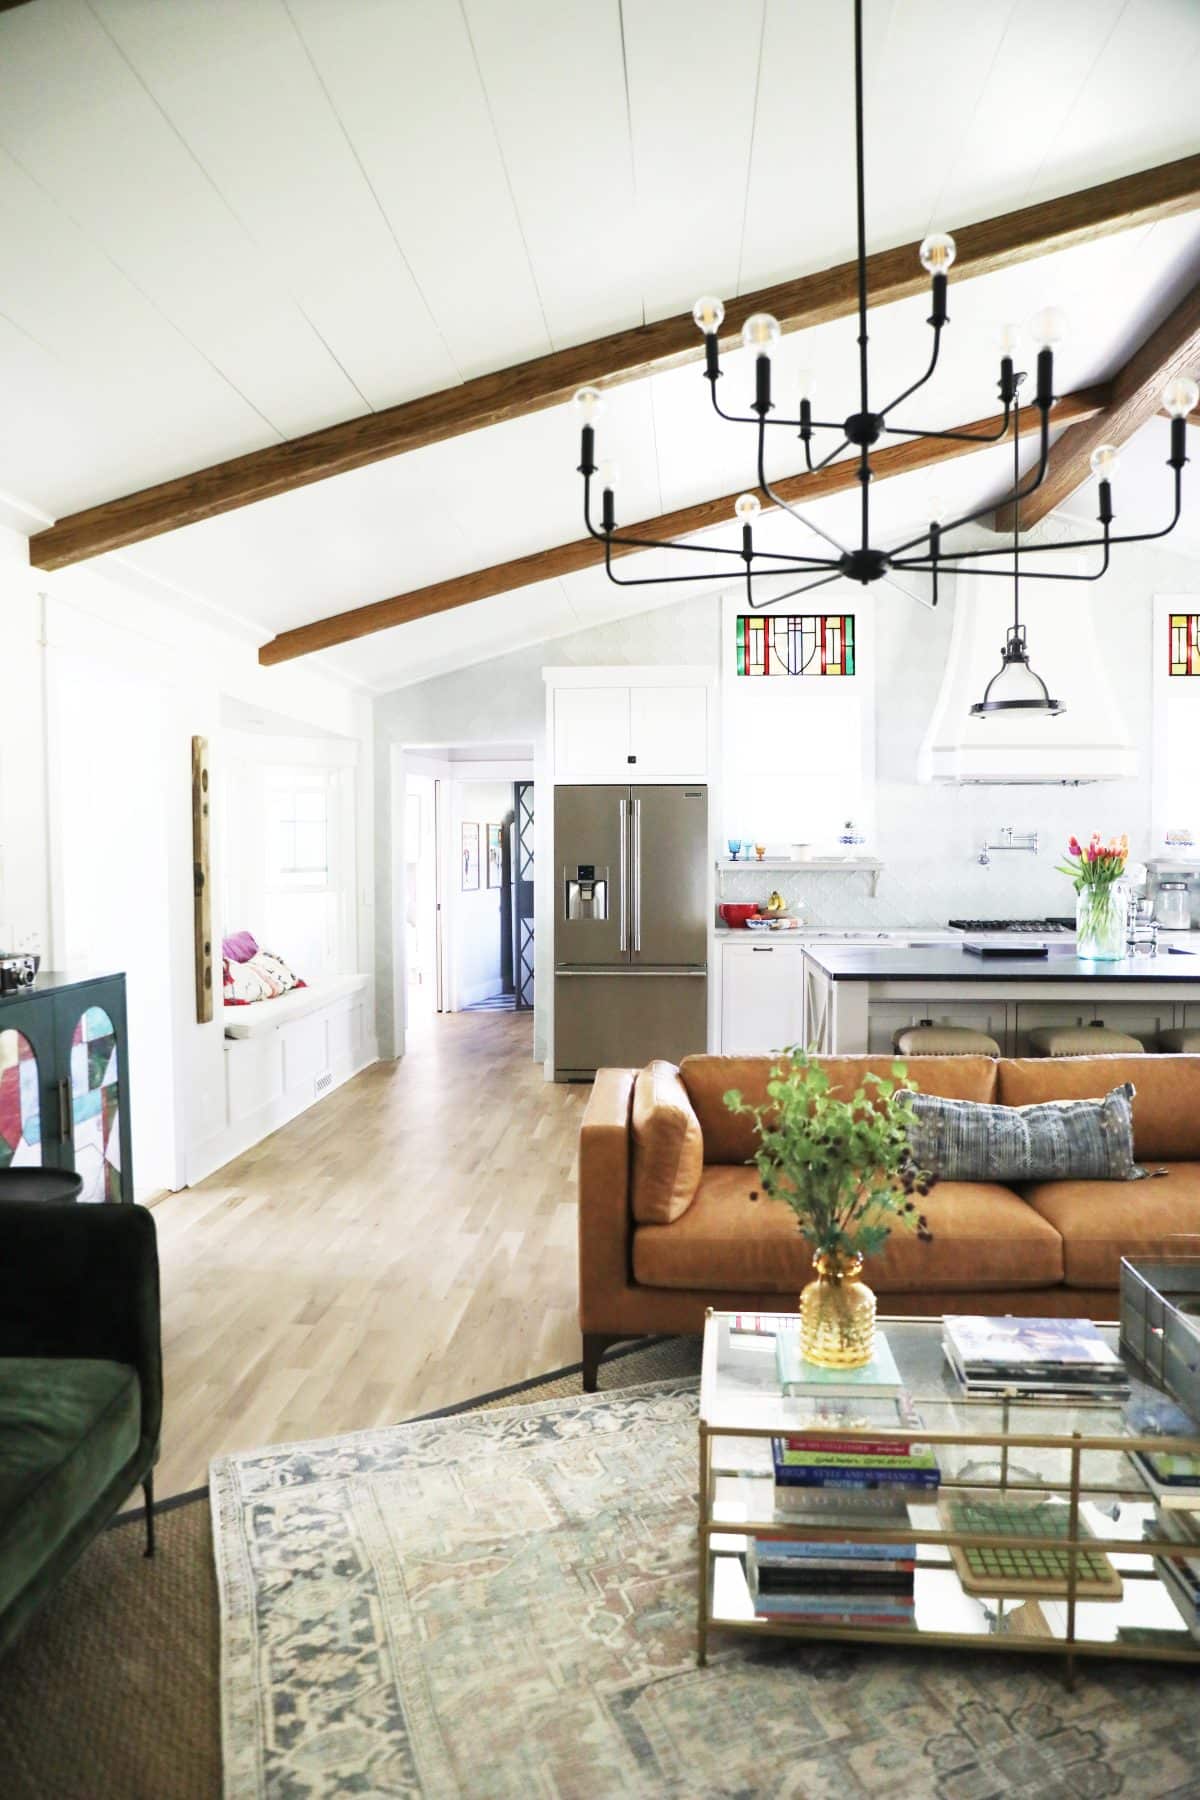
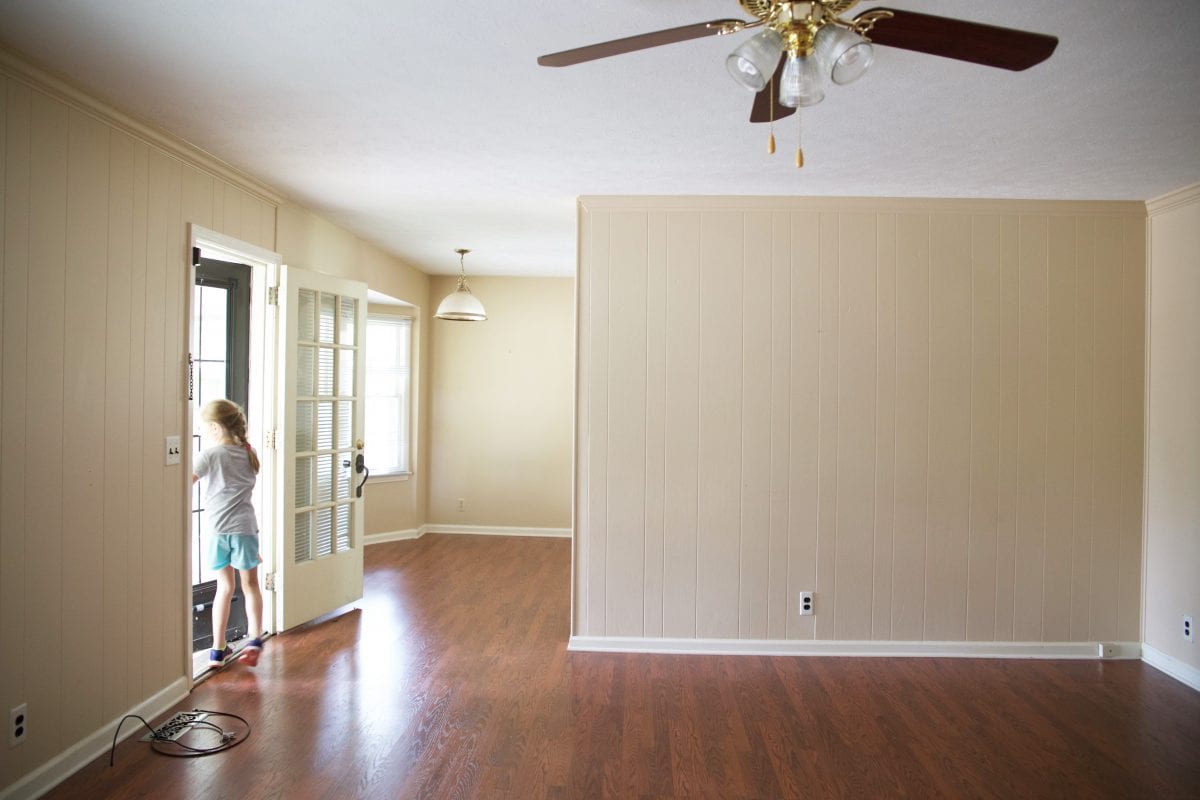
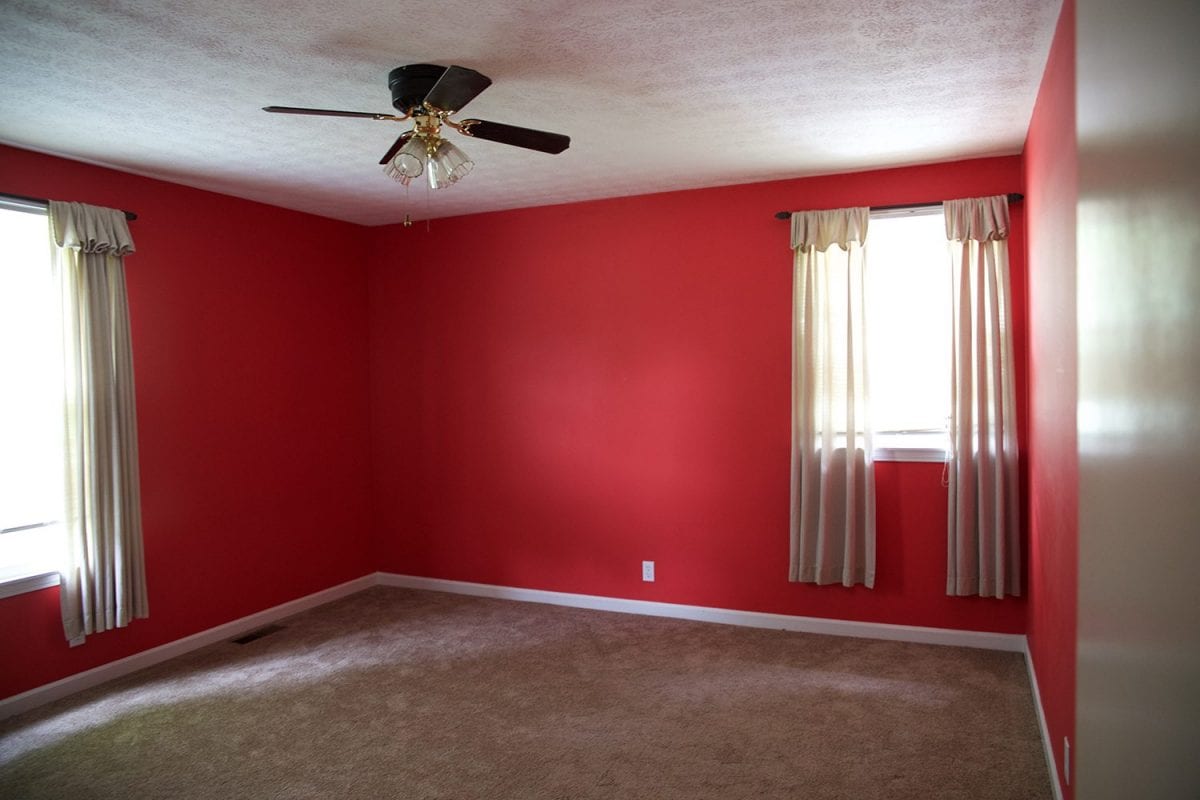
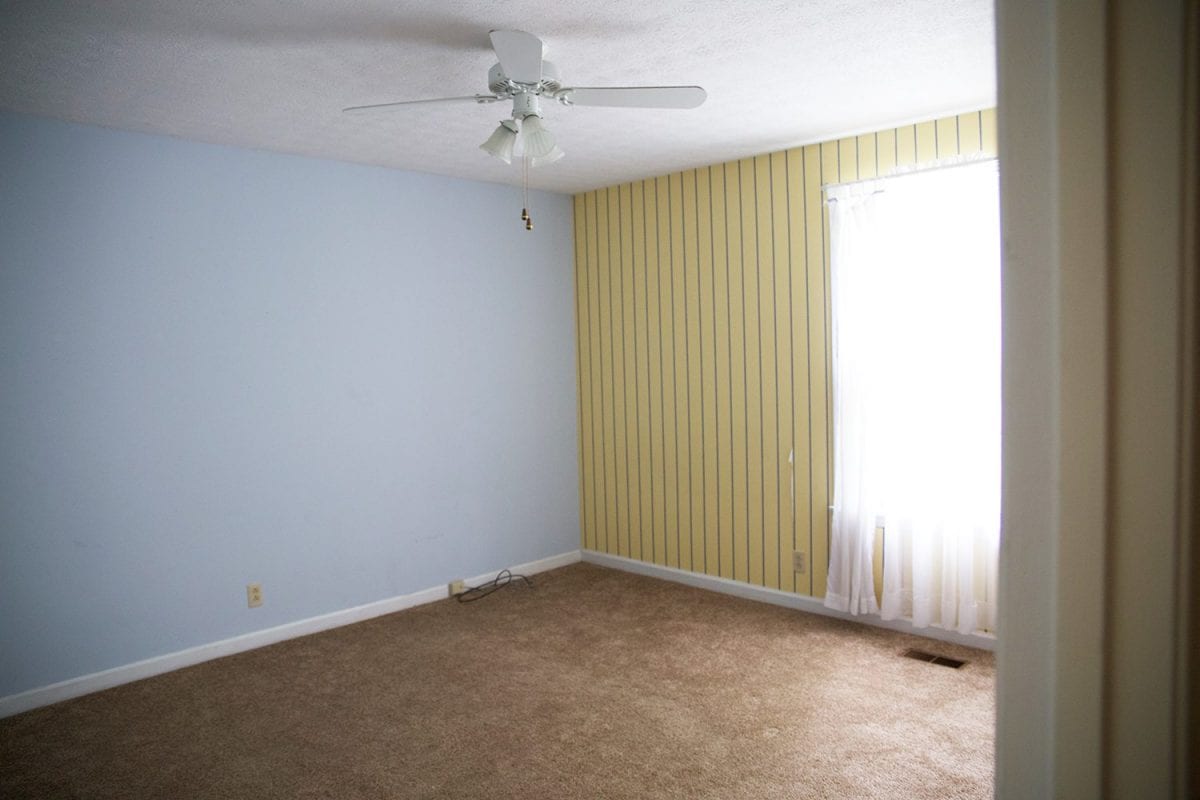
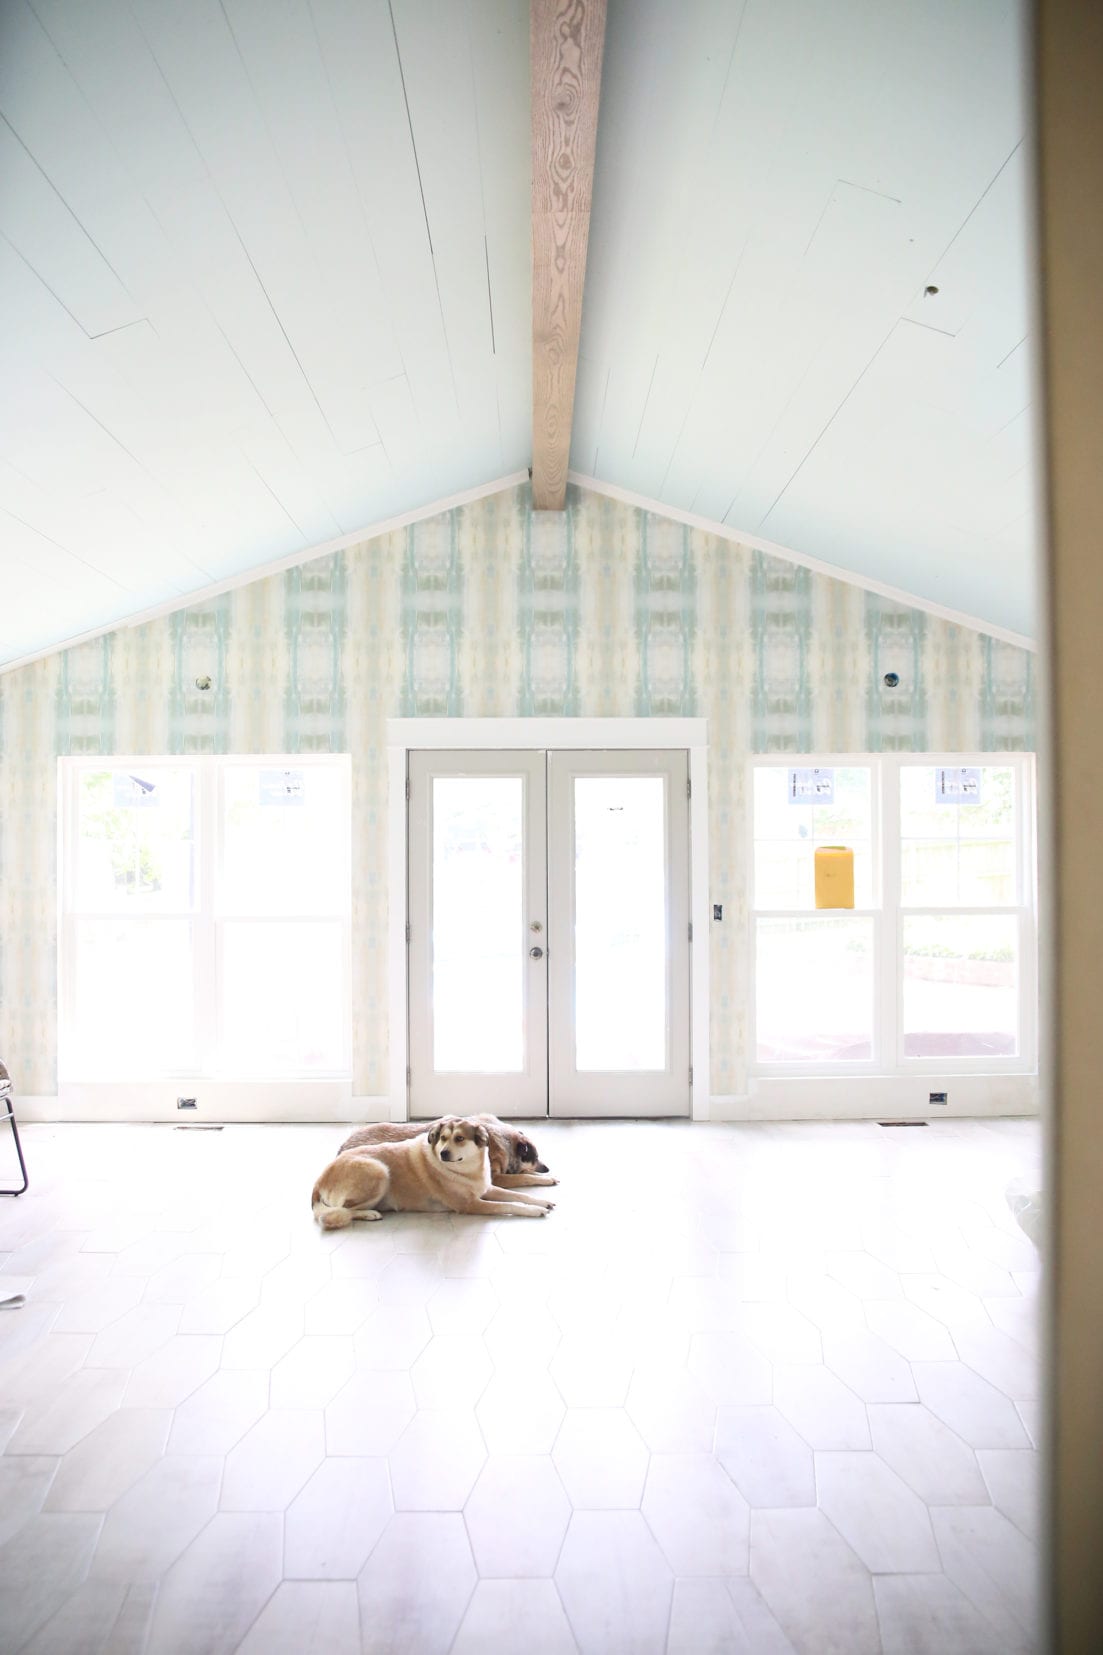
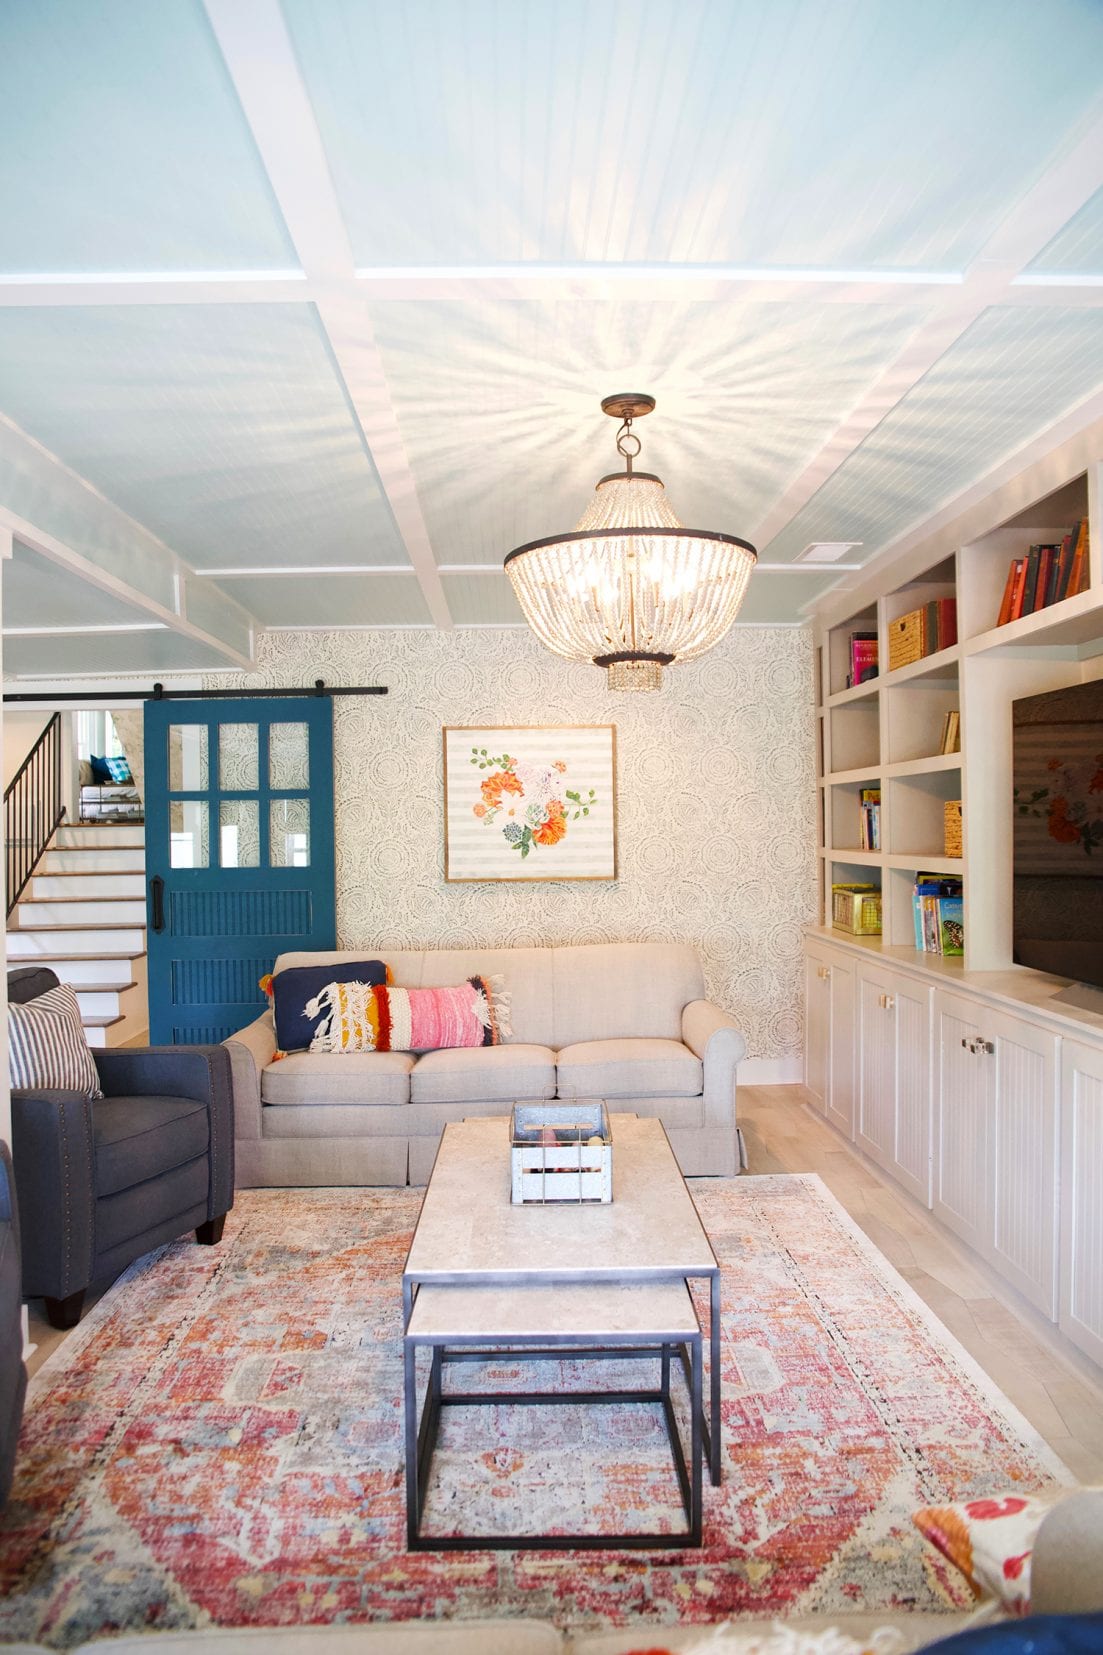
On the main level, we changed it from this…
To this.
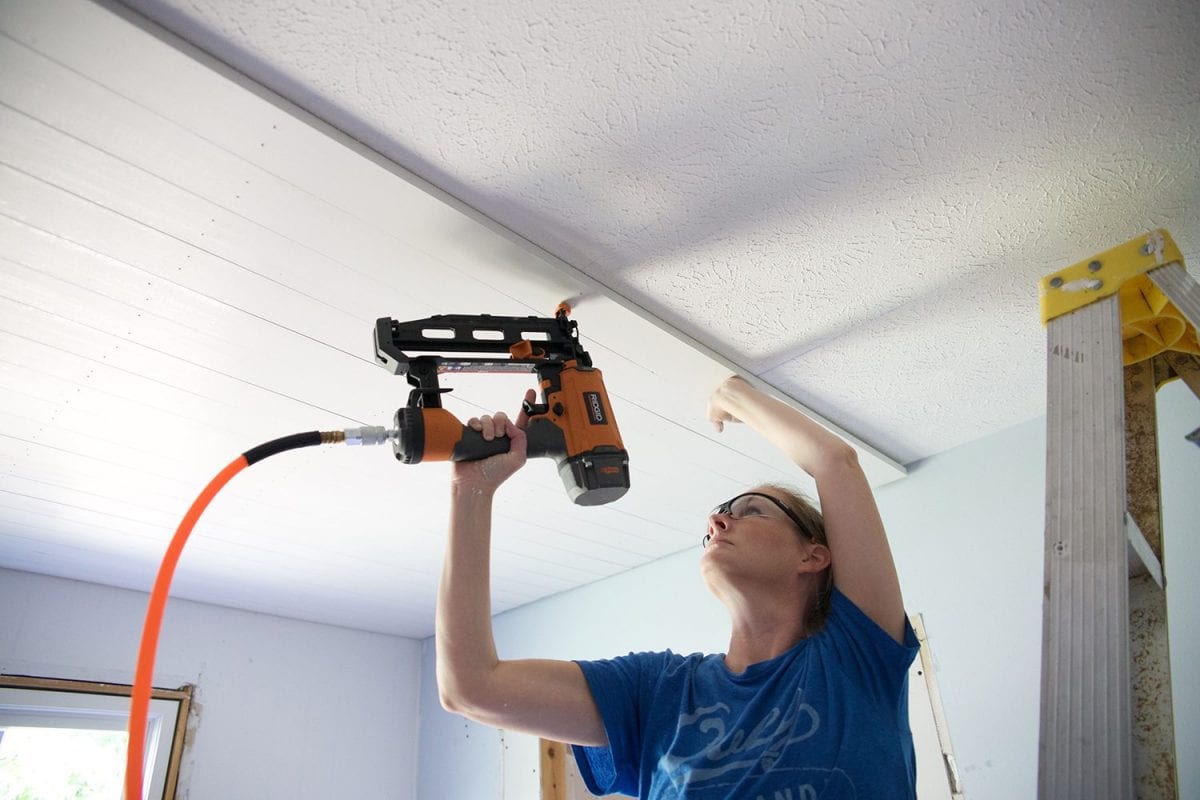
That was accomplished by taking out the center walls and the ceiling, and installing an LVL beam. {We consulted an engineer to make sure we acquired the correct load bearing beam.} From there, once it was ready, we took on our own ceilings. Again, you can read all about that process here. Because this space had the beams and it was such a large expanse, we hid the breaks behind each beam.
We installed in sections, and then installed our AZ Faux beam, to wrap the LVL in the center.
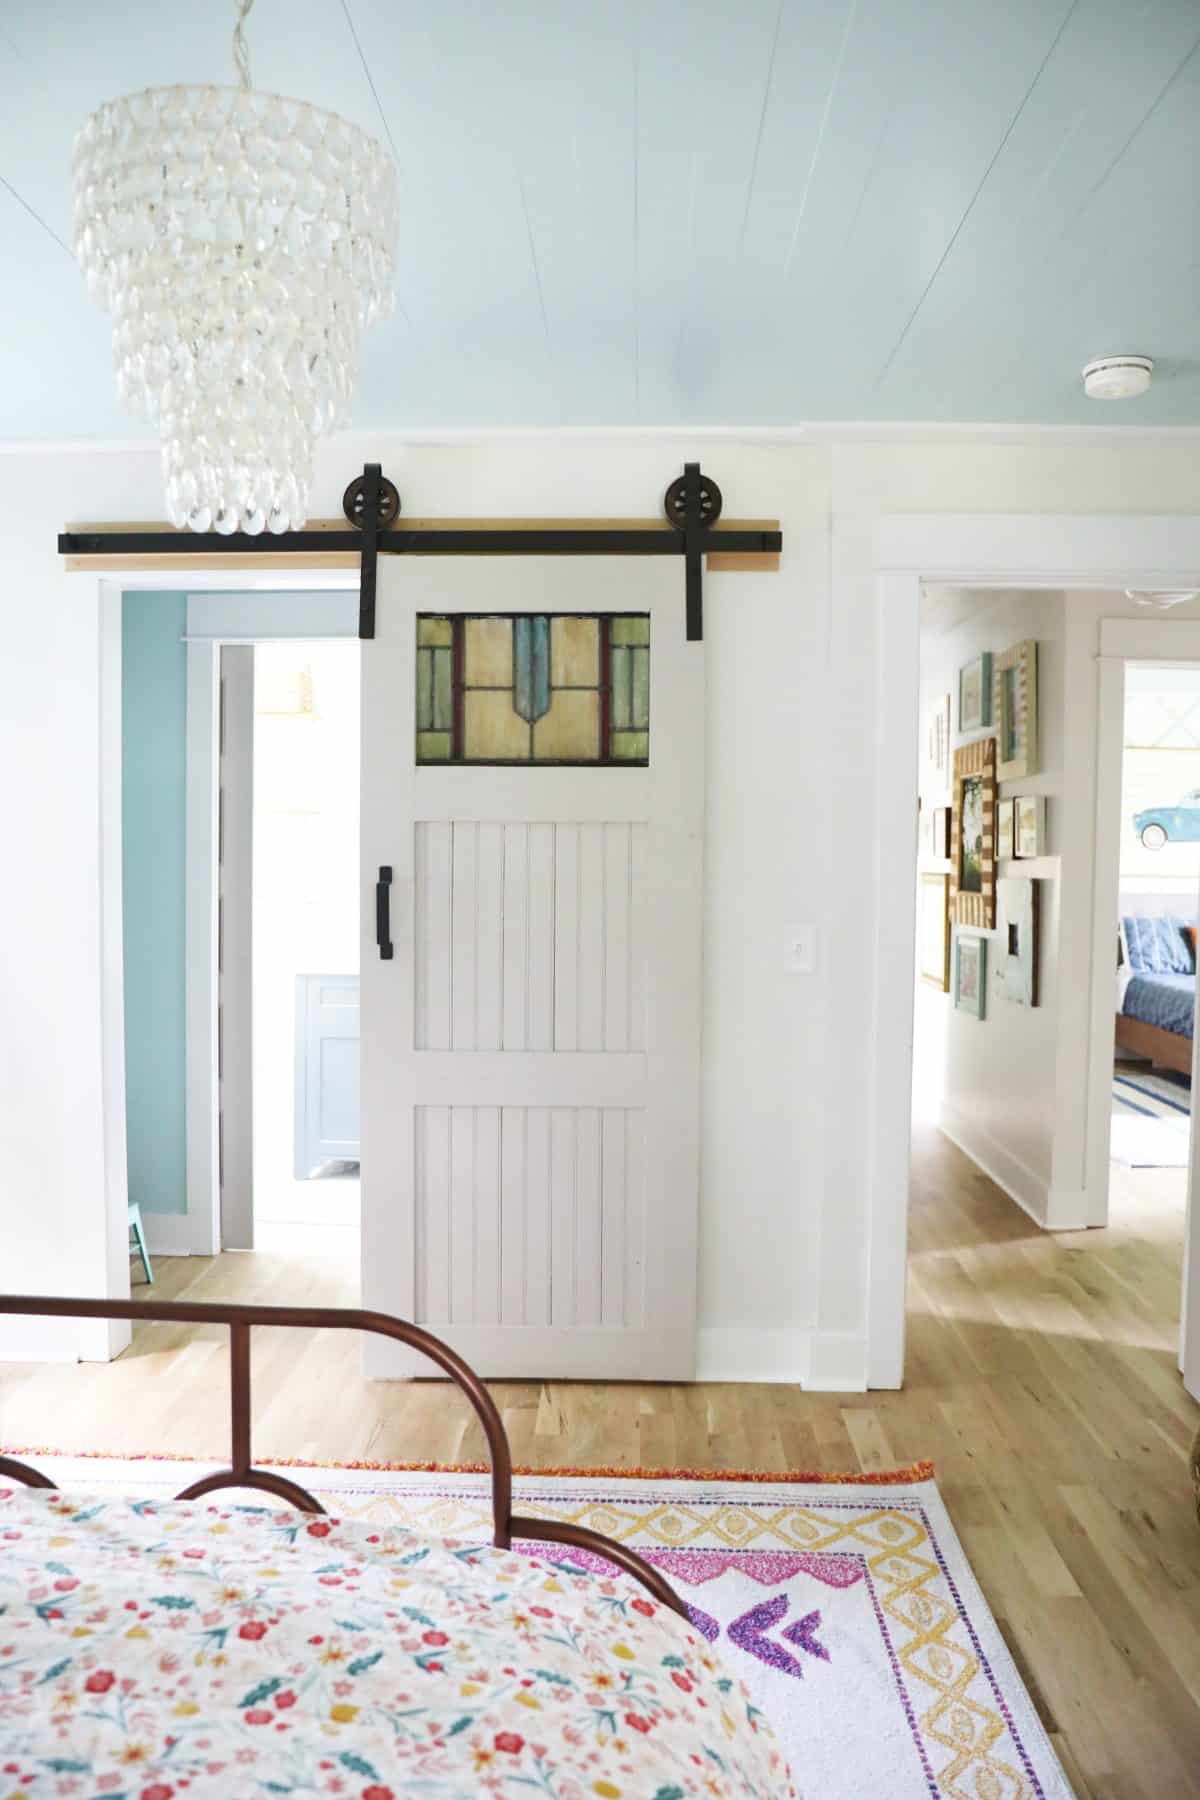
2. How to Shiplap Ceilings {+ How we Feel About Them Seven Years In}: Upstairs
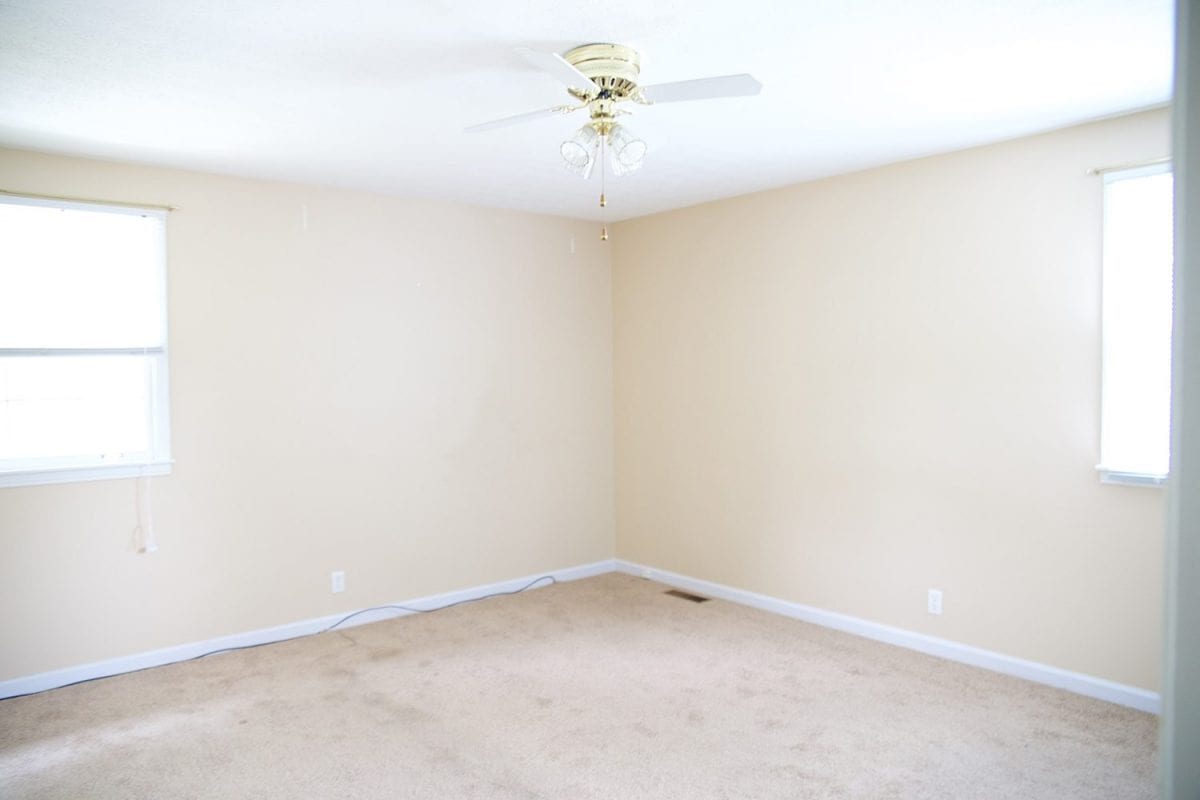
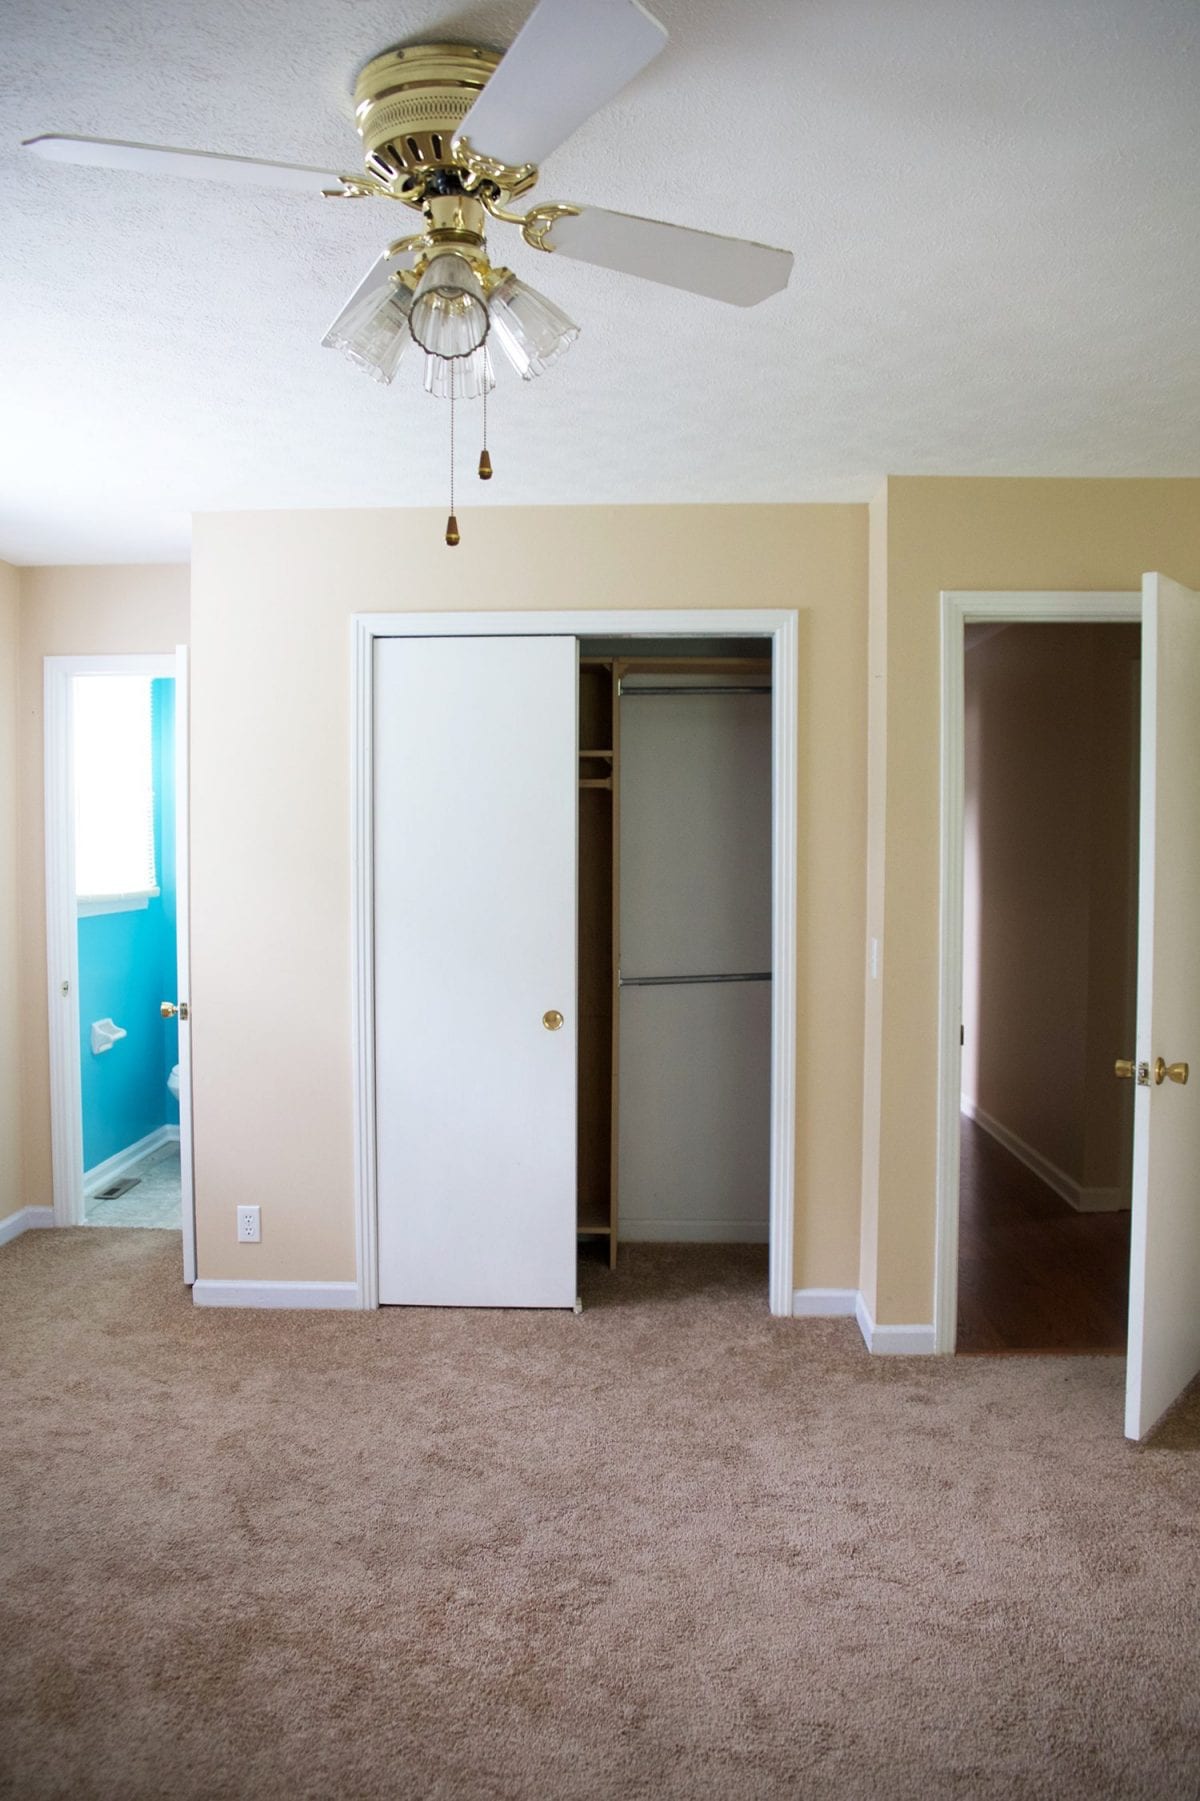
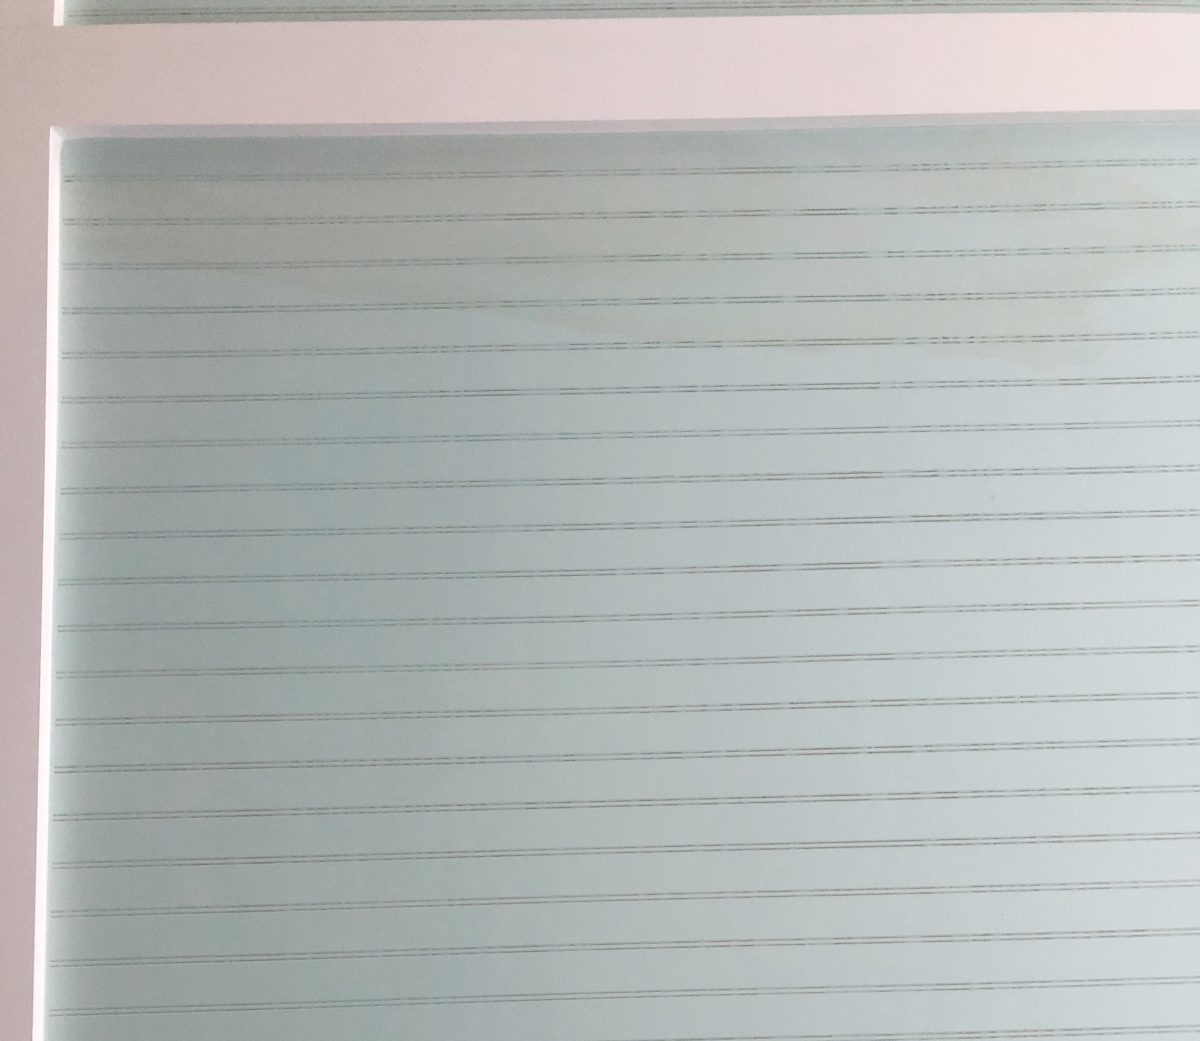
All the spaces in the house had these stamped ceilings. It’s just a step above the full-on spray technique, but still not optimal for us. So we decided to use skinny, long planks with no breaks for these spaces. It gave us a really clean look. This was a major labor of love, but still worth every moment of blood, sweat and tears. {Yes, there were tears. No, I don’t really remember if there was blood so we’ll go with probably. Definitely blisters.}
Again, we have the step by step here, no matter what route you choose.

It saved us thousands, even though it was a lot of work. I wake up and look at those happy ceilings every day, so again… totally worth the change. Even if we did it again, and again. {more on that below}
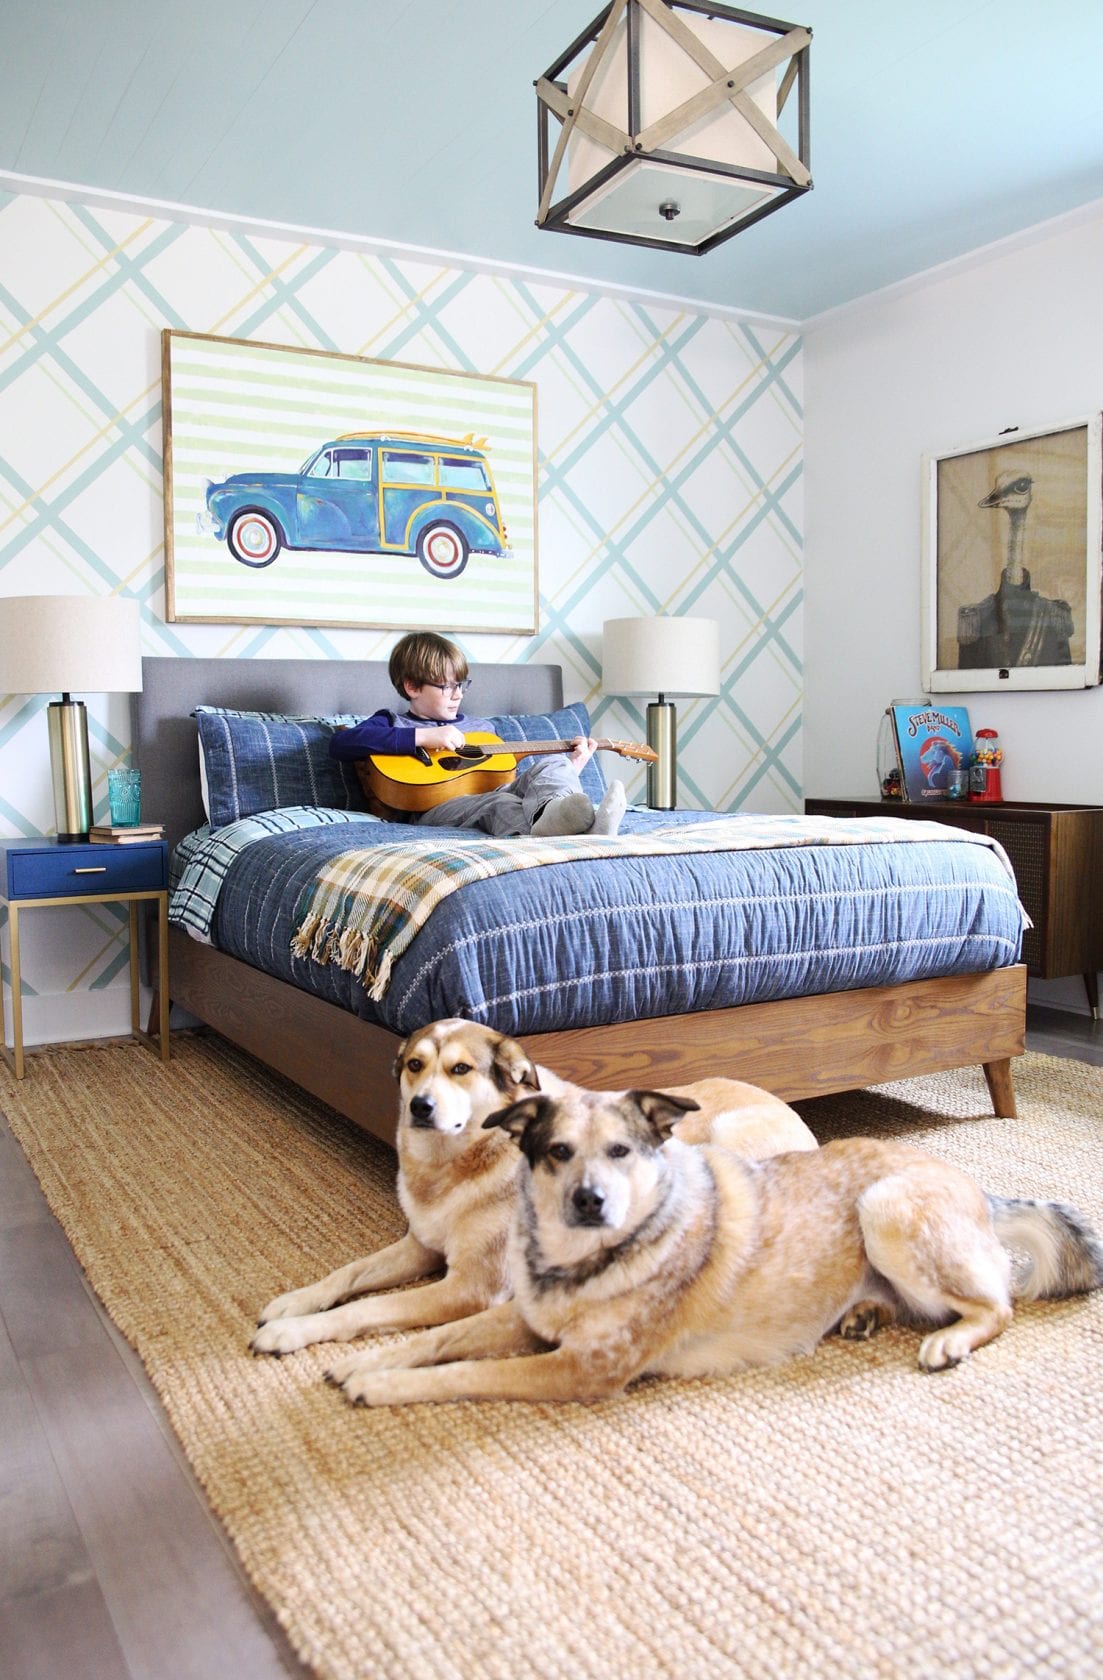
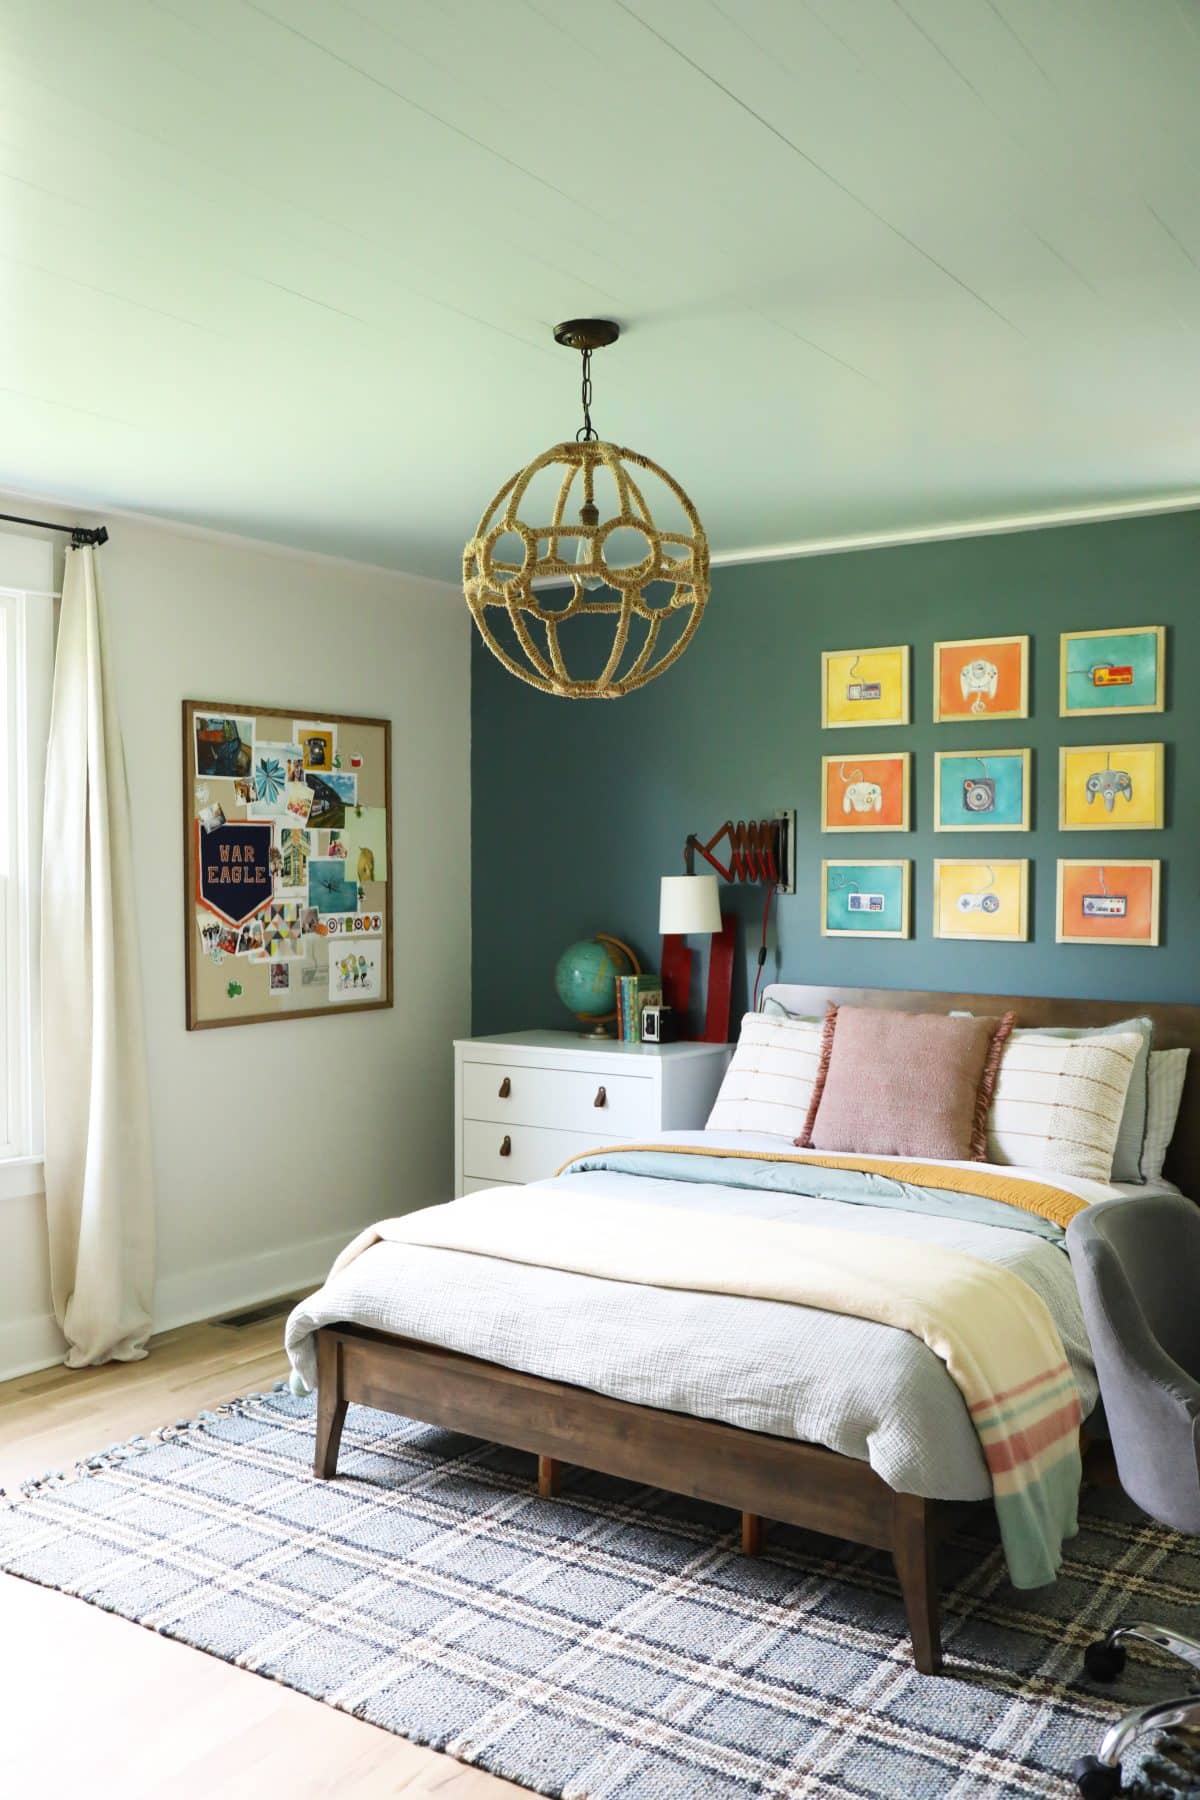
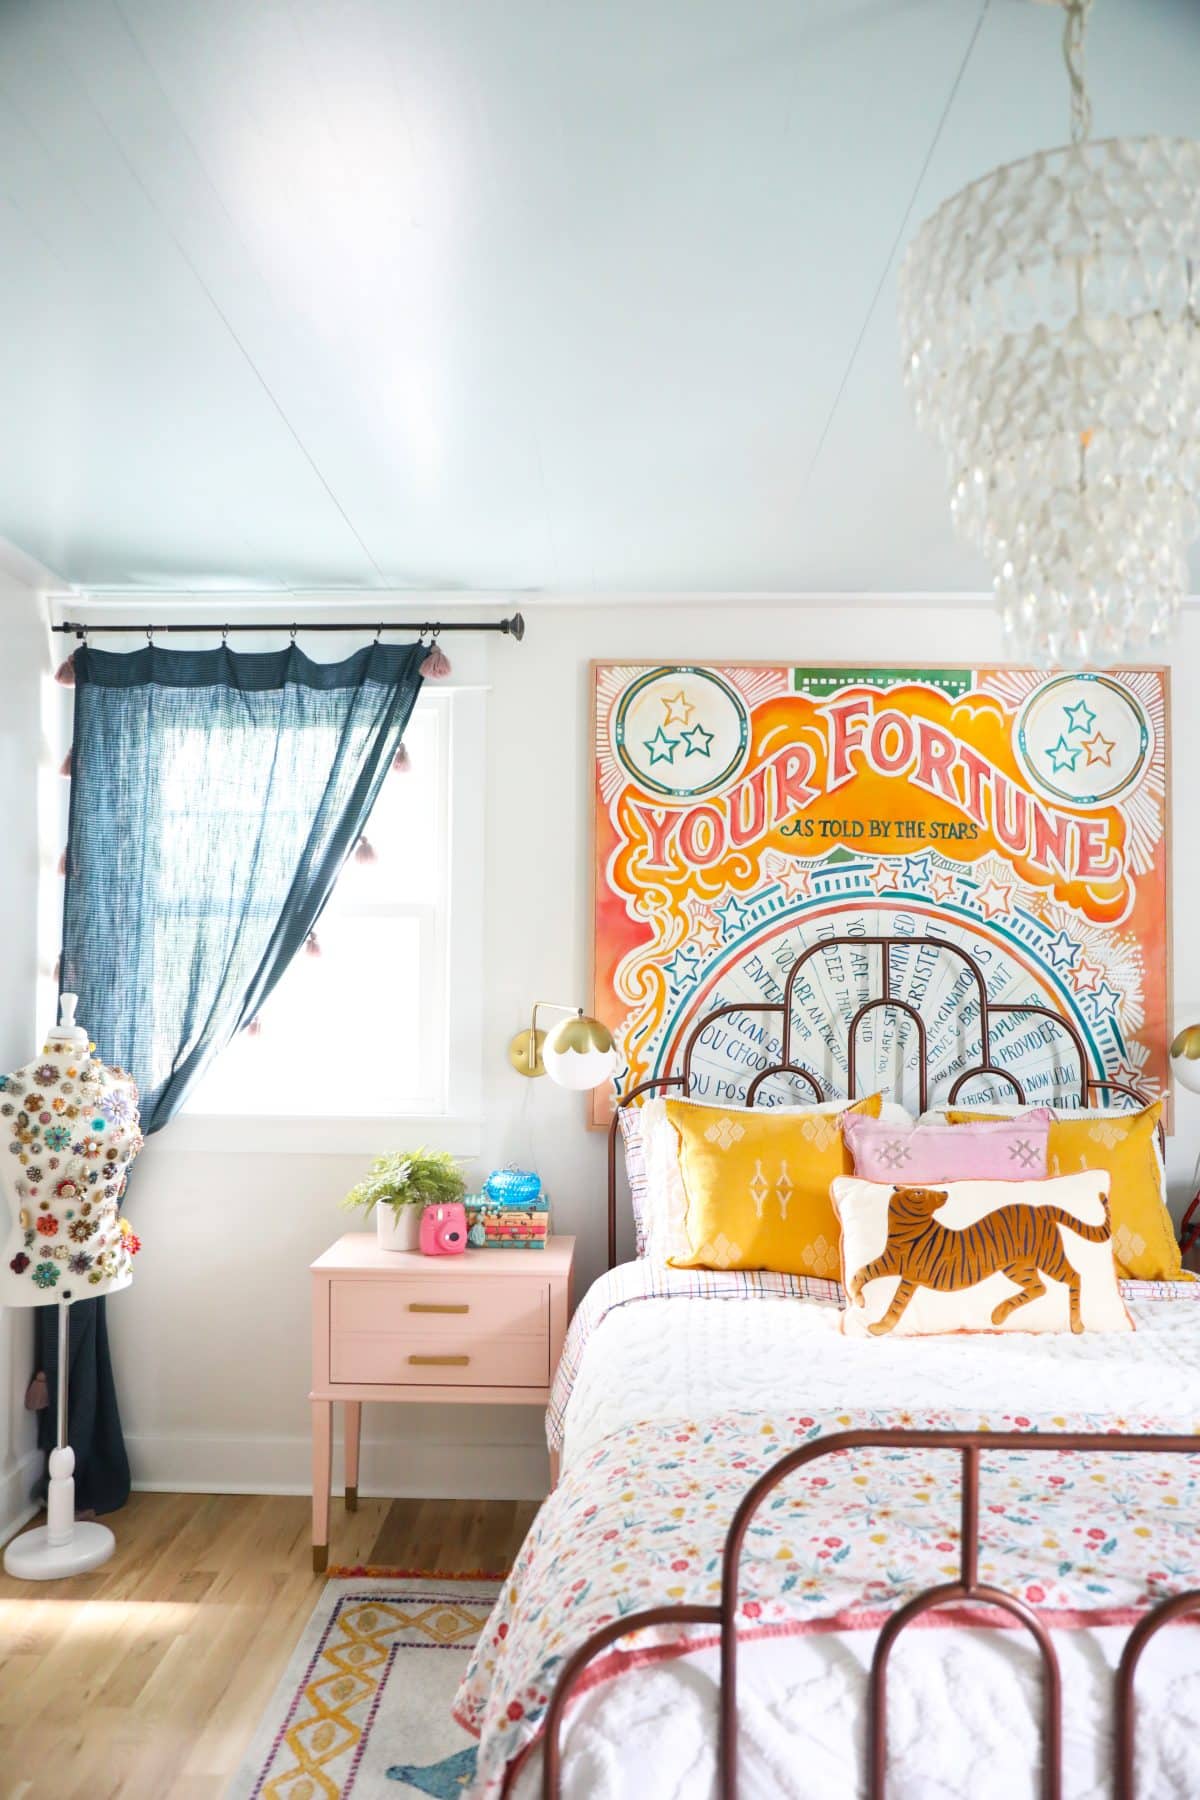
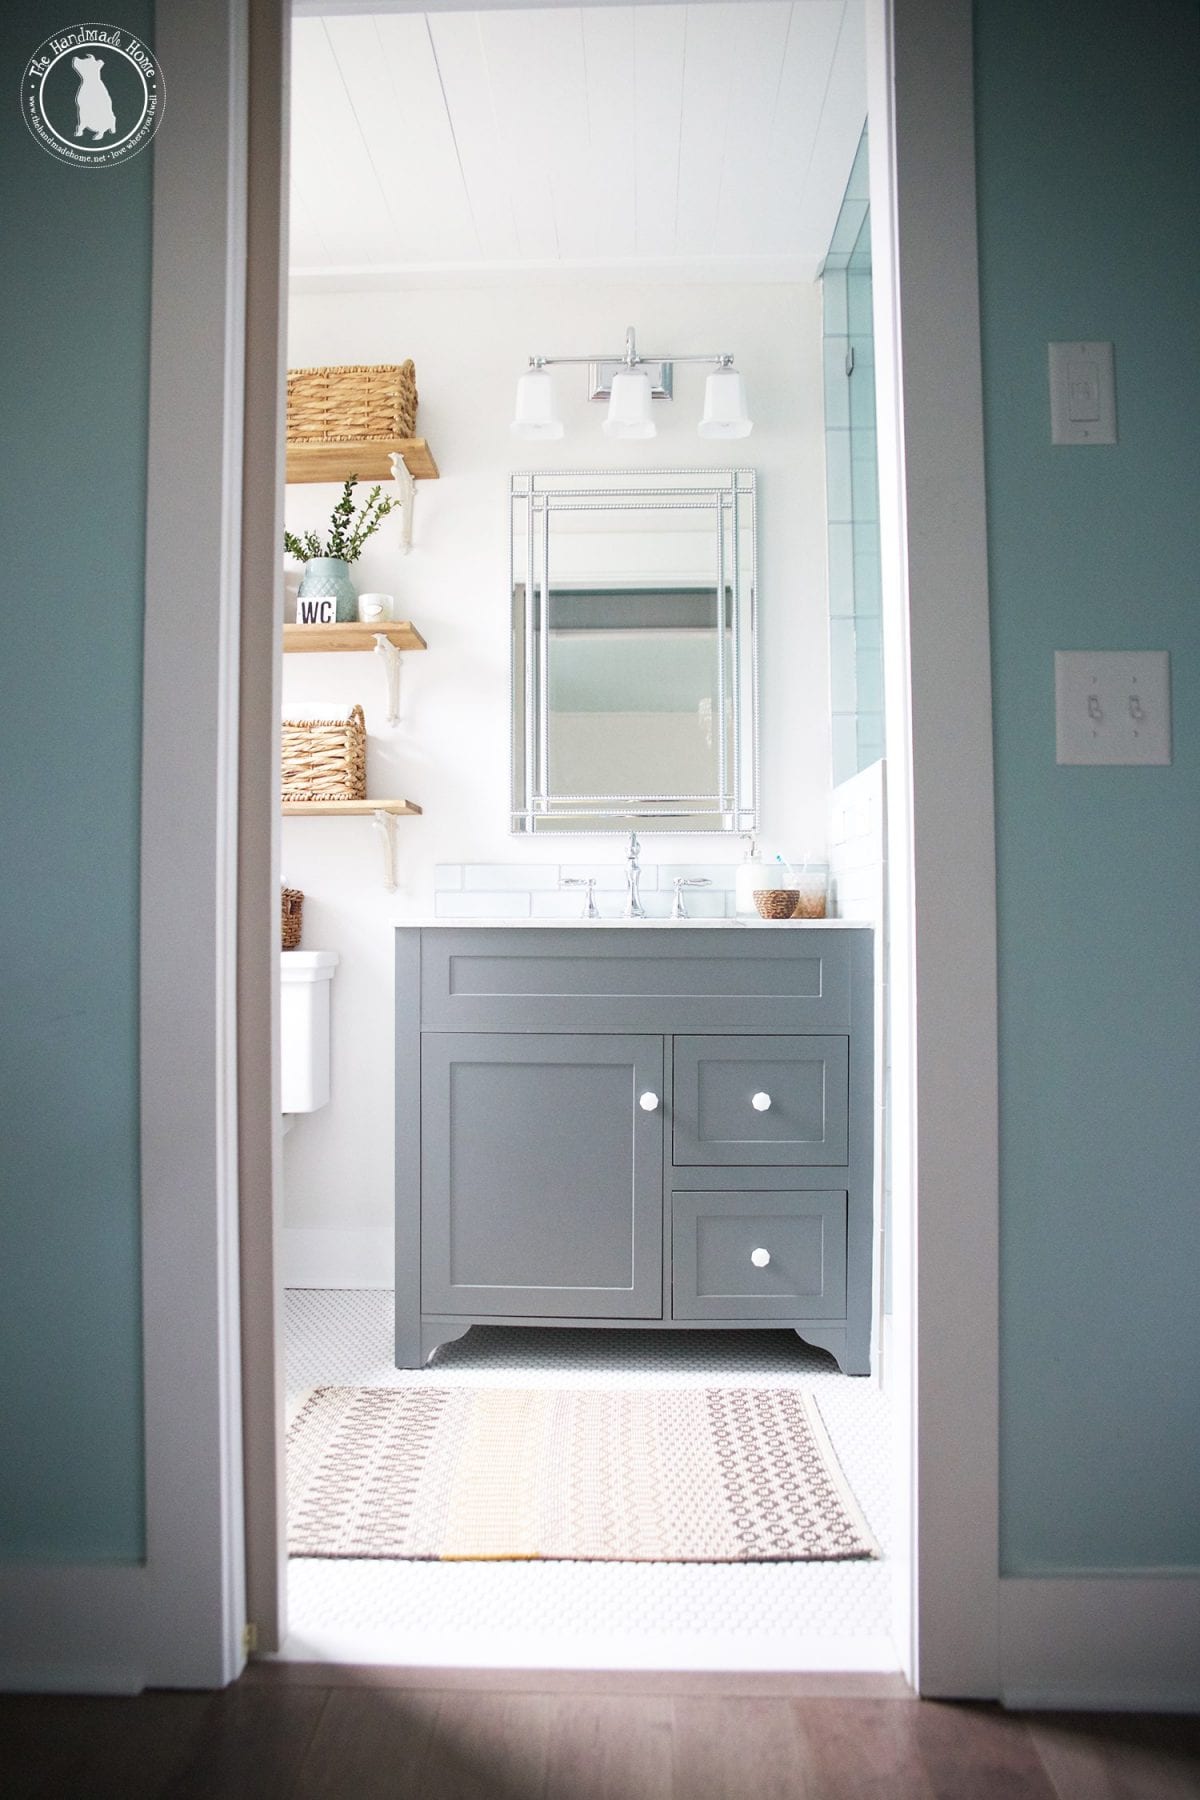
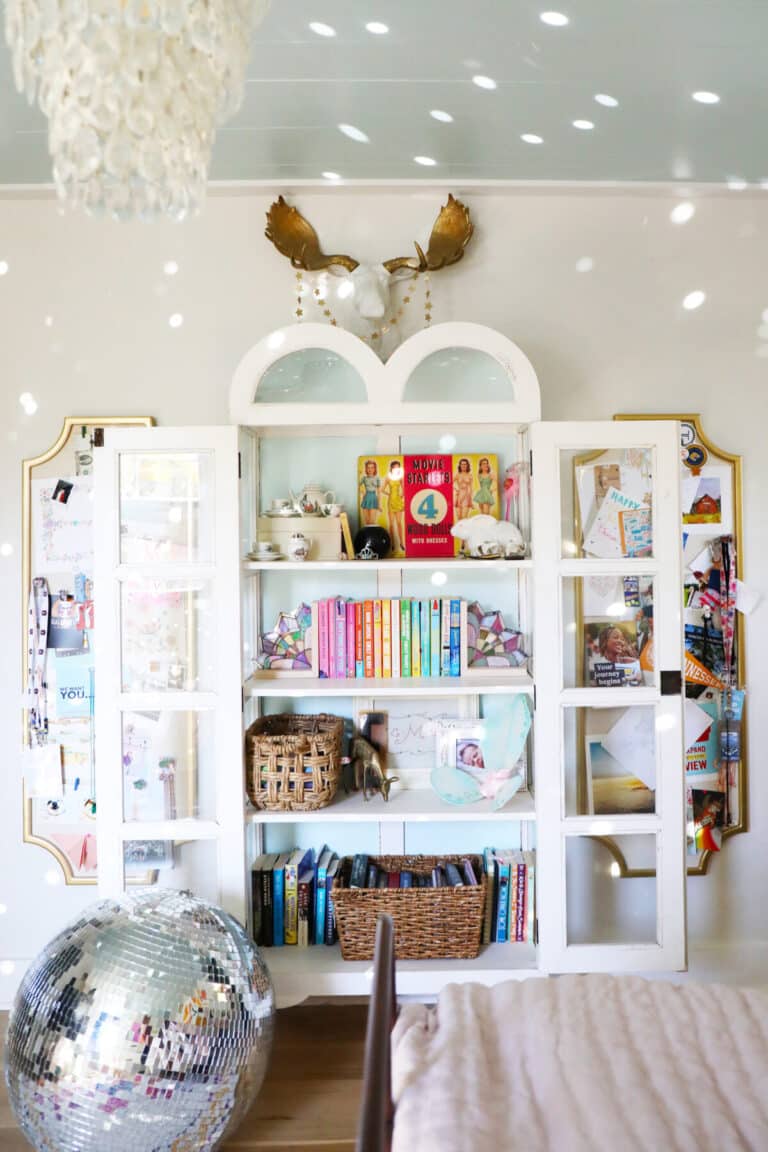
And a little glimpse at our daughter’s room here... we even did the bathrooms but made sure that the showers were enclosed with their own glass with their own tiled ceilings.
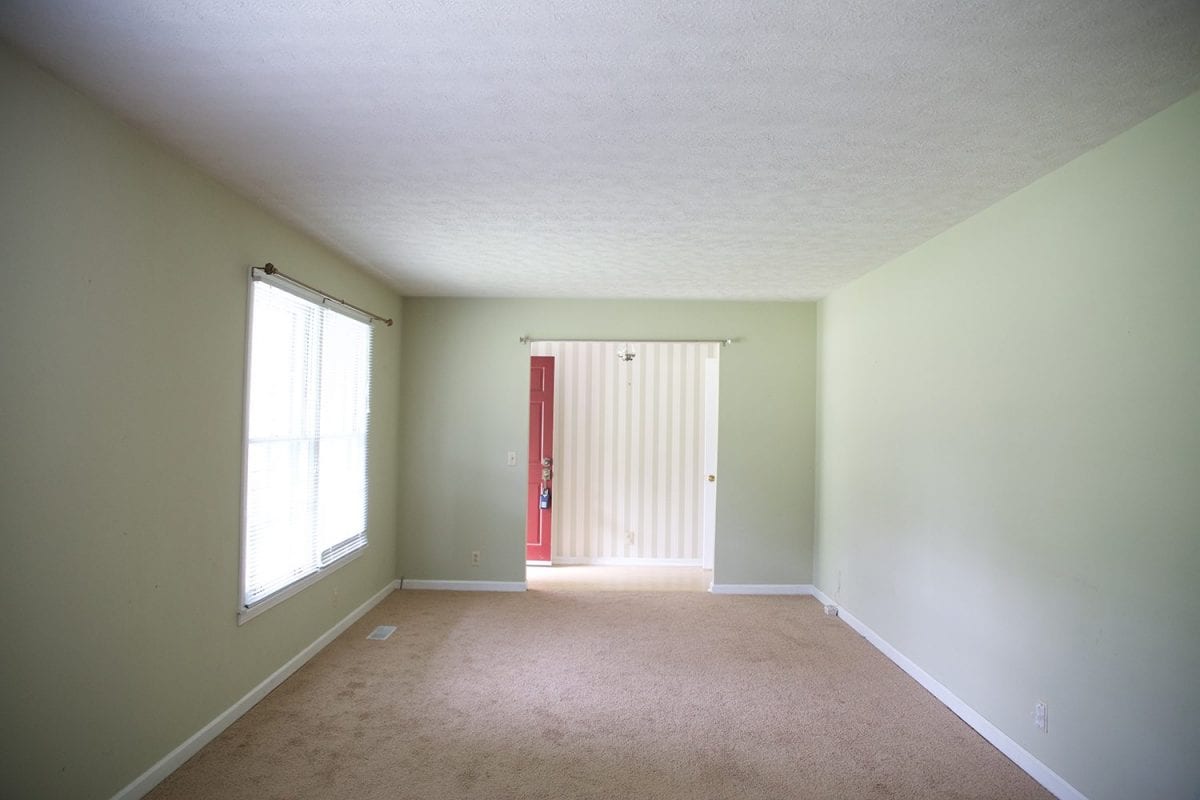
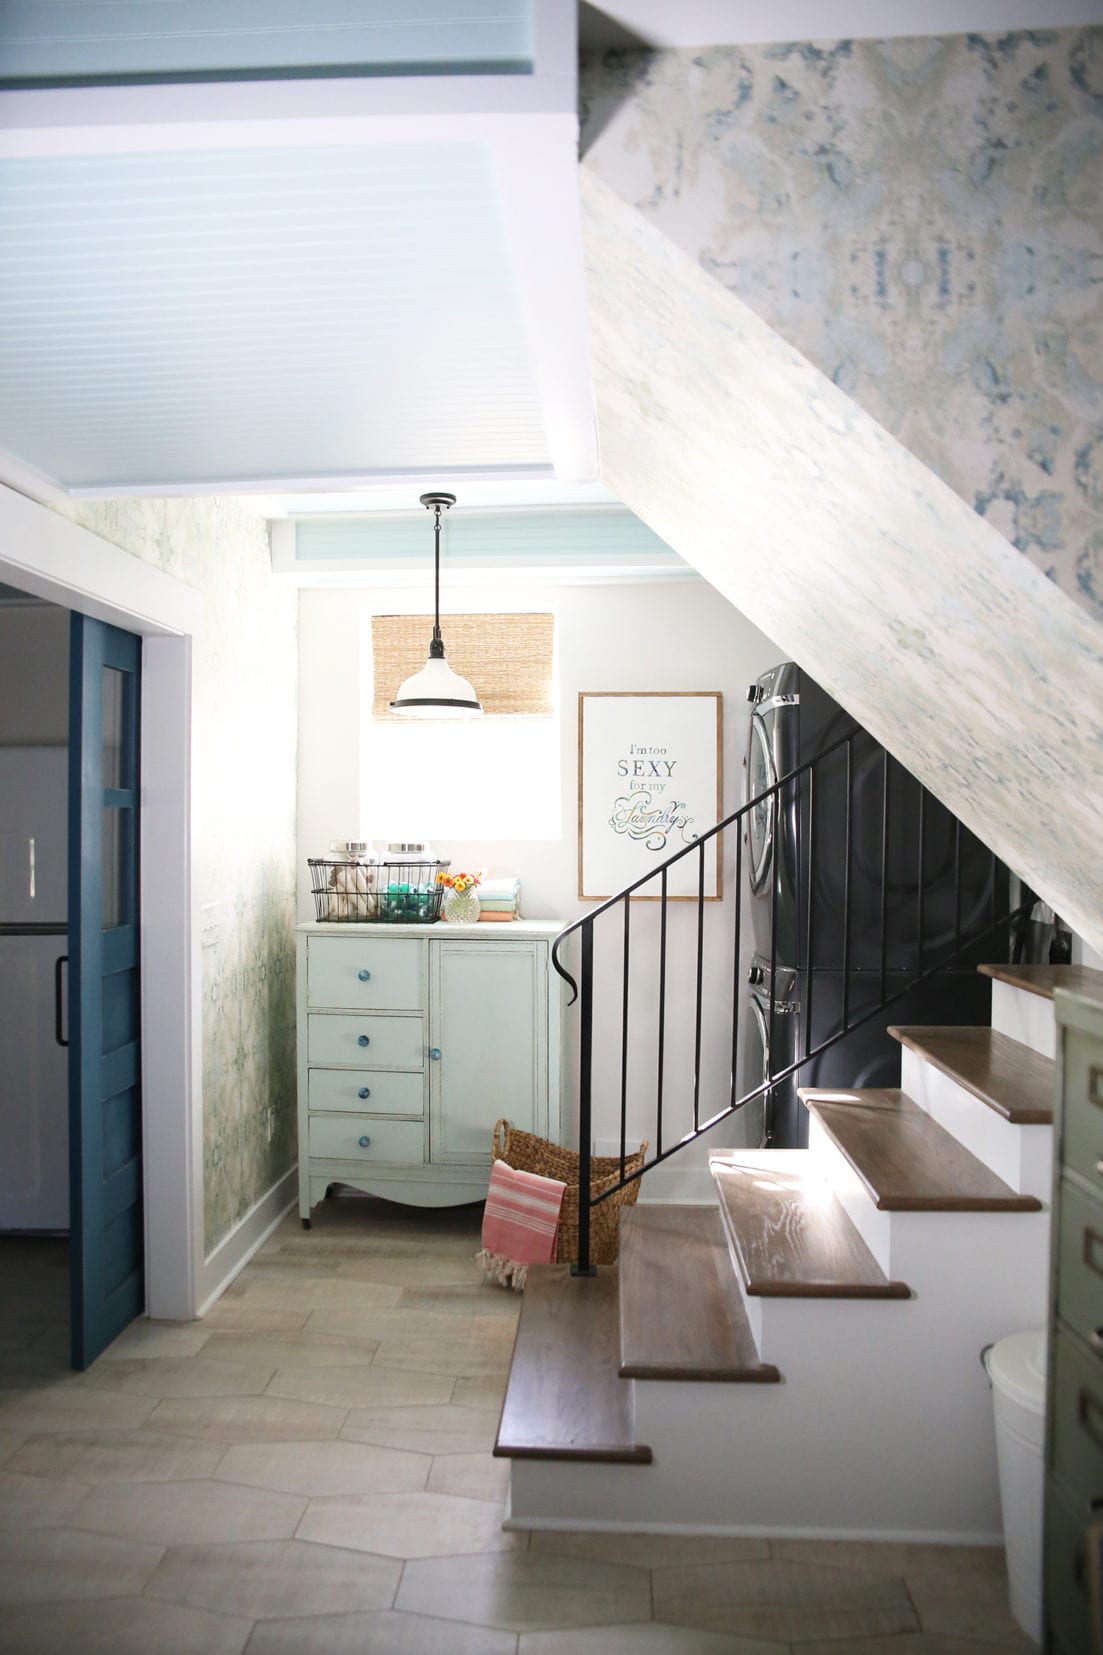
3. How to Shiplap Ceilings {+ How we Feel About Them Seven Years In}: Where Did Your Pipes Go?
And whenever people see our basement space, they always want to know where the pipes went.
For this space, we decided to fur down the ceilings, and make space for the HVAC and pipes. So we installed bead board in sections, in case we ever needed to access it again. And we have. This has come in handy, because the kiddos’ bathroom did have a leak this past year. So we were able to cut out a small sections below it i the baseent, address the leak, dry it out, and seal it back up.
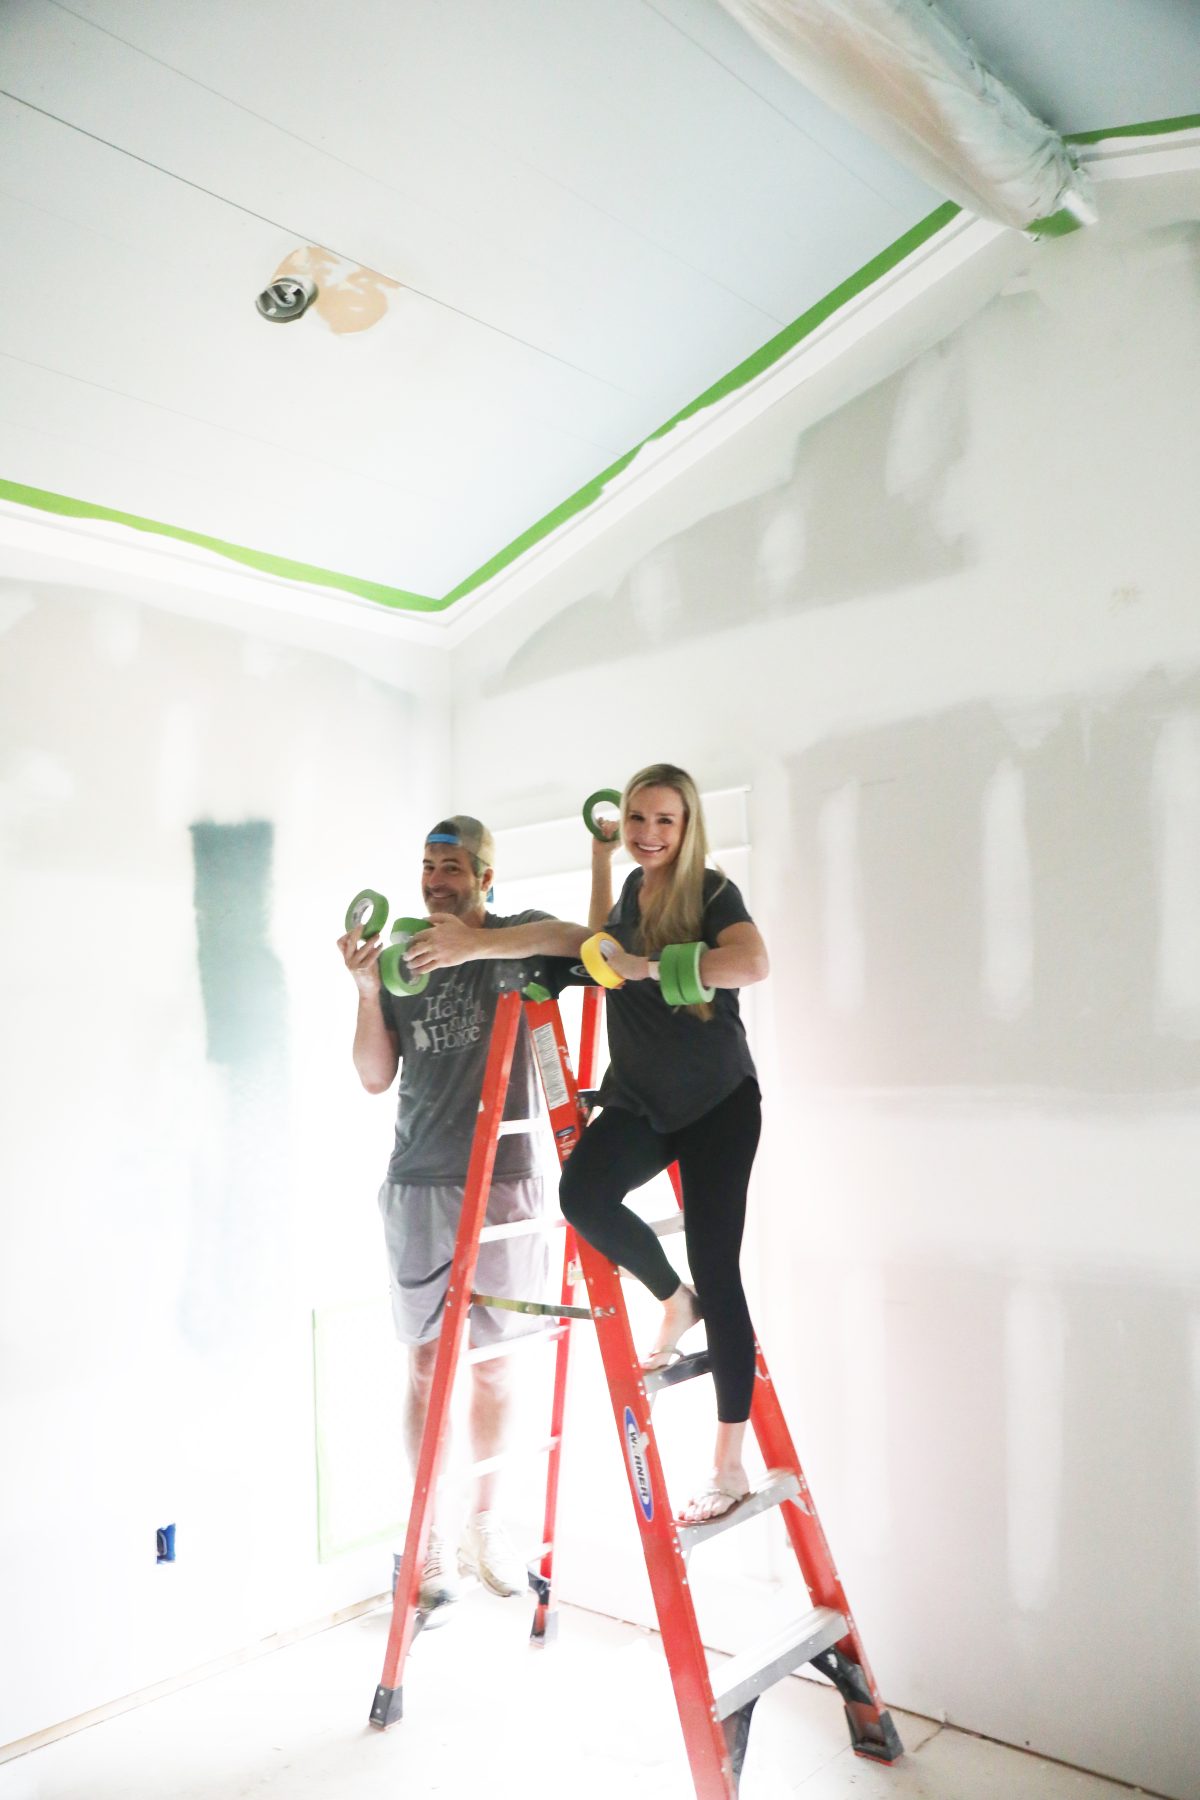
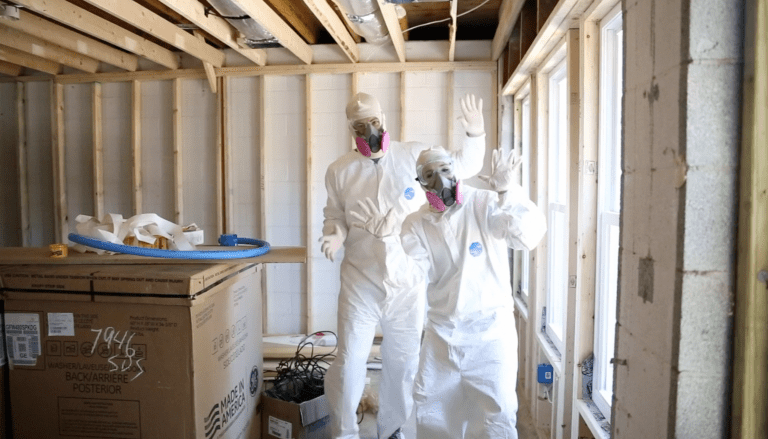
For what it’s worth, this is actually the stage where we decided to hire help with no regrets, because we were exhausted. You can see more of that process, here.
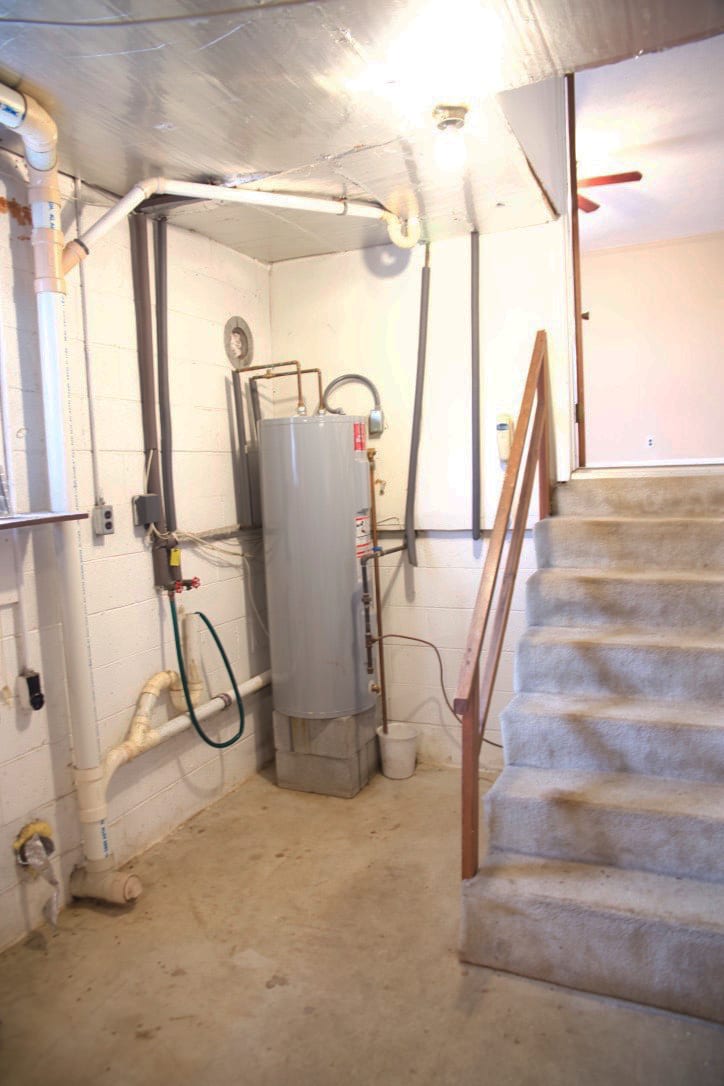
So pipes and HVAC didn’t really go anywhere- they were just enclosed with a nice design in the ceiling.
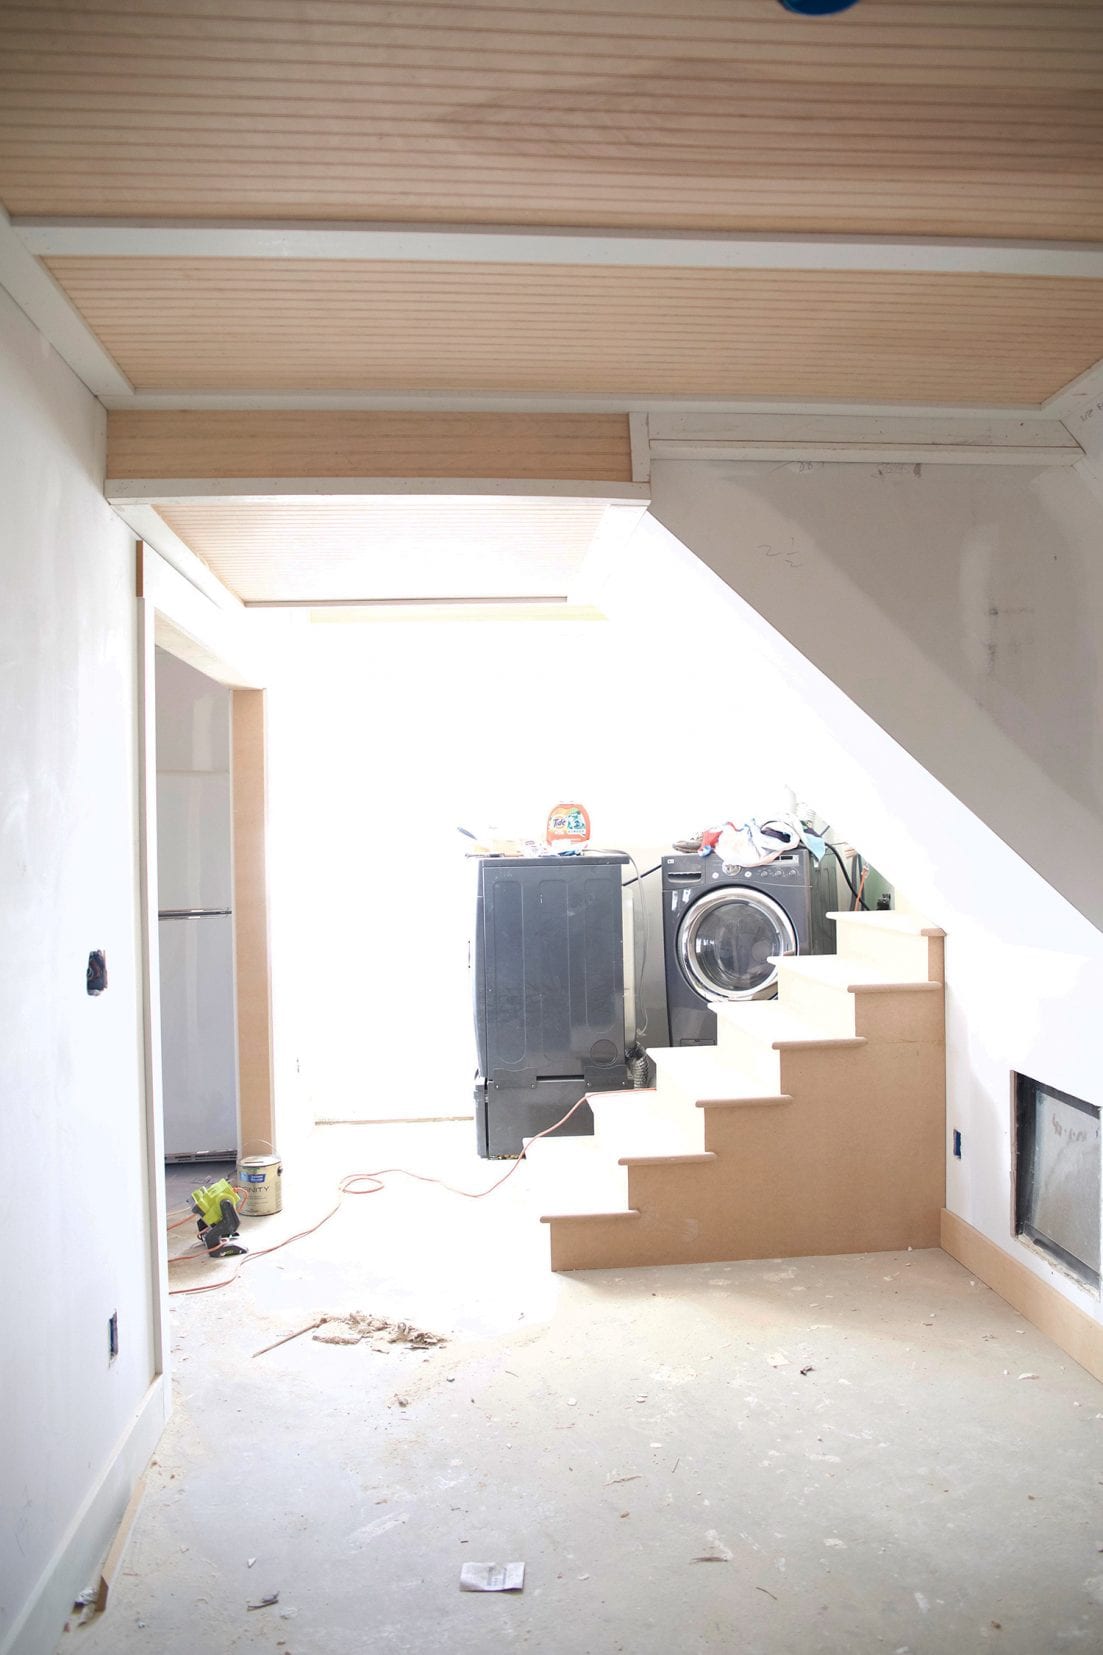
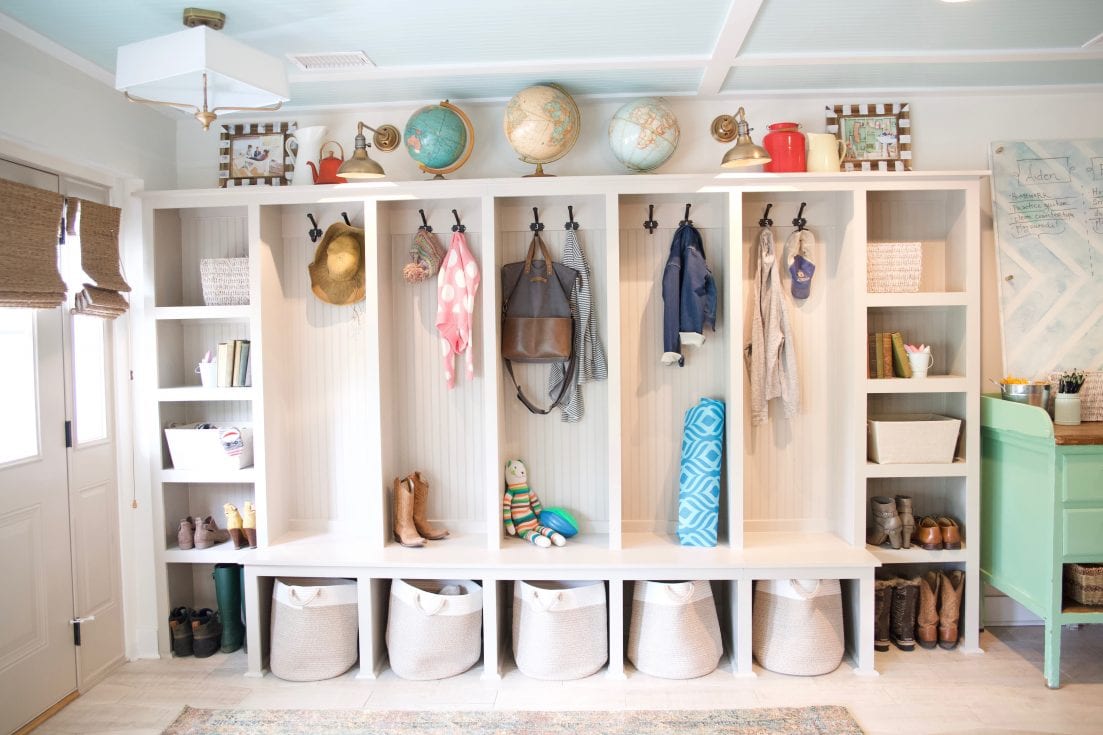
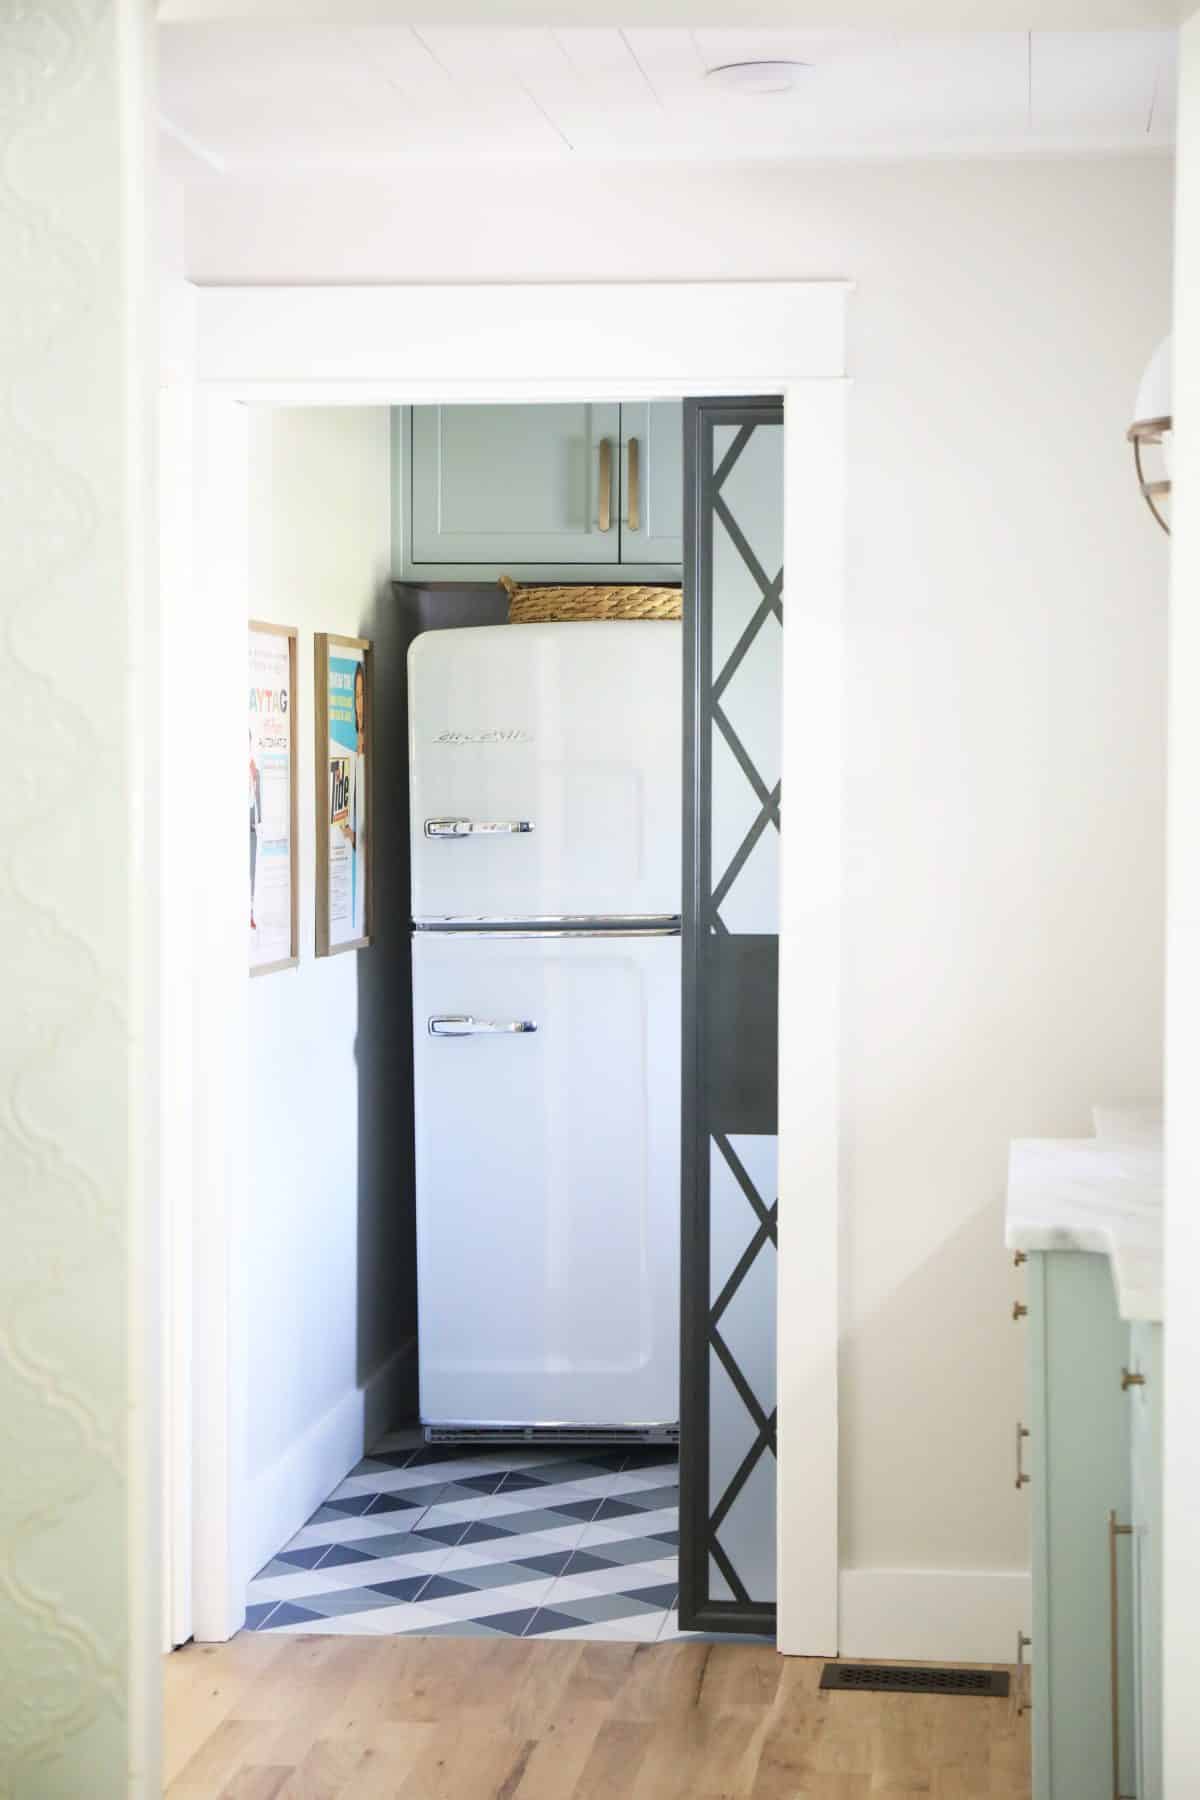
Oh, and because people always ask, that old hot water heater was changed to a tankless, under the house. We needed every inch of square footage, so this helped immensely. We now have a laundry room {see new addition below} which I couldn’t be more thrilled about. This space is about to become a closet, instead… which is really needed in this 1976 house. #nostorage
Here’s another glance of that before and after…
Everything is neatly contained and do much better than before. It’s a livable space now.

see this space, here
4. How to Shiplap Ceilings {+ How we Feel About Them Seven Years In}: How Did You Do it For the First Addition?
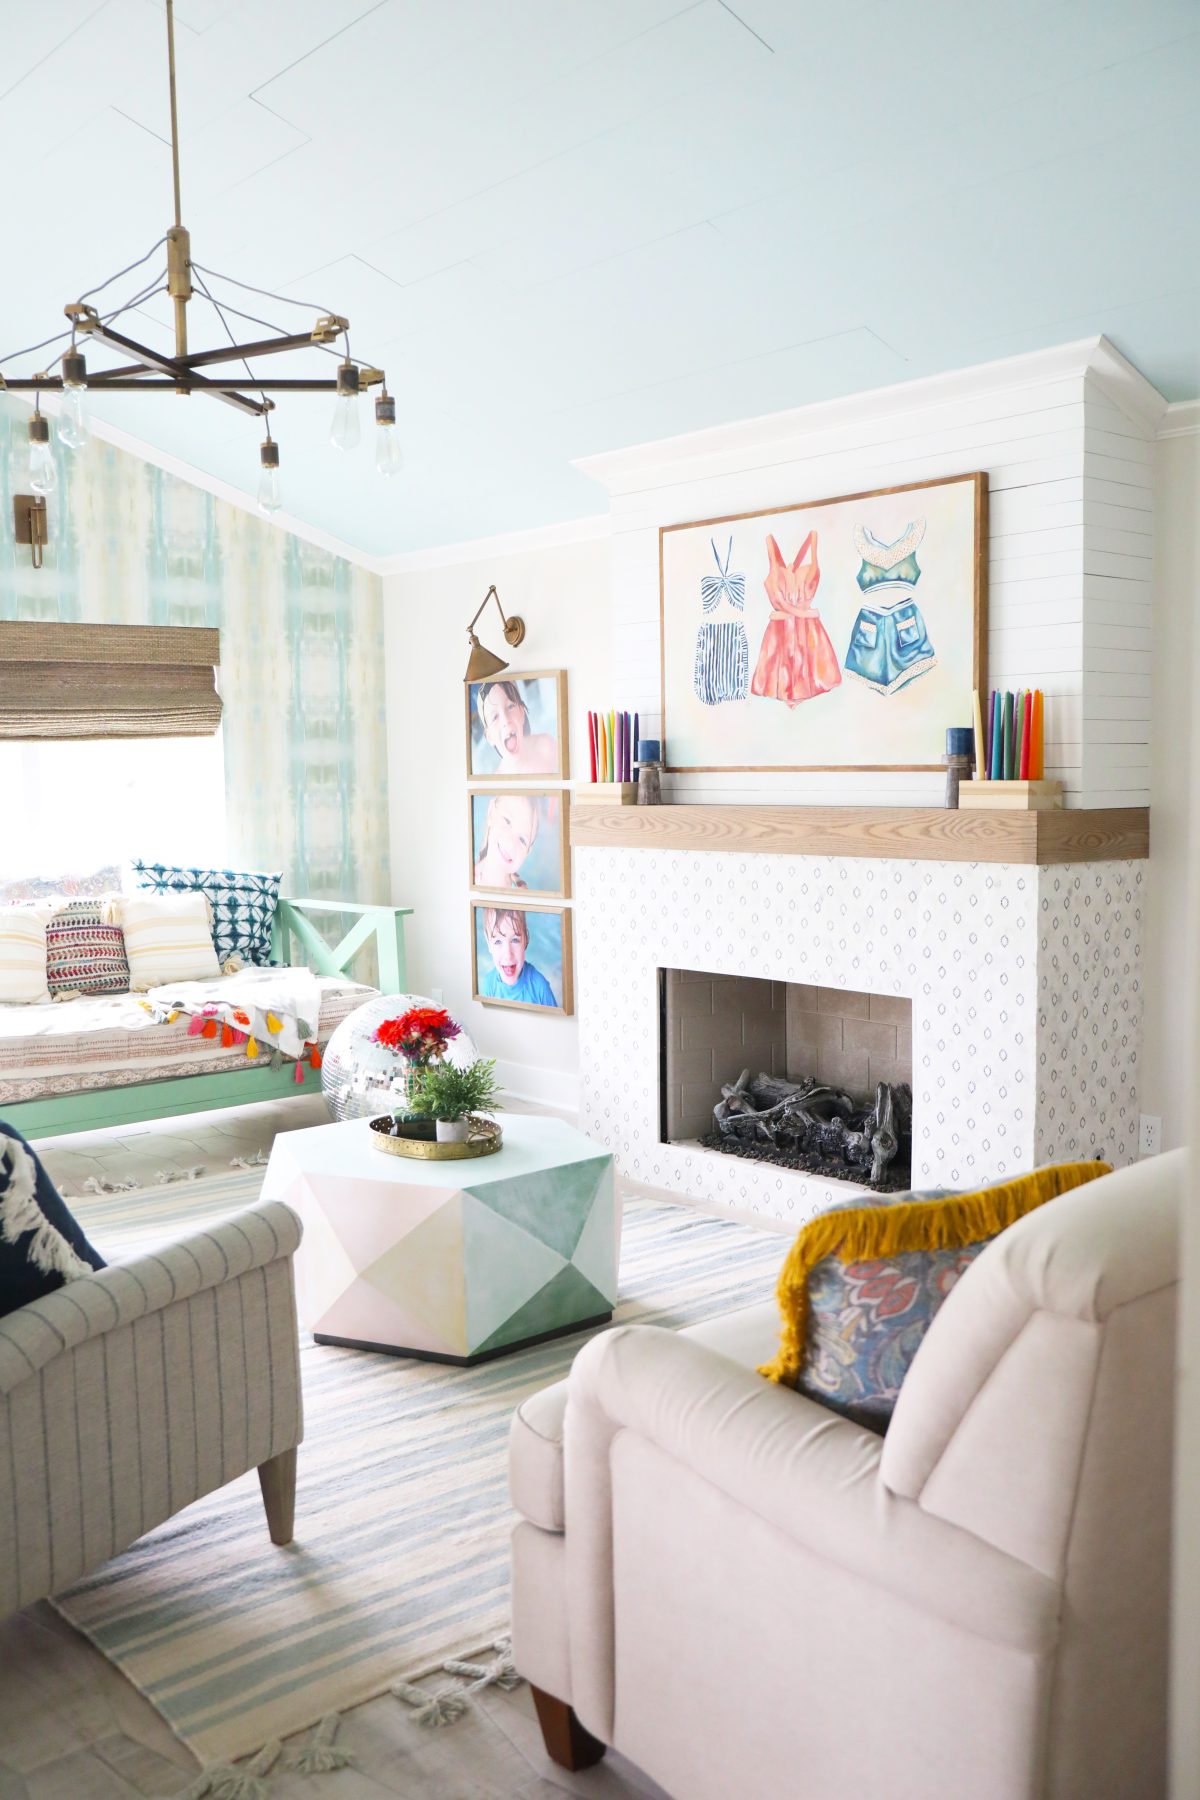
For our first addition, aka the pool room, we handled it a little differently. It’s the same premise, but there weren’t breaks in the ceiling to hide the planks, and we only had a center beam. We just alternated them down at different lengths. These also went directly on to the framing, since the ceiling was already exposed with the fresh build.

So you can see them, but they still have a pretty clean look, since they are wider. We ended up wrapping our LVL beam the second time, with wood to match our mantel. This was just a single beam that went down the middle. Over and over again its the same process, but a different version.
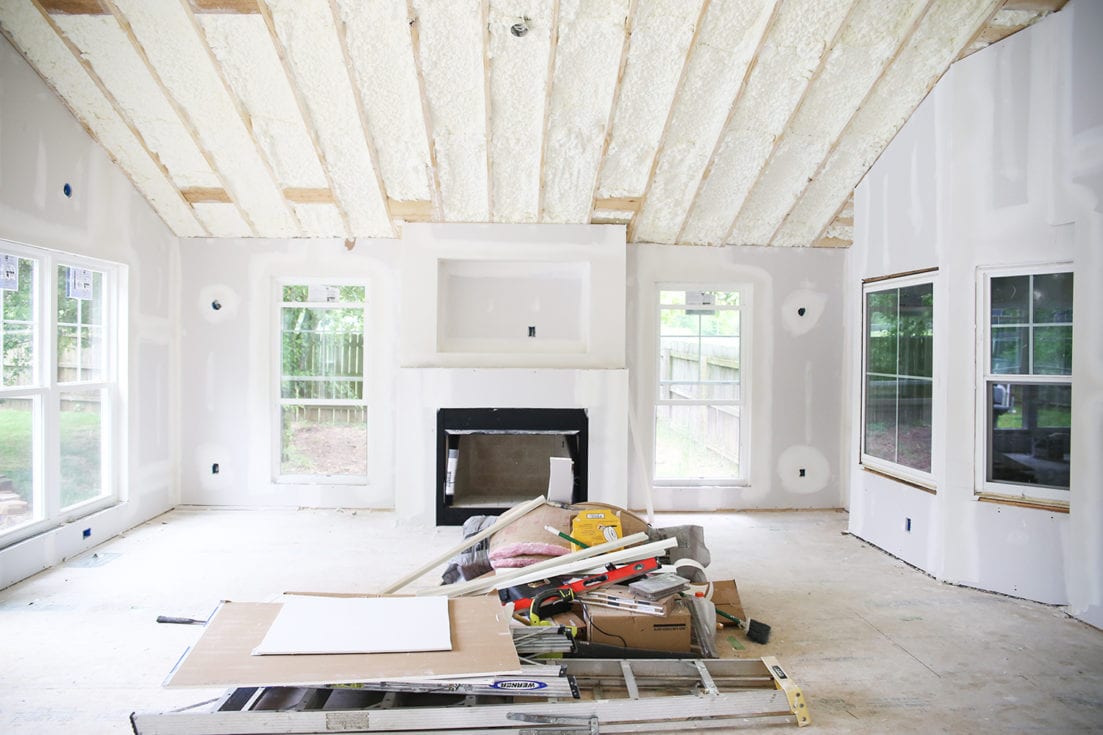
We were so close to being finished here! The windows went away because of our next addition, which was the primary suite. This now serves as a multi purpose room, from entertaining, to stained glass + painting studio. We love this room.
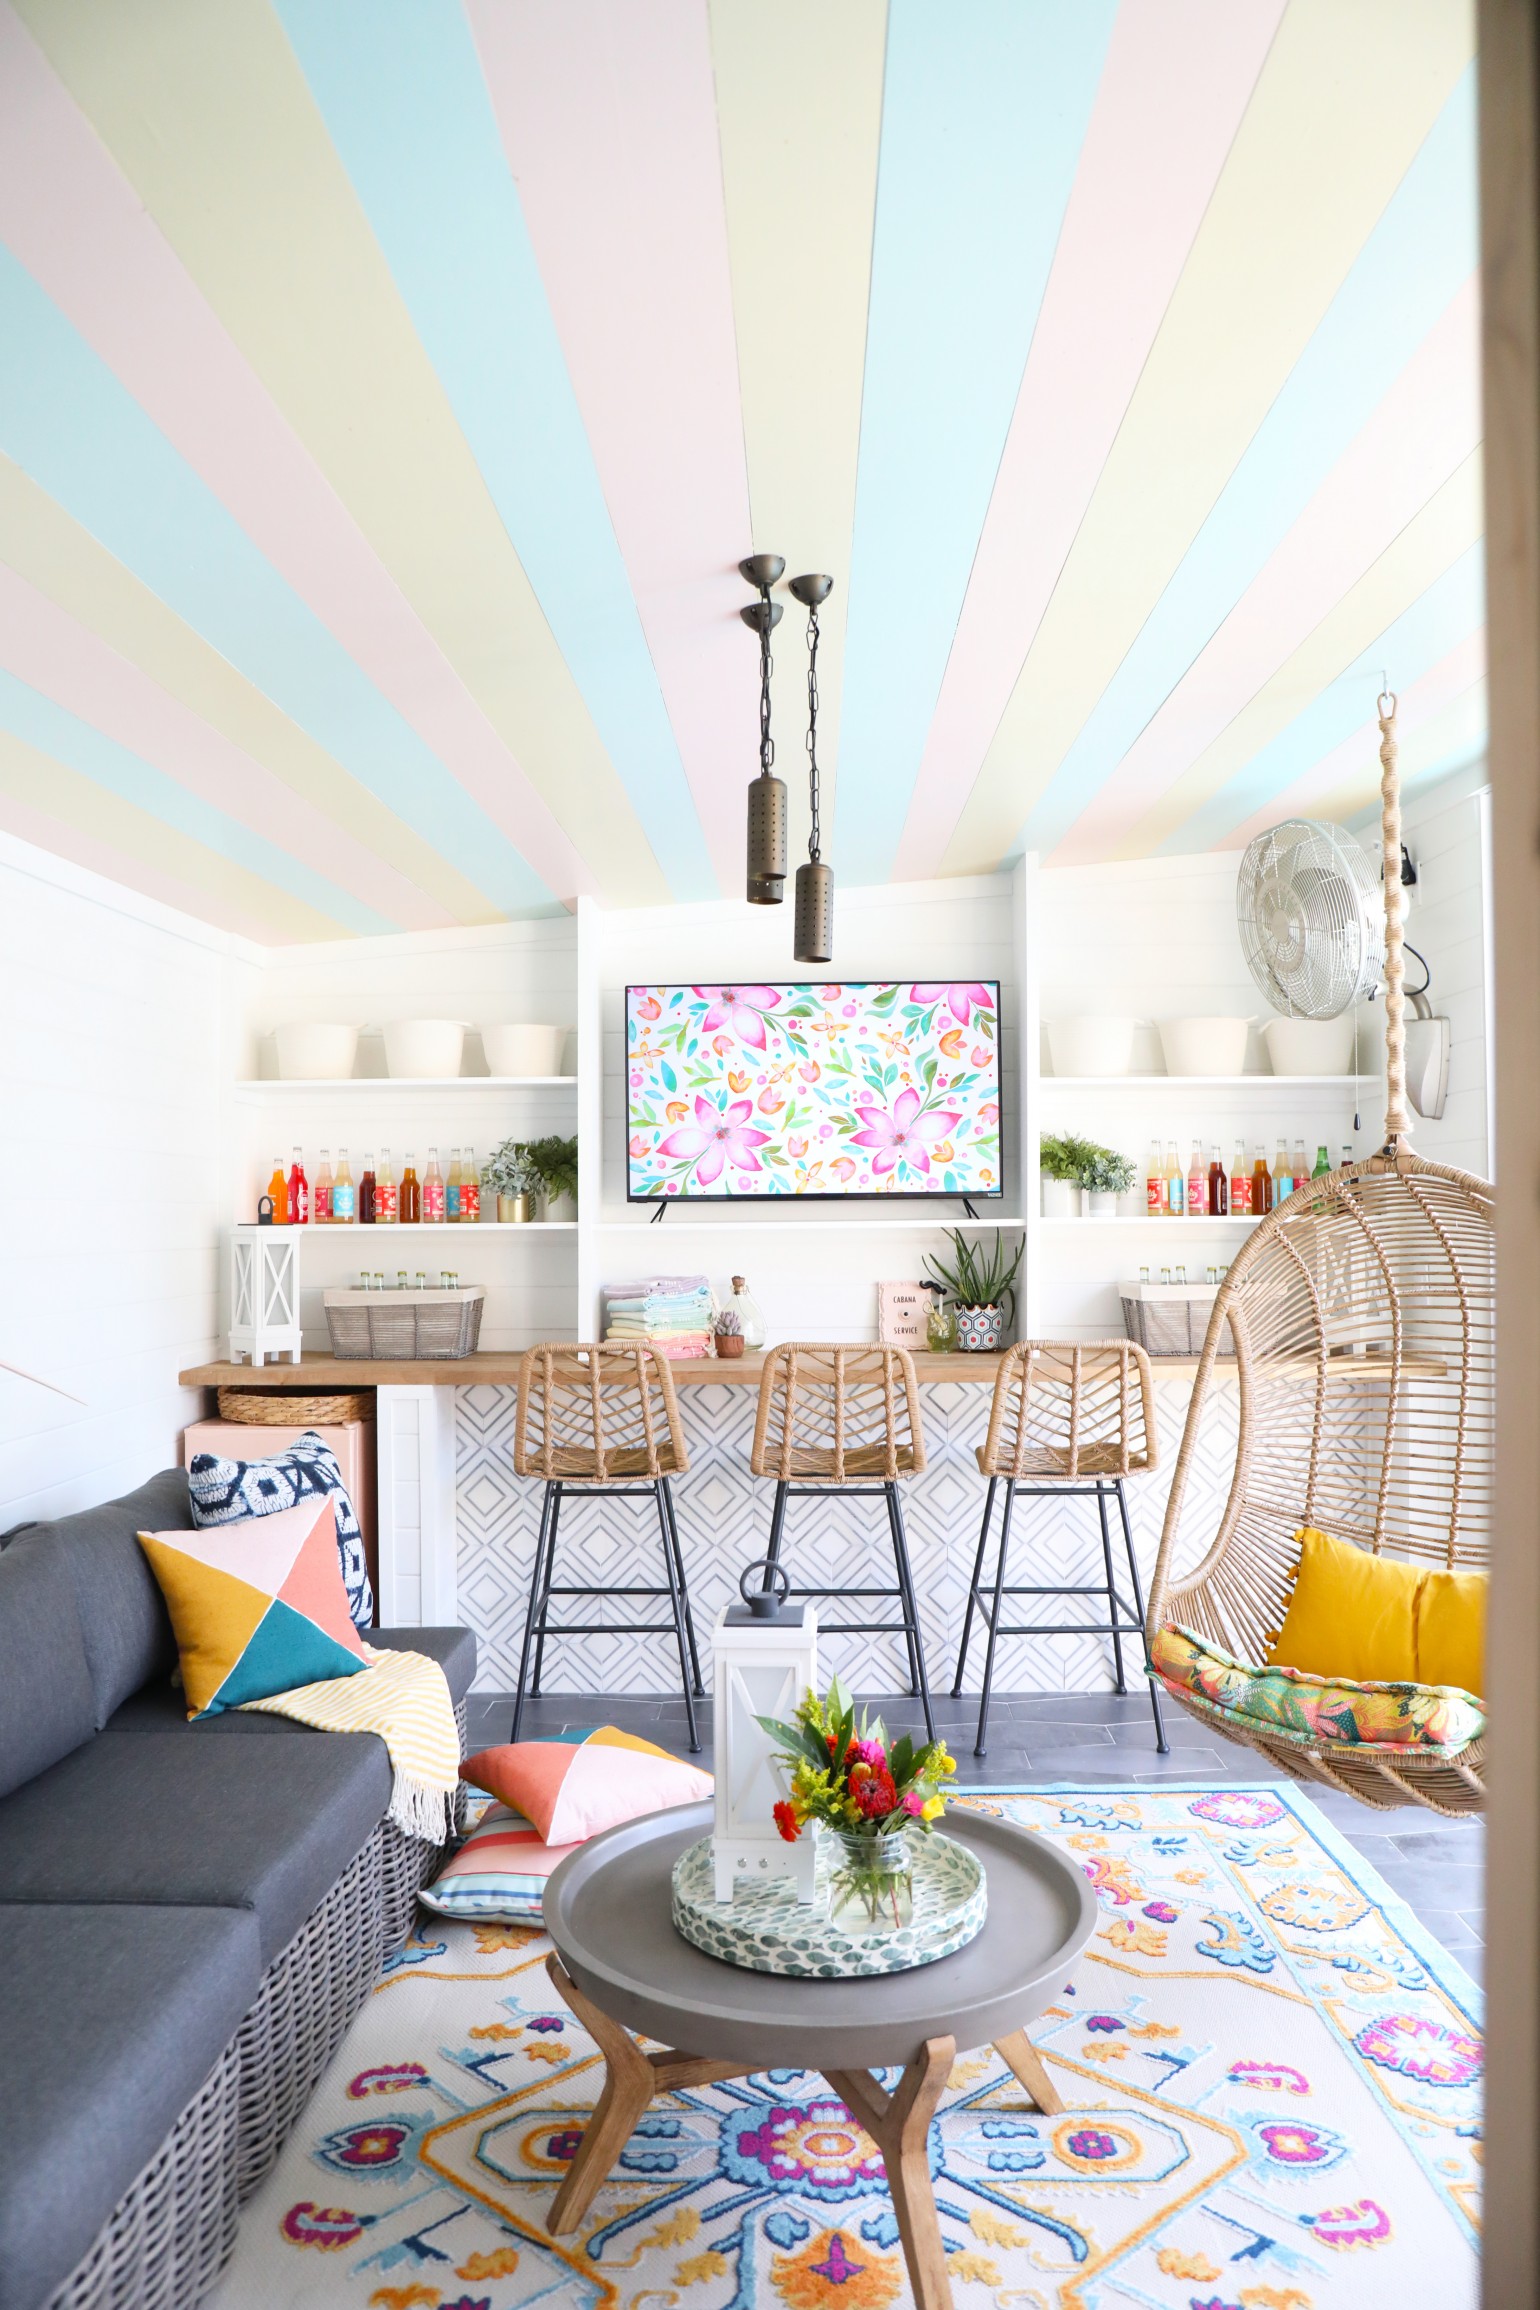
5. How to Shiplap Ceilings {+ How we Feel About Them Seven Years In}: Did you take on this process in the cabana?
Yes! And we love it! Shades of sherbet stripes FTW! You can read more about the entire cabana process, here.
This was basically another version of the very same thing, just outside, and again, installed directly against the framing. We feel like our house is a testament to paying attention to the fifth wall!
6. How to Shiplap Ceilings {+ How we Feel About Them SevenYears In}: How do you feel about them now that you’ve lived with them for a while?
We have truly loved them all, and even did them again, in our primary suite addition. They’ve added so much character to our home. Again, we’ve had a small leak issue in the basement, and it was still easy to work with.
Our only small “complaint” would be in the basement, where you can see a little stain coming through the wood bead board that was used- as it was not pre-primed. So it will need a little touchup. It’s really not obvious to anyone but us. But it’s currently driving me crazy so I’ll be touching it up soon. Other than that, all is well in the shiplap/planked/beadboard ceilings department. And we wouldn’t have it any other way, since it brings so much character to our ceilings.
A word on the “trendiness” of shiplap: It all comes down to how you use it.
I don’t really consider it “shiplap” on ceilings. {Yes, the post is called that, so that people can find it when they google on the internet.} It’s something people have done to their ceilings in the south for years. I try to avoid using it on walls, at all. I think something that is a nice allowance in a space, is when it’s applied to a fireplace in an interesting way. I’ve actually been a little anti in the past in my own home and with clients, simply because it is quite trendy. {Shiplap is the new dark paneling circa 1970-something.} You’ll only see a small slim application of it over our mantel in the pool room addition, because I am very careful in how I use it.

Basically? Make it make sense, if you do use it. I feel like skinny lap, sparingly on fireplaces is a great place.
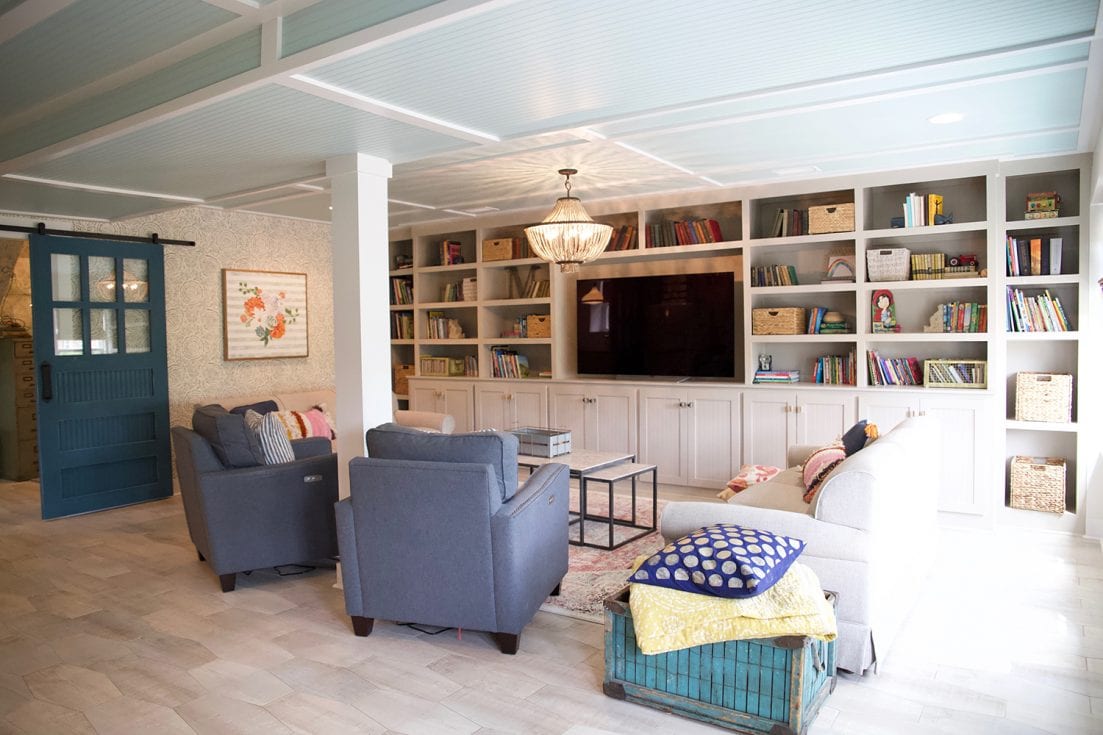
I do however, feel that ceiling applications are classic. So it all comes down to how you use it. Looking at old homes, they were finished out in planks, bead board, and more. So we definitely wanted that old haint blue, southern charm kind of feel in our home. We will never tire of that.
7. How to Shiplap Ceilings {+ How we Feel About Them Seven Years In}: What Color is That?
The blue color you see throughout on our ceilings is Tidewater by Sherwin Williams. It’s definitely a tried and true blue.
For our cabana:
• Extra White is the main color you see here, we even used it on our main house. So for the privacy wall, house, cabana and more, it’s our go to, beautiful bright white.
• Mindful Gray – for the trim on the cabana
• Blushing – that pretty light pink color you see
• Breaktime – for the blue stripes and other touches
• Convivial Yellow – that soft yellow on the ceiling – which tied in nicely with the rest
Be sure to check out all our home paint colors here + some more of our faves here for more color inspiration.
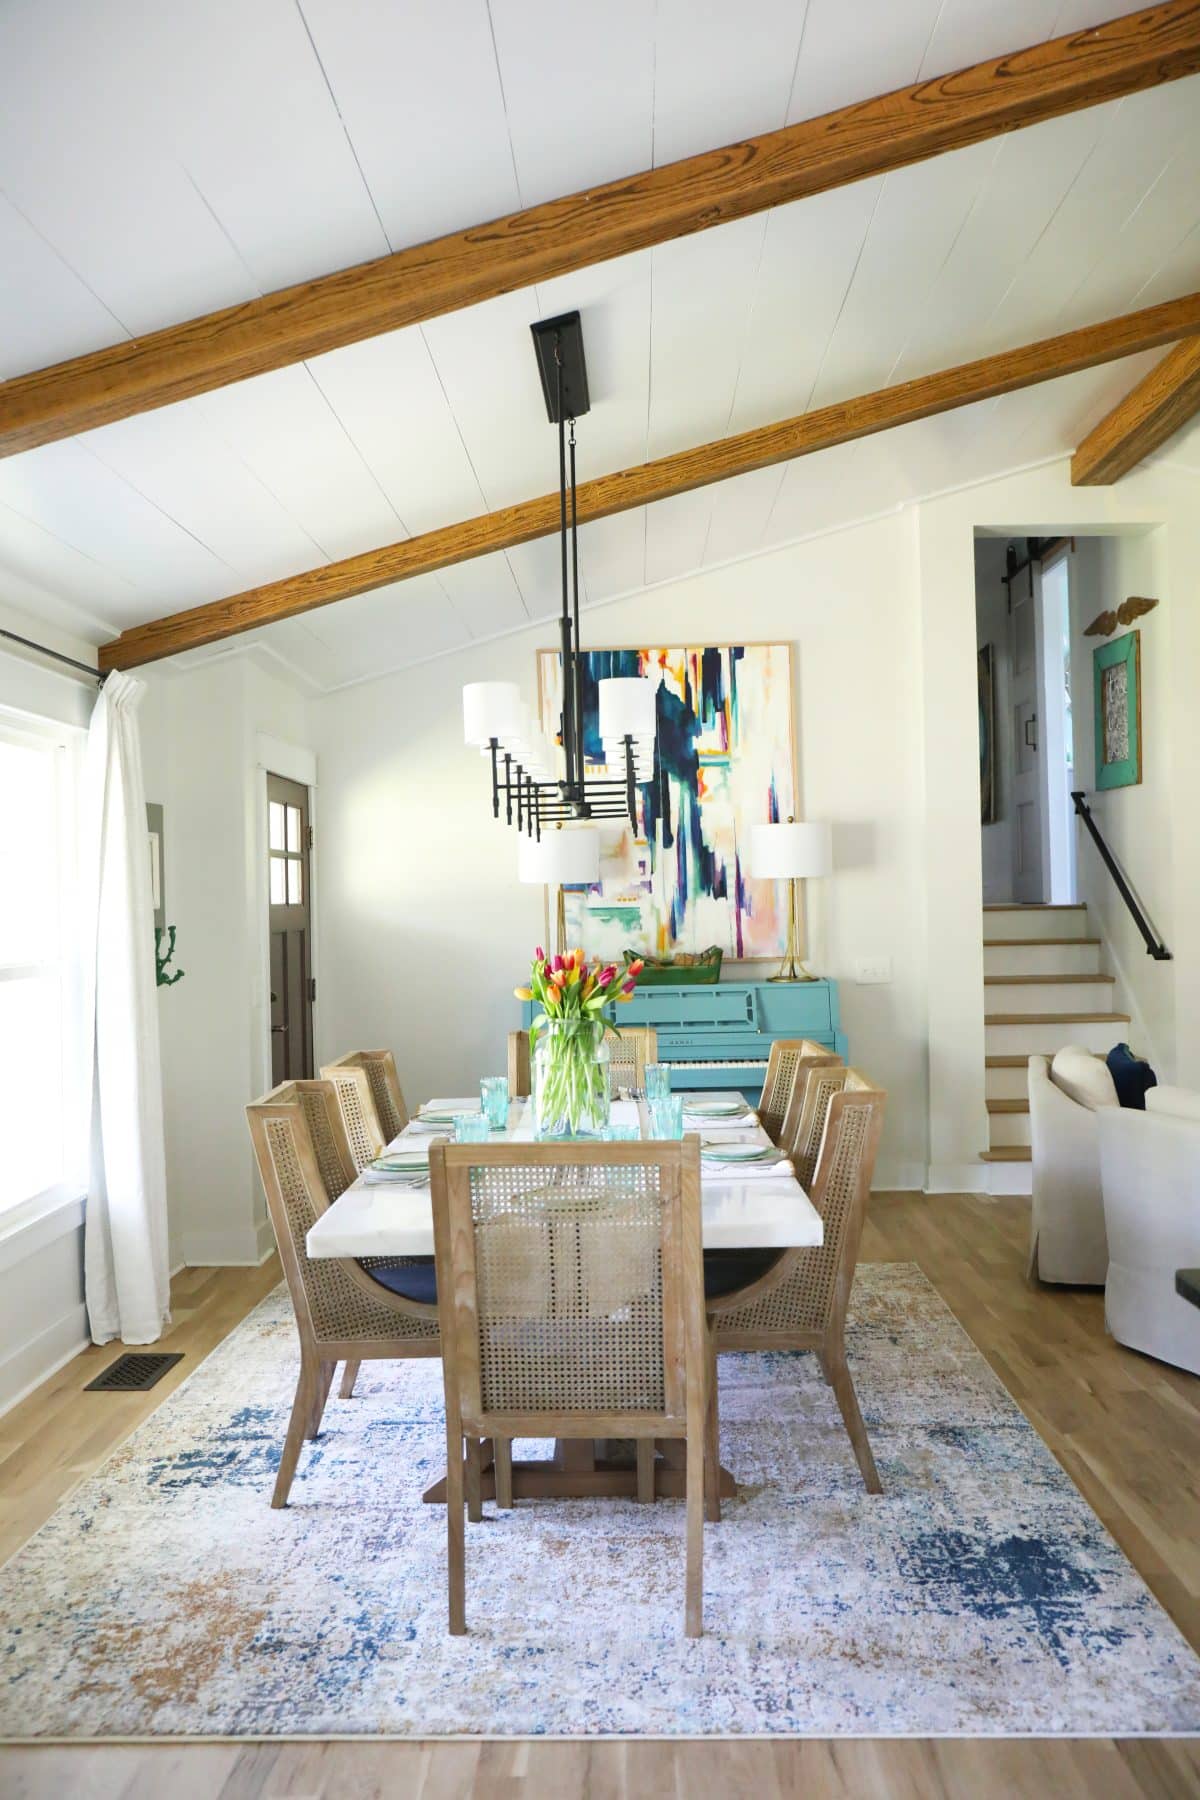
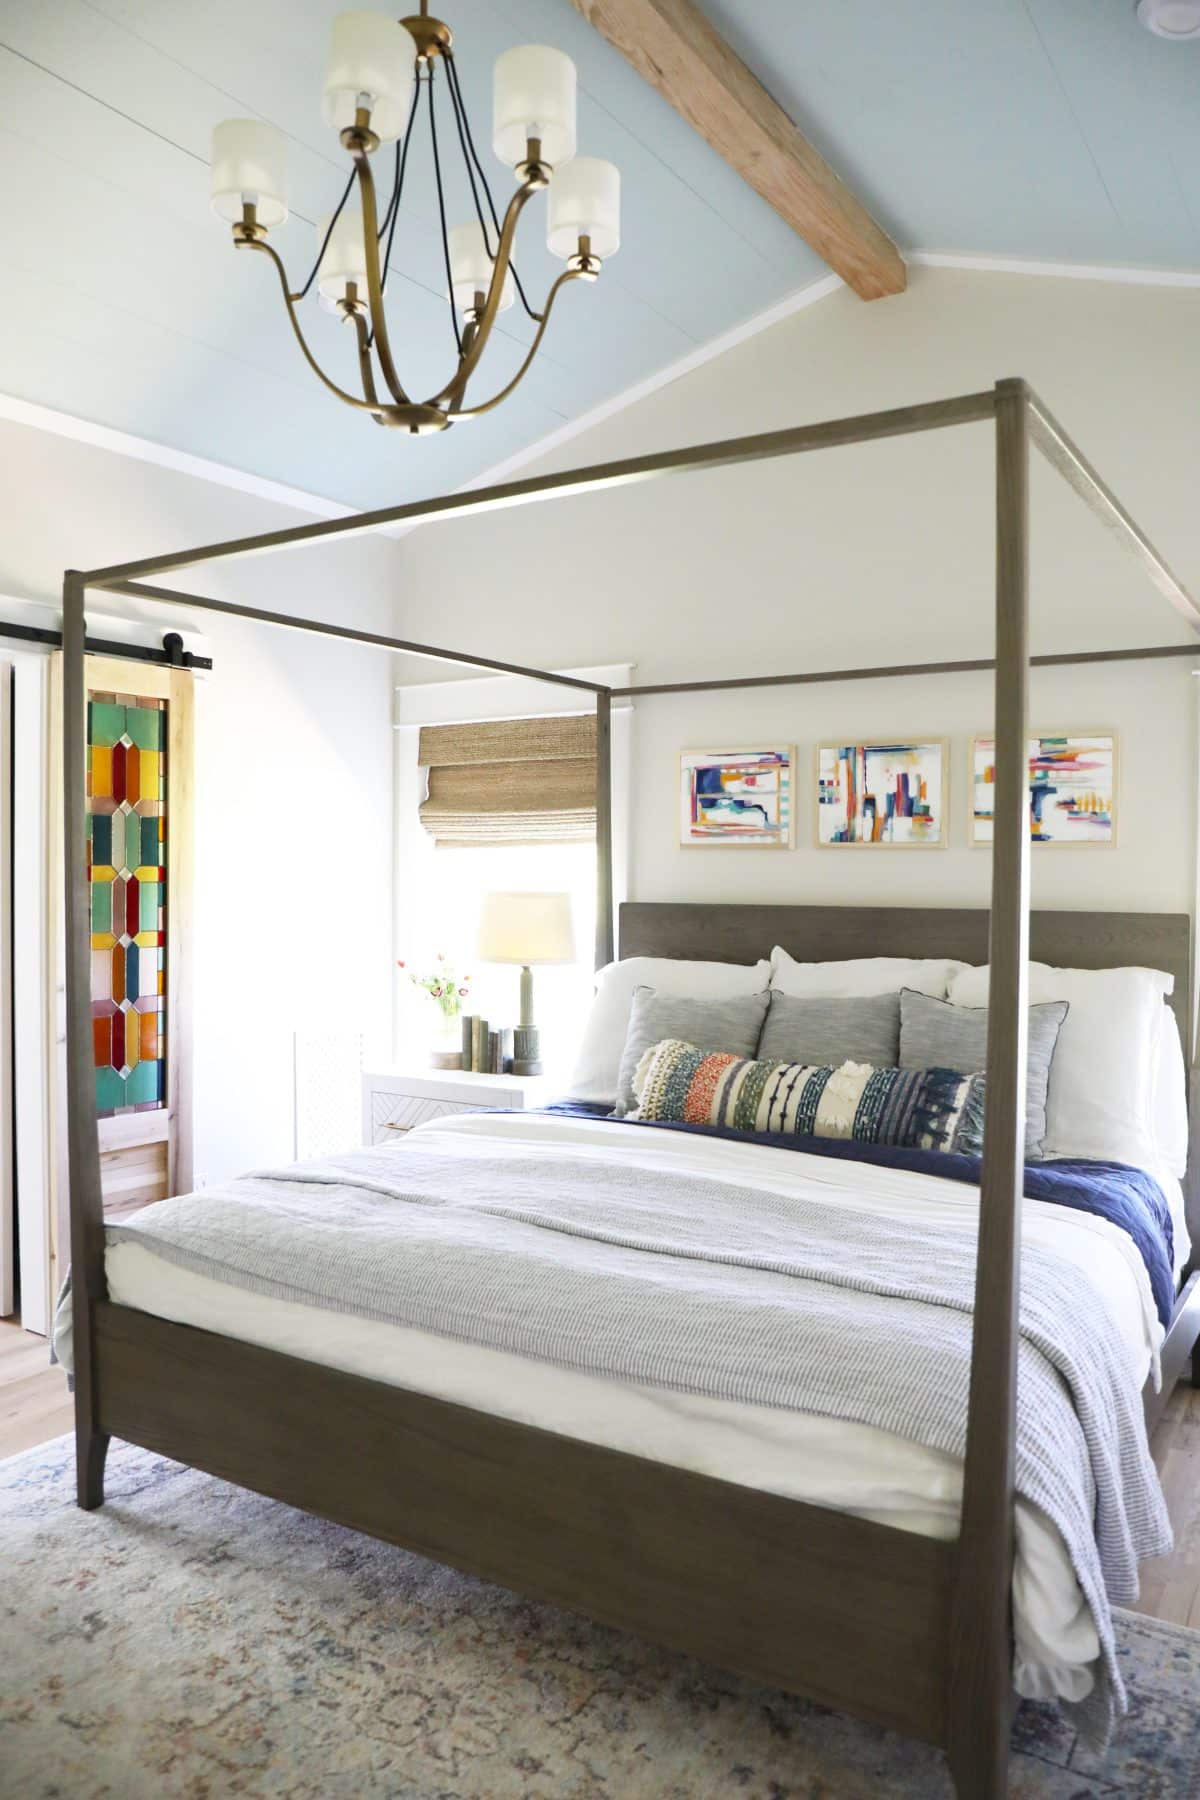
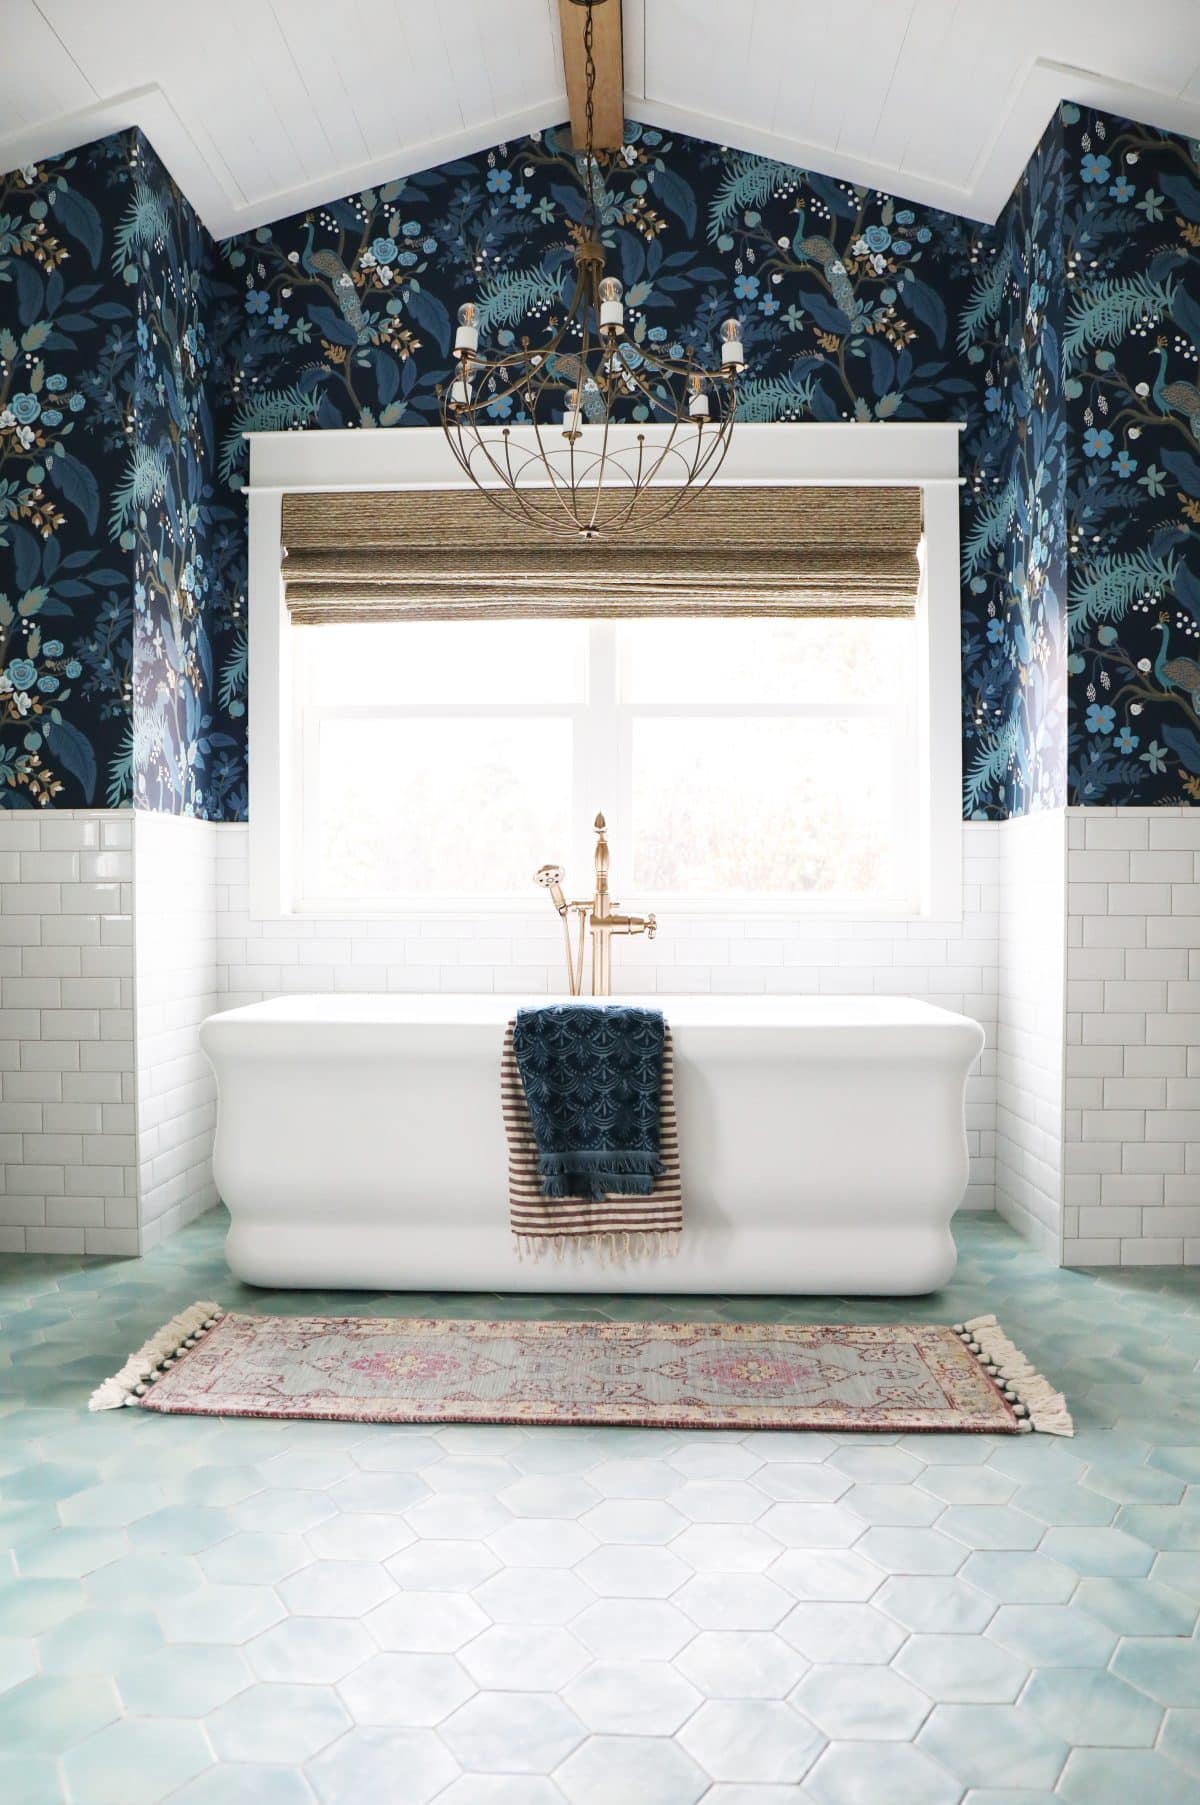
8. How to Shiplap Ceilings {+ How we Feel About Them Seven Years In}: How did you handle the Primary suite build?
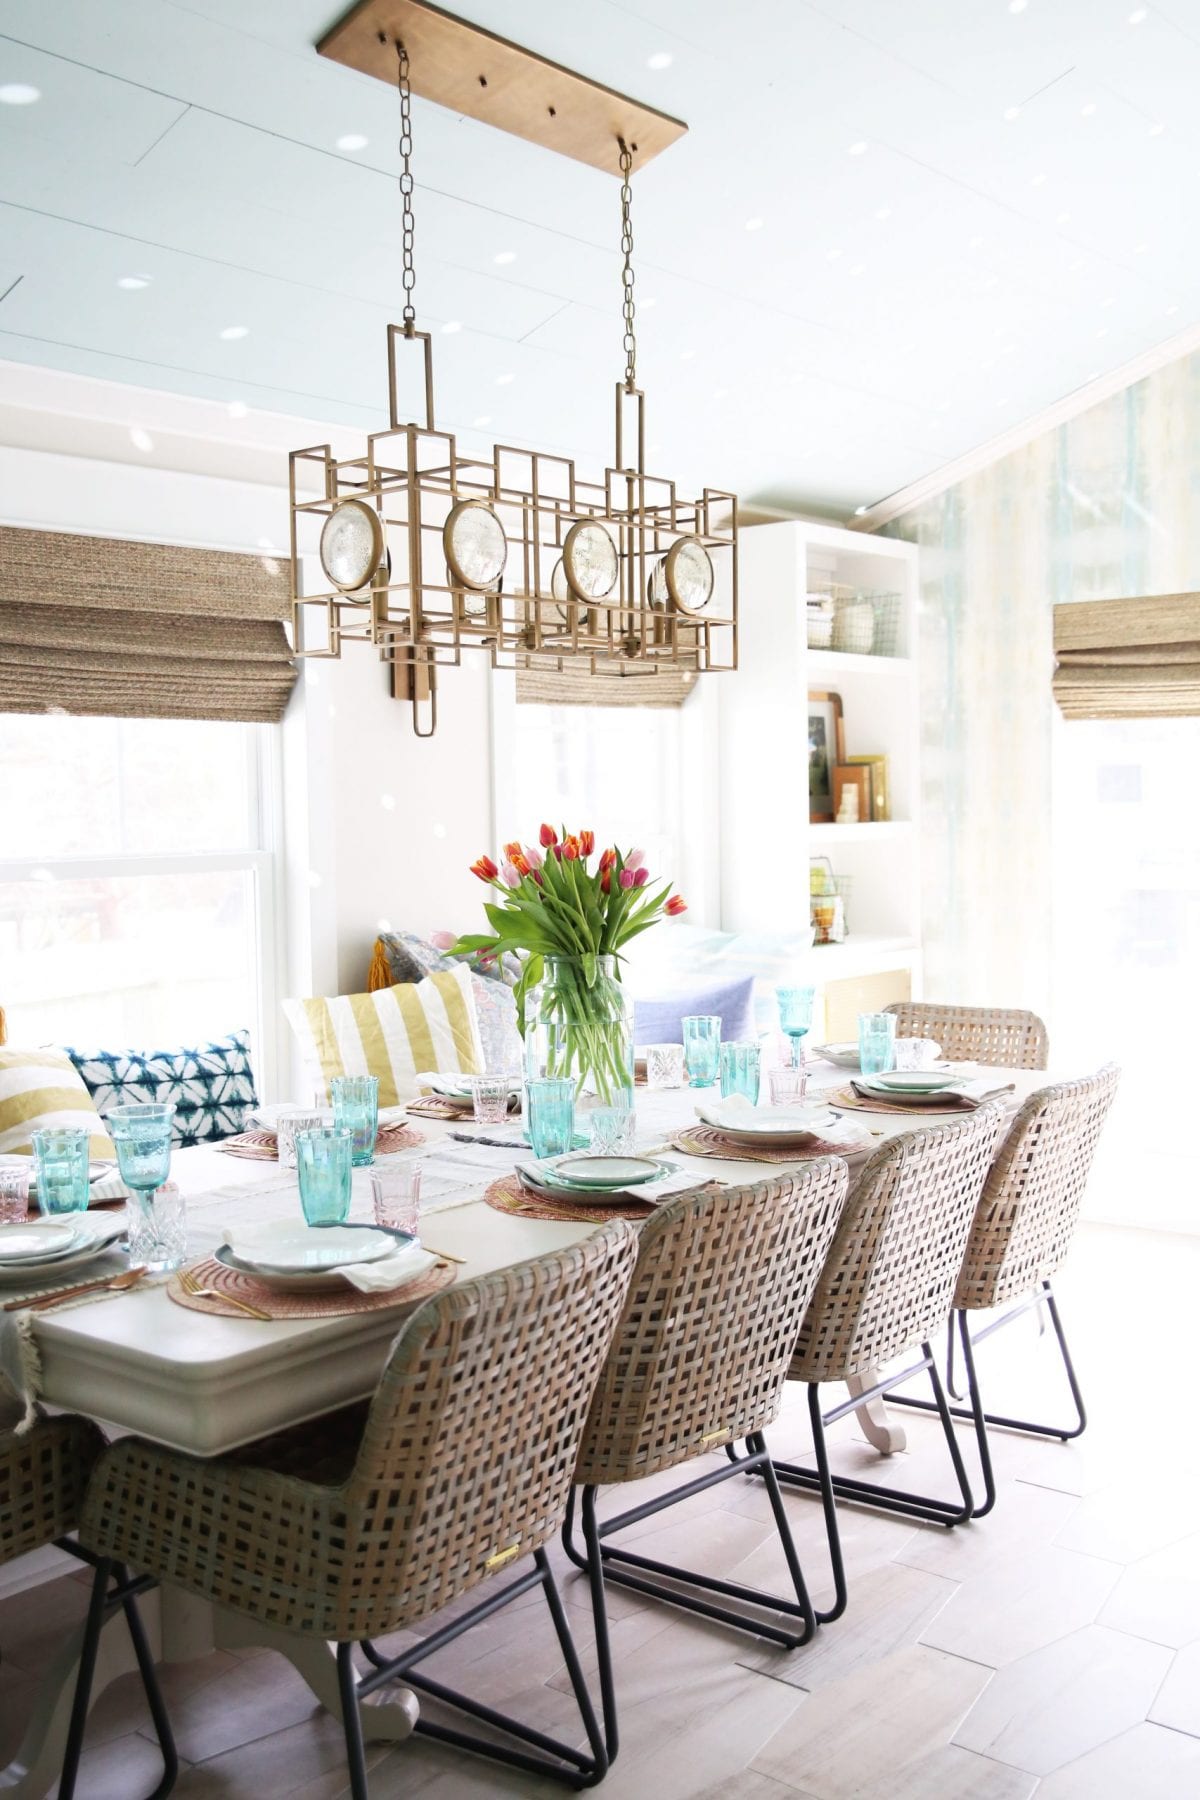
We did this the same way that we handled the main level, with uniform, simple planks. {See this space here} But varied it in the butler’s pantry hallway, laundry room {still to be revealed but see a sneak peek below} and the bathroom.
It was an arduous task, to be honest… but we definitely wanted it to fit the rest of the house. Check out colors in these posts, as well… this time we gave it a slight update, while still making sure it flows with the rest of the house.
______________
So that about sums it up, level by level in our home. It’s definitely something that is a big labor of love, with lots of detail when it comes down to the beautiful trim work. Let us know if you have any more questions on the fun process that is shiplapping your ceilings!
Have an inspired day!


Beautiful and creative. That was lot of hard work, especially working up in the ceiling. However, tge results are amazing
Hey Ivory – thank you so much! It WAS a lot – Jamin was looking at this post before I published it and he said “You know what actually sucks? We’re doing it in the addition” 😀 and he’s right. It’s a thing. But as long as you’re mentally prepped and go for it, it’s totally worth it. We legit saved thousands.
You did an amazing job with all your ceilings. Thanks for sharing this. What did you use for the trim on the ceiling in the kids bedroom?
Hey, thank you so much for the sweet compliment. They are 1 x 4 pieces of wood, similar to what you would use for door trim. You can actually use wood or MDF depending on your budget or preference. I hope that helps.